Hegel H590 User manual

H590 User Manual

3
A word from Bent 4
What’s in the box 5
Quickstart 6
General Use 9
Connections 10
Digital Inputs 11
Remote Control 12
Network Setup 14
Streaming 15
Device Menu 16
Miscellaneous 17
General Information 18
Index

54
Congratulations on your new Hegel H590.
All Hegel products are based on a simple
philosophy: Add as little as possible. We
work to keep the music signal as close to
the original as possible. We are always
looking for ways to lower distortion
and lower noise so that the music is repro-
duced as close to the original as possible
and is limited only by the quality of the
recording. Our aim is to give you the best
possible music experience. Our minimal-
istic Scandinavian design is styled to fit in
with any interior. Our products are easy to
operate and are manufactured according
to the best quality principles.
“Hegel H590 is our brand new reference
integrated amplifier and sets a new
standard in our lineup of integrated amps.
We have taken digital technology from our
reference products, added a brand new
usb solution, and given it more power than
any of our other integrated products. All
that power and versatility is set in the fresh
new Hegel appearance. H590 reference is
everything that our partners and custom-
ers have asked for: a bigger and better
Hegel integrated. So we gave them a beast
that controls even the biggest of speakers
in addition to more inputs, more advanced
streaming and much better sound”
Bent Holter
Founder Hegel Music System
Amplifier
Accessory Box
Power Cord
User Manual
Remote
Control
What’s in the box

6 7
2. Connect a source
Unbalanced Analog
Balanced Analog
Coaxial Digital
USB Computer
Network streaming
Optical Digital
Quickstart
1. Connect your speakers
For the best audio experience the distance
between the listener and each speaker should
be the same.
Speaker
Right Channel
H390 Integrated Amplifier
Hegel, Oslo, Norway
Amplifier circuit protected by
Hegel US Patent No 6.275.104
Speaker
Left Channel
RA
46
Serial Number

98
3. Connect the power cord
4. Turn on the amplifier
Power Switch
Operating the H590
The source and volume can be changed
using the input and volume selector on the
front panel or using the remote control.
Power Button
The H590 amplifier can be switched on and
off with the power button located on the un-
derside of the amplifier, towards the front of
the unit.
NOTE: When powering up, the H590 takes
a few seconds to calibrate, the outputs are
muted and the volume flashes to indicate
that mute is on. This is normal and is part
of the start-up procedure.
NOTE: When the H590 has been switched
off, wait 30 seconds before powering it on
again.
Sleep/Auto standby
In compliance with the EU Energy Efficiency
Directive the Hegel device will automatically
switch off after 15 minutes without sens-
ing a signal, or with very low signal on the
speaker outputs. You can disable or change
the Sleep/ Auto Standby settings in the
device’s menu.*
General Use

10 11
Always power the amplifier off before con-
necting input/output audio cables and the
power cable.
Right Channel Speaker
• Right outputs
Line Level Outputs
• Fixed Line level (RCA)
WARNING High level output.
• Variable Line Level (RCA)
Digital Out(DAC loop)
• BNC: Output BNC
Digital Input
• BNC: Input BNC
• Coaxial: Input Coaxial/RCA
• Optical1: Input TOSLINK/EIAJ Optical
• Optical2: Input TOSLINK/EIAJ Optical
• Optical3: Input TOSLINK/EIAJ Optical
• Computer USB input
• Home network connection (LAN - RJ45)
Left Channel Speakers
• Left outputs
Analog Inputs
• XLR1 (XLR): Standard balanced
analog input (Pin 1 is Chassis Ground;
Pin 2 is Positive Phase; Pin 3 is Negative
Phase)
• XLR2 (XLR): Standard balanced
analog input (Pin 1 is Chassis Ground;
Pin 2 is Positive Phase; Pin 3 is Negative
Phase)
• Analog 1(RCA): Standard analog input
• Analog 2(RCA): Standard analog input
• Analog 3(RCA): Standard analog input
AC Power Connection
• AC Power connector with fuse holder:
230V/115V/100V AC depending on
country.
Home Theater
Most inputs on H590 can be used as a
Home Theater input, see Device Menu.
Connections
Digital Inputs
The Hegel H590 supports MQA and
DSD(DoP) on USB.
USB
The Hegel H590 has a plug and play USB
DAC. Connect it to your PC or Mac and
enjoy all your music.
There is no driver required for Linux, Mac
OS, or Windows10. When connected the
amplifier will show up as “Hegel H590 USB”
under the speaker settings in your operating
system. If you have an older version of Win-
dows you will need to install a driver. Go to
support.hegel.com to download the driver.
When using the driver your amplifier will
show up as “XMOS USB Audio”.
Resolution: Up to 384 kHz 32 bit
H590 supports DSD64,DSD128,DSD256
via DoP
MQA (Master Quality Authenticated)
Hegel H590 includes MQA technology,
which enables you to play back MQA audio
files and streams, delivering the sound of
the original master recording.
“MQA” or “MQA.” indicates that the product
is decoding and playing an MQA stream or
file, and denotes provenance to ensure that
the sound is identical to that of the source
material. “MQA.” indicates it is playing an
MQA Studio file, which has either been
approved in the studio by the
artist/producer or has been verified by the
copyright owner. “OFS” confirms that the
product is receiving a decoded MQA stream
or file. This delivers the final unfold of the
MQA file and displays the original sample
rate.
Hegel H590 supports up to MQA 8X
(352.8kHz/384kHz)
Visit mqa.co.uk for more information.
Digital Inputs
12 13
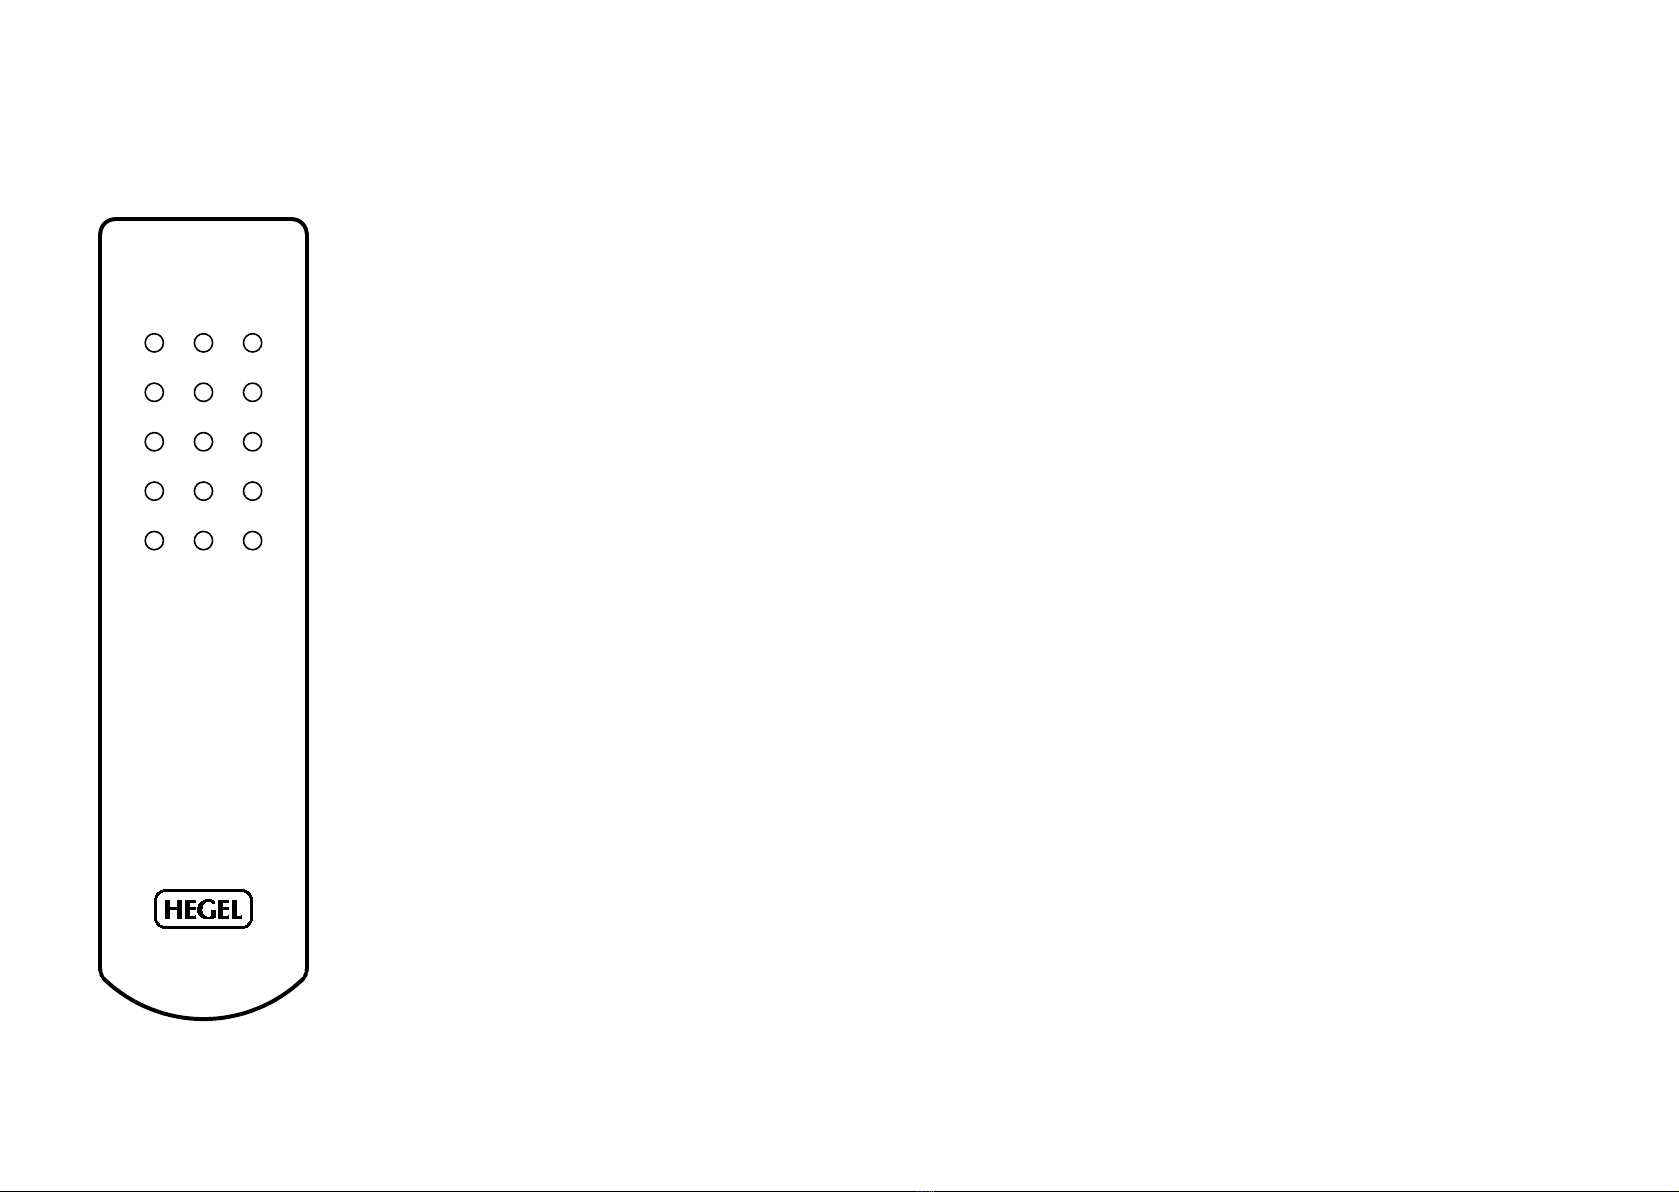
General information
The Hegel amplifier can be controlled with
the included Hegel RC8 Remote Control.
The RC8 controls Hegel products, such as
amplifiers and preamplifiers, and most me-
dia players, avoiding the need for multiple
remote controls
The remote control uses two standard 1.5-
volt LR03 AAA batteries. To insert the bat-
teries, use a crosshead (Phillips) screw-
driver to gently remove the four screws on
the underside of the remote control.
Insert the batteries with the correct polarity
with + sign and – sign, as shown inside the
battery holder. Be careful when inserting the
batteries to not damage the battery holder.
Replace the cover. Insert the screws by gen-
tly turning them by hand, to avoid damaging
the threads in the remote control chassis.
Do not tighten the screws too much, as this
can damage the screws and the soft metal
chassis of the remote control.
CAUTION: Do not drop the remote control
on the floor, as this can damage its internal
parts and the battery holder.
Mute
The MUTE(14) button mutes the outputs on
the amplifier. The volume flashes to
indicate that mute is on. Press the mute
button, or adjust the volume level, to switch
mute off.
On/Off (standby)
The ECO(5) button will turn the amplifier on
or off (standby).
Display On/Off
The DISP(6) button may be used to turn
the display on or off. Hold the DISP button
for more than 1 second to turn the display
off. When adjusting inputs or volume the
display will light up momentarily. To turn the
display on again, press DISP.
Set startup volume
A user defined volume may be used as
the power-up volume. Adjust the volume to
the desired start up level. Press DAC+(4)
and VOL-(15) simultaneously. The volume
number will blink three times to indicate
that the new start up volume has been
saved.
Set max volume
A user defined volume may be used as
the max volume. Adjust the volume to the
desired maximum level. Press DAC+(4)
and VOL+(12) simultaneously. The volume
indicator will blink three times to indicate
that the new max volume has been saved.
To restore to the default max volume of 99,
turn the volume all the way up and press
DAC+ and VOL+ once more. The volume
indicator will blink 99 three times to indicate
that the max volume has been reset.
Reset to Factory Default Settings
By pressing and holding the DAC+(4) button
while pressing MUTE(14), the amplifier will
be reset to factory settings. This will clear all
user defined settings, including IP settings,
and restart the amplifier. This can also be
done in the amplifier’s menu. Software
updates will not be affected.
Remote Control - RC8
Remote control buttons (starting top left)
1. PREV Skip to previous track on most media players
2. PLAY Play/Pause on most media players
3. NEXT Skip to next track on most media players
4. DAC+ Input source selector button for Hegel DACs
5. ECO On/Off (standby)
6. DISP Display on/off (hold for off)
7. PREV Skip to previous track on Hegel CD-players
8. PLAY Play/Pause for Hegel CD-players
9. NEXT Skip to next track on Hegel CD-players
10. IN+ Switches to next input on Hegel amplifiers
11. STOP Stop/Eject for Hegel CD-players
12. VOL+ Volume up for Hegel amplifiers
13. IN- Switches to previous input on Hegel amplifiers
14. MUTE Mute for Hegel amplifiers
15. VOL- Volume down for Hegel amplifiers
ECO
STOP
PREV
DAC+
PLAY
PREV PLAY
DISP
NEXT
IN+
NEXT
VOL+
MUTEIN- VOL-
COMPUTER

14 15
Network settings
The amplifier has its own Network Con-
figuration page where you can change the
amplifier’s network name and IP settings.
To open the page, enter your amplifiers IP
address in a browser window.
You can find the IP address in the amplifier’s
menu under “Network”.
For detailed information on the
Network Configuration page,
supported formats and much
more, please visit
support.hegel.com
NOTE: Some of the features of the Hegel
device require an internet connection.
Wake up on Network
Even when the amplifier is in standby
mode the network connection is active. The
amplifier can be woken up from standby by
starting playback to the Hegel.
Network Setup
Status Indicators
The Hegel device will display the network sta-
tus in the lower left corner of the display.
Network status
is OK:
Network status is
not OK:
Troubleshooting
If you experience problems with connecting
the amplifier to the network or have other
network issues, please try the following:
Disconnect the power chord for at least 30
seconds and then reconnect.
If that does not help, try the following:
Enter the amplifier menu and select factory
reset.
Unbalanced Inputs Balanced Inputs
Analog 2 Right Left
Analog 1
Left
Right
Line Output
Variable
Speakers Left
Right
Digital Inputs
Optical 2 USBOptical 3Coaxial Optical 1 Network
Amplifier circuit protected by Hegel US Patent No 6.275.104
Apparatet må tilkoples jordet stikkontakt
230VAC Fuse: 4AT
RA
46
H120 Integrated Amplifier,
Hegel, Oslo, Norway
Serial number
Connection
To be able to use the amplifier’s network
and streaming features, the amplifier needs
to be connected to your local network.
Connect your Hegel amplifier using an Eth-
ernet cable (not supplied) from the network
connection (LAN - RJ45) port on the back of
the amplifier, to your router.
Streaming
AirPlay
When using AirPlay, you can send the music
stream from an AirPlay compatible device
to the Hegel device. All AirPlay compatible
devices will detect the Hegel device in their
list of AirPlay speakers.
When both devices are connected to the
same network, the AirPlay icon will be dis-
played, and you can select the Hegel device
as an AirPlay speaker. You are now ready to
send the music stream to your amplifier.
Spotify Connect
When using Spotify Connect, you can send
the music stream from Spotify to the Hegel
device.
Use your phone, tablet or computer as a
remote control for Spotify.
Go to spotify.com/connect to learn how.
UPnP/DLNA
The amplifier can function as a Digital
Media Renderer. This means that it can
receive and play media files from a UPnP/
DLNA compatible media player. When us-
ing UPnP/DLNA streaming, you can send
the music stream from locally stored files
or music streaming services to the Hegel
device. UPnP stands for Universal Plug and
Play and is a widely used media stream-
ing protocol. That means it is supported
by a host of products and applications. For
details on how to set up your media player,
please refer to the user manual supplied
with the player.
WARNING: When streaming to the Hegel
device, always remember to check the
player/device volume-setting before press-
ing play. The Hegel device will change its
volume to the volume set in the player.

16 17
Miscellaneous
USB Volume
In the device menu you can activate the
USB Volume feature. That enables you to
control the volume of the device with a
connected USB source like a computer or a
streamer.
Warning: Always remember to check the
computer or connected device volume set-
ting before pressing play. When USB volume
is activated the amplifier will change its vol-
ume to the volume setting on the computer
or connected device.
Connecting a subwoofer
The most common way to connect a
subwoofer is from the variable line output
on your Hegel amplifier. If your subwoofer
is equipped with “high level” speaker wire
terminals you can also use this. Many sub-
woofer manufacturers recommend this type
of connection if it is available.
Please consult your subwoofer manual for
detailed instructions on how to connect and
configure your subwoofer for the best audio
result.
Power
All electrical components should be turned
off or in standby when not in use. This due
to safety, because all electrical components
can fail, and it is good for the environment.
Leaving your product on all the time could
also shorten the life expectancy of the
product.
That being said, our products sound even
better when they are warmed up, typically
after about 15 minutes of listening at a
moderate volume.
Connecting your TV
The best way to connect your TV is by us-
ing one of the optical inputs. If there is no
sound, try changing the sound output in the
TV’s settings menu. The setting should be
changed to PCM or stereo. Please consult
your TV’s manual for detailed instructions.
DAC-loop/Digital out
Your device comes equipped with a DAC-
Loop function that can be activated in the
device menu. The function makes it possible
to upgrade the digital inputs of the amplifier
with an external high-end DAC. This is done
by connecting the jitter reduced coaxial
digital output of the amplifier to the external
DAC. The output of the external DAC will
need to be connected to the XLR input of
the amplifier.
In the DAC-Loop submenu the Network and
USB inputs can be enabled separately.
Both these inputs take full advantage of
the internal synchronous master clock. For
these inputs we recommend leaving the
DAC-Loop function disabled as it in most
cases will not benefit the sound.
In this submenu you can also enable the
digital output to always be active.
Device Menu
Navigation
To enter the device menu, turn the amplifier
on and press and hold the PLAY(2) button
for 5 seconds. To navigate the menu, use
the PREV(1) and NEXT(3) buttons. To select
a sub-menu or feature, press the “PLAY(2)
button. To exit the menu, navigate to “Exit”
and press PLAY(2), or turn one of the ampli-
fier’s knobs.
NOTE: Some menu features require con-
nection to the internet to work properly.
See Network Setup
Info
Information about the Hardware Version of
your product and the Software Version cur-
rently running.
Network
Information about the Network Device
Name and the IP Address of your product.
Update
Check for and download the newest soft-
ware for your product.
Sleep
By default, the amplifier will automatically
switch itself off after 15 minutes with-
out music, or with very low signal on the
speaker outputs. Sleep / Auto off can be
disabled in this menu.*
Reset
Here you can reset the product to the de-
fault factory settings. This will not affect any
software updates you have installed.
HT
Most inputs can be configured to act as a
Home Theater input. This will set the input
volume at a fixed high volume level.
NOTE: The Hegel device menu
can be updated with new fea-
tures and options.
For an up to date and in-depth
description of the menu and its
features, please visit
support.hegel.com
ECO
STOP
PREV
DAC+
PLAY
PREV PLAY
DISP
NEXT
IN+
NEXT
VOL+
MUTEIN- VOL-
COMPUTER
PREV - Up
PLAY - Select
NEXT - Down
Menu navigation

18 19
Technical Specifications
H590 Integrated Amplifier
Power output 2*301W in 8 ohms
Dual Mono
Minimum load 2 ohms
Analog Inputs 2*Balanced (XLR)
3*Unbalanced (RCA)
Digital Outputs 1*Coaxial (BNC) S/PDIF
Digital Inputs 1*Coaxial (BNC) S/PDIF
1*Coaxial (RCA) S/PDIF
3*Optical S/PDIF
1*USB
1*Network
Line level Output 1*Unbalanced fixed(RCA),
1*Unbalanced variable(RCA)
MQA supported inputs USB only
Frequency response 5Hz-100kHz
Signal-to-noise ratio More than 100dB
Crosstalk Less than -100dB
Distortion Less than 0.005% @
50W 8 Ohms 1kHz
Intermodulation Less than 0.01%
(19kHz + 20kHz)
Damping factor More than 4000
(main power output stage)
Dimensions 17,1cm x 43cm x 44,5cm
(HxWxD),
22kg unit weight.
6,74” x 16,93” x 17,52”
(HxWxD),
48,51 lbs unit weight.
Transport and Shipment
When packing the amplifier, please follow
these instructions to avoid damaging the
unit: Be careful not to hold the volume- and
source-knobs when lifting the amplifier.
Wrap the bag around the amplifier. Make
sure the bottom shock absorber is placed
at the bottom of the original cardboard box.
Place the amplifier into the shock absorber.
Place the top shock absorber on top of the
amplifier.
Use and Placement
The Hegel amplifier should be placed on
a flat, hard surface for proper cooling. The
amplifier must never be placed on a carpet
or similar surface as this obstructs air circu-
lation through the unit. For the same reason,
the amplifier should have sufficient clearing
above, and never be covered while in use.
The amplifier will automatically switch itself
off if overheated. When it cools down the
amplifier turns back on and the volume is
set to 0.
Cleaning
Fingerprints or stains on the front panel
or top cover can be removed with a cloth
moistened with warm water or a mild
detergent suitable for cleaning mirrors and
windows.
General Information
Warning
Hegel products should only be opened
or serviced by certified technicians. The
devices contain electronic components
that may cause severe electric shock. Work
performed on Hegel products by unquali-
fied personnel may cause serious damage
or personal injury.
Opening of the product by non-authorized
personnel will void the warranty.
The products must not be exposed to rain
or moisture.
Warranty
All Hegel products come with a 2-year
warranty against defective materials and
workmanship. The warranty is limited to the
region where it was originally purchased.
There is no need for registering the war-
ranty. The purchase receipt will work as a
start date for the warranty.
In case you need assistance with your Hegel
product, please contact your nearest dealer
or distributor. These are listed on
www.hegel.com. Our dealers are carefully
chosen for their expertise and should be
able to help you with any Hegel related
issue. You can of course always reach us
directly by sending an email to
info@hegel.com or by contacting us on our
social media pages.
For more information about the H590,
please visit www.hegel.com
Disclaimers
The Spotify Software is subject to third party licenses
found here:
www.spotify.com/connect/third-party-licenses
AirPlay works with iPhone, iPad, and iPod touch, or Mac
and PC with iTunes.
Use of the “Works with Apple AirPlay” badge means that
an accessory has been designed to work specifically
with the technology identified in the badge and has been
certified by the developer to meet Apple performance
standards.
Apple AirPlay, iPad, iPhone, iPod touch, Mac and macOS
are trademarks of Apple Inc., registered in the U.S. and
other countries. The trademark “iPhone” is used in Japan
with a license from Aiphone K.K.
MQA and the Sound Wave Device are registered trade
marks of MQA Limited.© 2016
* Depending on market, versions of this amplifier ex-
ist with and without Sleep/Auto standby. Sleep/Auto
standby has no bearing on sound quality or connectivity.
V5

www.hegel.com
Table of contents
Other Hegel Amplifier manuals


Popular Amplifier manuals by other brands


Soundchoice PROAudio
Soundchoice PROAudio A4 Series Installation and operation manual

FOR-A
FOR-A USF-1053DDA Operation manual

One Forall
One Forall SV-9540 instruction manual

MasterSound
MasterSound PF 100 Limited user manual

TV One
TV One 1T-DA-472 instruction manual

Power bass
Power bass ACA-500.1D owner's manual