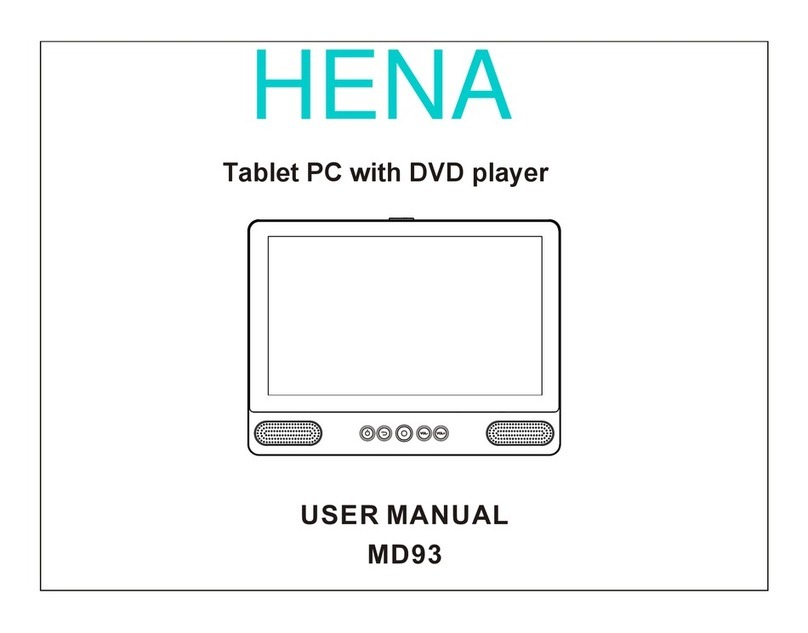
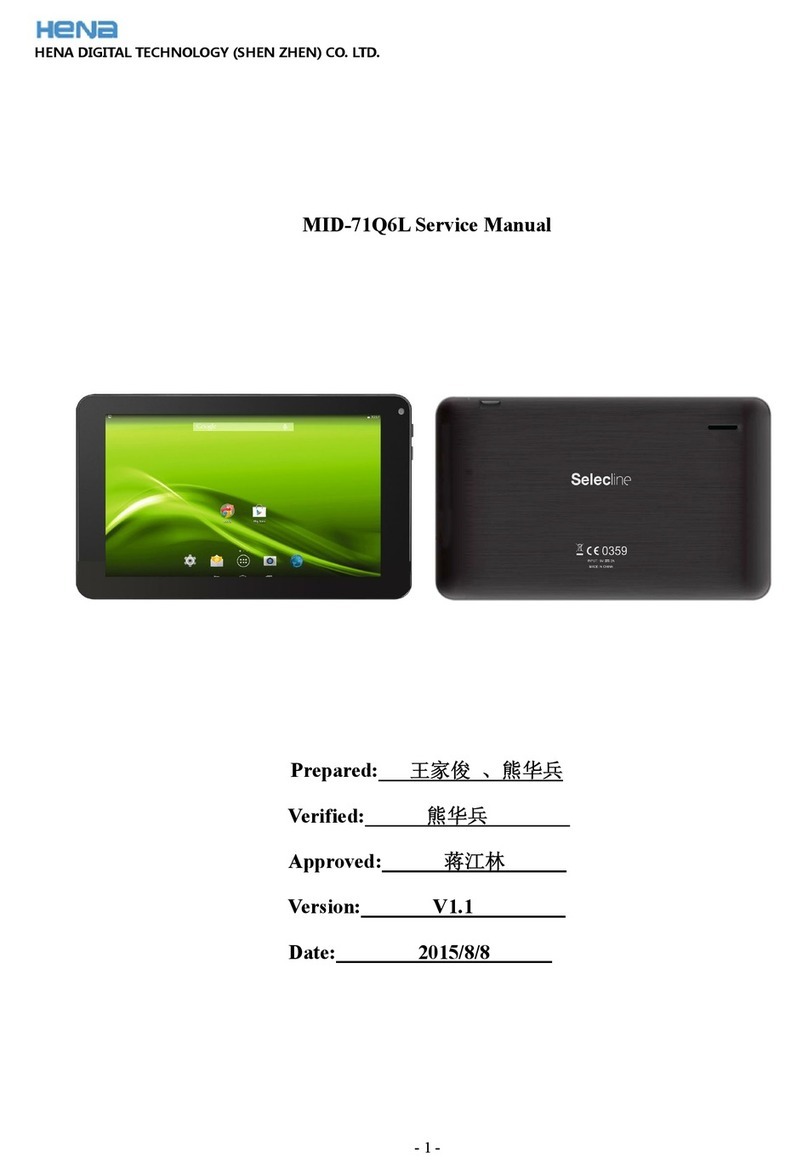
Hena MID1306CM User manual

USER MANUAL
MID1306CM
MID-1306CM AMLOGIC MXS方案 4.2 前后 双摄像 头 ENGLISH MANUAL
标准 说明书 ,70g书纸, 135x102mm,钉装

Table of Contents
Table of Contents......................................P1
Features..................................................P2
Unit at a Glance .......................................P3
Getting Started....................................P4-P5
About Applications...............................P5-P6
Preinstalled Applications...........................P6
Connect to a Wi-Fi network...................P7-P8
Optional Connections................................P9
Specifications.........................................P10
Troubleshooting...............................P10-P11
1

Features
2
Browse the Web.
Visit your favorite websites
Check your e-mail
Keep in touch with friends and family
Watch YouTube™ videos
Browse the world’s most popular video-
sharing community
Read your favorite books
Download thousands of books with the
included E-book reader *
Discover thousands of apps for Android™
Games, applications, and more with
marketplace(need for customer installed)
Connect to the Internet wirelessly
High-speed Wi-Fi 802.11 b/g/n networking
Enjoy your media library anywhere
Portable powerhouse plays popular music,
video,and photo formats
microSD memory card reader
Increase your storage capacity (up to 32 GB
supported)
Built-in camera
Convenient front-facing camera(0.3MP),
rear 2MP
Automatic orientation detection
Read any way you want; the display adjusts
automatically!
Reading books in the ePub format requires
the included E-book reader application.
Requires optional HDMI cable
(Type A-to-Type C). 1080p HD video playback
requires a video file encoded at 1080p.
Streaming video quality will be affected by the
source, and the quality and condition of your
network connection.

3
Unit at a Glance
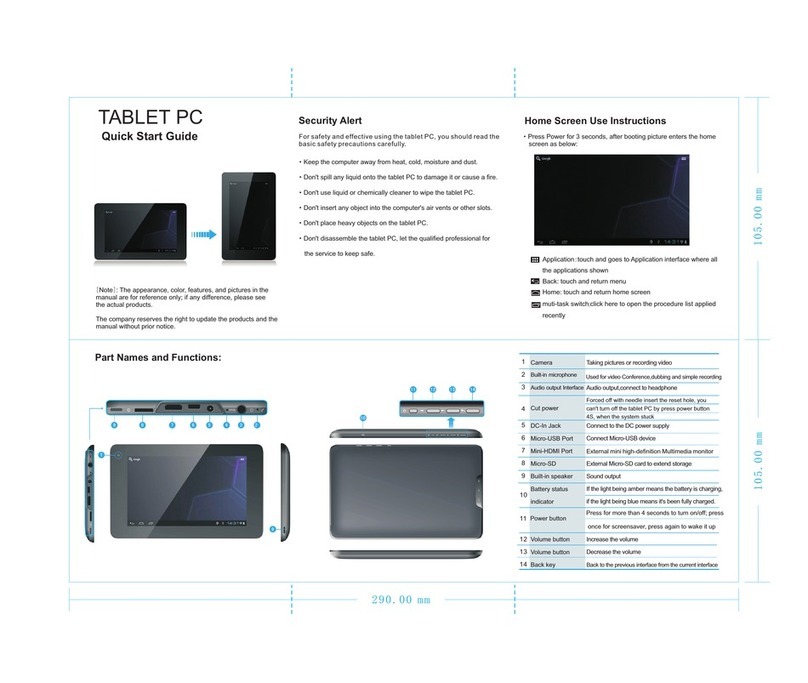
4. Power
Press to turn the unit on, or to turn the screen
on or off.
Press and hold to access the Power Off menu.
5. Headphone
Audio output connection for headphones.
6. HDMI
Connect to a TV or other displays.
7.USB HOST
Connect to a USB device.
8.USB OTG
Connect to a USB device or a computer to
transfer data (e.g. music, videos,photos, files).
9.Reset
Reset the tablet.
10. Adapter In
Charge and power the tablet with adapter.
11.microSD
Load external microSD memory cards here.
12
3
4
5
6
7
9
8
10
11
1. VOL-/VOL+
Press VOL- to decrease the volume level.
Press VOL+ to increase the volume level.
2. Back
Press to return to the previous screen.
If the keyboard is on the screen, Press to
close the keyboard.
3.Camera
Use it to take pictures or capture videos.

Getting Started
Turning the Tablet on or off
2. Touch ok the screen to turn off the tablet.
Turning the Screen On or off
(Standby)
When the tablet is on, you can turn off the
screen to conserve battery power. Simply press
the Power key once to turn the screen
off. Press the Power key again to turn the
screen back on.
To turn the tablet on:
Press and hold the Power key until the LCD
screen turns on. Wait until the Home screen
appears; the tablet is now ready for use.
To turn the tablet off:
1.Press and hold the Power key until the
Device Options menu appears.
To conserve battery power, the screen
can be set to turn off automatically when
the tablet is not in use (between
15 seconds and 30 minutes).
This Screen timeout option can be found
in the Display menu.
4

Getting Started
5
Unlocking the Screen
About Applications
To open an application, touch the application
icon on the home screen or in the Launcher
where you can tap the icon right up on the
home screen to get in..
Launcher screen:
The screen shown above is for illustrative
purposes only. Reserves the right to modify
and improve the final list of applications
available on the tablet.
When the screen turns off, you will have to
unlock the screen
when you turn it back on.
To unlock the screen, drag the lock icon across
the screen towards the lock icon.
.

About Applications
6
Preinstalled Applications
Some applications have been installed on your
tablet for your convenience.
These applications include:
Browse the web.
Perform simple mathematical operations.
Take pictures or videos with the
frontfacing camera.
Check your e-mail.
Play music.
Access the Settings menu to adjust the
tablet’s options.
Preinstalled Applications
Installing Applications
You can also download an install additional
applications from the device’s applications
marketplace, the web browser, or other
sources.
The tablet must be set to allow installation of
applications from non-Market sources. The
Unknown sources option can be set in the
Application settings menu.

7
Connect to a Wi-Fi network
The Notification bar displays icons that indicate
your tablet’s Wi-Fi status.
Notification that an open Wi-Fi network is
in range.
Connected to a Wi-Fi network (waves
indicate connection strength).
When Wi-Fi is on, the tablet will look for and
display a list of available Wi-Fi networks.
[no icon] There are no Wi-Fi networks in
range, or the Wi-Fi radio is off.
1. Turn on the Wi-Fi radio if it is not already
on. To turn on Wi-Fi:
a.Go to the Home screen: Press the Home
key.
b.Open the Settings menu: tap the icon right
up on the home screen to get into the
launcher, then touch Settings icon.
c.Open the Wireless & networks menu: Slide
the icon to ON status.
If a network that you have connected to
previously is found, the tablet will
connect to it.If you don’t see your
network in the list, you can force the
tablet to re-scan. To scan for networks,
tap the Menu key, and then touch Scan.

8
Connect to a Wi-Fi network
To learn about how to add a Wi-Fi network
when it is not in range or when the router
is set to obscure the network name (SSID);
or to configure advanced Wi-Fi options,
please refer to the manual.
When you have successfully connected to a
Wi-Fi network, the Notifications bar at the the low
of the screen will show a Wi-Fi signal indicator.
2. Select an available Wi-Fi network to connect
to:
In the same Wi-Fi settings menu above,touch a
network in the list.
If the network is open,the tablet will prompt you to
confirm connection to the network. Touch Connect
to confirm.
If the network is secured (as indicated by a Lock
icon),the tablet will prompt you to enter a
password or other credentials.Touch the Wireless
password box to show the on-screen keyboard
and then use it to enter the password. Touch
Connect to confirm.

9
Optional Connections
Connecting to a Computer 3.Mount the storage.
Touch button Turn on USB storage to mount the
tablet’s built-in storage. When it is mounted, you
can copy files to or from your tablet.
Connect the tablet to a computer to transfer files.
1.Connect your tablet to the computer.
With the included USB cable: Plug the small end
of the cable into the USB 2.0 high speed
connector of the tablet. Plug the large end of the
cable into an available USB 2.0 high speed port
on the computer.
2.When your tablet is connected,slide up the
USB icon right down on the screen and then
touch icon USB connected.
Connecting to a Computer
To connect the tablet to the TV:
1. Plug the small end of the HDMI cable into the
mini HDMI connector on the tablet.
2. Plug the large end of the HDMI cable into the
HDMI port on the TV.
3. Turn on the TV, and set its display mode to the
HDMI port that the tablet is connected to.
If you need help setting the display mode
of the TV, please refer to the documentation
provided by the TV manufacturer. If there
is no sound from the tablet on your TV, you
may need to set the HDMI switch settings,
on the TV.

10
Specifications
Music was tested with a 128 kbps MP3 file; video
was tested with a 1920x1080 MPEG-4/AVC file;
browsing was tested with the screen brightness
set to default. Actual playback results may vary.
Processor
RAM
Storage
Display
Wi-Fi Networking
Audio Output
PC Interface
Additional Features
Operating System
Power
Playback Time
(hours)
Amlogic Dual core 1.5GHz
(cortex A9)
8726-MXS
4~16GB(option) flash built-in; micro
SD card slot (max.32GB supported)
10.1”TFT LCD( ), Capcitive touchscreen1024x600
IEEE 802.11 b/g/n
3.5mm headphone
MICRO USB
Up to hours music,
hours video,
hours web browsing
8
3.5
4.5
Built-in microphone
Front facing camera(0.3MP),rear 2MP
1X1W speaker
Android™ 4.2
Rechargeable Li-poly battery power
Adapter(DC 5V, )2A
1GB DDR3
Troubleshooting
1.Device can not connect to Wi-Fi
- Ensure the wireless network is working by
testing it using another wireless device.
- Ensure the device and the wireless router is
within the range of the wireless network and to
be connected too. Walls or other obstructions
will reduce the possible distances between
wireless devices.
- Ensure the security password is correct.
2.Device doesn’t turn on
- You can not turn on the device when the
battery charge is below the critical level,
situation so please charge the battery.
- Press the RESET button on the top of the
device to restart is.
- Check if the adaptor is connected correctly.
3.Heat Issues
- When running many applications, or setting
the screen on highest brightness, or when
being charged, this device can get quite hot.
This is normal and should not cause any
inconvenience when in use.
4.System has anomalies and doesn’t work
correctly
- Installing some third-party applications may
cause the system not operate correctly.
Press the RESET button or press system
reset to resolve this issue.

5.Cannot set E-mail or registration
application
- Make sure that the MID is connected to a
Wi-Fi network and can connect to the Internet.
- your E-mail settings have been entered
correctly for the account being accessed.
- Make sure your system time and local time
are correct.
6. Can not record
- Press the RESET button on the top of the
device, then check if the record function works
correctly.
7. The stand-by time of the device is too
short
- The duration of the lithium battery varies with
environmental temperature changes and the
service conditions. If the environment
temperature is too low or too high, the duration
of the battery will be affected. It is
recommended to use this device at normal
temperature.
- Battery life is dependent on using status.
High volume, WIFI, and the frequent use may
cause the battery to be drained at a higher
rate.
11
8.No sound via earphone
- Please check if the volume setting is 0.
- Please check if audio file is broken, and try to
play another audio file to confirm. If the audio
file is broken, it may cause critical noise or
static.
9. The color distortion of video or picture
display
- Press the RESET button on the top of the
device to resolve this issue.
10. Can not copy files
- Please check if the device is connected to the
computer correctly.
- Please check if the memory space is full.
- Please check if the USB cable is broken.
11. No sound or no image via HDMI Output.
- Please check if the device is connected to
HDMI cable correctly, and the TV setting of
HDMI port is correct.
- Please check if the HDMI cable is broken.
- Press the RESET button on the top of the
device, then check if the HDMI output function
works correctly.
12. Other troubles
Please follow up the next step to fix the other
troubles before you return the MID/Tablet PC
to us:
Troubleshooting

FCC Notice
This device complies with Part 15 of the FCC Rules. Operation is
subject to the following two conditions:
(1) This device may not cause harmful interference, and (2) this device must accept any
interference received, including interference that may cause undesired operation.
NOTE 1: This equipment has been tested and found to comply with the limits for a Class B digital
device, pursuant to part 15 of the FCC Rules. These limits are designed to provide reasonable
protection against harmful interference in a residential installation. This equipment generates, uses
and can radiate radio frequency energy and, if not installed and used in accordance with the
instructions, may cause harmful interference to radio communications. However, there is no
guarantee that interference will not occur in a particular installation. If this equipment does cause
harmful interference to radio or television reception, which can be determined by turning the
equipment off and on, the user is encouraged to try to correct the interference by one or more of
the following measures:
- Reorient or relocate the receiving antenna.
- Increase the separation between the equipment and receiver.
-Connect the equipment into an outlet on a circuit different from that to which the receiver is
connected.
-Consult the dealer or an experienced radio/TV technician for help.
NOTE 2: Any changes or modifications to this unit not expressly approved by the party
responsible for compliance could void the user's authority to operate the equipment.
Table of contents
Other Hena Tablet manuals
Popular Tablet manuals by other brands

Lenovo
Lenovo B8080-H Safety, warranty & quick start guide
MEMUP
MEMUP SlidePad 700 Series user manual
Rand McNally
Rand McNally TND user manual
Lenovo
Lenovo YOGA Tab 3 8 Safety, warranty & quick start guide

Lenovo
Lenovo TAB3 7 Essential Safety, warranty & quick start guide
Lenovo
Lenovo TAB3 7 Essential Safety, warranty & quick start guide
