manuals.online logo
Brands
  1. Home
  2. •
  3. Brands
  4. •
  5. Heyl
  6. •
  7. Measuring Instrument
  8. •
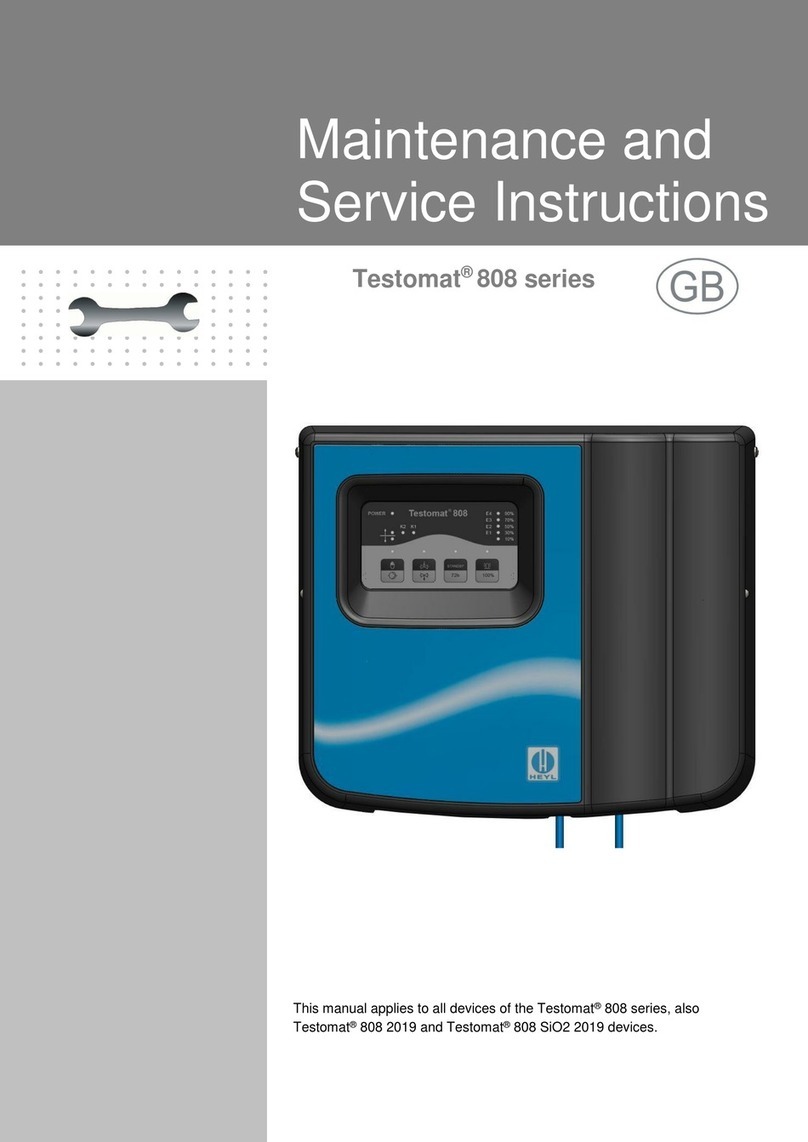
  9. Heyl Testomat 808 User manual

Heyl Testomat 808 User manual

Austausch des Motorblocks beim Testomat®808 / 808 SiO2 (inkl. Version 2019)
Replacing the motor block in a Testomat® 808 / 808 SiO2 (incl. version 2019)
Zum Austausch des Motors benötigen Sie den
Getriebemotor für Dosierpumpe Testomat®808 (Art.-Nr.
100494).
Bitte beachten Sie, dass es verschiedene Pumpenköpfe mit
und ohne Adapterplatte in den Geräten geben kann. Die
Anleitung beschreibt den prinzipiellen Umbau, der bei allen
Geräten vergleichbar ist. Wir haben den Umbau
exemplarisch mit dem Testomat®808 bebildert.
Mögliche Varianten:
Ausbau des Getriebemotors
Beim Ausbauen gehen Sie wie folgt vor:
Schalten Sie das Gerät aus und trennen Sie es von der
Stromversorgung.
Sperren Sie die Wasserzufuhr in der Zuleitung zum
Testomat®808.
Öffnen Sie die Abdeckhaube.
Öffnen Sie die Tür des Klemmenraums.
Ziehen Sie die Steckverbinder für die Stromversorgung
des Motors ab (von Steckplatz J4 Pumpe auf der
Platine kommend).
Entfernen Sie nun dem Pumpenkopf. Ziehen Sie dazu
zuerst die Schläuche von der Dosiernadel und der
Indikatorflasche ab.
Lösen Sie die 2 bzw. 3 Befestigungsschrauben des
Pumpenkopfes.
Ziehen Sie den Pumpenkopf zusammen mit den
Schrauben von der Motorwelle ab.
Wenn die Pumpe mit einer Adapterplatte und
Wellenverlängerung angebracht ist, entfernen Sie beide.
Lösen und entfernen Sie die 2 Schrauben des
Motorblocks.
Entnehmen Sie den Getriebemotor.
Einbau des neuen Getriebemotors
Gehen Sie beim Einbau des neuen Getriebemotors in
umgekehrter Reihenfolge wie beim Ausbau vor.
Stecken Sie den Motorblock ein und ziehen Sie die 2
Befestigungsschrauben fest.
Wenn vorhanden: Stecken Sie Adapterplatte und
Wellenverlängerung auf die Welle.
Setzen Sie den Pumpenkopf auf die Welle. Achten Sie
auf den Verdrehschutz.
To replace the gear motor, you need a gear motor for
dosing pump of Testomat®808 (Art. no. 100494).
Please note that there may be different pump heads with or
without adapter plates in the devices. The manual describes
the basic conversion, which is comparable for all devices.
We have illustrated the conversion with the Testomat®808.
Possible variants:
Disassemble the gear motor
For disassembling, please proceed as follows:
Switch off the device and disconnect it from the power
supply.
Close the water supply from the supply line to the
Testomat®808.
Open the cover.
Open the door of the terminal box.
Pull off the plug connections for the power supply of
the Testomat®808 (from socket J4 pump on
motherboard).
Now remove the pump head. Begin with pulling off the
tubes from the dosing needle and the indicator bottle.
Loosen the 2 or 3 fastening screws of the pump head.
Pull off the pump head together with the screws from the
motor shaft.
If the pump is mounted with an adapter plate and shaft
extension, remove both.
Loosen and remove the 2 screws of the motor block.
Remove the gear motor.
Assemble the new gear motor
Assemble the new gear motor in reverse order.
Insert the motor block and tighten the 2 fastening screws
.
If present: Insert adapter plate and shaft extension onto
the shaft.
Mount the pump head onto the shaft. Observe the anti-
twist guard.



Testomat 808 SiO2 2019:
Testomat 808 2019:
Testomat 808 SiO2:
Testomat 808:
Gebrüder Heyl Analysentechnik GmbH & Co. KG Pumpenmotortausch_D-GB_190723.docx
Orleansstraße 75b Art.-Nr. 48940
D 31135 Hildesheim
www.heyl.de
Verdrehschutz /
Anti-twist guard
Verdrehschutz
Achten Sie bei der Installation auf den Verdrehschutz an der
Motorwelle und am Pumpenkopf! Die Bohrung und die Welle
haben jeweils eine gerade Fläche und passen daher nur in
einer Stellung zusammen. Drehen Sie den Pumpenkopf
vorsichtig in die richtige Position, bis die Rastnasen am
Pumpenkopf in die vorgesehenen Bohrungen im Gehäuse
einrasten.
Ziehen Sie die 2 oder 3 Schrauben des Pumpenkopfes
an.
Schrauben ohne starken Druck eindrehen!
Achten Sie darauf, dass Sie beim Einschrauben keinen zu
starken Druck auf die beiden Gewindebuchsen ausüben.
Bei zu viel Druck können die Gewindebuchsen aus der
Gehäusewand gedrückt werden.
Verbinden Sie den langen Schlauch wieder mit der
Indikatorflasche und den kurzen Schlauch mit der
Messkammer.
Stecken Sie die Steckverbinder für die
Stromversorgung des Motors wieder auf (von Steckplatz
J4 Pumpe auf der Platine kommend).
Schließen Sie die Tür zum Klemmenraum.
Schließen Sie die Abdeckhaube.
Öffnen Sie die Wasserzufuhr zum Testomat®808 wieder.
Nehmen Sie das Gerät wieder in Betrieb.
Entlüften Sie die Indikatorleitungen, bevor Sie weitere
Analysen durchführen.
Anti-twist guard
Please observe the anti-twist guard on the motor shaft and
the pump head during installation! The drill hole and the
shaft each have a flat surface and only fit together in one
position. Carefully turn the pump head into the correct
position until the snap-in noses snap into the provided drill
holes in the housing.
Tighten the 2 or 3 screws of the pump head.
Tighten screw without hard pressure!
Make sure that you don’t exercise too much pressure on the
tapped bores. It is possible that the tapped bores will be
pushed out of the housing under hard pressure.
Connect the long tube with the indicator bottle and the
short tube with the measuring chamber.
Plug on the plug connections for the power supply of
the Testomat®808 (from socket J4 pump on
motherboard).
Close the door of the terminal box.
Close the cover.
Open the water supply to the Testomat®808.
Put the device into operation again.
Depressurise the lines before performing any further
analyses.
HINWEIS / NOTE
HINWEIS / NOTE
Schraube lang kurz
screw long short


Other manuals for Testomat 808

3

This manual suits for next models

4

Other Heyl Measuring Instrument manuals

Heyl Testomat 2000 THCL User manual

Heyl

Heyl Testomat 2000 THCL User manual

Heyl Testomat 2000 PO4 User manual

Heyl

Heyl Testomat 2000 PO4 User manual

Heyl Testomat NH2CL User manual

Heyl

Heyl Testomat NH2CL User manual

Heyl Testomat 2000 User manual

Heyl

Heyl Testomat 2000 User manual

Heyl Testomat EVO TH Operating instructions

Heyl

Heyl Testomat EVO TH Operating instructions

Heyl Testomat Modul TH Operating instructions

Heyl

Heyl Testomat Modul TH Operating instructions

Heyl Testomat ECO User manual

Heyl

Heyl Testomat ECO User manual

Heyl Testomat 2000 Cr VI 0 - 5 ppm User manual

Heyl

Heyl Testomat 2000 Cr VI 0 - 5 ppm User manual

Heyl Testomat EVO TH series User manual

Heyl

Heyl Testomat EVO TH series User manual

Heyl Testomat EVO User manual

Heyl

Heyl Testomat EVO User manual

Heyl Testomat NH2CL-R User manual

Heyl

Heyl Testomat NH2CL-R User manual

Heyl Testomat 808 Series Manual

Heyl

Heyl Testomat 808 Series Manual

Popular Measuring Instrument manuals by other brands

VOLTCRAFT VC-1310 operating instructions

VOLTCRAFT

VOLTCRAFT VC-1310 operating instructions

Dakota Digital MCL-4073S/R manual

Dakota Digital

Dakota Digital MCL-4073S/R manual

Ohio Medical 7700 Series Instructions for use

Ohio Medical

Ohio Medical 7700 Series Instructions for use

Lightware SF33 product manual

Lightware

Lightware SF33 product manual

Fluke 323 user manual

Fluke

Fluke 323 user manual

Decagon AQUA LAB VSA quick start guide

Decagon

Decagon AQUA LAB VSA quick start guide

Fluke 789 user manual

Fluke

Fluke 789 user manual

Xylem WTW pH/Cond 3320 quick start guide

Xylem

Xylem WTW pH/Cond 3320 quick start guide

Fluke DTX Series user manual

Fluke

Fluke DTX Series user manual

DAKOTA ULTRASONICS PVX-B Operation manual

DAKOTA ULTRASONICS

DAKOTA ULTRASONICS PVX-B Operation manual

ProfiTap ProfiShark 10G Installation and configuration manual

ProfiTap

ProfiTap ProfiShark 10G Installation and configuration manual

ABB CoriolisMaster FCH400 Series operating instructions

ABB

ABB CoriolisMaster FCH400 Series operating instructions

Fluidwell F043-T manual

Fluidwell

Fluidwell F043-T manual

Magnetrol Pulsar R96 Functional safety manual

Magnetrol

Magnetrol Pulsar R96 Functional safety manual

VisionStat MA-BCKS-5.6 Installation and user manual

VisionStat

VisionStat MA-BCKS-5.6 Installation and user manual

Texmate DI-45U TIGER CUB user manual

Texmate

Texmate DI-45U TIGER CUB user manual

Fieldpiece SDMN6 Operator's manual

Fieldpiece

Fieldpiece SDMN6 Operator's manual

SGM LEKTRA SGM-101F Technical documentation

SGM LEKTRA

SGM LEKTRA SGM-101F Technical documentation

manuals.online logo
manuals.online logoBrands
  • About & Mission
  • Contact us
  • Privacy Policy
  • Terms and Conditions

Copyright 2025 Manuals.Online. All Rights Reserved.