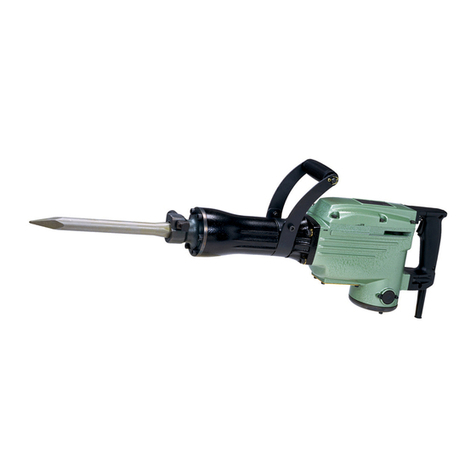
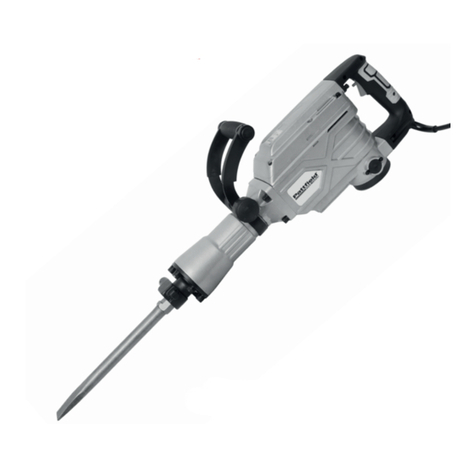
manuals.online logo
Brands
  1. Home
  2. •
  3. Brands
  4. •
  5. Hilti
  6. •
  7. Power Hammer
  8. •
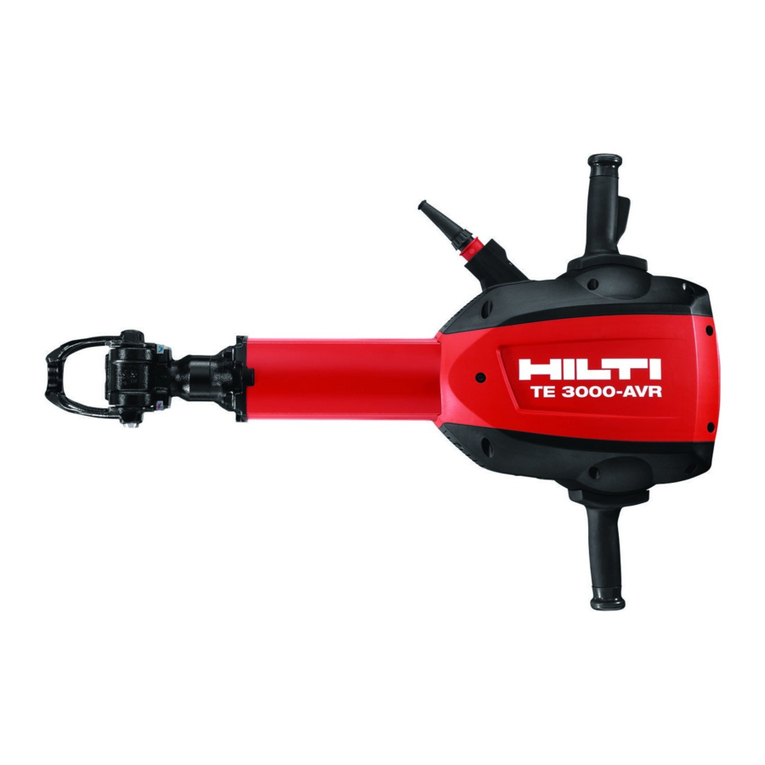
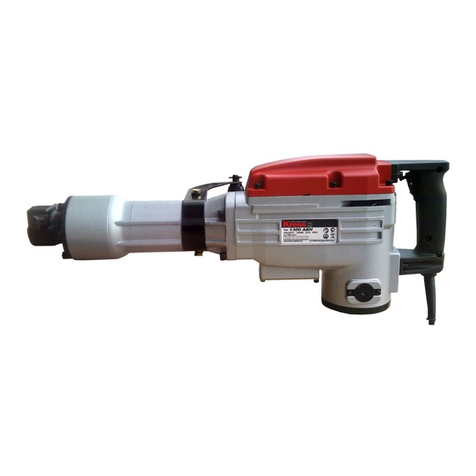
  9. Hilti TE3000-AVR User manual

Hilti TE3000-AVR User manual

DEMOLITION HAMMER
SAFETY SHEET
(Hilti TE3000-AVR)
PLEASE READ THIS GUIDE CAREFULLY
BEFORE OPERATING THE EQUIPMENT
IMPORTANT - CONDUCT A RISK ASSESSMENT
Before you commence any work at your chosen work area, you should
undertake some preliminary hazard identication and risk control
precautions. Ideally more than one person should do this. This is
undertaken by:
1. Physically inspecting the work site
2. Reviewing the best way/job steps required to complete the task
3. Reviewing the Safe Work Information supplied with the equipment
4. Reviewing other reference documentation and expert advice.
The hazard identication and control process steps are dened as:
1. Identify the Hazards (eg. 240V power drill use around wet areas)
2. Assess the Risk (multi earth paths - possible electrocution)
3. Select the Control Measure (e.g. dry the area; use an RCD; use a
cordless drill etc)
4. Re-assess the Risk (risk of electrocution now negligible). This is
undertaken to ensure that the risk control measures adopted have not
introduced any new risks to the work area.
HELP AND SUPPORT
If the unit does not operate correctly or you are unhappy with its
performance, return it to Asset Construction Hire for an exchange,
or phone for assistance. Do not attempt repairs yourself.
Asset Construction Hire
Phone:1300 361 383 or email: o󰀩[email protected]
OPERATION MANUAL
A PDF of the full Operation Manual is available at:
www.assethire.com.au/manuals-specs-safety-sheets/
and must be read before using the equipment.
BEFORE OPERATING THE EQUIPMENT:
• Read this Safety Sheet and any other information provided with the
equipment, including instructions, decals and operation guidelines.
• Check that you understand how and when the use the equipment,
and know how to operate it safely.
• Ensure that it is only used according to the manufacturers and hirer’s
instructions, and only for work that is compatable with its technical
limitations.
• Operate in a clear work area free from nonessential persons, children,
animals or hazards.
• Ensure that you have a secure footing and clear access and egress to
the work area while on the job.
• Do not operate any equipment if you are tired or su󰀨ering any medical
condition, or if under the inuence of drugs or alcohol which may
cause lethargy or dangers to yourself or others.
• Do not use faulty equipment. If in doubt contact Asset Construction Hire.
PERSONAL PROTECTION
EQUIPMENT (PPE)
PROTECTIVE
GLOVES
HEARING
PROTECTION
SAFETY
GLASSES
RESPIRATORY
PROTECTION
PROTECTIVE
HELMET
PROTECTIVE
BOOTS
SAFETY INFORMATION
• Wear ear protectors. Exposure to noise can cause hearing loss.
• Use auxiliary handles, if supplied with the tool. Loss of control can cause
personal injury. Hold power tool by insulated gripping surfaces, when
performing an operation where the cutting accessory may contact hidden
wiring or its own cord. Cutting accessory contacting a “live” wire may make
exposed metal parts of the power tool “live” and could give the operator an
electric shock.
• Use the product only when it is in technically faultless condition. Never
tamper with or modify the tool in any way.
• Apply appropriate safety measures at the opposite side of the workpiece in
work that involves breaking through. Parts breaking away could fall out and
/ or fall down causing injury to other persons.
• Check that the side handle is tted correctly and tightened securely.
Always hold the tool securely with both hands on the grips provided. Keep
the grips dry, clean and free from oil and grease.
• Take breaks between working and do physical exercises to improve the
blood circulation in your ngers. Exposure to vibration during long periods
of work can lead to disorders of the blood vessels and nervous system in
the ngers, hands and wrists.
• The tool is not intended for use by debilitated persons who have received
no special training. Keep the power tool out of reach of children.
• Before beginning the work, check the hazard classication of the dust
that will be produced. Use an industrial vacuum cleaner with an o󰀩cially
approved protection classication in compliance with locally applicable
dust protection regulations.
• Use a dust removal system and suitable vacuum cleaner whenever
possible. Dust from materials, such as paint containing lead, some wood
species, concrete/masonry/stone containing silica, and minerals as well as
metal, may be harmful.
• Make sure that the workplace is well ventilated and, where necessary, wear
a respirator appropriate for the type of dust generated. Contact with or
inhalation of the dust may cause allergic reactions and/or respiratory or other
diseases to the operator or bystanders. Certain kinds of dust are classied
as carcinogenic such as oak and beech dust, especially in conjunction with
additives for wood conditioning (chromate, wood preservative). Material
containing asbestos may be handled only by specialists.
• Approval must be obtained from the site engineer or architect prior to
beginning the work. Work on buildings and other structures may inuence
the statics of the structure, especially when steel reinforcing bars or load-
bearing components are cut through.
• Before beginning work, check the working area for concealed electric cables
or gas and water pipes. External metal parts of the power tool may give you
an electric shock if you damage an electric cable accidentally.
• Check the power tool’s supply cord at regular intervals and have it replaced
by a qualied specialist if found to be damaged. If the power tool’s supply
cord is damaged it must be replaced with a speciallyprepared and approved
supply cord available from Hilti Customer Service. Check extension cords at
regular intervals and replace them if found to be damaged. Do not touch the
supply cord or extension cord if it is damaged while working. Disconnect the
supply cord plug from the power outlet. Damaged supply cords or extension
cords present a risk of electric shock.
• Dirty or dusty power tools that have been used frequently for work on
conductive materials should be checked at regular intervals at a Hilti Service
Center. Dust (especially dust from conductive materials) or dampness
adhering to the surface of the power tool may, under unfavorable conditions,
lead to electric shock.
• Switch the power tool o󰀨 and unplug the supply cord in the event of a power
failure or interruption in the electric supply. This will prevent accidental
restarting when the electric power returns.
DEMOLITION HAMMER
SAFETY SHEET
(Hilti TE3000-AVR)
MAIN COMPONENTS
English 7
3 Description
3.1 Overview of the product
Printed: 31.05.2017 | Doc-Nr: PUB / 5070852 / 000 / 06
FITTING THE ACCESSORY TOOL
1. Apply a little grease to the connection end of the accessory tool.
2. Open the locking bar.
3. Push the accessory tool into the chuck as far as it will go.
4. For accessory tools with a collar, bring the retaining bar into locking
position A.
5. For accessory tools with a locking groove, bring the retaining bar into
locking position B. Position the chisel so that the groove is facing
locking position B.
6. Check that the chisel has engaged correctly by gripping and pulling it.
Insert tools with a combined connection end (with collar and groove)
can be locked in position A or B, as desired.
8English
@On/off switch
;Service indicator
=Grip
%Air vents
&
Guide tube
(Accessory tool retainer / locking bar
)Chuck
+Supply cord with keyed, releasable plug
connector
§Connector on electric tool
Printed: 31.05.2017 | Doc-Nr: PUB / 5070852 / 000 / 06
8English
@On/off switch
;Service indicator
=Grip
%Air vents
&Guide tube
(Accessory tool retainer / locking bar
)Chuck
+Supply cord with keyed, releasable plug
connector
§Connector on electric tool
Printed: 31.05.2017 | Doc-Nr: PUB / 5070852 / 000 / 06
English 11
3.2 Transport trolley components
Printed: 31.05.2017 | Doc-Nr: PUB / 5070852 / 000 / 06
12 English
@Grip
;Locking bar
=
Holder for accessory tools (chisels)
%Wheels
&Wheel securing parts (washer, retaining pin)
(Power tool locating pin
3.3 Intended use
The product described is a hand-held electric breaker with 28 mm hex chuck. It is designed for chiseling
work on concrete, masonry and asphalt. Excavation and compacting are further possible applications.
▶Operation is permissible only when connected to a power source providing a voltage and frequency in
compliance with the information given on the type identification plate.
3.4 Possible misuse
This product is not suitable for working on hazardous materials.
This product is not suitable for working in a damp environment.
3.5 Service indicator
The breaker is equipped with a service indicator LED.
Status Meaning
The service indicator lights red. • End of service interval – servicing is due.
• A fault has occurred in the tool.
The service indicator blinks red. • Protection against overheating
• The voltage provided by the electric supply is
too high.
Note
Bring the product to Hilti Service in good time. This will help to ensure that it’s always ready for use.
3.6 Active Vibration Reduction (AVR)
The breaker is equipped with an Active Vibration Reduction (AVR) system, which reduces vibration
significantly.
3.7 Items supplied
Breaker, operating instructions with bag to attach to the transport trolley, grease.
The transport trolley is available as an accessory.
Note
You can find other system products approved for your product at your local Hilti Center or online at:
www.hilti.comgroup
4 Technical data
Note
For details of the rated voltage, frequency, current and input power, please refer to the power tool’s
country-specific type identification plate.
When powered by a generator or transformer, the generator or transformer’s power output must be at least
twice the rated input power shown on the rating plate of the power tool. The operating voltage of the
transformer or generator must always be within +5% and -15% of the rated voltage of the power tool.
TE 3000AVR
Weight in accordance with EPTA proce-
dure 01
29.9 kg
Single impact energy in accordance with
the EPTA procedure
68 J
Printed: 31.05.2017 | Doc-Nr: PUB / 5070852 / 000 / 06
12 English
@Grip
;Locking bar
=Holder for accessory tools (chisels)
%
Wheels
&Wheel securing parts (washer, retaining pin)
(Power tool locating pin
3.3 Intended use
The product described is a hand-held electric breaker with 28 mm hex chuck. It is designed for chiseling
work on concrete, masonry and asphalt. Excavation and compacting are further possible applications.
▶Operation is permissible only when connected to a power source providing a voltage and frequency in
compliance with the information given on the type identification plate.
3.4 Possible misuse
This product is not suitable for working on hazardous materials.
This product is not suitable for working in a damp environment.
3.5 Service indicator
The breaker is equipped with a service indicator LED.
Status Meaning
The service indicator lights red. • End of service interval – servicing is due.
• A fault has occurred in the tool.
The service indicator blinks red. • Protection against overheating
• The voltage provided by the electric supply is
too high.
Note
Bring the product to Hilti Service in good time. This will help to ensure that it’s always ready for use.
3.6 Active Vibration Reduction (AVR)
The breaker is equipped with an Active Vibration Reduction (AVR) system, which reduces vibration
significantly.
3.7 Items supplied
Breaker, operating instructions with bag to attach to the transport trolley, grease.
The transport trolley is available as an accessory.
Note
You can find other system products approved for your product at your local Hilti Center or online at:
www.hilti.comgroup
4 Technical data
Note
For details of the rated voltage, frequency, current and input power, please refer to the power tool’s
country-specific type identification plate.
When powered by a generator or transformer, the generator or transformer’s power output must be at least
twice the rated input power shown on the rating plate of the power tool. The operating voltage of the
transformer or generator must always be within +5% and -15% of the rated voltage of the power tool.
TE 3000AVR
Weight in accordance with EPTA proce-
dure 01
29.9 kg
Single impact energy in accordance with
the EPTA procedure
68 J
Printed: 31.05.2017 | Doc-Nr: PUB / 5070852 / 000 / 06
14 English
Observe the safety instructions and warnings in this documentation and on the product.
5.1.1 Fitting the accessory tool
Note
Check the accessory tool for damage or uneven wear each time before use and replace it if necessary.
Check that the locking bar is clean and undamaged.
1. Apply a little grease to the connection end of the accessory tool.
2. Open the locking bar.
3. Push the accessory tool into the chuck as far as it will go.
4. For accessory tools with a collar, bring the retaining bar into locking position A.
5. For accessory tools with a locking groove, bring the retaining bar into locking position B.
◁Position the chisel so that the groove is facing locking position B.
6. Check that the chisel has engaged correctly by gripping and pulling it.
◁Insert tools with a combined connection end (with collar and groove) can be locked in position A or
B, as desired.
Note
Use only the recommended grease supplied by Hilti. Use of unsuitable grease may cause damage
to the product.
5.1.2 Removing the accessory tool
WARNING
Risk of injury! The accessory tool gets hot during use and may also have sharp edges.
▶Wear protective gloves when changing the tool.
DANGER
Risk of fire! Risk of contact between the hot accessory tool and highly inflammable materials.
▶Do not lay the hot accessory tool down on highly inflammable materials.
WARNING
Risk of injury! Risk of burning injuries caused by hot surfaces.
▶Avoid touching the guide tube as this part gets hot through use of the power tool.
Printed: 31.05.2017 | Doc-Nr: PUB / 5070852 / 000 / 06
REMOVING THE ACCESSORY TOOL
1. Open the locking bar.
2. Pull the accessory tool out of the chuck.
English 15
1. Open the locking bar.
2. Pull the accessory tool out of the chuck.
5.2 Detachable supply cord
CAUTION
Risk of injury! Due to leakage current as a result of dirty contacts.
▶Connect the detachable electric connector to the electric tool only when it is clean and dry and
when the supply cord is unplugged from the power outlet.
▶Connect / disconnect the detachable supply cord.
5.2.1 Connecting the detachable supply cord
1. Push the keyed releasable electric connector into the socket on the power tool as far as it will go.
2. Turn the plug connector clockwise until it is heard to engage.
3. Plug the supply cord into the power outlet.
5.2.2 Disconnecting the detachable supply cord
1. Unplug the supply cord from the power outlet.
2. Turn the keyed releasable electric connector counterclockwise as far as it will go.
3. Pull the supply cord connector out of the power tool.
6 Care and maintenance
WARNING
Danger of electric shock! Carrying out care and maintenance while the supply cord is connected to
the power outlet presents a risk of serious injuries including burns.
▶Always unplug the supply cord before carrying out all care and maintenance tasks.
Care
• Carefully remove stubborn dirt from the tool.
• Clean the air vents carefully with a dry brush.
• Use only a slightly damp cloth to clean the casing. Do not use cleaning agents containing silicone as
they can attack the plastic parts.
Maintenance
WARNING
Danger of electric shock! Improper repairs to electrical components may lead to serious injuries
including burns.
▶Repairs to the electrical section of the tool or appliance may be carried out only by trained electrical
specialists.
Printed: 31.05.2017 | Doc-Nr: PUB / 5070852 / 000 / 06

Other manuals for TE3000-AVR

1

Other Hilti Power Hammer manuals

Hilti TE 300-A36 User manual

Hilti

Hilti TE 300-A36 User manual

Hilti TE 1500-AVR User manual

Hilti

Hilti TE 1500-AVR User manual

Hilti TE 300-A36 User manual

Hilti

Hilti TE 300-A36 User manual

Hilti TE 75 User manual

Hilti

Hilti TE 75 User manual

Hilti TE 2000-AVR User manual

Hilti

Hilti TE 2000-AVR User manual

Hilti TE 2000-AVR User manual

Hilti

Hilti TE 2000-AVR User manual

Hilti TE 1000-AVR User manual

Hilti

Hilti TE 1000-AVR User manual

Hilti TE 500 User manual

Hilti

Hilti TE 500 User manual

Hilti TE 1000-AVR User manual

Hilti

Hilti TE 1000-AVR User manual

Hilti NURON SIW 6-22 User manual

Hilti

Hilti NURON SIW 6-22 User manual

Hilti TE 3000-AVR User manual

Hilti

Hilti TE 3000-AVR User manual

Hilti TE 60T User manual

Hilti

Hilti TE 60T User manual

Hilti TE 60 User manual

Hilti

Hilti TE 60 User manual

Hilti DD 110-W User manual

Hilti

Hilti DD 110-W User manual

Hilti TE 500-AVR User manual

Hilti

Hilti TE 500-AVR User manual

Hilti NURON TE 6-22 User manual

Hilti

Hilti NURON TE 6-22 User manual

Hilti TE 300-AVR User manual

Hilti

Hilti TE 300-AVR User manual

Hilti DD110-D User manual

Hilti

Hilti DD110-D User manual

Hilti TE 2000-AVR User manual

Hilti

Hilti TE 2000-AVR User manual

Hilti TE 3000-AVR User manual

Hilti

Hilti TE 3000-AVR User manual

Hilti TE 300-A36 User manual

Hilti

Hilti TE 300-A36 User manual

Hilti TE1000-AVR User manual

Hilti

Hilti TE1000-AVR User manual

Hilti TE 300-AVR User manual

Hilti

Hilti TE 300-AVR User manual

Hilti TE 1500-AVR User manual

Hilti

Hilti TE 1500-AVR User manual

Popular Power Hammer manuals by other brands

RAMMER 2166E Operator's manual

RAMMER

RAMMER 2166E Operator's manual

WERKU WK400610 Original instructions

WERKU

WERKU WK400610 Original instructions

DeWalt DCH832 instruction manual

DeWalt

DeWalt DCH832 instruction manual

Baileigh Industrial PH-28A Operator's manual

Baileigh Industrial

Baileigh Industrial PH-28A Operator's manual

Bosch 0.611.335.100 Original instructions

Bosch

Bosch 0.611.335.100 Original instructions

Berner BCDH-11 Original instructions

Berner

Berner BCDH-11 Original instructions

Hitachi H 41MB Handling instructions

Hitachi

Hitachi H 41MB Handling instructions

Campbell Hausfeld PL153498AV Replacement parts manual

Campbell Hausfeld

Campbell Hausfeld PL153498AV Replacement parts manual

HIKOKI H 41SD Handling instructions

HIKOKI

HIKOKI H 41SD Handling instructions

Makita HM1205C instruction manual

Makita

Makita HM1205C instruction manual

HIKOKI H 70SD Handling instructions

HIKOKI

HIKOKI H 70SD Handling instructions

Lumberjack DHB1700 Safety and operating manual

Lumberjack

Lumberjack DHB1700 Safety and operating manual

DeWalt D25940 instruction manual

DeWalt

DeWalt D25940 instruction manual

Hitachi H45MRY Handling instructions

Hitachi

Hitachi H45MRY Handling instructions

DeWalt D25981 Original instructions

DeWalt

DeWalt D25981 Original instructions

Parkside PAH 1300 B2 Translation of the original instructions

Parkside

Parkside PAH 1300 B2 Translation of the original instructions

EINHELL TE-DH 50 Original operating instructions

EINHELL

EINHELL TE-DH 50 Original operating instructions

HIKOKI H 90SG Handling instructions

HIKOKI

HIKOKI H 90SG Handling instructions

manuals.online logo
manuals.online logoBrands
  • About & Mission
  • Contact us
  • Privacy Policy
  • Terms and Conditions

Copyright 2025 Manuals.Online. All Rights Reserved.