HMS eWON Flexy 205 User manual

Hands on the Flexy 205
USER MANUAL
UM-0002-00 1.0 ENGLISH

Important User Information
Liability
Every care has been taken in the preparation of this document. Please inform HMS Industrial Networks SA of any
inaccuracies or omissions. The data and illustrations found in this document are not binding. We, HMS Industrial
Networks SA, reserve the right to modify our products in line with our policy of continuous product development.
The information in this document is subject to change without notice and should not be considered as a commit-
ment by HMS Industrial Networks SA. HMS Industrial Networks SA assumes no responsibility for any errors that
may appear in this document.
There are many applications of this product. Those responsible for the use of this device must ensure that all the
necessary steps have been taken to verify that the applications meet all performance and safety requirements in-
cluding any applicable laws, regulations, codes, and standards.
HMS Industrial Networks SA will under no circumstances assume liability or responsibility for any problems that
may arise as a result from the use of undocumented features, timing, or functional side effects found outside the
documented scope of this product. The effects caused by any direct or indirect use of such aspects of the product
are undefined, and may include e.g. compatibility issues and stability issues.
The examples and illustrations in this document are included solely for illustrative purposes. Because of the many
variables and requirements associated with any particular implementation, HMS Industrial Networks SA cannot as-
sume responsibility for actual use based on these examples and illustrations.
Intellectual Property Rights
HMS Industrial Networks SA has intellectual property rights relating to technology embodied in the product de-
scribed in this document. These intellectual property rights may include patents and pending patent applications in
the USA and other countries.
Hands on the Flexy 205 User Manual UM-0002-00 1.0

Hands on the Flexy 205 User Manual UM-0002-00 1.0
Table of Contents Page
1 Preface ............................................................................................................................... 3
1.1 About This Document.....................................................................................................3
1.2 Document history...........................................................................................................3
1.3 Related Documents .......................................................................................................3
1.4 Trademark Information ...................................................................................................3
2 Requirements................................................................................................................... 4
2.1 Hardware ......................................................................................................................4
2.2 Software .......................................................................................................................4
3 Get in Touch with the Flexy 205................................................................................... 5
3.1 Assigning an IP Address.................................................................................................5
3.2 Accessing the Web Configuration Interface ......................................................................5
4 Quick Launch Wizard ..................................................................................................... 6
4.1 System Wizard ..............................................................................................................6
4.2 Internet Wizard ..............................................................................................................7
4.3 VPN Wizard...................................................................................................................8
4.4 Gateway Wizard ............................................................................................................8
5 Remote Access................................................................................................................ 9
6 Create Tags and Monitor Values................................................................................ 10
6.1 Available IO Servers ....................................................................................................10
6.2 Tag Management.........................................................................................................10
6.3 Tag Creation................................................................................................................10
6.4 Monitor Tags................................................................................................................13
7 Alarm Management....................................................................................................... 14
7.1 Configure Alarm Settings for a Tag ................................................................................14
7.2 Alarm Display ..............................................................................................................14
7.3 Alarm Summary...........................................................................................................14
7.4 Alarm History...............................................................................................................15
7.5 Alarm Actions ..............................................................................................................15
8 Real-time Logging......................................................................................................... 17
8.1 Real-time Logging Configuration ...................................................................................17
8.2 Real-time Graph ..........................................................................................................17

Hands on the Flexy 205 User Manual UM-0002-00 1.0
Table of Contents
9 Historical Logging ........................................................................................................ 18
9.1 Historical Logging Configuration....................................................................................18
9.2 Historical Logging Graph ..............................................................................................18
9.3 Historical Logging Table ...............................................................................................18
10 Files Transfer Page ....................................................................................................... 19
11 Task Planner ................................................................................................................... 20
11.1 Configure FTP Server Settings......................................................................................21
12 Tag Publishing ............................................................................................................... 22
13 Data Management ......................................................................................................... 23
14 NAT 1:1............................................................................................................................. 24
15 Custom Web Pages ...................................................................................................... 25
16 Backup and Restore ..................................................................................................... 26
17 Other Configuration Mechanisms............................................................................. 27
17.1 FTP ............................................................................................................................27
17.2 SD Card......................................................................................................................27
18 Export Block Descriptors............................................................................................ 28
19 Scripting .......................................................................................................................... 29
20 User Management ......................................................................................................... 30
21 Troubleshooting ............................................................................................................ 31
21.1 Summary Page............................................................................................................31
21.2 Event Log....................................................................................................................31
21.3 Scheduled Actions .......................................................................................................32

Preface 3 (34)
1 Preface
1.1 About This Document
This guide presents the features of the eWON Flexy 205 and explains briefly the steps to take
to get a functional Flexy 205.
For additional related documentation and file downloads, please visit www.ewon.biz/support.
1.2 Document history
Version Date Description
1.0 2018-01-12 First release
1.3 Related Documents
Document Author Document ID
eWON Configured by SD Card CTS AUG-0062-00
eBuddy CTS AUG-0063-00
Configure your eWON using FTP CTS KB-0020-00
Email & text message (SMS) relaying using Talk2M CTS KB-0046-00
Alarm Email & SMS Templates CTS KB-0054-00
Publish Tags in SNMP CTS KB-0150-00
Publish Tags in Modbus TCP CTS KB-0184-00
Publish Tags in OCPUA CTS KB-0265-00
IO Servers CTS RG-0007-00
General Reference Guide for the Flexy 205 CTS RG-0008-00
Export Block Descriptor CTS RG-0009-00
1.4 Trademark Information
eWON®is a registered trademark of HMS Industrial Networks SA. All other trademarks men-
tioned in this document are the property of their respective holders.
Hands on the Flexy 205 User Manual UM-0002-00 1.0

Requirements 4 (34)
2 Requirements
2.1 Hardware
This guide presents the features of the Flexy 205 which can be combined with optional exten-
sion cards if needed.
Without extension cards, the Flexy 205 provides Remote Access and Remote Data Services to
Ethernet devices over the local Ethernet network.
Extension cards permit the Flexy 205 to communicate to a wider range of field devices including
USB and serial devices and to use additional Internet connectivity technologies such as Wi-Fi
and cellular modems.
2.2 Software
The Flexy 205 is configured through its web interface which is accessible with any modern web
browser. The recommended platforms are:
• Firefox 15 and higher.
• Chrome 16 and higher.
• Safari 6 and higher.
• Edge 13 and higher.
eBuddy
The companion tool eBuddy assists with initial IP address configuration for the Flexy 205 and
with maintenance tasks such as upgrading firmware, creating/restoring backups...
Download eBuddy.
eCatcher
The companion tool eCatcher is needed if the Flexy 205 will connect to the Talk2M infrastruc-
ture to allow remote access to its plugged in equipment.
Download eCatcher.
Hands on the Flexy 205 User Manual UM-0002-00 1.0

Get in Touch with the Flexy 205 5 (34)
3 Get in Touch with the Flexy 205
3.1 Assigning an IP Address
The first communication with the Flexy 205 can be established using the companion tool
eBuddy (check Software, p. 4 for more details about eBuddy).
To change the IP address of the Flexy 205:
1. Connect the port labeled LAN (port #1) of the Flexy 205.
This can be done either to the computer point-to-point or through a network if the default IP
of the Flexy 205 which is 10.0.0.53 will not conflict with another connected device.
2. Start the eBuddy application.
The application scans through the Ethernet adapter network and identifies the connected
eWON devices displaying the IP address, subnet mask and serial number.
The utility also allows the modification of the default IP address without necessarily being
in the same network range.
3. Optional: Highlight the row representing the device to be modified
4. Click on the button Set IP from the top bar menu or hit the F2 keyboard shortcut.
5. If step 2 was skipped, indicate the serial number of the Flexy 205 to be modified. Click Next.
6. Enter the new IP address and its subnet mask. By clicking Next, eBuddy sends the com-
mands to the Flexy 205 to change its IP address and to reboot.
7. Once the reboot completes, the Flexy 205 will be accessible at its new IP address.
3.2 Accessing the Web Configuration Interface
The configuration of the Flexy 205 can be done using its internal web pages.
While the computer is connected to a LAN port of the Flexy 205, open an Internet browser and
enter the LAN IP address of the Flexy 205 into the address field. If the computer is not in the
same network address range as the Flexy 205, its web pages can be reached using the “EZ
DHCP” feature of the eBuddy utility. For more information, refer to the eBuddy reference in Re-
lated Documents, p. 3.
Before beginning the configuration of the Flexy 205, authentication is required. The default login
and password are both “adm”.
For security reasons, the default password must be changed.
The password can be changed through the System Wizard described below.
At the first boot of the Flexy 205 or after a reset level 2 and after successfully logging in, a
prompt will appear to set the interface language.
After the interface language is selected, a configuration wizard is proposed to permit a quick
configuration of the system and communication settings of the Flexy 205. On later connections,
the configuration wizard is accessible through the Wizards button in the upper right corner.
Hands on the Flexy 205 User Manual UM-0002-00 1.0

Quick Launch Wizard 6 (34)
4 Quick Launch Wizard
The Quick Launch Wizard makes it easy to configure the initial system and communication set-
tings for the Flexy 205.
Fig. 1 Quick Launch Wizard Button
It passes sequentially through the System Wizard, the Internet Wizard and the VPN wizard:
• The System Wizard configures basic system settings such as the date & time and the de-
fault username & password.
• The Internet Wizard configures the WAN or Internet communication settings for the Flexy
205.
• Once the Internet Wizard is complete, the VPN Wizard connects the Flexy 205 to the
Talk2M VPN infrastructure or to an eFive VPN server.
Based on the hardware configuration of the Flexy 205, the Quick Launch Wizard can also in-
clude the Gateway Wizard which assists in configuring communication to serial, MPI and USB
devices. Each wizard can also be run independently through the menu options on the right hand
of the Wizards page.
4.1 System Wizard
The System Wizard configures basic system settings.
The first screen of the System Wizard configures the name of the device and the default user
settings. However, checking the “Erase all first” checkbox will erase all previously configured
settings on the Flexy 205.
The eWON name helps identify the Flexy 205 for an application. The name appears in the foot-
er of every web page and can be included in reports and alarm notifications.
The Flexy 205 comes with an initial default user with username “adm” and password “adm”.
For security reasons, it is required to change the default password for the adm user.
This username and password can be changed in the System Wizard.
Hands on the Flexy 205 User Manual UM-0002-00 1.0

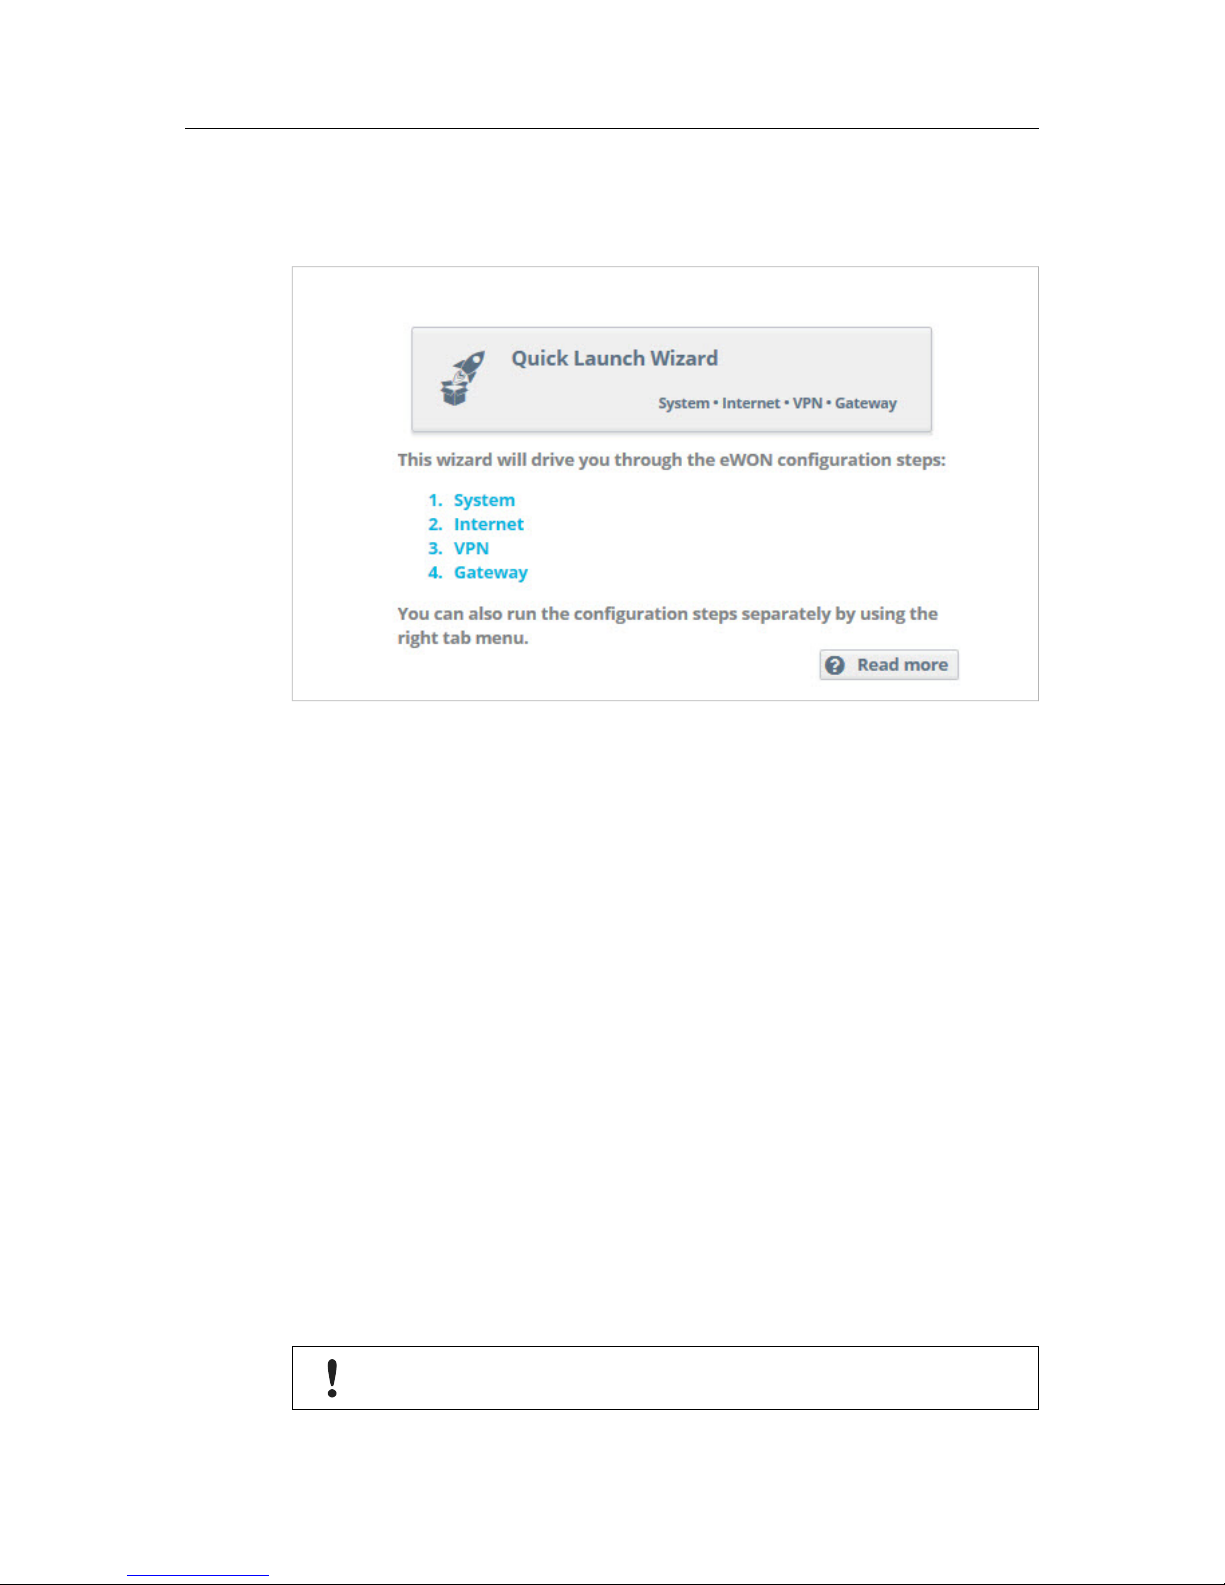
Quick Launch Wizard 7 (34)
Additional users can be added from Setup > Users menu. More information about adding addi-
tional users is described later in this document.
Click Next to proceed to the second screen.
The second screen of the System wizard configures the date & time settings. For Talk2M com-
munication, the date of the Flexy 205 must be correct. Click on the calendar icon in the date &
time field to adjust it. If typing the date & time directly into the field, be sure to format the value
as shown.
To enable automatic date and time synchronization with an NTP server, check the “Enable
NTP” checkbox and adjust the NTP synchronization settings as needed.
The default NTP server is ntp.talk2m.com but other NTP servers can be used.
Click Next to proceed to the next screen.
The third screen of the System Wizard configures the attribution of the ports of the four port
switch. Click on a port to change its attribution.
If no Ethernet extension card is detected then ports #2, #3, and #4 can be configured to be ei-
ther a LAN (local access) port or a WAN (Internet access) port. Port #1 will always remain a
LAN port.
The attribution of a port can be easily recognized by its LED color:
• Orange for a WAN port.
• Green for a LAN port.
If an Ethernet extension card is detected, all four ports are set to LAN ports and are not
configurable.
Click Next to save the system settings.
If the attribution of the ports changed during the wizard, reboot the Flexy 205 to apply the
changes.
4.2 Internet Wizard
The Internet Wizard configures the WAN or Internet settings for the Flexy 205. The options
available will depend on the specific hardware configuration of the Flexy 205.
The first screen selects the WAN interface that will be active.
Checking the Initialize Configuration checkbox will delete any existing WAN and VPN settings
already configured.
From the drop down menu, select the WAN interface to configure and activate.
Click Next to begin the WAN interface configuration.
Subsequent screens will differ depending on the WAN interface selected.
Below are the steps for connecting the Flexy 205 to an Ethernet network. Information about
configuring other WAN interfaces is available in the General Reference Guide for the Flexy 205
reference from the Related Documents, p. 3.
In the Address Setup section, select DCHP from the dropdown menu to have the Flexy 205 re-
ceive an address automatically from the network or Static and then enter the network address
settings manually.
If the network uses a proxy server and the Flexy 205 will connect to Talk2M, check the Connect
to Talk2M through Proxy checkbox.
Hands on the Flexy 205 User Manual UM-0002-00 1.0

Quick Launch Wizard 8 (34)
Click Next to proceed to the next screen.
Check the Enabled checkbox to make a test connection to the Internet. If this network uses a
proxy server or if port 80 is closed for outbound connections, leave this checkbox unchecked.
Click Next to apply the configuration changes.
If the wizard completes successfully, the Flexy 205 is now connected to the local Ethernet net-
work. If the wizards fails, check with the local network administrator for any special connection
instructions.
4.3 VPN Wizard
The VPN Wizard configures the settings required to connect the Flexy 205 with the Talk2M in-
frastructure or an eFive network.
The first screen of the VPN Wizard selects the VPN network to use. Information for connecting
to an eFive network is available on www.ewon.biz/support.
To connect the Flexy 205 to the Talk2M VPN infrastructure, click the T2M Configure Talk2M
connectivity button.
Before proceeding with the Talk2M wizard, the Flexy 205 must first be defined in eCatcher. In-
formation about eCatcher and defining eWON devices is available on Flexy 205.
On the next screen select the registration mechanism.
To register with an activation key, select Register with Activation Key and enter the appropriate
activation key.
To register with an eWON Name, select Register with eWON Name and enter the Talk2M ac-
count name, the name of the Flexy 205 on the account, and valid user credentials for this
account.
Click Next to advance to the next screen.
If the network used for Internet access uses a proxy server, check the Enable checkbox in the
Connect via HTTP Proxy section and enter the appropriate connection information for the proxy
server.
Click Next to test and apply the Talk2M connection settings.
If the wizard completes successfully, the Flexy 205 is properly configured for Remote Access
through Talk2M. If the wizard fails, the Diagnosis section will give additional troubleshooting
information.
4.4 Gateway Wizard
If the hardware configuration of the Flexy 205 includes certain extension cards that allow com-
munication with field devices over interfaces other than Ethernet, the Wizards might include the
Gateway Wizard.
The Gateway Wizard configures any necessary communication parameters for these cards.
For specific information about the hardware configuration of the Flexy 205, check the General
Reference Guide for the Flexy 205 from the Related Documents, p. 3.
Hands on the Flexy 205 User Manual UM-0002-00 1.0

Remote Access 9 (34)
5 Remote Access
The Flexy 205 can be used to allow remote access to a wide variety of PLCs.
Under most circumstances, completing the Quick Launch Wizard successfully configures the
Flexy 205 for remote access. In addition, there may be additional configuration steps required
in the programming software of the field device.
Specific documentation for remote access to different manufacturers’ PLCs is available, check
www.ewon.biz/support.
Hands on the Flexy 205 User Manual UM-0002-00 1.0

Create Tags and Monitor Values 10 (34)
6 Create Tags and Monitor Values
The tags are variables monitored by the Flexy 205. The tag values can change over time and
can come from a variety of data sources including external devices such as PLCs. These data
sources are called IO Servers.
6.1 Available IO Servers
The Flexy 205 supports data monitoring for many different data sources. The list of available IO
servers include:
IO Server Data Source
MEM Internal memory tags
EWON Flexy’s IO and internal system values
MODBUS Modbus Devices (TCP and RTU)
SNMP SNMPv1 Devices
DF1
ABLOGIX
Allen-Bradley PLCs
FINS Omron PLC
S73&400
S7200
S5-AS511
NETMPI
Siemens PLCs
HITACHI Hitachi PLCs
MELSEC
MITSUFX
Mitsubishi PLCs
BACNET BACnet
UNITE Schneider PLCs (UNITELWAY)
Some IO servers require specific extension cards and are not available if the current hardware
configuration of the Flexy 205 is not compatible.
The IO server configuration pages are available from Tags > IO Servers menu. Select the ap-
propriate IOServer from the menu.
Detailed information about configuring the specific IO server for different external devices is
available in the PLC area on www.ewon.biz/support and in the IO Servers reference from the
Related Documents, p. 3.
6.2 Tag Management
Tags on the Flexy 205 can be created and managed from Tags > Values menu.
The values page has two modes:
• The SETUP mode is for creating and deleting tags but also editing existing tag settings.
• The VIEW mode is for monitoring and changing tag values.
6.3 Tag Creation
In SETUP mode on the Tags > Values page, tags can be added by clicking on the Add button.
Hands on the Flexy 205 User Manual UM-0002-00 1.0

Create Tags and Monitor Values 11 (34)
Fig. 2 Change from VIEW to SETUP Mode to Create a Tag.
On the Tag Setup screen, there are several key fields that identify a tag and its data source.
Every tag must have a “Tag Name” which uniquely identifies the tag on the Flexy 205. An op-
tional “Tag Description” can be used to provide additional information about this tag.
The Server Name, the Topic Name and the Tag Address identify the variable and data source to
monitor with a tag.
Below are examples of a tag for monitoring the onboard digital output of the Flexy 205, a tag for
a Siemens PLC and a memory tag.
Examples of creating tags for the different IO servers are available in the PLC area on www.
ewon.biz/support and in the IO Servers reference from the Related Documents, p. 3.
Fig. 3 Tag Creation — DO.
Hands on the Flexy 205 User Manual UM-0002-00 1.0

Create Tags and Monitor Values 12 (34)
Fig. 4 Tag Creation — MEM.
Fig. 5 Tag Creation — Siemens.
The Flexy 205 supports four data types for tags: Floating Point,Boolean,Integer and DWord.
If the Automatic data type is selected, the Flexy 205 will store the tag value in a default data type
based on the IO server and tag address as described in the General Reference Guide for the
Flexy 205 from the Related Documents, p. 3.
Once the tag is configured, click Add Tag to create the tag.
Hands on the Flexy 205 User Manual UM-0002-00 1.0

Create Tags and Monitor Values 13 (34)
6.4 Monitor Tags
6.4.1 Tag Display
The VIEW mode of the Tags > Values page shows the last read value for the tags.
The contents of the page refreshes at the rate shown in the Autorefresh field in the bottom of
the page.
Fig. 6 VIEW mode of the Tags Page.
If the Flexy 205 is unable to read a tag, an error icon will appear in the tag quality column and
the value will appear in red. Hovering over the icon will display information about why the tag is
not being read properly.
Fig. 7 Error on Tag.
6.4.2 Modify the Tag Value
Most tags can be both read from and written to. If a tag is configured to be read-only, a lock icon
will appear next to the tag value.
Otherwise, a tag value can be edited by double clicking on it or highlighting the tag and select-
ing Edit Value. The changes to all edited tags will be written to the PLC when the Apply button
is pressed.
Hands on the Flexy 205 User Manual UM-0002-00 1.0

Alarm Management 14 (34)
7 Alarm Management
The Flexy 205 makes it easy to monitor current alarms, to acknowledge alarms, to notify users
throughout the alarm cycle and record past alarm events.
7.1 Configure Alarm Settings for a Tag
Alarming is configured on a tag by tag basis.
On the tag configuration page of the Tags > Values web page in Setup mode, check the Alarm
Enabled box to expand the alarm setup area.
Fig. 8
For boolean tags, use the Boolean Alarm Level field to specify which tag state triggers an alarm.
For analog tags, four Alarm Level thresholds are available: Low,High,LowLow and HighHigh.
The optional alarm hint gives users additional information about this alarm. This hint can appear
in alarm notifications.
More information about all the alarm configuration fields is available in the General Reference
Guide for the Flexy 205 from the Related Documents, p. 3.
Once an alarm is enabled for a tag, a check will appear in the Alarm Enabled column of the
Tags > Values page in SETUP mode.
7.2 Alarm Display
When a tag is in an alarm state, an alarm icon will appear for the tag in the Alarm Level column
of the Tags > Values page in VIEW mode.
When the alarm cycle completes, the icon will disappear.
7.3 Alarm Summary
Clicking on the alarm icon will load the Alarm Summary page. The Alarm Summary is also ac-
cessible from Tags > Alarms > Summary.
The Alarm Summary page shows all the currently active alarms and their current alarm cycle
states.
Alarms can also be acknowledged from the Alarm Summary.
Hands on the Flexy 205 User Manual UM-0002-00 1.0

Alarm Management 15 (34)
Fig. 9 Alarm Summary Page
7.4 Alarm History
The Alarm History shows the full alarm cycle of both currently active alarms and past alarms.
The Alarm History is accessible from Tags > Alarms > History.
7.5 Alarm Actions
For every tag with alarms enabled, the Flexy 205 can be configured to perform different actions
when the alarm cycle state changes.
The actions include sending email, putting a file on an FTP Server and sending an SNMP traps.
If the hardware configuration of the Flexy 205 includes a modem extension card, it can send
SMS messages as well.
To configure alarm actions for a tag, on the Tags > Values page in SETUP mode, select the tag
and press the Configure Alarm actions button or click the check in the Alarm Enabled column.
Information about configuring SMS, FTP and SNMP actions is available in the General Refer-
ence Guide for the Flexy 205 from the Related Documents, p. 3.
To configure email alarm notifications, begin by selecting those alarm cycle states that should
trigger a notification:
• ALM: when an alarm is raised
• ACK: when an alarm is acknowledged
• RTN: when an alarm has returned to a normal state
• END: When the alarm cycle is finished (ACK and RTN)
Next complete the Email to,Email CC andEmail Subject fields.
Free text included in the Email Attachments field will appear in the body of the alarm email mes-
sage. Files generated by Export Block Descriptors can also be attached to the email message.
Export Block Descriptors are explained later in this document.
7.5.1 Configure SMTP Server Settings
Before any email notifications can be sent, the Flexy 205 must have a working Internet connec-
tion and it must be configured to communicate with an SMTP server.
SMTP server configuration settings are found under Setup > System > Main > Net services >
SMTP (mails).
If the Flexy 205 is configured for Talk2M connections, using the Talk2M Email and SMS relay as
the SMTP server is recommended.
Hands on the Flexy 205 User Manual UM-0002-00 1.0

Alarm Management 16 (34)
Fig. 10 Example of SMTP Server Settings.
More information about using the Talk2M Email and SMS relay is available in the Email & text
message (SMS) relaying using Talk2M reference from the Related Documents, p. 3.
Information about configuring connections to different SMTP servers is available in the General
Reference Guide for the Flexy 205 from the Related Documents, p. 3.
7.5.2 Email Notification Layout
When the Flexy 205 sends out an email notification, it will contain the following information: the
name of the tag created, the level, the status and the alarm action or alarm hint.
Fig. 11 Example of Mail Received on Tag Alarm.
If different information is needed, the email contents can be customized using the Email and
SMS Alarm Templates. Information about alarm notification customizations is available in Alarm
Email & SMS Templates from the Related Documents, p. 3.
Hands on the Flexy 205 User Manual UM-0002-00 1.0

Real-time Logging 17 (34)
8 Real-time Logging
Real-time logging records how a tag value changes over time.
Tag values are logged in a circular buffer in volatile memory at regular intervals to show trends
over a user defined period of time. Since the values are only stored in memory, they are lost
after a reboot.
8.1 Real-time Logging Configuration
To enable real-time logging, check the box marked Real Time Logging Enabled on the tags con-
figuration page.
The Time Span field contains the size of the logging window in seconds. By default, it is 600
seconds.
The Logging Interval field specifies how frequently the values should be recorded. The default
value is every 10 seconds.
Once real-time logging is enabled, a check will appear in the real-time logging column for this
tag.
8.2 Real-time Graph
The real-time logging information can be viewed as a graph from the Tags > Values page in
VIEW mode. Select the tag to view and press the RT. Graph button.
Fig. 12 Real-time Graph
Hands on the Flexy 205 User Manual UM-0002-00 1.0

Historical Logging 18 (34)
9 Historical Logging
Historical logging stores tag changes for a longer period in a first-in-first-out file in flash file sys-
tem. Since the values are stored in non-volatile memory, they are not lost after a reboot.
Logging can be triggered by events such as significant data value changes, on a simple interval
basis or a combination of the two.
9.1 Historical Logging Configuration
To enable historical logging, check the box marked Historical Time Logging Enabled on the tags
configuration page. Then select the criteria to use trigger logging.
The Logging Deadband field triggers logging when the tags value changes by a particular
amount. For example, a logging deadband of 2 means that a tag will be logged when the value
changes by 2 or more. A negative value in the logging deadband field disables logging on value
change.
The Logging Interval field triggers time based logging. For example, a logging interval of 60
means that the tag will be logged every 60 seconds. A logging interval of 0 disables time based
logging.
Once enabled, a check will appear in the historical logging column for this tag.
9.2 Historical Logging Graph
To see the historical log in a graph from the Tags > Values page in VIEW mode, select the tag
or tags to graph. Multiple tags can be selected using either “Ctrl-click” or “Shift-Click”.
Select the time interval to display and press the Update Graph button.
9.3 Historical Logging Table
To see the historical log in a table from the Tags > Values page in VIEW mode, press the HL Ta-
ble button. Select the time interval to display.
Use the Groups checkboxes to limit which tags are included in the table then press the Update
button.
Fig. 13 Historical Logging Graph.
Hands on the Flexy 205 User Manual UM-0002-00 1.0
Other manuals for eWON Flexy 205
1
Table of contents
Other HMS Network Router manuals

HMS
HMS Anybus User manual

HMS
HMS Intesis INMBSRTR0320000 Assembly instructions

HMS
HMS Anybus AWB5121 User guide

HMS
HMS eWON Flexy User manual

HMS
HMS Intesis INBACRTR0320000 Assembly instructions

HMS
HMS Anybus AWB5121 User manual

HMS
HMS Anybus User manual

HMS
HMS eWON Cosy 131 User manual

HMS
HMS eWON Flexy 205 User manual

HMS
HMS Anybus User manual