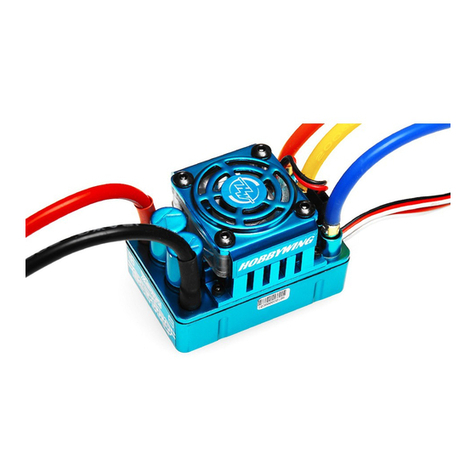
User Manual of XRotor Series Controllers for Multi-rotors HW-SM925DUL-20190803
Thank you for purchasing this HOBBYWING product! Brushless power systems can be very dangerous. Any improper use may cause personal injury and
damage to the product and related devices. We strongly recommend reading through this user manual before use. Because we have no control over the use,
installation, or maintenance of this product, no liability may be assumed for any damages or losses resulting from the use of the product. We do not
assume responsibility for any losses caused by unauthorized modifications to our product.
01 Warnings
Ensure all wires and connections are well insulated before connecting the ESC to related devices, as short circuit will damage your ESC.
Ensure all devices are well connected to prevent poor connection that may cause your multi-rotor to lose control or other unpredictable issues such
as damage to the device.
Read through the manuals of all power devices and ensure the power configuration is rational before using this unit.
Please use a soldering iron (ensuring it’s connected to a GND wire) with the power of at least 60W to solder all input/output wires and connectors.
Stop using the ESC when its casing temperature exceeds 85℃, otherwise your ESC will get destroyed and may also get your motor damaged.
Please swap any two ESC-to-motor wires if the motor runs in reverse.
02 Features
Special core program for multi-rotor controllers greatly improves throttle response.
Microprocessor powered by a1A fixed output voltage regulator has better anti-interference performance greatly reduces the risk of losing control.
Highly intelligent and adaptive default settings like auto-adjusting timing meet almost all applications.
Compatible with various flight-controller and supports a signal frequency of up to 621Hz.
DEO (Driving Efficiency Optimization) technology guarantees better throttle linearity and higher driving efficiency.
PWM frequency of 18KHz.
3 Specifications
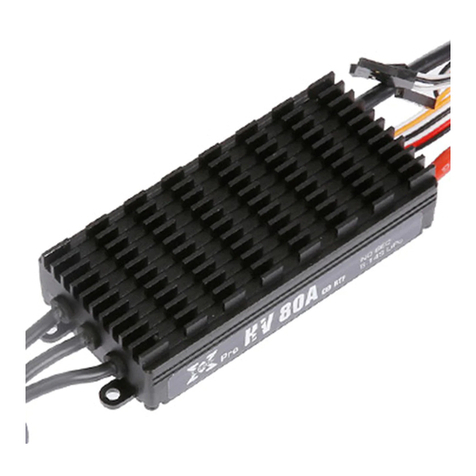
XRotor Pro-80A-HV-BLDC-V4.1-RTF
XRotor Pro-80A-6S-BLDC-V4.1-RTF
04 User Guide
Attention!
1. Users need to calibrate the throttle range when they start to use a new XRotor brushless ESC or another transmitter.
2. With DEO enabled, slight braking effect will be generated and a voltage higher than the battery voltage will be generated from the motor end and flow
back to the battery (via the ESC) when reducing the throttle input or moving the throttle stick towards the bottom position. Please do not use the power
supply which cannot absorb the flow-back voltage to test with the ESC. Otherwise, the ESC and power supply will be damaged.
Step 1: Wiring
Notes:
1)The tri-color (Black/Red/White) cable is the signal cable for outputting data and updating firmware.
2)The bi-color (White/Black) cable is the throttle control cable.
3)The thin (Yellow) wire is for the RPM (signal) output wire.
Step 2: Radio Calibration & ESC Programming
Warning! This is an extremelypowerful brushless motor system. We strongly recommend removing your propellers for your own safety and safety of
those around you before performing calibration and programming functions with this system.
05Normal Start-up Process
06 Protections
The ESC is specially designed for multi-rotors/drones; it has no low-voltage cutoff protection.
Start-up Protection: The ESC will shut down the motor if it fails to start the motor normally within 2 seconds by increasing the throttle value. In this
case, you need to move the transmitter throttle stick back to the bottom position and restart the motor. (Possible causes of this problem: poor connection/
disconnection between the ESC and motor wires, propellers are blocked, etc.)
Motor Lock-up Protection: The ESC will cut off its output and stop trying to restart the motor when it detects the motor is locked up. It won’t resume
the output until you move the throttle stick to the bottom position first and then push the stick upward.
Over-current Protection: The ESC will cut off its output immediately when the peak current gets close to 400A (the short-circuit current). It only
restarts after you power it off and then back on.
Throttle Signal Loss Protection: When the ESC detects loss of signal for over 0.25 second, it will cut off the output immediately to avoid an even
greater loss which may be caused by the continuous high-speed rotation of propellers or rotor blades. The ESC will resume the corresponding output after
normal signals are received.
07 Troubleshooting
The ESC was unable to start
the motor.
The direction of the throttle channel
is incorrect.
Set the direction of the throttle channel from
“Nor”to “Rev”or from “Rev”to “Nor”.
The ESC was unable to start
the motor.
“B,B,B,…”
(The motor beeps rapidly)
The throttle stick is not moved to
the bottom position or the throttle
range is too narrow.
Move the throttle stick to the bottom
position or recalibrate the throttle range.
The ESC was unable to start
the motor.
“B-, B-, B-...”
(the interval is 1 second)
No output signal from the throttle
channel on the receiver.
Check if the transmitter and receiver are well
bound, if the throttle control cable has been
properly plugged into the TH channel on the
receiver.
The power-on voltage is
below 18V/15V.
“BB-, BB-, BB-….”
(the interval is 1 second)
The battery voltage is too low.
Change another suitable battery that is fully
charged.
The power-on voltage is
above 64V/26.4V.
“BB-, BB-, BB-….”
(the interval is 1 second)
The battery voltage is too high.
Change another suitable battery that is fully
charged.
The motor will emit “♪123”after connecting the system to
a battery to indicatethe ESC is armed and the multi-rotor
is ready to go.
Turn on the
transmitter, move the
throttle stick to the
bottom position.
Turn on the
transmitter, move
the throttle stick
to the top position.
Connect the receiver to the
battery, ensure the
transmitter and receiver are
well bound, and then turn
on the ESC.
“B-B-” Throttle Calibration
“B-B-B-” DEO Enabled
“B-B-B-B-” DEO Disabled
Move the throttle stick to the bottom position within
3 seconds after you hear the corresponding beeps
can complete throttle calibration or enable/disable
DEO.
Throttle Calibration
and ESC programming
completed.
The motor will
beep different
tones circularly.
