manuals.online logo
Brands
  1. Home
  2. •
  3. Brands
  4. •
  5. HoldPeak
  6. •
  7. Measuring Instrument
  8. •
  9. HoldPeak 5040A User manual

HoldPeak 5040A User manual

Handheld Laser Distance Meter
5040A,5060A,5080A,5100A
User Manual
Thank you for purchasing our handheld laser distance meter.
Please carefully read this user manual and follow the instructions below.
Warning:
1. Before using this product, please read the safety precautions and
instructions carefully. Failure to follow the instructions mentioned in
the user manual may cause damage to this instrument, affect the
measurement accuracy or even physically harm the user or someone
else.
2. Do not try to disassemble or repair the instrument by yourself,
especially the laser emitter. Do not turn on the laser beam until you
need to use this instrument. Do not stare directly at the laser emitter.
Take a good care of your instrument and don’t place it anywhere within
children’s reach. This instrument is preferred to be used by
professionals only.
3. Don’t point the laser beam at yourself or anyone else, especially in
the eyes. 4. Don’t point the laser beam at highly-reflective object.
5. The electromagnetic radiation from this laser device may interfere
with other instrument nearby such as a pacemaker, hearing aid or
something like these.
6. Don’t use this laser device in an inflammable or explosive
environment.
7. Dispose the broken instrument and used batteries properly and
discreetly. Don’t mix them up with other normal household garbage.
Follow the related government regulations during disposal.
Keyboard:
1. Power On/Single Measurement/Consecutive Measurements Button
2. Area/Volume/ Pythagorean Proposition Indirect Measurement
3. Add/Subtraction/Unit Switch Button
4. Point of Reference Switch/Backlight Button
5. Data Storage
6. Clear/Power Off Button
Screen:
1. Laser beam indicator
2. Point of Reference indicator
3. Area/Volume Calculation indicator
Pythagorean Proposition Indirect Measurement indicator
4. Battery indicator
5. Record-view indicator
6. Signal Strength indicator
7. Unit indicator
Overview:
8. Minimum Measurement indicator
9. Distance Measurement indicator
10. Primary Display Area
11. Supplementary Display Area
Inserting/Replacing Batteries
Open the battery compartment and insert the batteries in it and then shut
the compartment with the lid.
When battery is low,a battery indicator icon will be displayed on the
screen to remind you to replace the batteries.
·Pay attention to the polarity symbols marked inside of the
compartment.
· Only 1.5V AAA alkaline battery is allowed.
·Remove the batteries if you are not going to use the instrument in a
long time(to avoid leak of erosive chemical substance from the
batteries).
Start,Menu
Turn on/ Turn off Instrument
Turn on: Press the button to turn on the device.
Turn off:Long press the button to turn off the device.
Clear Off Button
Press the “Clear Off” Button to delete the latest measurement.
For indirect measurement,(such as Area/Volume measurement),
you can delete the measurements one by one and measure them
again.
Screen Illumination
Long press the button to turn on the backlight of the screen.
Long press it again to turn the backlight off. The backlight
automatically goes off too if no button is pressed for 60 seconds.
After the instrument is turned off(or auto power-off), the backlight
goes off too.
Unit Switch:
Press the button to switch between different units: m ; in ; ft
Distance
Area
Volume
0.000m
0.000m2
0.000m3
0.00m
0.000m2
0.000m3
0.00ft
0.00ft2
0.00ft3
0.0in
0.00ft
0.00ft3
Point of Reference Setup
The default point of reference of this instrument is its bottom. button
to switch the point of reference between its bottom and head.
Distance measurement,Add/Subtract,Area,Volume,Pythagorean
Proposition indirect measurement
Single Measurement
Press the button to turn on the instrument and the laser beam is
turned on simultaneously. Point the instrument at the target and then
press this button again. The measuring result will appear on
the primary display area of the screen. The laser beam goes off right
after each single measurement. Press to turn on the laser beam.
Minimum Measurement(Consecutive Automatic Measurements)
Under standby mode(right after the instrument is turned on),long press
the button and enter the Automatic Consecutive Measurements
Mode. The instrument automatically starts taking measurements
constantly under this mode and the minimum measurement will be
displayed on supplementary display area. The current single
measurement will appear on the primary display area. Press the button
to stop automatic consecutive measurements.
Add/Subtract Functions:
Add: Take a measurement, then press the button ,a symbol“+”
will appear on the screen. Measure again, and then the summation will
be automatically calculated and displayed on the primary display area.
It can continue adding limitless measurements together.
Subtract: Take a measurement, then press the button twice,a
symbol “-” will appear on the screen. Measure again, and then the
difference will be automatically calculated and displayed on the primary
display area. You can continue subtracting limitless measurements.
Area Measurement
Press the button once, a symbol will appear on the screen
which stands for area with one side of it keeps blinking. Follow the
instructions below:
Press the button to measure the blinking side(Length)
Press the button again to measure the second blinking side
(Width)
The instrument will automatically work out the area based on these 2
measurements and display it on the primary display area.
Press the button to cancel the latest single measurement or press
the button to exit “Area Measurement” Mode and enter the
Standby Mode.
Volume Measurement
Press the button twice, a symbol will appear on the screen
which stands for volume with one side of it keeps blinking. Follow the
instructions below:
Press the button to measure the 1st blinking side(Length)
Press the button again to measure the 2nd blinking side(Width)
Press the button again to measure the 3rd blinking side(Height)
The meter will automatically work out the volume based on these 3
measurements and display it on the primary display area.
Press the button to cancel the latest single measurement or press
the button to exit “Volume Measurement” Mode and enter the
Standby Mode.
Indirect Measurement based on Pythagorean Proposition
This instrument is capable of calculating the distance based on
Pythagorean Proposition. This function is designed for some special
locations which are inaccessible to the user.
Press this button ,a symbol will appear on the screen with
its hypotenuse blinking.
Press the button to measure the hypotenuse(a).
Press the button again to measure the blinking straight flange
(b).
The instrument will automatically work out the length of the 2nd
straight flange(x)and display it on the bottom.
Measurement Storage and View
Measurement Storage
After any single measurement is taken,if the measuring result is valid,
it will be automatically stored in the internal memory of this meter. The
internal memory can hold up to 20 measurements.
View the Stored Measurements
Press the button to enter the Record-View Mode; Press button
or button or button to browse the stored
measurements forward or backward. Press the button to exit
Record-View Mode and enter Standby Mode.
Technical Parameters:
Model Number
H
HP-5040A
H
HP-5060A
H
HP-5080A
H
HP-5100A
Max Measuring
Distance 40m 60m 80m 100m
Accuracy ±1.5mm(± 0.06 in)
Units m/in/ft
Laser Type Class 2 635nm,< l mW
Consecutive
Measurements Yes
Area Measurement Yes
Volume
Measurement Yes
Pythagorean
Proposition
Indirect
Measurement
Yes
Add/Subtract
functions Yes
Max/Min
Measurement
Display
Yes
Backlight Yes
Buzzer Indicator Yes
Splash Proof/
Dust Proof Yes
Measurement
Storage 20
Battery Life Time 4000 times of single measurements
Storage
Temperature -25°C ~ 60°C
Operation
Temperature 0°C ~ 40°C(32°F ~ 104°F)
Battery 1.5VAAA*2
Product Weight 80g(without batteries)
Product Size 43*25*107mm
Unfavorable conditions such as strong sunlight, highly-reflective or
low-reflective object may affect the accuracy of the measurements to a
large extent. Use a reflective board to make the measurements more
accurate when the surrounding luminous flux is low or the object is
inadequately reflective.
Appendix
Error Codes
Code Error Solution
B.L Low battery Change batteries
T.L Low
temperature Take the measurement again in an
environment of working temperature
T.H High
temperature Take the measurement again in an
environment of working temperature
D.H Data overflow Measure again
S.L Too weak signal Choose another measuring target which is
more reflective or use reflective board
S.H Too strong
signal Choose another measuring target which is
less reflective or use reflective board
H.F Hardware glitch If this error remains after you restart the
device multiple times, contact your
supplier for help supplier for help
Maintenance
DON’T immerse this device into the water! Remove the batteries if you
are not going to use it in a long time; Keep the instrument in a cool, dry
environment.
Please keep the surface of the instrument clean. You can wipe the
surface with some wet soft cloth. Don’t try to clean the instrument with
any corrosive liquid. You can wipe the laser emitter window and the
focusing mirror the way you wipe other objects such as spectacles and
camera lens.
Packing List
Check if all the accessories come with this instrument when purchasing.
Item Name Quantity
1 Distance meter 1
2 Pouch 1
3 Hanging rope 1
4 Battery 2
5 User manual 1
1095 Budapest, Mester utca 34.
Tel.: *218-5542, 215-9771, 215-7550,
216-7017, 216-7018 Fax: 218-5542
Mobil: 30 940-1970, 20 949-2688
E-mail: [email protected] Web: www.delton.hu
www.holdpeak.hu
1141 Budapest, Fogarasi út 77.
Tel.: *220-7940, 220-7814, 220-7959,
220-8881, 364-3428 Fax: 220-7940
Mobil: 30 531-5454, 30 939-9989

This manual suits for next models

3

Other HoldPeak Measuring Instrument manuals
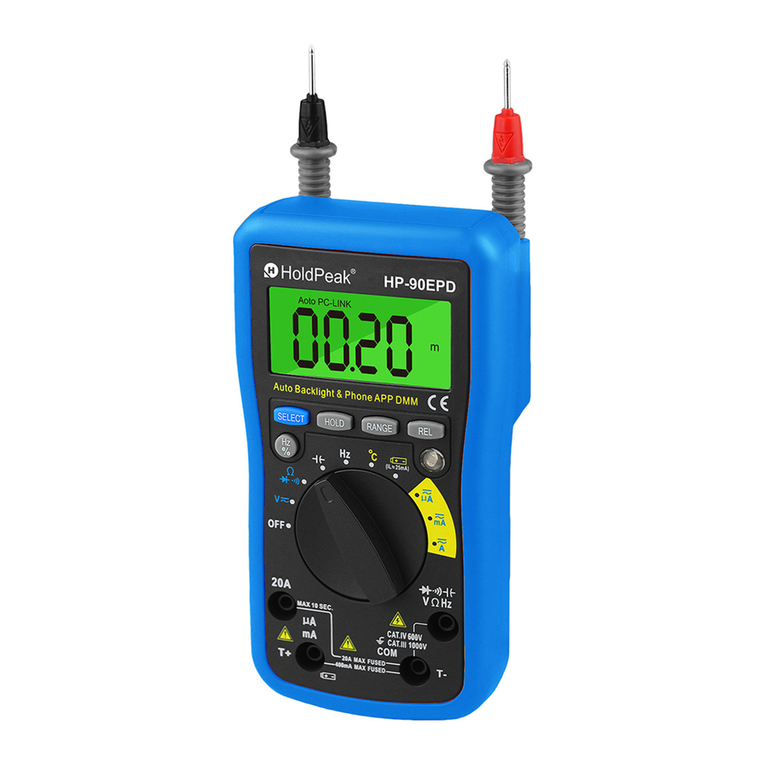
HoldPeak 90EPD User manual

HoldPeak

HoldPeak 90EPD User manual

HoldPeak 870MR User manual

HoldPeak

HoldPeak 870MR User manual

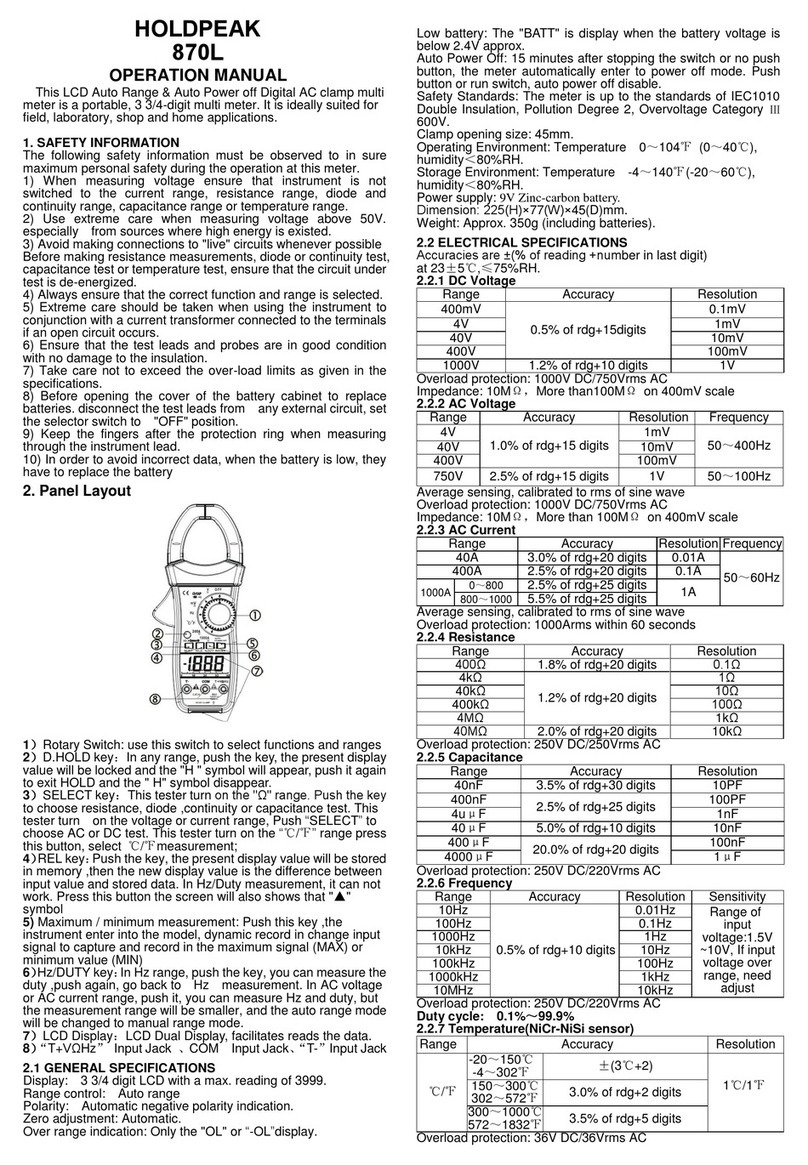
HoldPeak 870L User manual

HoldPeak

HoldPeak 870L User manual

HoldPeak HP-6206 Installation manual

HoldPeak

HoldPeak HP-6206 Installation manual

HoldPeak 990B User manual

HoldPeak

HoldPeak 990B User manual

HoldPeak 870H User manual

HoldPeak

HoldPeak 870H User manual
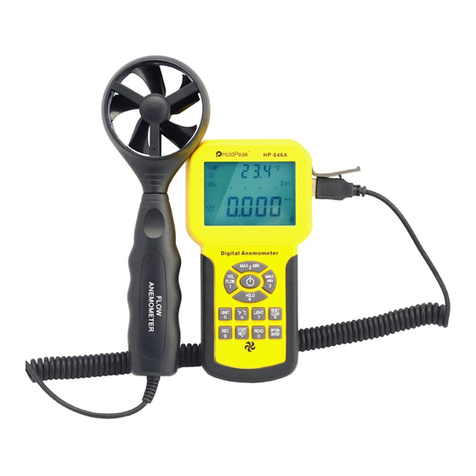
HoldPeak HP-846A User manual

HoldPeak

HoldPeak HP-846A User manual
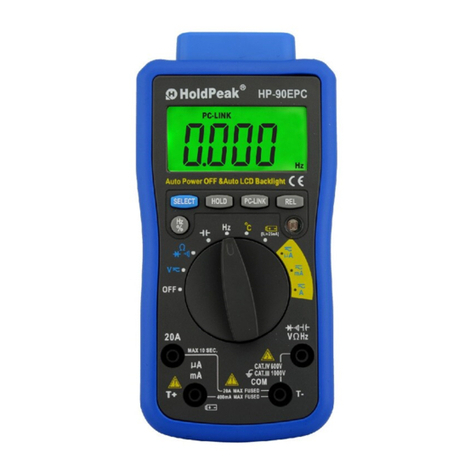
HoldPeak HP-90EPC User manual

HoldPeak

HoldPeak HP-90EPC User manual
HoldPeak 5080H User manual

HoldPeak

HoldPeak 5080H User manual

HoldPeak 90EPD User manual

HoldPeak

HoldPeak 90EPD User manual

HoldPeak HP-760C User manual

HoldPeak

HoldPeak HP-760C User manual

HoldPeak HP-37C User manual

HoldPeak

HoldPeak HP-37C User manual
HoldPeak 990B User manual

HoldPeak

HoldPeak 990B User manual

Popular Measuring Instrument manuals by other brands

Wavelength References ClarityPlus Operator's manual

Wavelength References

Wavelength References ClarityPlus Operator's manual

ETI 810-145 operating instructions

ETI

ETI 810-145 operating instructions

ZIEHL MINIPAN 300 operating manual

ZIEHL

ZIEHL MINIPAN 300 operating manual

Schroeder Industries HY-TRAX Operating and maintenance instructions

Schroeder Industries

Schroeder Industries HY-TRAX Operating and maintenance instructions

Katronic Technologies KATflow 200 operating instructions

Katronic Technologies

Katronic Technologies KATflow 200 operating instructions

Bosch BAT 131 Original instructions

Bosch

Bosch BAT 131 Original instructions

General MMD5NP user manual

General

General MMD5NP user manual

UE Systems UCA586 instruction manual

UE Systems

UE Systems UCA586 instruction manual

Rigol DM3068 quick guide

Rigol

Rigol DM3068 quick guide

Wohler 3343 operating manual

Wohler

Wohler 3343 operating manual

Lumel NA5PLUS user manual

Lumel

Lumel NA5PLUS user manual

iSystem C6000 BlueBox user manual

iSystem

iSystem C6000 BlueBox user manual

HEIDENHAIN LC 181 EnDat Mounting instructions

HEIDENHAIN

HEIDENHAIN LC 181 EnDat Mounting instructions

Xylem mjk MagFlux quick start guide

Xylem

Xylem mjk MagFlux quick start guide

JDS Uniphase FI Series user manual

JDS Uniphase

JDS Uniphase FI Series user manual

Hanna Instruments BL 983327-0 instruction manual

Hanna Instruments

Hanna Instruments BL 983327-0 instruction manual

CEM DT-610B user manual

CEM

CEM DT-610B user manual

Delmhorst FX-2000 owner's manual

Delmhorst

Delmhorst FX-2000 owner's manual

manuals.online logo
manuals.online logoBrands
  • About & Mission
  • Contact us
  • Privacy Policy
  • Terms and Conditions

Copyright 2025 Manuals.Online. All Rights Reserved.