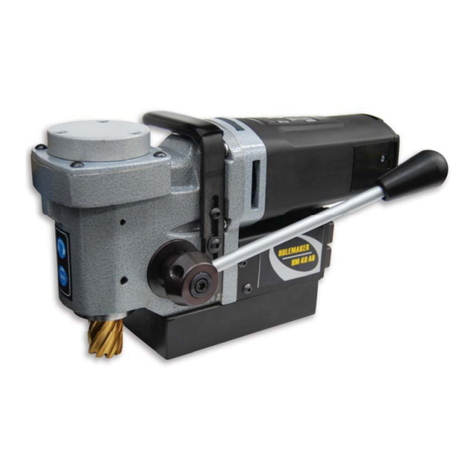
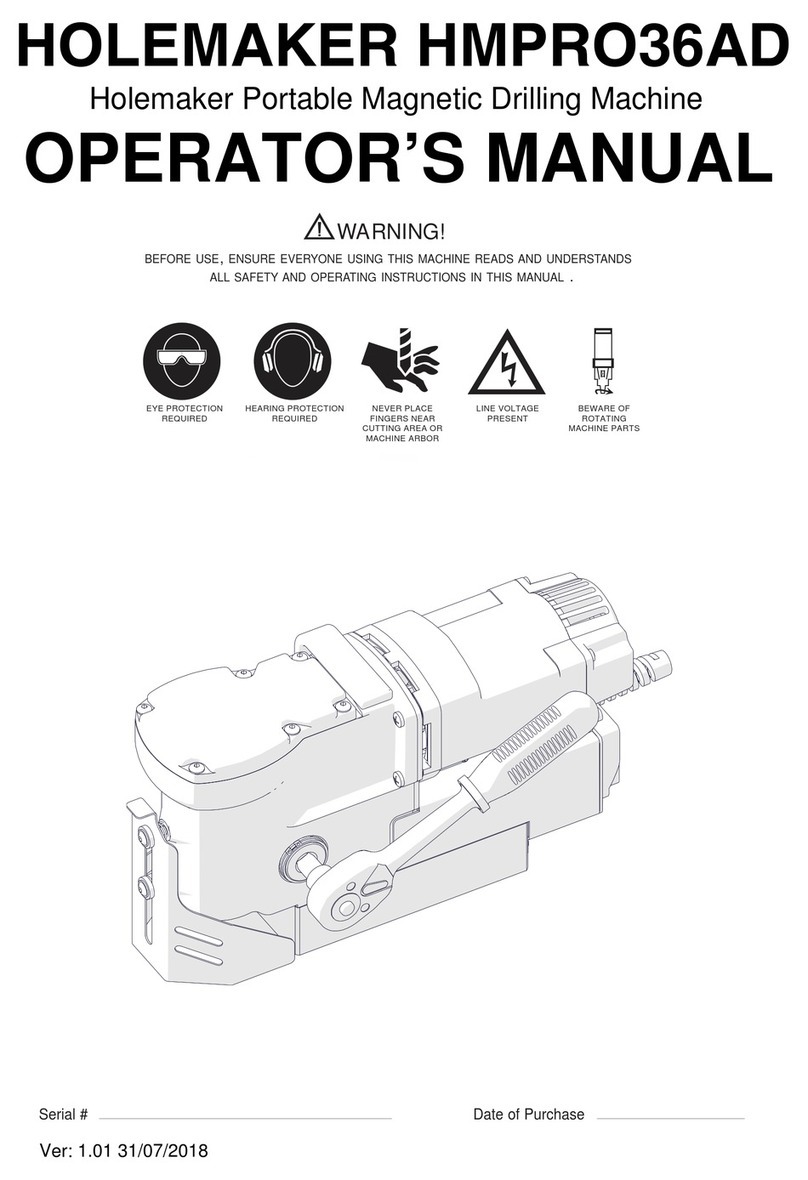
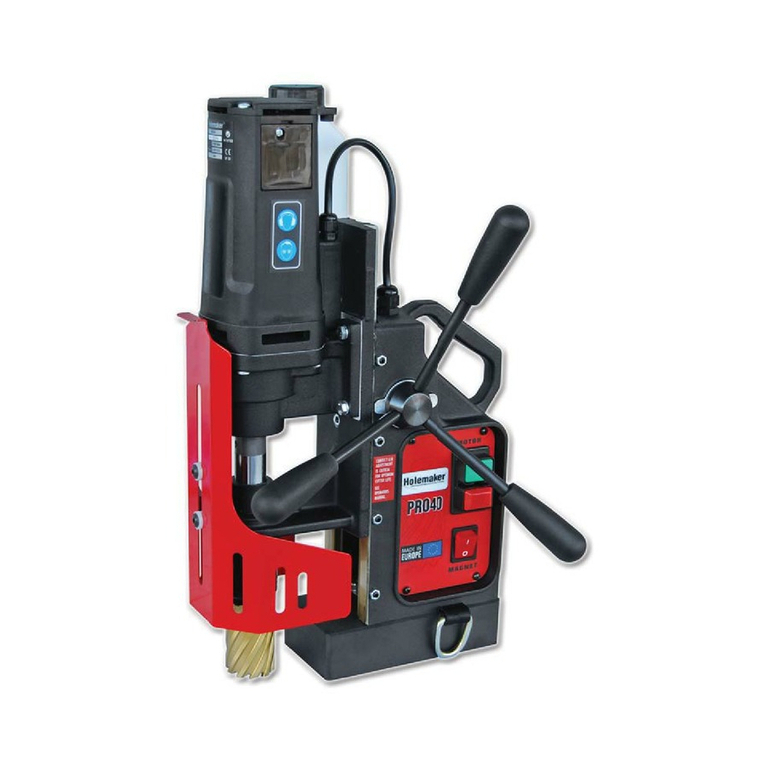
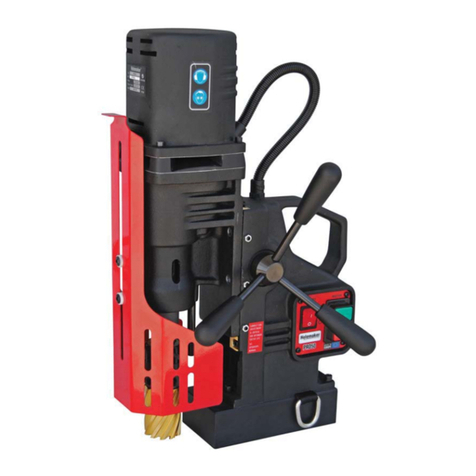
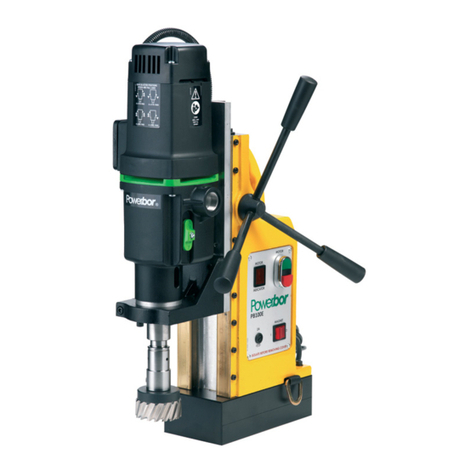
HOLEMAKER Holemaker SM3X3 User manual

HOLEMAKER SM3X3
Holemaker Portable Magnetic Drilling Machine
OPERATOR’S MANUAL
BEFORE USE, ENSURE EVERYONE USING THIS MACHINE READS AND UNDERSTANDS
ALL SAFETY AND OPERATING INSTRUCTIONS IN THIS MANUAL .
Serial #............................................ Date of Purchase............................................

Important Safety Instructions . . . . . . . . . . . . . . . . . . . . . . . . . . . . . . . . . . .3 -4
Power Supply Requirement . . . . . . . . . . . . . . . . . . . . . . . . . . . . . . . . . . . . . .5
Special Instructions . . . . . . . . . . . . . . . . . . . . . . . . . . . . . . . . . . . . . . . . . . . .7
Technical Data . . . . . . . . . . . . . . . . . . . . . . . . . . . . . . . . . . . . . . . . . . . . . . . . . 6
Contents of Package . . . . . . . . . . . . . . . . . . . . . . . . . . . . . . . . . . . . . . . . . . .7
Machine Operation . . . . . . . . . . . . . . . . . . . . . . . . . . . . . . . . . . . . . . . . . .8-10
Basic Troubleshooting . . . . . . . . . . . . . . . . . . . . . . . . . . . . . . . . . . . . . . . . .12
Maintenance and Service . . . . . . . . . . . . . . . . . . . . . . . . . . . . . . . . . . . . . . .11
Machine Parts Breakdown. . . . . . . . . . . . . . . . . . . . . . . . . . . . . . . . . . . 13 - 17
Holemaker SM3X3 Portable Magnetic Drilling Machine
2
WARRANTY TERMS
In addition to any warranties or conditions implied by applicable Statute or Regulations,
Industrial Tool & Machinery Sales warrants all of it’s products against defective workmanship
and faulty materials for a period of twelve (12) months from the date of purchase, unless oth-
erwise stated. At our option we will repair or replace, free of charge, any item on the condi-
tion that:
- The complete machine or tool is returned, freight prepaid to ITM or one of it’s authorised
service agents as directed by ITM, and is found to have a material or constructional defect.
- The machine or tool has not been subject to misuse, neglect or damage by accident.
- The fault is not a result of normal “wear and tear”.
- Written permission has been received from ITM prior to commencement of repair.
- Repairs, tampering or modification carried out by unauthorised personnel will void all war-
ranty.
- Consumable items such as cutting tools, pilot pins, saw blades, grinding wheels etc. are
NOT covered by warranty.
Our goods come with guarantees which cannot be excluded under the Australian Consumer
Law. You are entitled to replacement or refund for a major failure and to compensation
for other reasonably foreseeable loss or damage. You are also entitled to have the goods
repaired or replaced if the goods fail to be of acceptable quality and the failure does not
amount to a major failure.
IMPORTED & DISTRIBUTED BY
INDUSTRIAL TOOL & MACHINERY SALES
18 BUSINESS ST
YATALA QLD 4207 AUSTRALIA
T
F
E
W
07 3287 1114
07 3287 1115
www.industrialtool.com.au
INDUSTRIAL TOOL
TABLE OF CONTENTS

WHEN USING EL ECTRICAL TOOLS, BASIC SAFETY PRECAUTIONS SHOULD ALWAYS BE FOLLOWED
TO REDUCE RISK OF FIRE, ELECTRIC SHOCK AND PERSONAL INJURY .
READ AND SAVE ALL INSTRUCTIONS FOR FUTURE REFERENCE.
1. Keep Work Area Clean
• Cluttered areas and benches increase risk of injuries.
2. Consider Work Area Environment
• Do not expose power tools to rain.
• Do not use power tools in damp or wet locations.
• Keep work area well lit.
• Do not use tool in presence of flammable liquids or gases.
3. Guard Against Electric Shock
• Prevent body contact with grounded surfaces. For example: pipes, radiators, ranges and refrigerator
enclosures
.
4. Keep Children Away
• Do not let visitors contact tool or extension cord.
• All visitors should be kept away from work area.
5. Store Idle Tools
• When not in use, tools should be stored in a dry, high and locked-up place, out of reach of children.
6. Do Not Force Tool
• It will do the job better and safer at the rate for which it was intended.
7. Use Right Tool
• Do not force a small tool or attachment to do the job of a heavy-duty tool.
• Do not use tool for unintended purpose. For example: Do not use a circular saw for cutting tree limbs or logs.
8. Dress Properly
• Do not wear loose clothing or jewellery. They can be caught in moving parts.
• Rubber gloves and non-skid footwear are recommended when working outdoors.
• Wear protective hair covering to contain long hair.
• Always wear safety glasses
• Use face or dust mask if necessary
• Use hearing protection
9. Do Not Abuse Electrical Cord
• Never carry tool by cord or yank it to disconnect from receptacle.
• Keep cord away from heat, oil and sharp edges.
10. Secure Work
• Use clamps or a vise to hold work. It’s safer than using your hand and it frees both hands to operate tool.
11. Do Not Overreach
• Keep proper footing and balance at all times.
IMPORTANT SAFETY INSTRUCTIONS
3

12. Maintain Tools With Care
• Keep tools sharp and clean for better and safer performance.
• Follow instructions for lubricating and changing accessories.
• Inspect tool cords periodically and if damaged, have repaired by authorized service facility.
• Inspect extension cords periodically and replace if damaged.
• Keep handles dry, clean, and free from oil and grease.
13. Disconnect Tools
• Unplug when not in use, before servicing, and when changing accessories, such as cutters.
14. Remove Adjusting Keys And Wrenches
• Form habit of checking to see that keys and adjusting wrenches are removed from tool before turning it on.
15. Avoid Unintentional Starting
• Do not carry a plugged-in tool. Always disconnect from power source before moving.
• Be sure switches are off before connecting to a power source.
16. Outdoor Use Of Extension Cords
• When tool is used outdoors, use only extension cords intended for use outdoors and so marked.
17. Stay Alert
• Watch what you are doing. Use common sense. Do not operate tool when you are tired.
• Do not use when taking medications that may cause drowsiness.
18. Check Damaged Parts
• Before further use of the tool, any damaged parts should be repaired and performance verified prior to operation.
• Check alignment of moving parts, binding of parts, breakage of parts, mounting, and any other conditions
that may affect its operation. Any part that is damaged should be properly repaired or replaced by an authorized
service center.
• Do not use this tool if switches do not turn it on and off. Have defective switches replaced by authorized service
center.
19. Use Cutter Guard
• Always use cutter guard supplied with machine to reduce the risk of injury. (refer fig. 1)
fig. 1
IMPORTANT SAFETY INSTRUCTIONS
I
MP
ORTANT
SA
F
ETY
INSTRUCTIONS
4

Prior to use check condition of the power cord, which has to be free of any cuts, or similar damages.
Attention!: This unit has a class one of insulation and
absolutely requires the power source
to be equipped with a protection circuit.
Power source should be protected with the difference-current circuit cut-out and protected with a 10A fuse - for 230V.
At building sites, power should be supplied from a separation transformer such as Type AVM, with minimum power of
2000 VA and with second class protection.
GROUNDING INSTRUCTIONS
Improperly connecting the grounding wire can result in the risk of electrical shock.
Check with a qualified electrician if you are in doubt as to whether the outlet
is properly grounded. Do not modify the plug provided with tool. Never remove
the grounding prong from the plug. If the cord or plug is damaged, have it
repaired before using. If the plug will not fit the outlet, have a proper outlet
installed by a qualified electrician. The Holemaker must be plugged into an
appropriate outlet, properly installed and grounded in accordance with all codes
and ordinances. The plug and outlet should look similar to those in Figure A.
If in doubt of proper grounding, call a qualified electrician.
DO NOT USE HOLEMAKER DRILLING MACHINES ON SURFACES OR MATERIALS BEING
WELDED. DOING SO CAN RESULT IN DAMAGE TO THE DRILLING MACHINE.
EXTENSION CORDS
Use only 3-wire extension cords that have 3-prong grounding-type plugs and 3-pole receptacles that accept the
tool’s plug. Replace or repair damaged cords. Make sure your extension cord is in good condition. When using
an extension cord, be sure to use one heavy enough to carry the current your product will draw. An undersized cord
will cause a drop in line voltage resulting in loss of power and overheating. See table for the correct size to use
depending on cord length and nameplate amperage rating. If in doubt, use the next heavier gauge. The smaller the
gauge number, the heavier the cord.
DRIP LOOP: To help prevent cutting fluids from traveling
along power cord and contacting power source, tie a drip
loop in power cord as shown in Figure C.
MINIMUM GUAGE FOR EXTENTION CORDS
VOLTS TOTAL LENGTH OF CORD IN METRES
240V 0-15 15-30 30-60 60-90
0-6 18 16 16 14
6-10 18 16 14 12
10-12 16 16 14 12
12-16 14 12 NOT RECOMMENDED
RECOMMENDED WIRE GUAGE
Speed Recommendations
for cutting Mild Steel
POWER SUPPLY REQUIREMENTS
PO
W
ER
SU
PP
LY
REQUIRE
M
ENTS
5

Supply voltage: ………………………………… 220-240V/ 50-60 Hz.
Motor power ……………………………………………………. 1460 W
Total power …………………………………………………….. 1570 W
Machine speeds (under load): ……...…............ Gear 1: 80-160rpm
Gear2: 160-320rpm
Insulation class ………………………………………………….. First
Arbor bore ………………………………………………………. MT 3
Tool holder …………………………………. (3/4” Weldon) 19.05 mm
Capacities: max. Holemaker cutter diameter …………......... 75mm
max.drilling depth with standard arbor ……....... 75mm
Magnet Dead Lift (on 25 mm plate) ………....................... 19500 N
Dimensions:
electromagnetic base ….............................................. 110x224 mm
Length of the power cord ……………………............................... 3 m
Total weight ………………………………...…..................... 28.0 kg
Noise level ……………………………………………...…...…….. 85 dB
TECHNICAL DATA
6

1. Read and follow operator’s manual thoroughly.
2. DO NOT touch rotating cutter or parts.
3. Always stop machine completely and unplug from power source before changing cutters, clearing swarf,
refilling lubrication or performing adjustments.
4. Never wear loose clothing or gloves when working near cutting area or machine arbor.
5. Always wear eye protection. Any tool can shatter.
6. Always use safety chain or strap provided with machine.
7. Always use proper tooling. Keep cutters securely fastened.
8. DO NOT use dull or broken cutters.
9. Beware of ejected slugs at end of cut. They become HOT during the cut.
10. Keep all safety features functioning and working properly.
11. Keep bottom of magnet burr free and clear of chips and debris.
12. To reduce the risk of electrical shock, DO NOT remove or alter electrical panels or use machine in damp areas.
13. Use only authorized service centers for repairs.
Remove all contents from packaging and inspect to ensure no damage was incurred during shipping.
Your Holemaker package should include the following:
1. Type of material to be drilled, Brinnell or Rockwell hardness, material thickness and position should all be
determined to ensure proper selection of cutting tools.
2. Remove any excessive mill scale or rust from surface to be drilled.
3. When drilling thin materials, it is recommended that you place a steel plate under the work piece and Holemaker
magnet area to increase magnetic holding force.
4. Material that has been flame cut may become heat treated and therefore difficult to drill. Avoid drilling near such
areas whenever possible.
5. Special cutter lubricant is available for using the Holemaker and annular cutters in the horizontal
position. Consult you distributor for more information.
Caution: Do not drill on material where welding is also simultaneously being performed. Drilling machine
will be damaged.
Caution: Powering drilling machine from generator without proper surge protection device between
generator and drilling machine may cause damage to the Printed Circuit Board in machine.
The Holemaker SM3X3 is not designed for use on steel thinner than 3/8” or 10mm, as the magnet’s
adhesive power would be significantly reduced which can cause machines failure or individuals injury.
The machines built in “Smart Magnet Technology” will detect insufficient magnetic adhesion, and will
cause the machines motor on/off button to not engage. Although it is not recommended, this feature can
be bypassed by following the attached “Smart Magnet Technology Bypass” instruction leaflet.
Assemble three spoke handles to feed hub. NOTE: Feed hub assembly
is mounted on right side of machine frame – if necessary, it can be reversed
for left hand operation by simply removing the fastener and hub from frame.
Remove hub pinion shaft from right side of frame and insert it into left side of
frame. Replace hub and fastener into frame and tighten securely. Install the
arbor into the drill motor by inserting the arbor body into the spindle. By turning
the arbor while inserting, the arbor tang will properly line up in the spindle.
Turn the arbor until it bottoms out in the spindle and then tap lightly with a
plastic hammer to secure.
DESCRIPTION QTY
HOLEMAKER SM3X3 MACHINE 1
METAL CARRY CASE 1
SAFETY CHAIN WITH CLIP 1
SAFETY GUARD 1
HEX WRENCH 2.5MM 1
HEX WRENCH 4MM 1
HEX WRENCH 5MM 1
HEX WRENCH 6MM 1
SPANNER 8MM 1
SPOKE HANDLE WITH KNOBS 3
#3 MT ARBOR ASSEMBLY 1
COOLANT BOTTLE ASSEMBLY 1
DRILL DRIFT 1
FRONT HANDLE 1
OPERATORS MANUAL 1
SPECIAL INSTRUCTIONS
WHAT YOU SHOULD KNOW BEFORE YOU DRILL
7

CAUTION: READ THE WHOLE INSTRUCTIONS MANUAL
BEFORE ATTEMPTING TO START UP
This drilling machine’s spindle has a 19mm Weldon Shank type and is specifically designed for use with
Annular cutters.
Annular cutter (1) is located inside arbor body (2) and is fastened with grub screws (3). When fastening the cutter
in the arbour, ensure that the grub screws are firmly tightened to avoid them coming loose during operation. It is
important to position the cutter in relation to the arbour in such a way that fixing flats on the cutter shank are
positioned opposite to the grub screws (3). Both grub screws(3) should be used to fasten the cutter. The Pilot Pin
(5) is located inside the cutter to easily position the annular cutter over centre of a planned hole. During drilling
as the cutter goes into the material, the pilot pin moves back into the arbour body and pressurizes the discharge
spring (4).That spring ejects the slug which is a by-product of drilling the hole with a centre free cutter.
The machine is supplied in a metal box. Some components of the
drilling machine are coated with grease film for protection during transit
and storage. Prior to use of the machine this should be wiped clean.
CONTROL PANEL ELEMENTS
- (1) MAGNET SWITCH
- (2) MOTOR START STOP SWITCH
- (3) SPINDLE ROTATION SWITCH
a) In order to start the machine press the magnet switch (1) on “I”. Turn the spindle rotation switch to either CW
to run the machine fowards, or CCW to run the machine in reverse. Now you can start the motor by pressing
Start-Stop Switch (2) green button “I”
b) Stopping the motor is executed with red button „O” ( the motor is switched OFF but the electromagnetic
base is still ON).
c) To move machine into next drilling spot, stop the motor as described above and push the magnet
switch (1) to the position “O”, then Move magnet switch to “II” position for one or two seconds to reduce
residual magnetism.
START UP AND OPERATION
START
U
P
AND
O
P
ERATION
8
(1)
(2)
(3)

Before positioning the machine on work piece always make sure that:
- work piece is made of ferrous material
- thickness of work piece is adequate for secure magnetic adhesion (mild steel - 10mm is recommended)
- Ensure no part of magnet overhangs the steel workpiece
- surface of steel under the magnet is flat
- wipe, brush or sand down clean surface where you intended to place the drilling machine, so that you remove
rust, paint, dirt etc which would reduce adhesive power of the electromagnetic base.
Install annular cutter in the machine before plugging it into mains.
Place the machine so that the tool is over the centre of the hole you intend to make and turn the magnetic
base ON.
Always make sure prior to use that the machine is secured from falling down with a chain/strap.
- Choose a suitable lubricating fluid and fill the coolant tank.
The cooling system is an integral part of the machine and should always be used.
Warning: The cooling system works gravitationally, therefore it can be used only when in vertical position
of the drilling machine. In other positions, a cutting paste should be used.
- Check workings of cooling system. Open the coolant tank’s tap and apply pressure on the pilot by turning
spokes counter clockwise. As the pilot starts to sink into the cutter, cooling liquid should start to run down
the groove in pilot pin. If there is no liquid flowing down, check if the tap is fully opened. It may take a few
seconds for cooling liquid to fill the whole system.
- Select a suitable rpm speed for the machine to run at, using the table below as a guide.
Once a suitable speed has been decided upon, select that speed using the two gear switches on the front
and side of the gearbox.
I II rpm CUTTER DIAMETERR
310 12 - 38mm
200 38 - 50mm
150 50 - 76mm
100 76 - 110mm
MACHINE SPEEDS
Speed Recommendations
for cutting Mild Steel
Before you cut
Cutting
9

Cutting (continued)
- Turn the motor on.
Bring the cutter gently into contact with the work piece and slowly start to apply pressure on the cutter.
Making a hole with an annular cutter should ideally be done in one pass.
Do not peck drill.
WARNING : When the annular cutter goes through the material the slug can be pushed out often with
considerable strength.
Pay attention to avoid injury.
- After a hole is made the cutter should be retracted and both the motor and the electromagnet should
be switched OFF. Move magnet switch to “DEMAG” position for one or two seconds to reduce residual
magnetism.
- When work with the machine is finished the power cord should be disconnected from the power source,
the machine should be cleaned up from swarf, coolant etc and the cutter should be removed and cleaned.
NOTE: This machine is equipped with a motor overload protection circuit. And overload indicator light will
turn on if the motor load is excessive. If the motor load is increased beyond this point, the motor will shut off
and the overload indicator light will remain on. To restart the motor, first press the red motor “OFF” button.
The overload light will turn off, and the green motor “ON” button can now be pressed to restart the motor.
See caution below.
CAUTION!
IF DRILL MOTOR SHOULD STALL OR STOP BEFORE A COMPLETE CUT IS MADE,
ALWAYS REMOVE CUTTER FROM HOLE BEFORE
ATTEMPTING TO RESTART MOTOR. FAILURE TO DO SO COULD RESULT IN PERSONAL
INJURY AND/OR DAMAGE TO THE DRILLING MACHINE.
NOTE: THIS MACHINE’S CIRCUITRY WILL AUTOMATICALLY SHUT THE DRILL MOTOR
OFF IF MAGNETIC BASE IS SEPARATED FROM ITS WORK SURFACE.
10

- Every 250 hours of work check condition of carbon brushes. If their length is less than 5 mm they should be
replaced with new genuine brushes. After replacement, new brushes should be run-in without load for about
20 min. Repair and service work is to be performed by authorized service agents only.
- Adjustment of the machine slide guides should be done every 50 hours or as necessary by tightening the 4 gib
adjustment screws located down the side of the machine.
The slide guide tension is correct if the drive can be moved smoothly by using the feed handles. It is not
acceptable for the motor to automatically slide down under its own weight.
- Keep the magnet clean and free of chips, oil or other contaminants.
- Inspect arbor, sleeve and support bracket for visible wear.
- Replace any worn parts and tighten any fasteners that may have come loose during daily usage.
MAINTENANCE AND SERVICE
11

1. Magnetic base not holding securely
• Material is too thin.
• Surface of material being drilled must be free of chips, debris, rust and mill scale.
• Does size of cutter exceed machine’s rated capacity?
• Check magnet face for unevenness, nicks and burrs.
2. Drill motor running, arbor and spindle not turning
• Possible sheared drive train component.
3. Motor slows when drilling
• Is an extension cord being used? If so, see page 5 for recommended wire gages and cord lengths.
• Excessive downfeed pressure during drilling cycle will cause motor to slow and overheat.
• Does cutting tool need to be resharpened?
4. Coolant system not working
• Coolant system is gravity dependent, machine must be in a upright position to operate properly.
• Dirt or debris in coolant tank.
• Consistency of coolant mixture too thick.
• Is correct pilot pin being used?
•Vent hole in coolant tank lid blocked.
5. Slugs not ejecting from cutter
• Lack of coolant causing slugs to expand in cutter bore.
• Is correct pilot pin being used?
• Possible broken internal arbor parts.
6. Breaking cutters
• How is coolant being applied? Coolant must be supplied to interior of cutter.
• Excessive feed pressure being applied when cutter initially contacts work surface.
• Confirm material hardness.
• Drilling stacked materials with incorrect cutter.
• Dull cutters; dull or chipped cutting edges require excessive feed pressure, resulting in breakage.
• Movement of machine on material - See “1. Magnetic base not holding securely”
• Inconsistent hardness in material can cause cutter breakage
7. Oversized or rough holes
• Insufficient coolant.
• Excessive feed pressure.
• Dull cutter.
BASIC TROUBLESHOOTING
12

MACHINE PARTS LIST
13

MACHINE PARTS LIST
14

MACHINE PARTS LIST
15

MACHINE PARTS LIST
16
ITEM PART
NUMBER
DESCRIPTION
101 MT101 BODY
102 0151181 HEX NUT M5
103 22109 HEX INSERT SCREW M5X25
105 MT117 HEX SOCKET BOLT M6X25
106 35106 SPRING WASHER 6.1
107 MT107 SLIDE INSERT
109 MT108-N PLATE SLIDE
110 056107 LUG SAFETY CLAMPING
123 22112 LABEL “CORRECT GIB ADJUSTMENT”
200 MT2 ELECTROMAGNETIC BASE
300 MT814 GUARD
301 - GUARDS SLIDE
302 - BACK REST
303 22303 BALL LOCK
304 22306 SCREW M5X16
305 056305 HEX SOCKET BOLT M6X50
306 MT503 ROUND WASHER 6.4
307 056307 DISTANCE PLATE
401 MT401 PINION
402 35404 SCREW M6X20
403 35405 FLAT WASHER
404 - OVAL KNOB
405 MT407 HANDLE (INCLUDES OVAL KNOB)
406 MT403 GEAR RACK
407 35402 HEX SOCKET BOLT M6X25
408 35106 SPRING WASHER 6.1
409 MT503 ROUND WASHER 6.4
601 35603 COOLANT VALVE
ITEM PART
NUMBER
DESCRIPTION
610 35609 HEX NUT SHORT M12
611 35612 COOLANT CONTAINER WITH CAP
612 35601 PLASTIC HOSE (FLEXIBLE)
613 056613 CONNECTOR
614 35611 SCREW M4X12
701 0151064 STRAIN RELIEF PG11
702 0014200 POWER CORD
703 35701 NUT M4
704 35702 SPRING WASHER 4.3
705 22716 SPRING WASHER 4.1
706 22705 CROSS RECESSED SCREW M4X16
707 33707 CONTROLLER HOUSING
708 22708 SNAP BUSHING LA10
709 MT710 PANEL PLATE
710 22713 CROSS RECESSED SCREW M4X10
711 35702 SPRING WASHER 4.3
712 35706 MOTOR ON/OFF SWITCH
713 MT707 ROTARY SWITCH
714 35708 MAGNET SWITCH
715 33715-240 ELECTRONIC CONTROLLER SW-
10/240V
716 33716 GROUP OF WIRES NR1
717 33717 GROUP OF WIRES NR2
718 33718 GROUP OF WIRES NR3
800 MT800S ARBOR SET
801 MT801S ARBOR BODY
802 MT802 HEX SET SCREW M10X10
803 MT803 INTERNAL RETAINING RING 19W
804 MT804 WASHER
805 MT805 SEAL
806 MT806 PLUNGER
807 MT807 SPRING
901 MT901 METAL BOX
907 03029 WEDGE

MACHINE PARTS LIST
MAC
H
INE
P
ARTS
LIST
17
ITEM PART
NUMBER
DESCRIPTION
1 04801 INTERNAL RETAINING RING 62W
2 04802 MOTOR SPINDLE
3 04566 KEY WOODRUFF #606
4 04803 LOWER SPINDLE BEARING 35X62X14
5 04804 EXTERNAL RETAINING RING 35Z
6 04805 SPINDLE SEAL 35X55X10
7 04806 GEARCASE
8 04807 SPINDLE SEAL 35X55X10
9 04570 M8X1.25X40 HHCS
10 04813 SPRING WASHER 8.2
11 04808 UPPER SPINDLE BEARING 25X52
12 04809 SPINDLE SEAL 24X47X7
13 04573 DOWEL PIN 3/16”X1/2”
15 04541 BEARING, BALL 10X26X8 LWRGSH
16 04581 OUTPUT GEAR
17 04567 EXTERNAL RETAINING RING 19Z
19 04520 GEARSHAFT PINION
20 04564 KEY WOODRUFF #403
21 04582 GEAR HELICAL INPUT
22 04542 BEARING BALL 8X24X8 UPGRSHFT
23 04580 GEAR CLUSTER
24 04521 GEARSHAFT OUTPUT PINION
25 04565 KEY 1/8”SQX11.375”
26 04510 SHIFTING FORK
27 04523 PIN MAIN SPEED SELECTOR
28 04534 LEVER SPEED SELECTOR
29 04571 PIN SPRING 3X12
30 04591 SPRING COMPRESSION SPEED
SLTC
31 04524 PIN DRIVE SPEED SELECTOR
32 04563 SPRING WASHER 5.1
33 04572 HEX SOCKET BOLT M5X35
34 04514 LABEL SHIFT LEVER
35 045794 SCREW M3X5X6 SHCS
36 04593 GEARBOX GASKET
37 048037 GEARBOX COVER
38 04543 BEARING BALL 12X28X8 UGRARM
ITEM PART
NUMBER
DESCRIPTION
40 04632-V2 ARMATURE 240V
41 04544 BEARING BALL 8X22X7 UPRARM
42 04560 WASHER SPRING UPPER ARMA-
TURE
43 04562 HEX SOCKET BOLT M4X60
44 04576 WASHER LOCK EXTERNAL STAR M4
45 04557 INSULATOR FIELD SCREW
46 04647-V2 FIELD 240V
47 04558 INSULATOR FIELD SLEEVE
48 048048 FIELD CASE
49 04551 BRUSH HOLDER
50 04550 MOTOR BRUSH SET
51 04552 BRUSH CAP
52 07117 SNAP BUSHING LA6
53 0070526 HEX INSERT SCREW M6X12
54 048054-2 MOTOR TAG 240V
55 0070028 #2X3/16” DRIVE SCREW
56 048056 FIELD CASE COVER
57 COVER ARMATURE FAN
58 048058 CROSS RECESSED SCREW M5X16
59 048059 POTENTIOMETER TAG
60 048060 SPEED SENSOR WHEEL
61 048061 CROSS RECESSED SCREW M4X8
62 048062 COMMUTATOR CASING
63 048063 SELF-TAPPING SCREW 2.9X9
64 048064-2 SPEED CONTROL PC BOARD 240V
69 048069 SILICON ISOLATED WIRE 1.5MM
70 04824 POTENTIOMETER THUMBWHEEL
72 048071 CROSS RECESSED SCREW M3X8
73 048072 WASHER LOCK EXTERNAL STAR 3.2
74 048074 RUBBER DISK
75 048075 ELECTRIC SCREEN
76 048076 LABEL WIRING DIAGRAM
77 048077 LED SOCKET
77.1 048077.1 LED
78 048078 WASHER
79 048079 DISTANCE PLATE
80 048080 LABEL “OVERLOAD”

WIRING DIAGRAM
WIRING
DIAGRAM
18
Table of contents
Other HOLEMAKER Drill manuals

HOLEMAKER
HOLEMAKER 35 User manual

HOLEMAKER
HOLEMAKER PRO 60 HP User manual

HOLEMAKER
HOLEMAKER HMPRO50 User manual

HOLEMAKER
HOLEMAKER HM40AD User manual

HOLEMAKER
HOLEMAKER SM4X4 User manual

HOLEMAKER
HOLEMAKER HMPRO75 User manual

HOLEMAKER
HOLEMAKER PRO 100 User manual

HOLEMAKER
HOLEMAKER HMSPECIAL140 User manual

HOLEMAKER
HOLEMAKER VERSADRIVE V100T User manual

HOLEMAKER
HOLEMAKER PRO 50 User manual
Popular Drill manuals by other brands

Atlas Copco
Atlas Copco Secoroc YT29SA Operator instructions

DeWalt
DeWalt XR Li-Ion DCD991 instruction manual

Hitachi
Hitachi DS 12DVF3 Safety instructions and instruction manual

Worx
Worx WX371 Original instructions

Porter-Cable
Porter-Cable 90550130 instruction manual

Makita
Makita DDF451Z instruction manual