7 HOMEDEPOT COM/HOMEDECORATORS
Please contact 1-800-986-3460 for further assistance
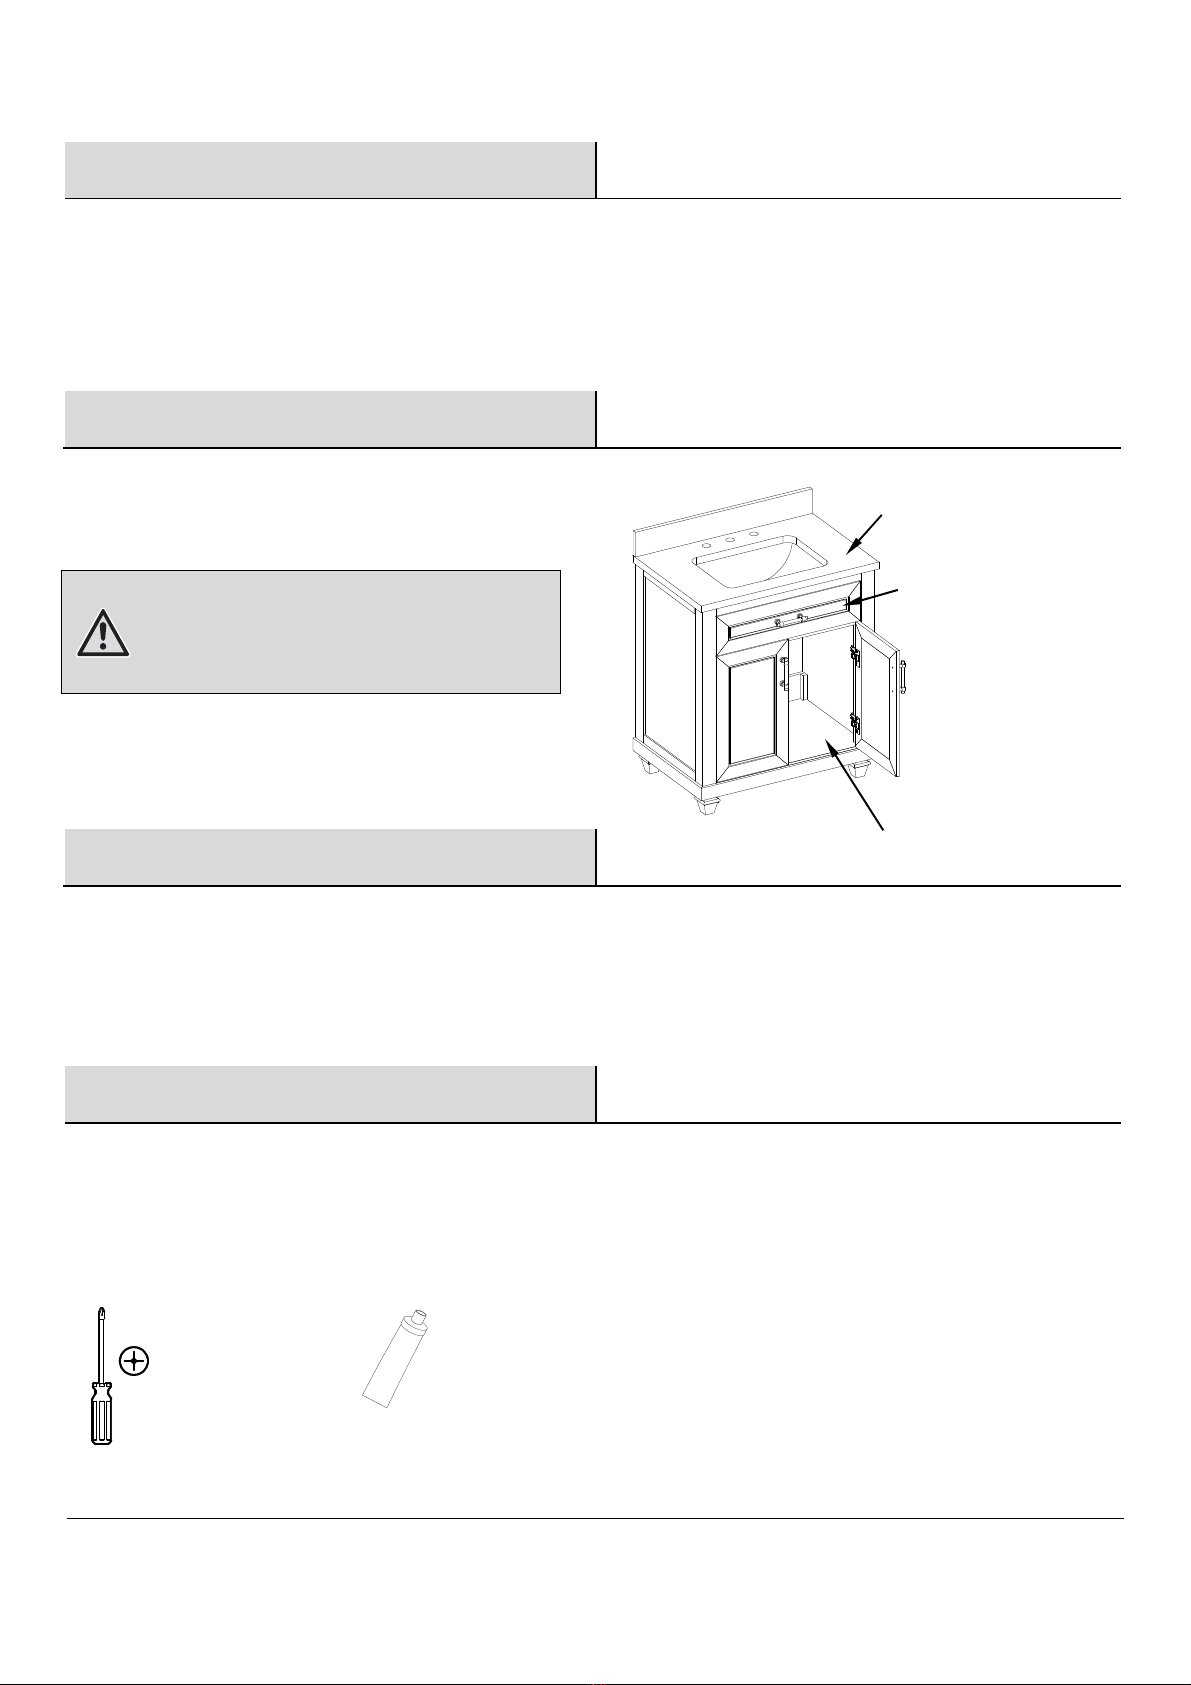
Care and Maintenance
□ Dust the vanity regularly with a soft, non-lint producing cloth or household dusting product
□ You can clean the vanity with a gentle, non-abrasive household cleaner Make sure to dry the wood immediately with a soft cloth or towel
□ The granite top can be cleaned using standard granite cleaning agents (sold separately)
□ Tips for using touch-up pen (AA): For scratches, stroke in direction of scratch; for worn areas, stroke in direction of wood grain Rub excess
colorant promptly with a soft cloth
□ Keep product away from direct sunlight as it may damage the finish
□ Please clean all fluids from the stone surface to prevent stains we strongly suggest that red wine spills be wiped off immediately to prevent
permanent damage to the stone surface
CARING FOR WOOD FURNITURE
It is best to keep your furniture in a climate-controlled environment Extreme temperature and humidity changes can cause fading, warping, shrinking
and splitting of wood It is advised to keep furniture away from direct sunlight as sun may damage the finish
Proper care and cleaning at home will extend the life of your purchase Following these important and helpful tips will enhance your furniture as it
ages
Questions, problems, missing parts? Before returning to the store,
call Home Decorators Collection Customer Service
8 a m - 6 p m , EST, Monday-Friday
1-800-986-3460
HOMEDEPOT COM/HOMEDECORATORS
Retain this manual for future use