manuals.online logo
Brands
  1. Home
  2. •
  3. Brands
  4. •
  5. Home Theater Master
  6. •
  7. Remote Control
  8. •
  9. Home Theater Master MX-500 User manual

Home Theater Master MX-500 User manual

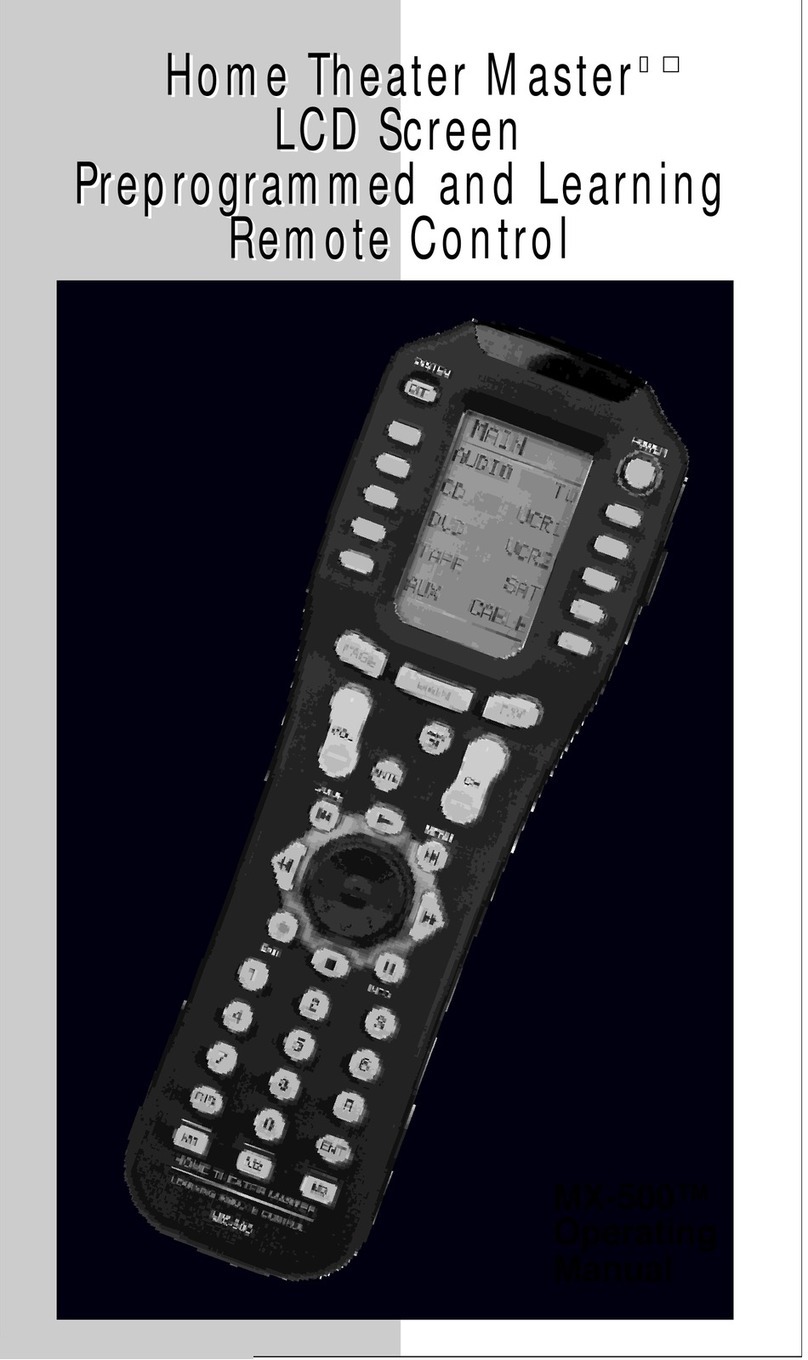
HomeTheaterMaster@
LCDScreen
PreprogrammedandLearning
RemoteControl
1, Introduction ............................................................................................
3
2. Batteries .
.._........._.......................................................................................
4
A. Battery Installation
B. Battery Life
3. Summary of Operations .....
.._.......................................................
5
A. Description of Devices
B. Preprogrammed Codes
C. Learning from Other Remote Controls
D. Macro Operations
E. Favorite Channel Buttons
F. Punch Through Operations
G. Editing LCD Text
H. Cloning the MX-500TM
I. All Other Operations
J. LCD Screensand Button Layout
K. System Settings
4. Programming the Remote to Control Your
Components ...
.._......................................................................................
10
A. Preprogrammed Codes
1.Three-Digit Code Number
2. Auto ScanMethod
B. Learning Method
1.Programming Function Buttons
2. Programming Ten Device Buttons
5. JJfbogramming Favorite Channels .
.._....................................
18
6.
Programming Macro Buttons ..,....__........................................
20
1.Ml - M3, Power and System Off Buttons
2. Ten Device Buttons
7. Programming Punch Through Operations ............‘...23
8. Erasing Existing Programming
..,....._....................................
24
A. Erasing Learned Buttons
B. Erasing Favorite Channel Buttons
C. Erasing Macro Functions
1.Ml - M3, Power and System Off Buttons
2. Ten Device Buttons
D. Erasing Punch Through Functions
9.
LCD Button
Editing ................. .... .................................................
28
A. Create or Edit Text on Function Buttons
B. Create or Edit Text on Device Buttons
C. Create or Edit Text on Favorite Channel Buttons
10. Recalling the Preprogrammed Three-Digit Code
Number ................................ .................................................31
11.
Setting
Back
Light
._.....__,......,_.......................................,................
31
12.
Cloning MX-SO()TM 32
13.
Adjustment of LCD contrast
33
14. Caution in
Handling
LCD Screen .................................34
15. Low Battery Message 34
16. Memory Lock .....
..__......._..................................................................
34
17. Warranty 35
18. Specifications .................................................................... ...... 35
19. Appendix 36
A. List of Preprogrammed LCD Texts by Device
B. Three-Digit Preprogrammed Code Table
Congratulations! You have purchased one of the most
sophisticated remote control on the market. The MX-
500TM has been designed to provide a new standard in
remote control and infrared technology offering a very
powerful and flexible preprogrammed, learning, menu-
driven product.
With the MX-SOOTMyou have the option of programming
the unit for up to ten home entertainment and home
automation components by using either the preprogrammed
code library in the remote control, by teaching up to 530
commands into MX-500TM from your original remote
controls, or a combination of both methods.
The MX-500TM has many additional operating features to
add convenience and enjoyment to the operation of your
home entertainment system including the ability to create
your own descriptions of the component buttons on the
LCD, the ability to learn 530 commands from your original
remote controls, various macro operations program, 50
favorite channels buttons, and punch-through operations
for volume control, channel and transport buttons.
Setting up the MX-500 TMto operate your components is
easy and simple. Please follow the instructions in the
manual and retain the manual for future reference. In the
event the manual is lost or misplaced, a replacement copy
can be found at the Home Theater Master website:
httn://www.hometheatermaster.com
For any questionsor comments about the MX-500TM, please
contact us at Universal Remote Control, Inc., 500
Mamaroneck Avenue, Harrison, NY 10528 at 914-835-4484
or e-mail us: [email protected] Regular customer service
hours are9:00 AM to 6:00 PM EST, Monday - Friday.
A. Battery Installation
Before the remote control can be used,the supplied
batteries needto be installed. First, unsnap the battery
cover on the back of the unit and install the four AAA
batteries inside the battery compartment asshown. Make
sure the batteries line up with the (+) and (-) markings.
Improper installation could damagethe remote control.
When you’re done, slide the battery cover back on. The
remote control startsup automatically and the default
device components will appearon the LCD.
B. Battery Life
Under normal operating conditions, the batteries
supplied with the remote control will last approximately
six months. If the batteries arerunning low, you will
notice reduced range from the remote control,
commands that are not sentproperly, or arenot sentat
all. You may also notice the backlighting of the LCD
screenand the button is diminished.
Should any of theseoccur, replace the batteries
immediately. To ensureproper performance of the unit,
only usenew alkaline batteries.
The remote control will retain the commands and
settings in its memory even after the batteries are low or
become discharged. SeeMemory Lock on page 34.
Pleasereplace the worn batteries with a fresh setassoon
aspossible.
A. Description of Devices
The MX-5OOTMis designedto operateup to tencomponents
on the market including Audio Receivers, Cable and
Satellite Boxes, TV, DVD (LD),VCRl, VCR2, CD,
Tape and AUX. However, eachof the device buttons
and corresponding functions can be changedto meet
your individual requirements. Almost any device that
usesinfrared commands can be controlled by the MX-
500TM,including Home Automation, Personal
computers and more.
Tip) Theauxiliary function could be usedto operate
lighting controls or the second VCR could be changed
to operate a second TK
Each device button on the main screencontains two sub-
pagesof commands and you can change the name of any
LCD button using up to five alphabet characters and
numbers to customize the unit to fit your audio/video
components. Pleaserefer to the LCD Button Editing on
page 28 for additional details.
B. Pre-programmed Codes
The MX-5OOTMcomes with preprogrammed codesfor
practically all the major audio and video equipment on
the market. You can set-up and operate all of your
components with the MX-500TM simply by punching in
the three-digit code number assignedto your brand of
component.
The code numbers for the various brands of components
are listed in the back of this instruction manual. Please
refer to the programming instructions shown on page 10
for details.
C. Learning From Other Remote Controls
The MX-500TM can learn codesfrom your original
remote controls. There are 26 LCD screensin the remote
control and all the functional buttons aswell asten
device buttons on the main menu screencan be taught.
In addition, there are 31 rubber buttons and ajoystick
that can be taught for eachof the ten devices. As a
whole, you can teach up to 530 new functions into the
remote control. Pleaserefer to page 15in the instruction
manual for details.
D. Macro Operations
The remote control is capable of sending out a seriesof
commands with one button press.Any function available
on your original remote control or in the pre-programmed
databasecan be addedto a macro button to completely
automate what you would normally do by pushing
buttons one at a time. It canbe assimple as “Turning on
your TV andCable Box, turning the TV to the appropriate
channel for operation with the Cable Box and changing
the Cable Box channel to your favorite morning news
channel”. Or the macros can be configured to “Power On
your TV, DVD player and receiver, change to the
appropriate inputs and outputs, dim your lights and start
the movie playing”. It canbe simple or ascomprehensive
asyou want it to be.
There are two types of macro buttons you can usefor
macro operations:
Ml, M2, M3, Power and System Off Buttons
Each of thesefive buttons are designed to sendout up
to 20 seriesof commands you program into the
buttons. Each one is commonly usedto turn on and
turn off all of your A/V components with one button
press,but can be programmed with whatever macro
you desire.
Ten Device Buttons
There are ten device buttons and each of thesedevice
buttons can sendout up to 20 programmed commands
when pressedfor more than two seconds.It is
typically usedin sending out audio input codes so that
the audio receiver will make anautomatic input switch
when you pressthe respective device button on the
remote control, but can be programmed with whatever
macro you desire.
E. Favorite Channel Buttons
You can createup to 50 favorite channel buttons in the
remote control by programming the most frequently
watched channel numbers into thesebuttons. Each of
thesebuttons can sendout up to 10commands.
Pleaserefer to page 18of the manual for programming
the Favorite Channel Programming.
F. Punch Through Operations
The MX-500TM canbe setupto operate audio component
volume control buttons (VOLUME UP and DOWN and
MUTE) while all the other buttons control other
equipment. You can also setup the remote to operate
channel control and transport functions (PLAY, STOP,
REWIND, FAST FORWARD, SKIP-, SKIP+, PAUSE
and Record buttons) from VCR, DVD, LD, CD or any
other mode while all other buttons in the remote control
are controlling different components.
Pleaserefer to page 23 in the manual for details.
G. Editing LCD Text
You can createyour own text on each of the twenty-six
LCD screens.
Pleaserefer to page 28 in the manual for details.
H. Cloning the MX-500TM
The MX-500TM is capable of sending and receiving all
the programmed codes,text on the LCD and operations
from one MX-500TM to another MX-500TM. Pleaserefer
to page 32 in the manual for details.
I. All Other Operations
You can setthe duration of the backlight on time and
LCD contrast. Pleaserefer to page 33 and 35 in the
manual for details.
J. LCD Screen and Button Layout
(i) Displays the nameof the device selected.
B System off(Power off)
0 Displays pagenumber.
a Displays the device and function names.
@ LIGHT button.
m MACRO buttons.
0 MAIN DEVICE menu button.
@ LCD Pagechangebutton.
a POWER
0 MUTE
m VOLUME
0 CHANNEL
0 Previous channel button.
@ TRANSPORT functions(PLAY, STOP,REWIND andFF)
for VCR, CD andDVD etc.
m JOYSTICK button(UP, DOWN, LEFT, RIGHT andENTER)
to move the cursor andenter the selection by pushing down
thejoystick.
0 ENTER
m DISPLAY
K. System Settings
All programming is done by first entering the SYSTEM
SETTING mode in the remote control. Pressboth the
R buttons simultaneously for three
seconds to enter the SYSTEM SETTING mode.
Pressanyof thetenbuttonsassociatedwith thedescriptions
written on the LCD. You can exit the SetUp mode by
simply pressing the button.
You can program the MX-500TM to make it compatible
with your components by following either the pre-
programmed method instructions or by teaching it with
your original remote controls.
A. Using Pre-programmed Codes
You canprogram the MX-500TM to make it compatible with
your components by using the pre-programmed method.
1. Three-Digit Code Number
1. Turn on the component you wish to program.
Tip) Zfyour componenthasa discrete Power ON and
OFF button, please do not yurn on the component
manually.
2. Go to the program setting mode by pressing both
MN and ALTAR buttons simultaneously for
three seconds.
3. Select the P-PRO button next to the LCD screen.
4. Pressthe device you wish to program. (E.g. To
program TV, pressthe TV button).
5. Select the device from which the appropriate
three-digit code number table will be selected.
(E.g. If it is the TV code table, pressthe TV device
button).
6. Point the remote control toward the component
and enter the three-digit code number you selected
for your component from the code table provided
on page41 - 54. (Pleaseenter the code number
within 20 secondsof programming). If there is more
than one code number assignedto your brand, try
the one code number at a time until you find the
right code number. (If you enter the right code
number, the component will turn off right after you
entered the correct number).
7. Confirm that it is the right code by pressing
Power button. After you have confirmed that the
right code is entered, savethe code by pressing the
SAVE button on LCD.
8. Exit from preprogramming mode by pressing
the button and then exit from SET UP mode
by pressing the button once again.
9. Confirm yo entered the right code
number that matchesyour component by pressing
other functional buttons. If any of the buttons fail to
operate, asthey should, pleaserepeat from Step 1.
10. Continue to program other components by
repeating from Step 1above.
2. Auto Scan with Three Digit Number
You can also program your remote control by sending
out seriesof Power Off commands for different brands
stored in the library by using the following steps.
1. Manually turn on the component you plan to
operate.
Tip) If your componenthasa discrete Power ON and
OFF button, please do not yurn on the component
manually.
2. Go to program setting m
control by pressing both th
buttons simultaneously for three seconds.
3. Select the ~-~~~ button next to the LCD screen.
4. Pressthe device you wish to program.
(E.g. To program TV, pressthe TV button).
5. Select the device from which the scannedcode
table will be selected.(E.g. If it is the TV code
table, pressthe TV device button).
6. Point the remote control toward the component
and presseither the 0rD button on the
LCD. (It will sendout the seriesof Power codes
when the button is kept pressedand the,code
number that arebeing sent are shown on the LCD).
If the right code number is sent,the component will
turn off right after the code number is transmitted.
7. Releasethe UP or
pressing assoon asth
8. Confirm that it is the right code by pressing
Power button. After the confirmation that the
code is entered, savethe code by pressing the
button on the LCD. Later you may want to try other
code numbers for your component to seewhich one
includesthemostfunctionsappropriatefor your device.
9. Exit from Preprogrammed mode by pressing the
AEN button and then exit from SET UP mode by
pressing the ~A~ button once again.
10.Confirm that you entered the right code number
that matchesyour component by pressing other
functional buttons. If any of the buttons do not
operate asthey should, pleaserepeat from Step 1.
11.Continue to program other components by
repeating from Step 1above.
B. Learning From Other Remote Controls
You can program the MX-500TM to operate a component
by teaching the commands from your original remote
control to device buttons on the main screenmenu, 20
buttons on 2 pagesof the LCD per device, 31 rubber
buttons and thejoystick located in the middle of the
remote control. The MX-5OOTMlearns thesecommands
by receiving infrared signals directly from your existing
remote controls. The MX-500TM receives thesesignals
through its learning eye, located at the top of the unit.
Apart from the PAGE, MAIN, FAV buttons andMl - M3
buttons which cannot be taught, the MX-500TM hasthe
capability of learning up to 530 commands.
Tip) Commonly usedfunction buttons include the two
pages of sub-commands within each of the 10 devices,
channel up and down, volume up and down, menu,
guide, exit, info, O-9and joystick.
Points to Remember
If the remote control fails to learn a function after the
first try:
l Keeptheremotesstableby placingthemonaflat surface.
l Make surethe original remote is pointed at the
learning eye at the top end of the case.
l Make surethe original remote’s batteries aren’t low.
l Try again.Sometimesthesecondor third attemptworks.
l Try varying the distance between the remotes until
you find an optimal distance where the codes are
learned on the first or secondtry.
1. Programming Function Buttons
1. Go to the program setting mode by pressing both
buttons simultaneously for
three seconds.
2. Pressthe LEA
3. Select the ish to program.
4. Pressthe button on the MX-500TM you wish to
program and place your original remote control
headto headwith the MX-5OOTMabout 2 inches
apart on a flat surface asillustrated below.
5. Pressthe button on your original remote control
you wish to program into the MX-500TM. Once the
MX-SOOTMhasreceived the signal, the MX-500TM
will flash “Good” on the LCD screen,indicating it
learned the code correctly. If it flashes “Fail”, repeat
from Step4 until it learns successfully. (Please
enter the code signal within 20 secondsof
programming).
6. Once you complete the programming and wish
to exit the leaning mode, pressthe I%$ utton.
Exit from SET UP mode by pressing t
button once again.
2. Programming the Ten Device Buttons
1. Go to the program setting mode by pressing both
the IN and buttons simultaneously for
three seconds.
4. Pressany of the ten device buttons you wish to
program into the MX-500rM and place your original
remote control headto headwith the MX-500TM
about 2 inches apart on a flat surface.
5. Pressthe button on your original remote control
you wish to program into the MX-500TM. Once the
MX-500TM hasreceived the signal, the MX-500TM
will flash “Good” on the LCD screen,indicating it
learned the code correctly. If it flashes “Fail”, repeat
from Step4 until it learns successfully. (Please
enter the code signal within 20 secondsof
programming).
6. Once you complete the programming and wish
to exit the leaning mode, pressthe
Exit from SET UP mode by pressing the
button once again.
You can create and program up to 50 Favorite Channel
Buttons and each favorite channel button can send out up
to 10commands with one button press.
1. Go to the pro,gramsetting mode by pressing both the
M and B R buttons simultaneously for three
seconds.
2. Pressthe FAV Button on the LCD.
3. Pressthe appropriate device button from which the
channel number will be selected.
M!:ll...l1E HE:l-F
4. Go to one of the five I+$ZDpagesby pressing the
FAV(or PAGE) button. Pressthe button you will be
assigning to the favorite channel and enter the channel
number, power, Display and Enter commands you wish
to store in the FAVORITE channel button. You can store
up to 10commands.
Tip) If you pressed a wrong channel numbel; please
move the cursor by using left or right button of the
joystick and thenpress the correct channel number:
5. Pressthe favorite channel button you selectedin Step
4 again to store the channel you programmed.

Other manuals for MX-500

3

Other Home Theater Master Remote Control manuals

Home Theater Master MX-700 User manual

Home Theater Master

Home Theater Master MX-700 User manual

Home Theater Master MX-1000 User manual

Home Theater Master

Home Theater Master MX-1000 User manual

Home Theater Master MRf-250C User manual

Home Theater Master

Home Theater Master MRf-250C User manual

Home Theater Master MX-1000 User manual

Home Theater Master

Home Theater Master MX-1000 User manual

Home Theater Master MX-200 User manual

Home Theater Master

Home Theater Master MX-200 User manual

Home Theater Master MX-1000 User manual

Home Theater Master

Home Theater Master MX-1000 User manual

Home Theater Master MX-800 User manual
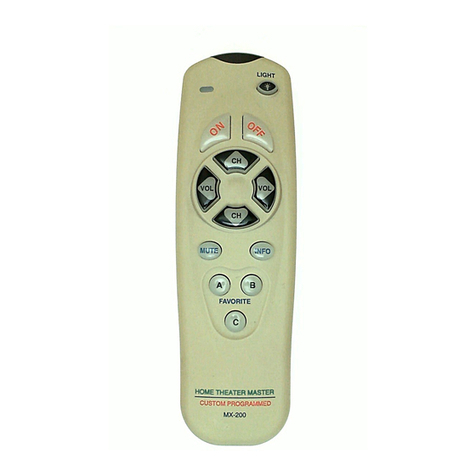
Home Theater Master

Home Theater Master MX-800 User manual

Home Theater Master MX-500 User manual

Home Theater Master

Home Theater Master MX-500 User manual

Home Theater Master MX-3000 User manual

Home Theater Master

Home Theater Master MX-3000 User manual

Home Theater Master MRF-250 User manual

Home Theater Master

Home Theater Master MRF-250 User manual

Home Theater Master MX-600 User manual

Home Theater Master

Home Theater Master MX-600 User manual

Home Theater Master SL-8000 User manual

Home Theater Master

Home Theater Master SL-8000 User manual

Home Theater Master MX-500 User manual

Home Theater Master

Home Theater Master MX-500 User manual

Home Theater Master MRF-250 User manual

Home Theater Master

Home Theater Master MRF-250 User manual

Home Theater Master MX700TM User manual

Home Theater Master

Home Theater Master MX700TM User manual

Home Theater Master MRF-200 User manual
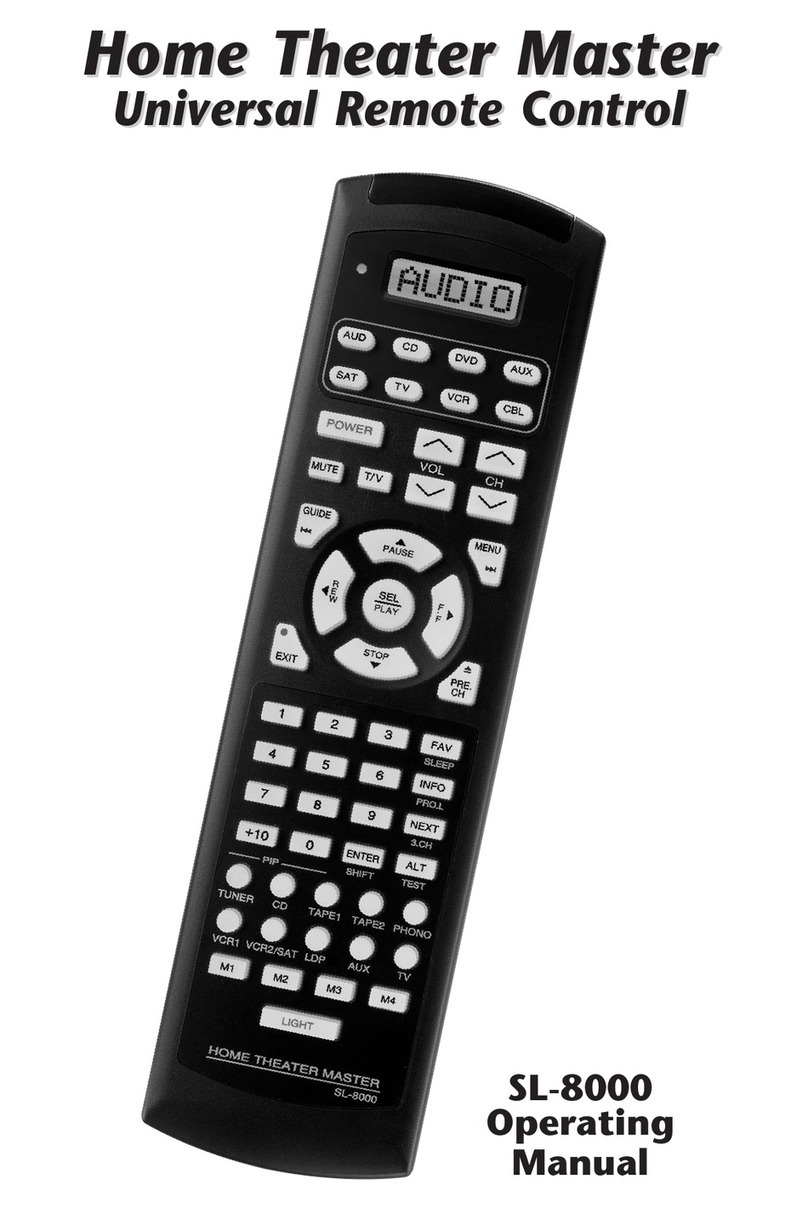
Home Theater Master

Home Theater Master MRF-200 User manual

Home Theater Master MX-500 User manual

Home Theater Master

Home Theater Master MX-500 User manual
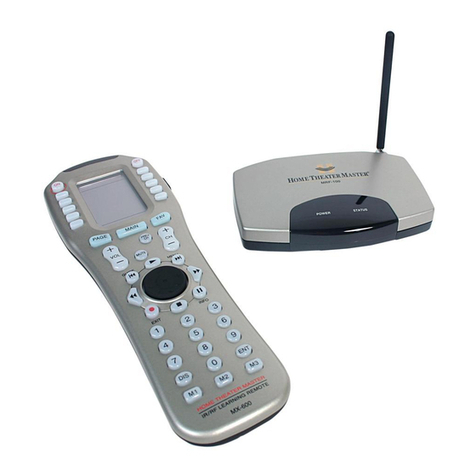
Popular Remote Control manuals by other brands

Simplicity RT-SR50 user guide

Simplicity

Simplicity RT-SR50 user guide

Osram DALIeco quick start guide

Osram

Osram DALIeco quick start guide

LSC Mantra Mini quick start guide

LSC

LSC Mantra Mini quick start guide

Acson Air Conditioner Operation manual

Acson

Acson Air Conditioner Operation manual

Porter 12002 Sportsonic II Installation & operation manual

Porter

Porter 12002 Sportsonic II Installation & operation manual

WiSilica lumos CONTROLS Catron V quick start guide

WiSilica

WiSilica lumos CONTROLS Catron V quick start guide

Firgelli 2CH-REM instructions

Firgelli

Firgelli 2CH-REM instructions

Universal MX-850 operating instructions

Universal

Universal MX-850 operating instructions

Remote Control Systems TITAN-TRACKSIDE-6v2-AB manual

Remote Control Systems

Remote Control Systems TITAN-TRACKSIDE-6v2-AB manual

Hitachi RC-AGS1EA0E manual

Hitachi

Hitachi RC-AGS1EA0E manual

dji RC Motion 2 user guide

dji

dji RC Motion 2 user guide

Velleman CTC1000RC user manual

Velleman

Velleman CTC1000RC user manual

Mitsubishi Electric Ecodan PAR-WT50R-E Operation manual

Mitsubishi Electric

Mitsubishi Electric Ecodan PAR-WT50R-E Operation manual

Varioprop Uno S2R instruction manual

Varioprop Uno

Varioprop Uno S2R instruction manual

Bandini Industrie GBD DTR4352 instructions

Bandini Industrie

Bandini Industrie GBD DTR4352 instructions

Ltech T1 quick start guide

Ltech

Ltech T1 quick start guide

Philips RC9800I/05 user manual

Philips

Philips RC9800I/05 user manual

Bandini Industrie GBD DTR4042 quick start guide

Bandini Industrie

Bandini Industrie GBD DTR4042 quick start guide

manuals.online logo
manuals.online logoBrands
  • About & Mission
  • Contact us
  • Privacy Policy
  • Terms and Conditions

Copyright 2025 Manuals.Online. All Rights Reserved.