manuals.online logo
Brands
  1. Home
  2. •
  3. Brands
  4. •
  5. Homewerks
  6. •
  7. Plumbing Product
  8. •
  9. Homewerks 16-U42WNCHB User manual

Homewerks 16-U42WNCHB User manual

11-27-2019Homewerks Worldwide, LLC • Lake Bluff, IL 60044 • HomewerksWW.com
HOMEWERKS
™
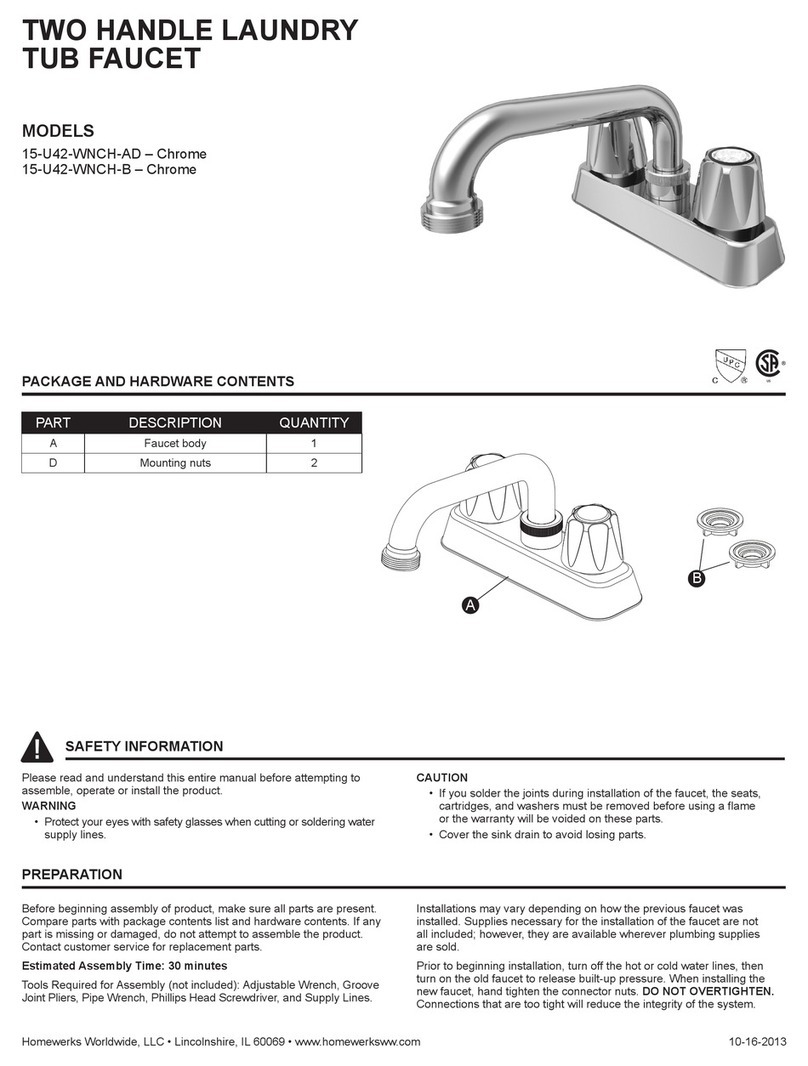
TWO HANDLE LAUNDRY
FAUCET
16-U42WNCHB - Polished chrome nish
PACKAGE AND HARDWARE CONTENTS
NSF 61
PART DESCRIPTION QUANTITY
A
C
B
A Faucet body 1
BMounting nuts 2
C Hose thread aerator 1
SAFETY INFORMATION
Please read and understand this entire manual before attempting to
assemble, operate or install the product.
WARNING
• Protect your eyes with safety glasses when cutting or soldering water
supply lines.
CAUTION
• If you solder the joints during installation, the seats, cartridges, and
washers must be removed before using a ame or the warranty will
be voided on these parts.
• Cover the drain to avoid losing parts.
PREPARATION
Before beginning assembly of product, make sure all parts are present.
Compare parts with package and hardware contents list. If any part is
missing or damaged, do not attempt to assemble the product. Contact
customer service for replacement parts.
Estimated Assembly Time: 30 minutes
Tools required for assembly (not included): adjustable wrenches, groove
joint pliers, pipe wrench, Phillips screwdriver, supply lines, thread seal
tape, silicone.
Installation may vary depending on how the previous faucet was in-
stalled.
Supplies necessary for the installation of the faucet are not all included;
however, they are available wherever plumbing supplies are sold.
Prior to beginning installation, turn off the hot and cold water lines, then
turn on the old faucet to release built-up pressure. When installing the
new faucet, hand tighten the connector nuts. DO NOT OVERTIGHTEN.
Connections that are too tight will reduce the integrity of the system.
Questions, problems, missing parts? Before returning to your retailer, call our customer service department at 1-877-319-3757,
7:30 a.m. - 4:30 p.m., CST, Monday - Friday.
2HomewerksWW.com
PRODUCT SPECIFICATIONS
Min. ow rate: 4.0 GPM (15.1 LPM) Washerless cartridges
ASME A112.18.1/CSA B125 Manufactured to include no more than 0.25% weighted average lead
content on wetted surfaces
NSF 61-9
Chrome nish Total weight of item: 1.28 lbs.
ASSEMBLY INSTRUCTIONS
1. Turn off water at the supply valve
under the sink or at the main water
supply, disconnect the supply
line, and remove old faucet.
Clean and dry surface area
where new faucet will be
mounted.
13. To connect the water supply, use
1/2 in. IPS faucet supply lines
(3.1) or coupling nuts (3.2) with
3/8 in. O.D. ball-nose risers (3.3).
These parts are not included.
Wrap thread seal tape around
each faucet shank (3.4) in a
clockwise direction. NOTE: When
making water line connections,
hand tighten with a wrench. Do
NOT overtighten.
3
2. Place new faucet body (A)
through holes in top of sink. From
the underside of the sink, slide
the mounting nuts (B) onto the
threaded rods and hand tighen the
mounting nuts (B).
A
B
24. After installation is complete,
remove the aerator (4.1) from the
spout (4.2) of the faucet body (A).
Do not lose the gasket (4.3) in the
aerator (4.1). Turn on the water
supply and allow both the hot and
cold water to run for at least one
minute. This ushes away any
debris that could cause damage
to the internal parts. While the
water is running, check for leaks.
Retighten any connections if
necessary, but do not overtighten.
4
.3
4.3
A
4
.1
4
3
HomewerksWW.com
OPERATING INSTRUCTIONS
The lever handle controls the ow of hot and cold water to the faucet.
Rotate the handle forward for cold water. Rotate the handle backward for hot water. Moving the handle out from the faucet body (to the right) opens the
cartridge and causes water to ow from the spout. The degree of handle opening determines the volume of water ow. Returning the handle to the original
position (toward the faucet body) stops the ow of water.
CARE AND MAINTENANCE
Clean periodically with a soft cloth. Avoid abrasive cleaners, steel wool, and harsh chemicals as these will dull the nish and void your warranty.
TROUBLESHOOTING
PROBLEM POSSIBLE CAUSE CORRECTIVE ACTION
Leaks underneath
handle.
Bonnet has come loose or
O-ring on cartridge is dirty
or twisted.
1. Move the handle to the OFF position. Unscrew the handle screw and remove the
handle.
2. Tighten the bonnet by turning it clockwise. Move the cartridge stem to the on position.
The leak should stop draining out from around the cartridge stem.
3. Shut off the water supply. Remove the bonnet by turning it counterclockwise. Lift out the
cartridge valve. Inspect the larger O-ring on the cartridge bonnet and the smaller O-ring
on the cartridge stem. Remove any debris from the O-rings. If either O-ring is twisted,
straighten it out. If either O-ring is damaged, replace the cartridge by calling customer
service.
4. Position the cartridge back into the faucet body. Make sure the ridges on the two sides
of the cartridge bonnet t into the grooves on the two sides of the faucet body. Tightly
screw the bonnet onto the faucet body.
5. Re-install the handle.
Water does not
completely shut off.
Rubber valve seat is dirty,
stuck, or broken.
1. Shut off the water supply to the faucet that leaks.
2. Remove the handle on the problem side. Loosen the bonnet by turning it counterclock-
wise. Lift out the cartridge assembly.
3. Inspect the rubber valve seat in the faucet body. If there is debris or brass scrap on the
surface of the seat, remove it. If the rubber seat is stuck tightly in the water inlet hole,
push it gently with a ngertip so that it moves up and down smoothly. The spring
(smaller end up) must be replaced underneath the valve seat. If the rubber valve seat
is worn out or broken, replace the cartridge by calling customer service.
4. Replace the cartridge in the faucet body. Make sure that the ridges on the two sides of
the cartridge bonnet t into the grooves on the two sides of the faucet body. Tightly
screw the bonnet onto the faucet body.
5. Re-install the handle.
Faucet leaks around
aerator.
Aerator incorrectly tted. 1. Unscrew the aerator by turning it clockwise. Inspect the black rubber packing inside
the aerator. The rubber packing should be at.
2. Screw the aerator onto the spout end and tighten.
Improper water
pattern.
Aerator dirty or small parts
inside aerator improperly
installed.
1. Remove the aerator from the spout end by turning it clockwise.
2. Gently ush the small parts inside the aerator to clear away any debris.
3. Re-install the small parts as shown in the exploded diagram. Metal screens must be
at and plastic supporter must be straight.
4. Screw the aerator onto the spout end and tighten.
ROUGH-IN
4"
1/2"-14NPSM-2A
1-1/8"
2-1/8"
2-1/4"
5-5/8"
7-1/8"
4-1/2"
6-5/8"
4
LIMITED LIFETIME WARRANTY
The distributor warrants to the original consumer purchaser this product to be free
from defects in material and workmanship under normal use in residential applications.
At its option, the Company will provide repair parts or replace defective product
when the product is used in accordance with the manufacturer’s specications.
The distributor provides a limited 5-year warranty on the nish of this product to the
original purchaser. At its option, the distributor will provide repair parts or replace
defective product when the product is used in accordance with the manufacturer’s
specications. Use of mild abrasive, abrasive or chemical cleaners may damage the
nish of the faucet. We recommend cleaning your faucet with a soft cloth, moistened
with water. Damage resulting from the use of abrasive or chemical cleaners SHALL
VOID THIS WARRANTY.
This warranty is not applicable to any products or parts of products where damage
is caused by use of non-genuine parts; is due to installation error, product misuse,
negligence or faulty maintenance; or where the product is not installed according to
local building codes.
This warranty excludes labor charges or damage incurred during installation, repair
or replacement, and any indirect, incidental or consequential damages, losses, injury
or costs of any nature. This warranty is in lieu of and excludes all other warranties,
conditions and guarantees, whether expressed or implied, including without restriction
those of merchantability or tness of use.
Liability under this warranty will not exceed the purchase price for the product claimed
to be defective by the original consumer purchaser. Some states or provinces do not
allow the exclusion or limitation of consequential damages so the above limitations
or exclusions may not apply. This warranty gives you specic legal rights and you
may also have other rights which vary from state to state, or province to province.
Inquiries regarding warranty claims can be directed to 1-877-319-3757,
7:30 a.m. - 4:30 p.m., CST, Monday - Friday.
REPLACEMENT PARTS
For replacement parts, call our customer service department at 1-877-319-3757, 7:30 a.m. - 4:30 p.m., CST, Monday - Friday.
PART DESCRIPTION PART #
1Screw RP50005
2Handle - hot RP13116CH
3Handle - cold RP13117CH
4Bonnet RP70435
5Washer RP64124
6Cartridge RP22012
7Seat and spring RP22008
8Mounting nut RP56001
9Aerator assembly RP30031CH
10 Hose adapter assembly RP30024CH
11 Washer RP64085
12 Clip RP70106
13 O-ring RP60008
14 Spout nut RP56129CH
1
3
4
5
6
7
8
9
10
11
12
13
14
2

Other Homewerks Plumbing Product manuals

Homewerks 21-B42-WYHW-Z User manual

Homewerks

Homewerks 21-B42-WYHW-Z User manual

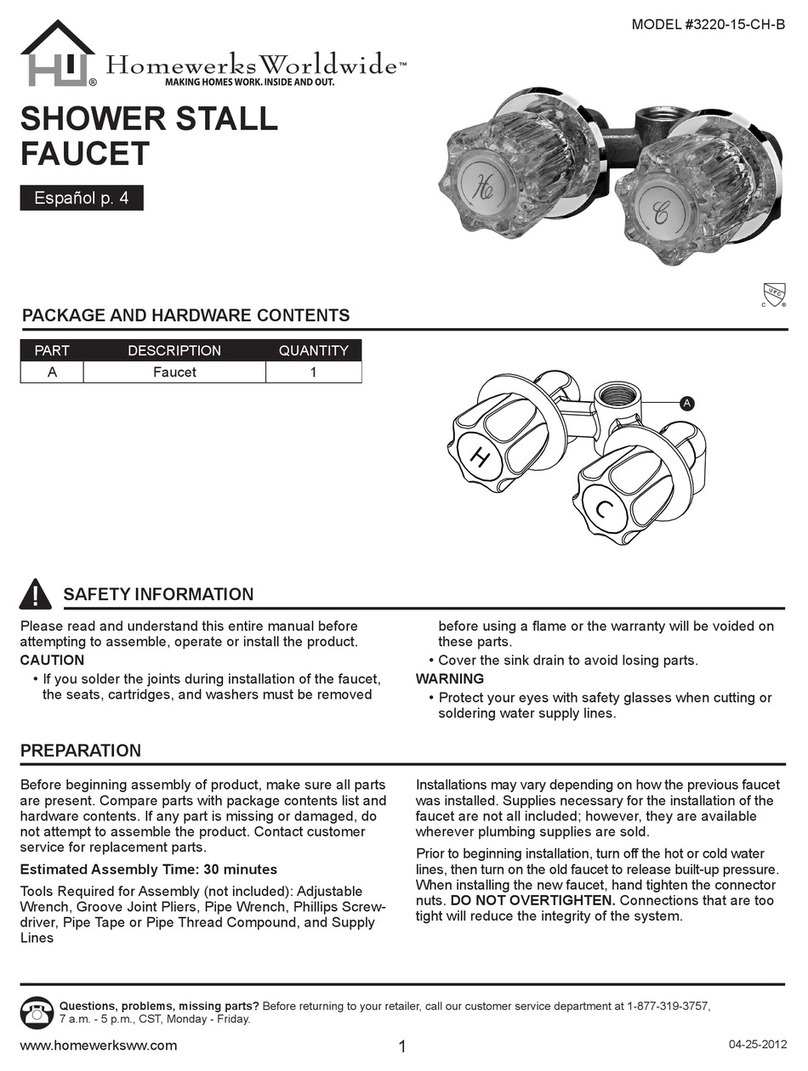
Homewerks Worldwide 3220-15-CH-B User manual

Homewerks

Homewerks Worldwide 3220-15-CH-B User manual

Homewerks 3190-43-CH-BC-Z User manual

Homewerks

Homewerks 3190-43-CH-BC-Z User manual

Homewerks 3210-150-CH-B-Z User manual

Homewerks

Homewerks 3210-150-CH-B-Z User manual

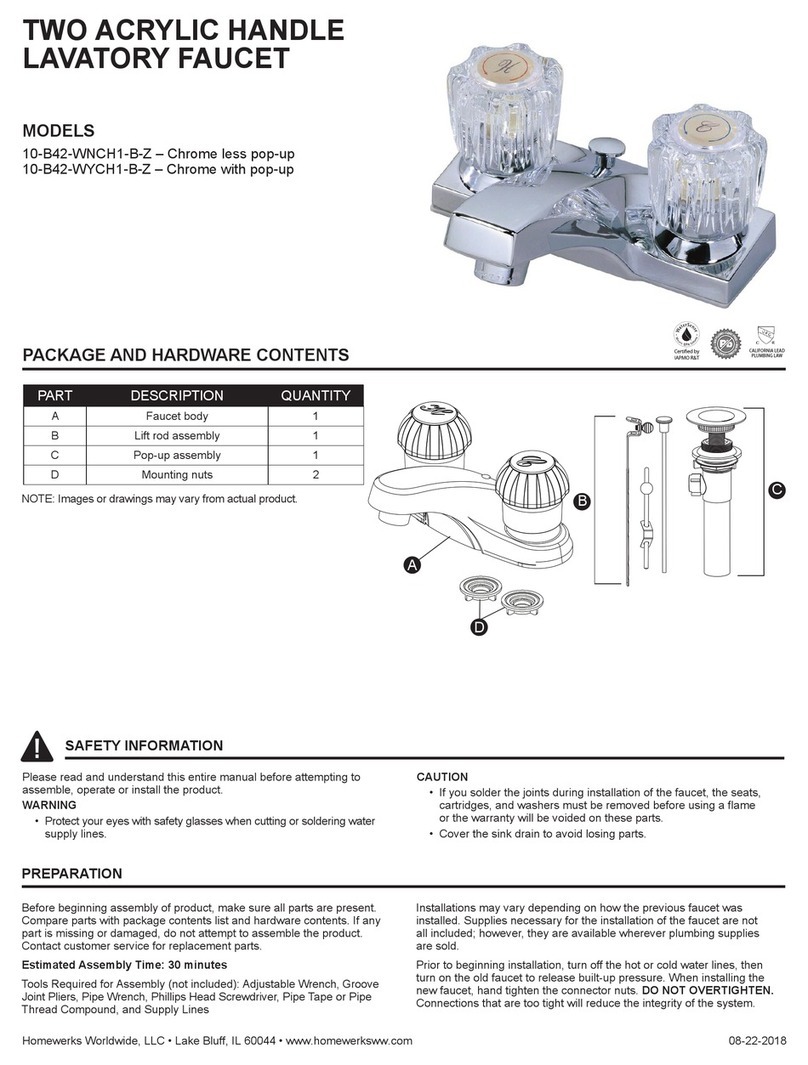
Homewerks 10-B42-WNCH1-B-Z User manual

Homewerks

Homewerks 10-B42-WNCH1-B-Z User manual

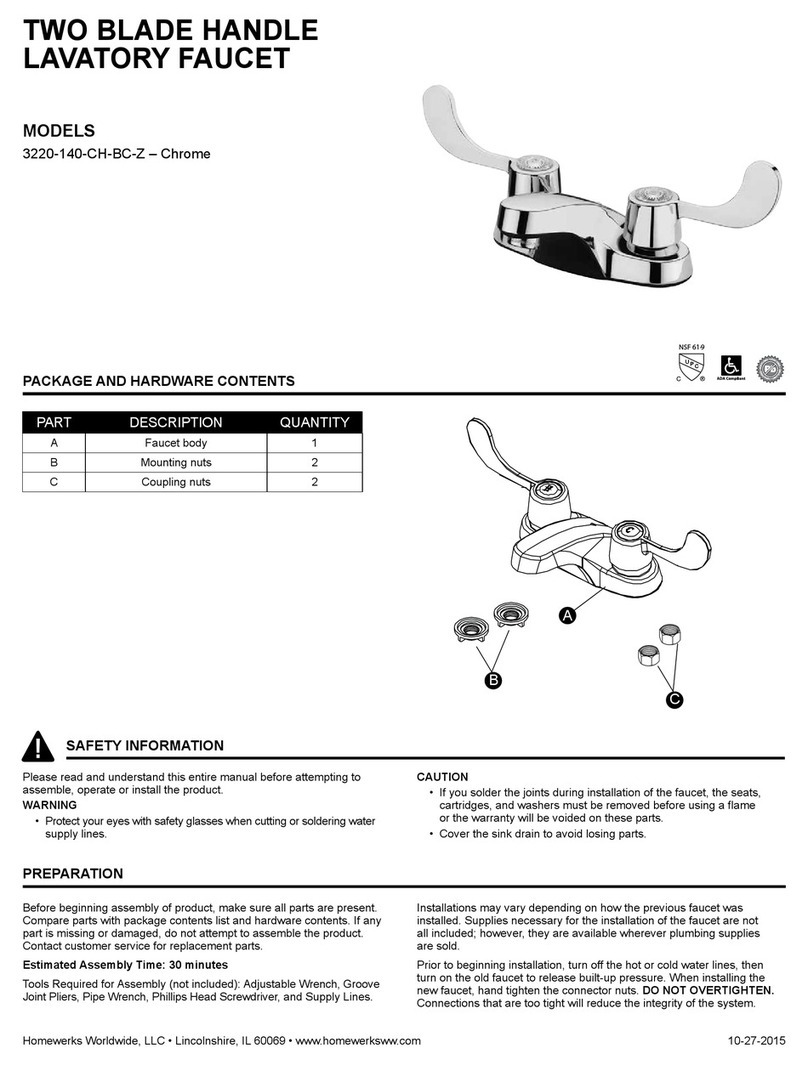
Homewerks 3220-140-CH-BC-Z User manual

Homewerks

Homewerks 3220-140-CH-BC-Z User manual

Homewerks 3210-150-CH-BC-Z User manual

Homewerks

Homewerks 3210-150-CH-BC-Z User manual

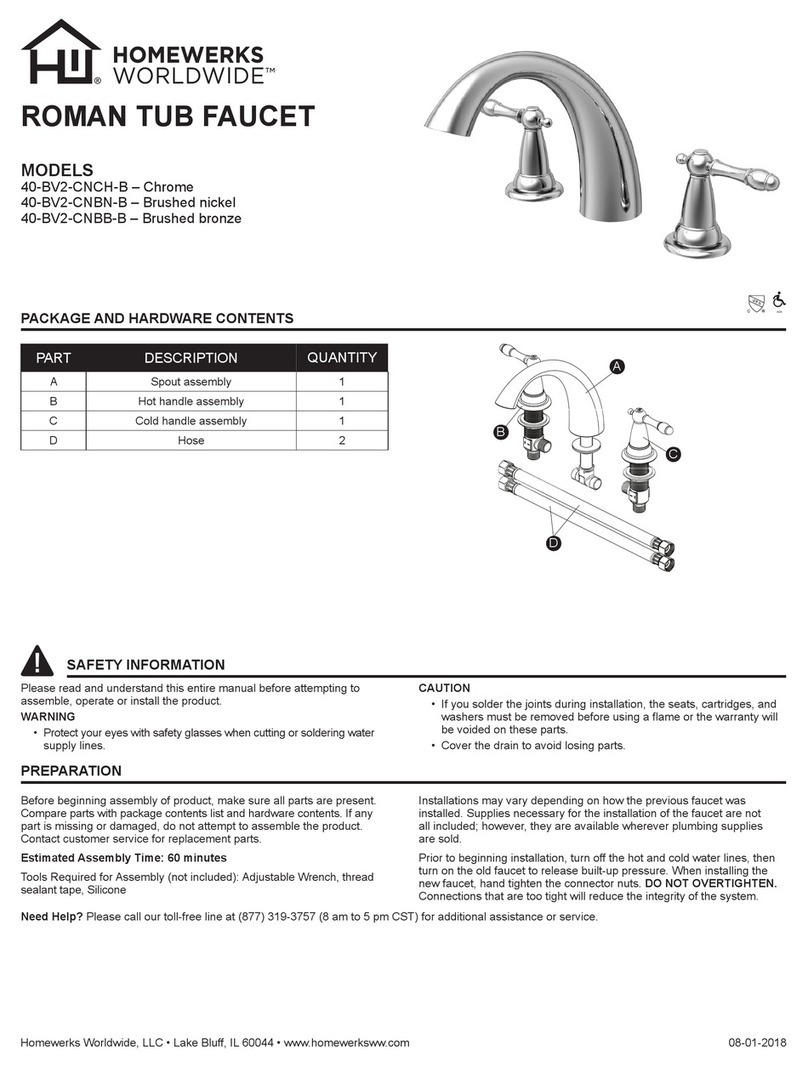
Homewerks WORLDWIDE 40-BV2-CNCH-B User manual

Homewerks

Homewerks WORLDWIDE 40-BV2-CNCH-B User manual

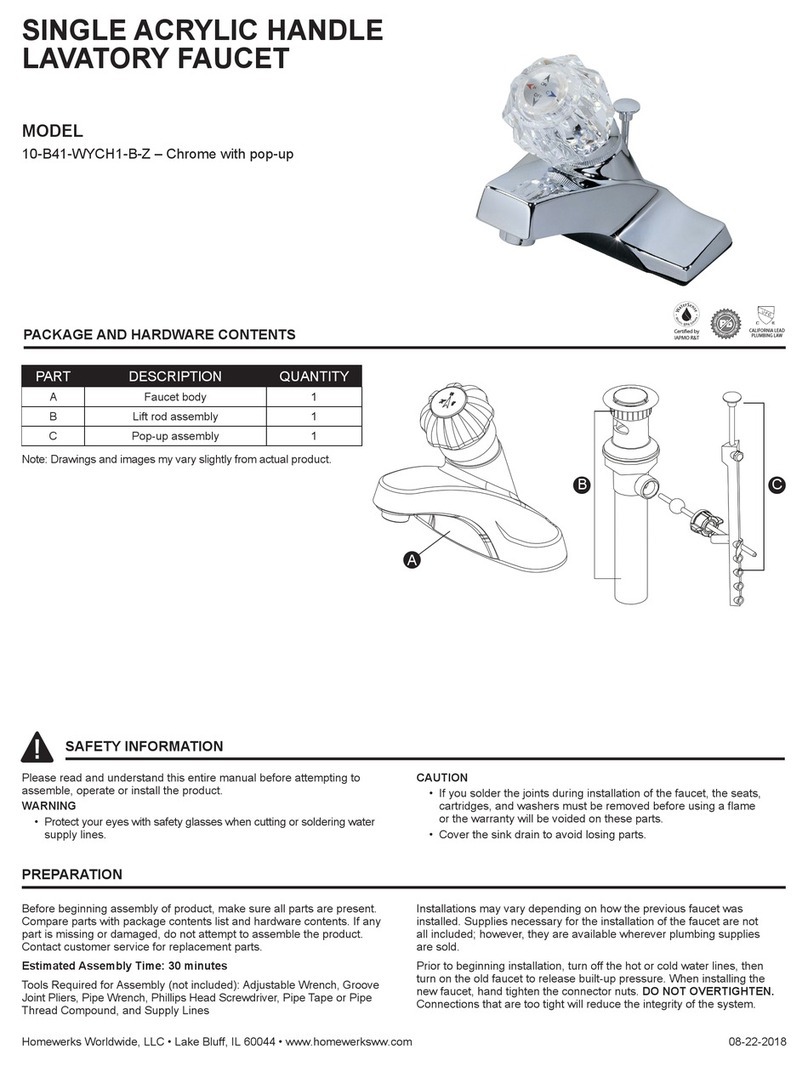
Homewerks 10-B41-WYCH1-B-Z User manual

Homewerks

Homewerks 10-B41-WYCH1-B-Z User manual

Homewerks AQUEOUS 15-U42-WNCH-AD User manual

Homewerks

Homewerks AQUEOUS 15-U42-WNCH-AD User manual

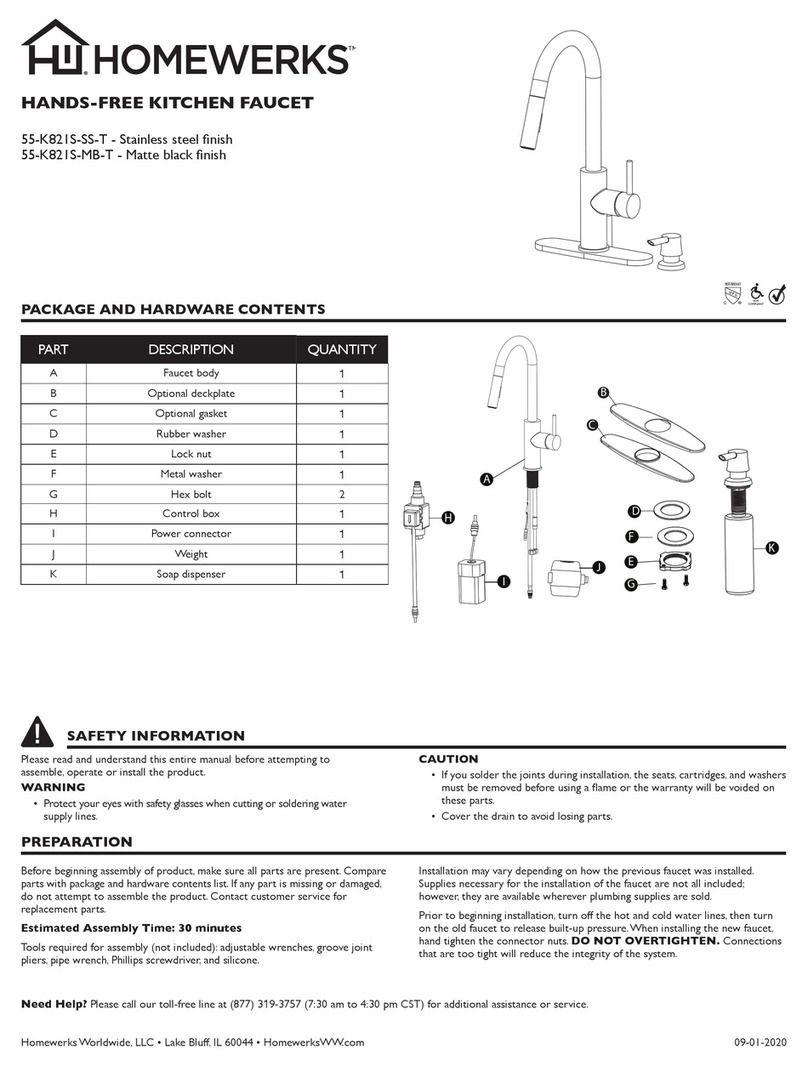
Homewerks 55-K821S-SS-T User manual

Homewerks

Homewerks 55-K821S-SS-T User manual

Homewerks 10-B42-WNCH1-BC-Z User manual

Homewerks

Homewerks 10-B42-WNCH1-BC-Z User manual

Homewerks Tosca H91K-51D-CH User manual

Homewerks

Homewerks Tosca H91K-51D-CH User manual

Homewerks 27-B423S-HW User manual

Homewerks

Homewerks 27-B423S-HW User manual

Popular Plumbing Product manuals by other brands

Moen SANI-STREAM 8797 manual

Moen

Moen SANI-STREAM 8797 manual

Grohe Allure Brilliant 19 784 manual

Grohe

Grohe Allure Brilliant 19 784 manual

Cistermiser Easyflush EVO 1.5 manual

Cistermiser

Cistermiser Easyflush EVO 1.5 manual

Kohler Triton Rite-Temp K-T6910-2A installation guide

Kohler

Kohler Triton Rite-Temp K-T6910-2A installation guide

BEMIS FNOTAB100 Installation instruction

BEMIS

BEMIS FNOTAB100 Installation instruction

Hans Grohe ShowerTablet Select 700 13184000 Instructions for use/assembly instructions

Hans Grohe

Hans Grohe ShowerTablet Select 700 13184000 Instructions for use/assembly instructions

Akw Stone Wash Basin Installation instructions manual

Akw

Akw Stone Wash Basin Installation instructions manual

Enlighten Sauna Rustic-4 user manual

Enlighten Sauna

Enlighten Sauna Rustic-4 user manual

Moen ShowHouse S244 Series quick start guide

Moen

Moen ShowHouse S244 Series quick start guide

Sanela SLWN 08 Mounting instructions

Sanela

Sanela SLWN 08 Mounting instructions

Franke 7612982239618 operating instructions

Franke

Franke 7612982239618 operating instructions

Heritage Bathrooms Granley Deco PGDW02 Fitting Instructions & Contents List

Heritage Bathrooms

Heritage Bathrooms Granley Deco PGDW02 Fitting Instructions & Contents List

Tres TOUCH-TRES 1.61.445 instructions

Tres

Tres TOUCH-TRES 1.61.445 instructions

STIEBEL ELTRON WS-1 Operation and installation

STIEBEL ELTRON

STIEBEL ELTRON WS-1 Operation and installation

Miomare HG00383A manual

Miomare

Miomare HG00383A manual

BELLOSTA revivre 6521/CR1 quick start guide

BELLOSTA

BELLOSTA revivre 6521/CR1 quick start guide

American Standard Heritage Amarilis 7298.229 parts list

American Standard

American Standard Heritage Amarilis 7298.229 parts list

BorMann Elite BTW5024 quick start guide

BorMann

BorMann Elite BTW5024 quick start guide

manuals.online logo
manuals.online logoBrands
  • About & Mission
  • Contact us
  • Privacy Policy
  • Terms and Conditions

Copyright 2025 Manuals.Online. All Rights Reserved.