manuals.online logo
Brands
  1. Home
  2. •
  3. Brands
  4. •
  5. Honeywell
  6. •
  7. Security Camera
  8. •
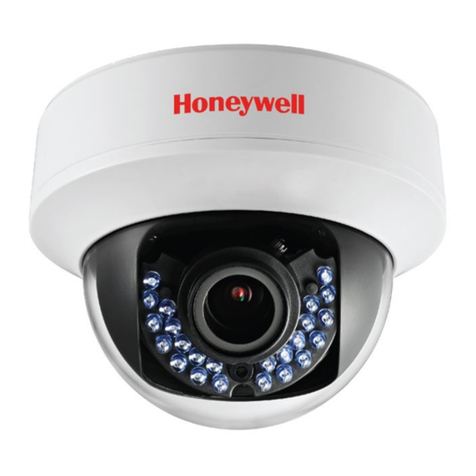
  9. Honeywell HD3UH User manual

Honeywell HD3UH User manual

Document 800-20476V1 – Rev A – 05/2015
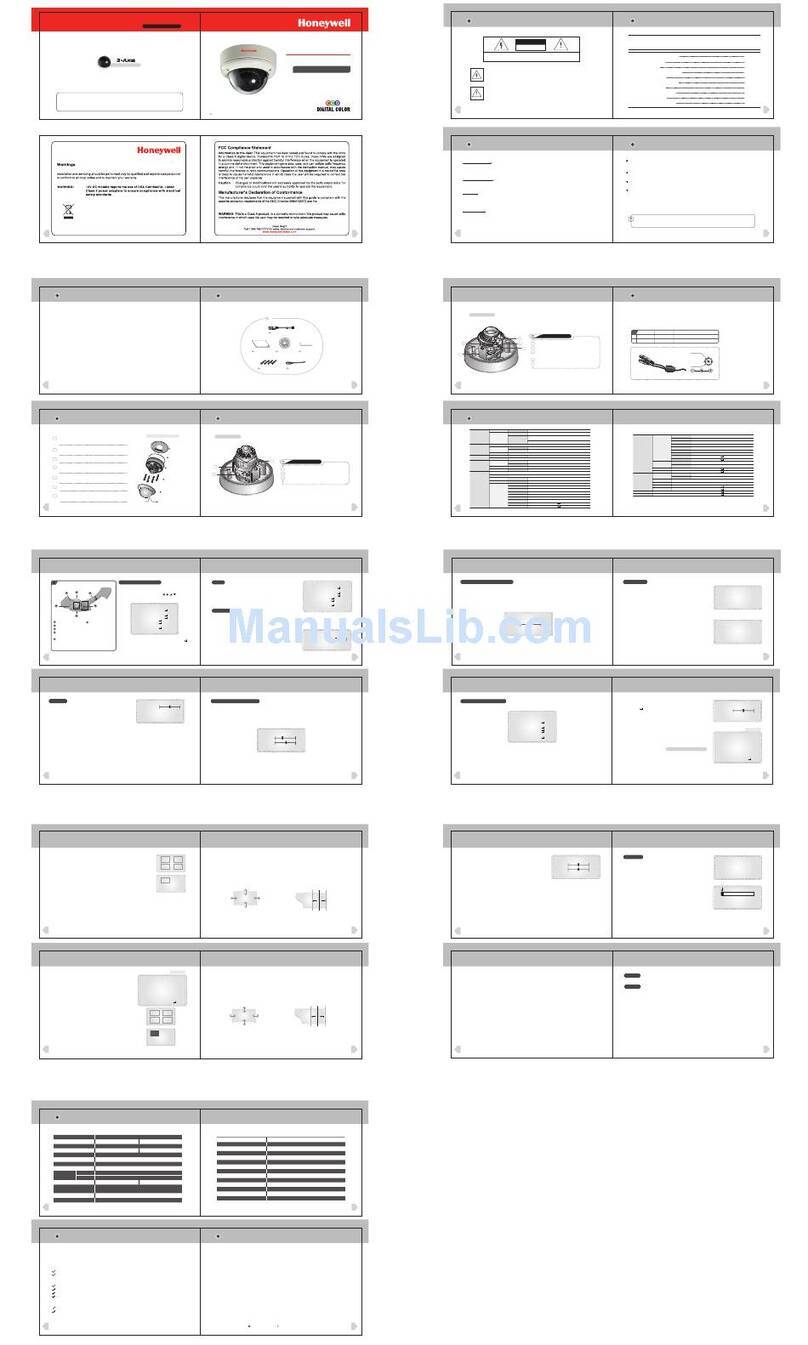
HD3UH(X) Ultra WDR Indoor Minidome Camera Quick Installation Guide 1
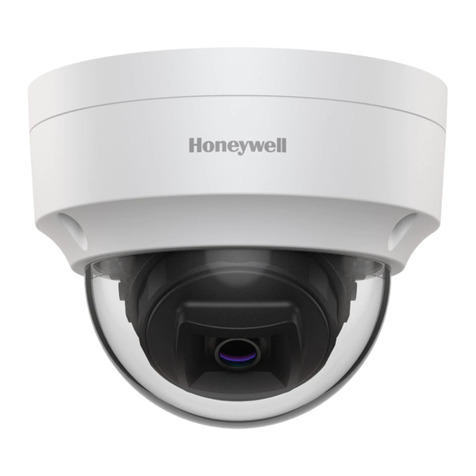
This document describes how to install the HD3UH(X) minidome camera.
The camera can be installed to a wall or ceiling using one of the following methods:
• surface mount
• flush (in-ceiling) mount
• pendant mount
Important Safety Instructions
•Read and keep these instructions.
• Please ensure that your installation area can safely support the weight of the camera.
• Do not install the camera in extreme temperature conditions. Only use the camera where
temperatures are within the limits shown in the specifications section of the user guide.
Be especially careful to provide ventilation when operating under high temperatures.
• Do not aim the camera towards an extreme light source to prevent damaging the CCD.
• This camera is rated for indoor operation; do not expose this camera to rain or moisture.
• Do not touch the camera lens, dome or bezel (front glass plate).
• Do not drop the camera or subject it to physical shock.
• Do not use a strong or abrasive detergent when cleaning the camera.
WARNING
Installation and servicing should be performed only
by qualified and experienced technicians to conform to all local
codes and to maintain your warranty.
WARNING
This device is configured for 12 V DC or 24 V AC
operation. Do not connect to a higher voltage. Use only with NRTL-
approved Class 2 power supplies.
Package Contents
Before you begin, check that you have the following items:
Camera Overview
Installing the Camera
Disassembling the Camera
1. Insert a coin into the notch on the camera base
and twist. Set the dome cover aside.
2. Grasp the gimbal base with one hand and the base
skirt with the other and twist the gimbal base
clockwise to remove it from the skirt.
3. Remove the main camera assembly from the base skirt.
Connecting the Cables
Connect the power and video cables.
Mounting the Camera
Surface Mount
1. Pre-drill the mounting holes using the
supplied mounting template as a guide.
2. Attach the base skirt to the mounting surface
using the supplied mounting screws and
anchors.
Note For added support, you can attach the base
skirt to a 2S junction box.
3. Re-attach the main camera assembly to the
base skirt. Twist the gimbal base counterclockwise to lock it in place.
4. Adjust the gimbal position, field of view, and focus as desired
(see Setting Up the Camera).
Flush Mount
1. Cut a hole in the mounting surface using the supplied mounting template as a guide.
2. Insert the main camera assembly through the hole.
• HD3UH(X) minidome camera
• 2nd video cable
• DC power jack flying lead
• Hardware kit consisting of four (4)
mounting screws and anchors
• Mounting template
TO REDUCE THE RISK OF ELECTRIC SHOCK,
DO NOT REMOVE COVER (OR BACK).
NO USER SERVICEABLE PARTS INSIDE.
REFER SERVICING TO QUALIFIED SERVICE PERSONNEL.
CAUTION:
DO NOT OPEN
RISK OF ELECTRIC SHOCK
Video Cable
Power Cable
24 V AC
Base Skirt
Mounting Screws
Power Board
Camera Control Board
Gimbal
Lens
Dome Cover
Gimbal Base
Main Camera Assembly
1
Locked Unlocked
24 V AC
CCTV Monitor
Unlocked Locked
www.honeywell.com/security
+1 800 323 4576 (North America only)
https://honeywellsystems.com/ss/techsupp/index.html
Document 800-20476V1 – Rev A – 05/2015
© 2015 Honeywell International Inc. All rights reserved. No part of this publication may be reproduced by
any means without written permission from Honeywell. The information in this publication is believed to
be accurate in all respects. However, Honeywell cannot assume responsibility for any consequences
resulting from the use thereof. The information contained herein is subject to change without notice.
Revisions or new editions to this publication may be issued to incorporate such changes.
3. With a Phillips screwdriver, push and turn the three (3) spring-loaded screws
ninety degrees (90°) to rotate the wing tabs outward.
4. Adjust the gimbal position, field of view, and focus as desired
(see Setting Up the Camera).
Pendant Mount
1. Attach the pendant mount to the mounting surface using appropriate hardware
(not supplied).
2. Attach the base skirt to the pendant mount.
3. Attach the main camera assembly to the base skirt.
4. Adjust the gimbal position, field of view, and focus as desired
(see Setting Up the Camera).
Setting Up the Camera
Adjusting the Gimbal
Rotate and tilt the gimbal as desired.
Adjusting the Field of View
1. Loosen the zoom screw.
2. Move the screw right to zoom in
(tele) or left to zoom out (wide).
3. Tighten the zoom screw to lock
it in place.
Adjusting the Focus
1. Loosen the focus screw.
2. Move the screw right to focus near or left to focus far.
3. Tighten the focus screw to lock it in place.
Configuring the Camera Settings
Connect to a spot monitor.
Configure the camera settings using the OSD. Refer to the HD3UH(X)/HD4UH(X) Ultra Wide
Dynamic Indoor Minidome Camera Configuration Guide (800-20541) for detailed
configuration instructions. Use the controller joystick to navigate through the OSD menu
structure.
Replacing the Dome Cover
Re-attach the dome cover to the camera base by lining up the yellow stickers and snapping
the dome cover into place.
Regulatory Statements
FCC Compliance
Information to the User: This equipment has been tested and found to comply with the limits for a Class B
digital device, pursuant to Part 15 of the FCC Rules. These limits are designed to provide reasonable
protection against harmful interference in a residential installation. This equipment generates, uses, and can
radiate radio frequency energy and, if not installed and used in accordance with the instruction manual, may
cause harmful interference to radio communications. However, there is no guarantee that interference will not
occur in a particular installation. If this equipment does cause harmful interference to radio or television
reception, which can be determined by turning the equipment off and on, the user is encouraged to try to
correct the interference by one of the following measures:
• Reorient or relocate the receiving antenna.
• Increase the separation between the equipment and receiver.
• Connect the equipment to an outlet on a circuit different from that to which the receiver is connected.
• Consult the dealer or an experienced radio/TV technician for help.
Note Changes or modifications not expressly approved by the party responsible for compliance could void
the user's authority to operate the equipment.
Canadian Compliance Statement
This Class B digital apparatus complies with Canadian ICES-003.
Cet appareil numérique de la classe B est conforme à la norme NMB-003 du Canada.
Manufacturer’s Declaration of Conformance
The manufacturer declares that the equipment supplied with this guide is compliant with the essential
protection requirements of the EMC directive 2004/108/EC, conforming to the requirements of standards EN
55022 for emissions, EN 50130-4 for immunity, and EN 60065 for electrical equipment safety.
WEEE (Waste Electrical and Electronic Equipment)
2
Rotation 360° Tilt 70°
Pan 355°Pan 360°
Zoom
Focus
OSD Joystick
2nd Video Out
Spot Monitor
Correct disposal of this product (applicable in the European Union and other European
countries with separate collection systems)
This product should be disposed of, at the end of its useful life, as per applicable local
laws, regulations, and procedures.
3

Other manuals for HD3UH

1

Other Honeywell Security Camera manuals

Honeywell AUTOCUBE 8200 User manual

Honeywell

Honeywell AUTOCUBE 8200 User manual

Honeywell IPCAM-WIC1 User manual

Honeywell

Honeywell IPCAM-WIC1 User manual

Honeywell NightHawk HCD81484 User manual

Honeywell

Honeywell NightHawk HCD81484 User manual

Honeywell Vista VDC-350PIV-V User manual

Honeywell

Honeywell Vista VDC-350PIV-V User manual

Honeywell HD4US User manual

Honeywell

Honeywell HD4US User manual

Honeywell HD3UH User manual

Honeywell

Honeywell HD3UH User manual

Honeywell 60 Series User manual

Honeywell

Honeywell 60 Series User manual

Honeywell HD51PX User manual

Honeywell

Honeywell HD51PX User manual

Honeywell NEXH4520HD-NET User manual

Honeywell

Honeywell NEXH4520HD-NET User manual

Honeywell HCC474M User manual

Honeywell

Honeywell HCC474M User manual

Honeywell HEW2PRW1 User manual

Honeywell

Honeywell HEW2PRW1 User manual

Honeywell HCCM674M User manual

Honeywell

Honeywell HCCM674M User manual

Honeywell EQUIP Series User manual

Honeywell

Honeywell EQUIP Series User manual

Honeywell HD73 Series User manual

Honeywell

Honeywell HD73 Series User manual

Honeywell HDZ20HD User manual

Honeywell

Honeywell HDZ20HD User manual

Honeywell HDZ30A User manual

Honeywell

Honeywell HDZ30A User manual

Honeywell HD51P User manual

Honeywell

Honeywell HD51P User manual

Honeywell 720P User manual

Honeywell

Honeywell 720P User manual

Honeywell HD51 Series User manual

Honeywell

Honeywell HD51 Series User manual

Honeywell HB73 Series User manual

Honeywell

Honeywell HB73 Series User manual

Honeywell HD41 User manual

Honeywell

Honeywell HD41 User manual

Honeywell HBD9 User manual

Honeywell

Honeywell HBD9 User manual

Honeywell ScanDome iii HSDC-251N/P Owner's manual

Honeywell

Honeywell ScanDome iii HSDC-251N/P Owner's manual

Honeywell ACUIX ES User manual

Honeywell

Honeywell ACUIX ES User manual

Popular Security Camera manuals by other brands

Swann IP-3G ConnectCam 1000 Quick installation guide

Swann

Swann IP-3G ConnectCam 1000 Quick installation guide

Lorex LNZ81P25 Series instruction manual

Lorex

Lorex LNZ81P25 Series instruction manual

SHARX SECURITY HTNC5803M quick start guide

SHARX SECURITY

SHARX SECURITY HTNC5803M quick start guide

Hanwha Vision QND-8022 quick guide

Hanwha Vision

Hanwha Vision QND-8022 quick guide

Marmitek IP EYE ANYWHERE - QUICK Quick installation guide

Marmitek

Marmitek IP EYE ANYWHERE - QUICK Quick installation guide

FLIR PT series Installation and user guide

FLIR

FLIR PT series Installation and user guide

Dalsa Piranha HS 4x-02K30 user manual

Dalsa

Dalsa Piranha HS 4x-02K30 user manual

Panasonic HomeHawk KX-HN7052C installation guide

Panasonic

Panasonic HomeHawk KX-HN7052C installation guide

Sony SNC-CH115 user guide

Sony

Sony SNC-CH115 user guide

Allied Vision Technologies Prosilica GC1380 Technical manual

Allied Vision Technologies

Allied Vision Technologies Prosilica GC1380 Technical manual

Vicon VC-621 instruction manual

Vicon

Vicon VC-621 instruction manual

Amcrest IP4M-1028E user manual

Amcrest

Amcrest IP4M-1028E user manual

Brickcom OSD-040 36x Series Quick installation guide

Brickcom

Brickcom OSD-040 36x Series Quick installation guide

3xLogic VSX-2MP-FE installation manual

3xLogic

3xLogic VSX-2MP-FE installation manual

Velleman CAMIP14 Quick reference guide

Velleman

Velleman CAMIP14 Quick reference guide

Appro TC-2183-E13 manual

Appro

Appro TC-2183-E13 manual

Vicon Surveyor MKII Series XX282-40-01 Configuration & operation guide

Vicon

Vicon Surveyor MKII Series XX282-40-01 Configuration & operation guide

Samsung Wisenet SNH-V6430BN quick start guide

Samsung

Samsung Wisenet SNH-V6430BN quick start guide

manuals.online logo
manuals.online logoBrands
  • About & Mission
  • Contact us
  • Privacy Policy
  • Terms and Conditions

Copyright 2025 Manuals.Online. All Rights Reserved.