manuals.online logo
Brands
  1. Home
  2. •
  3. Brands
  4. •
  5. Honeywell
  6. •
  7. Security Camera
  8. •
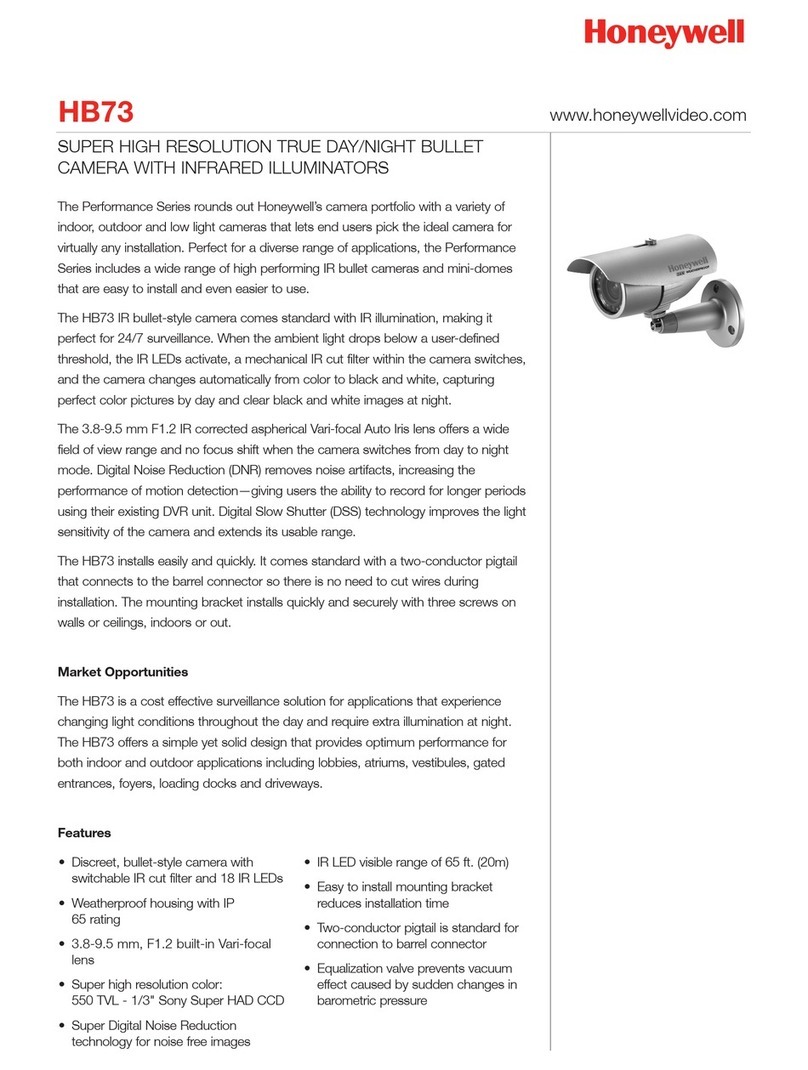
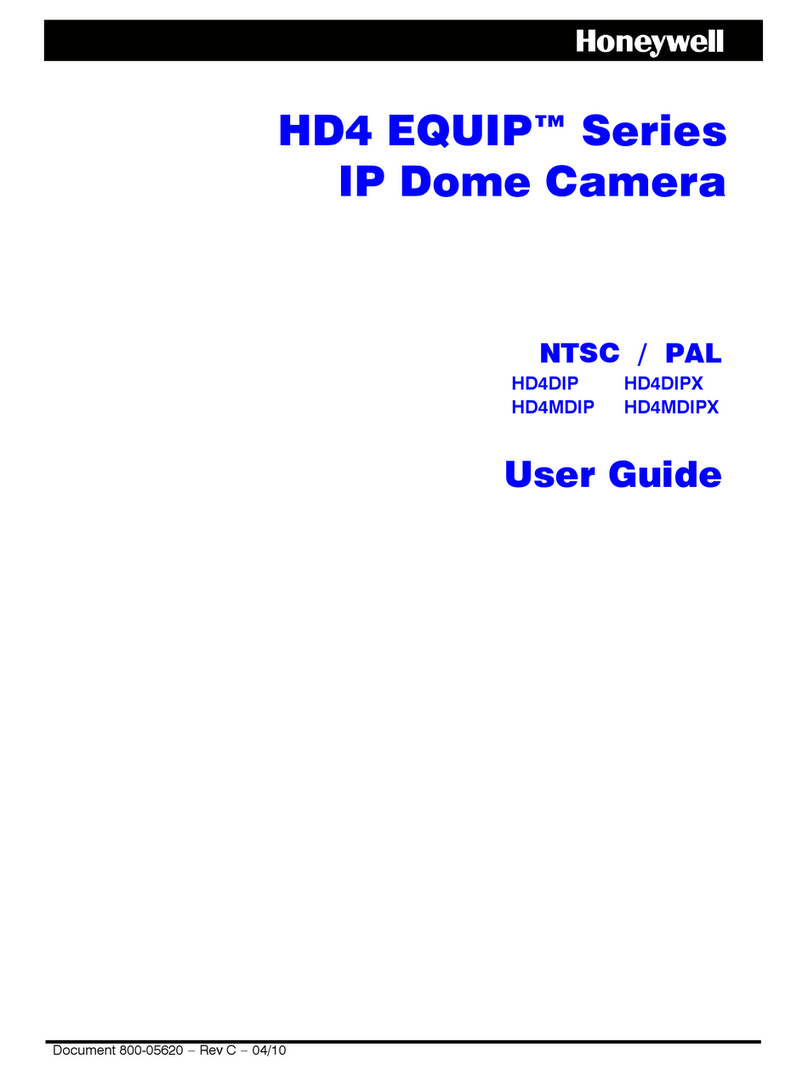
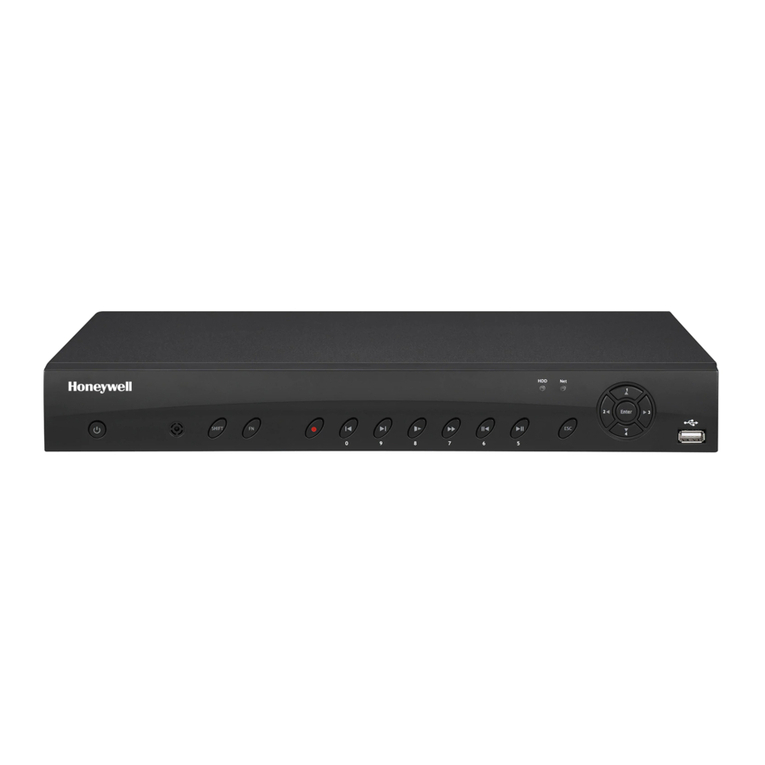
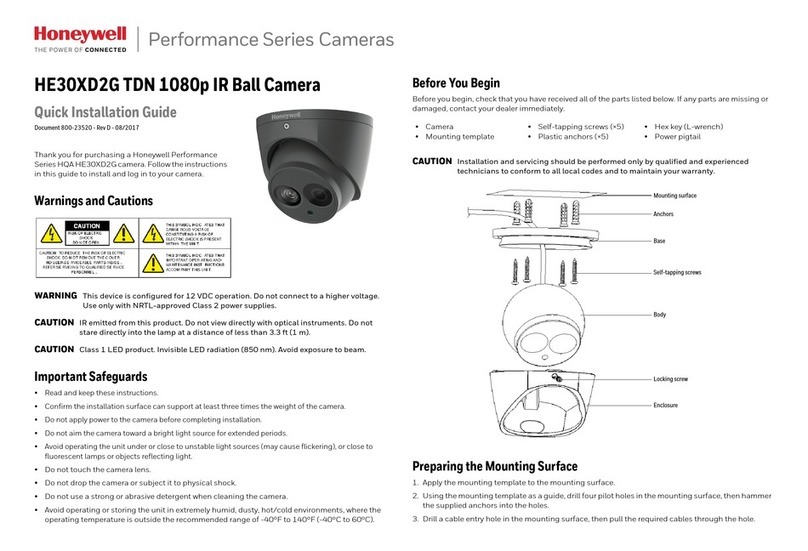
  9. Honeywell HD4U User manual

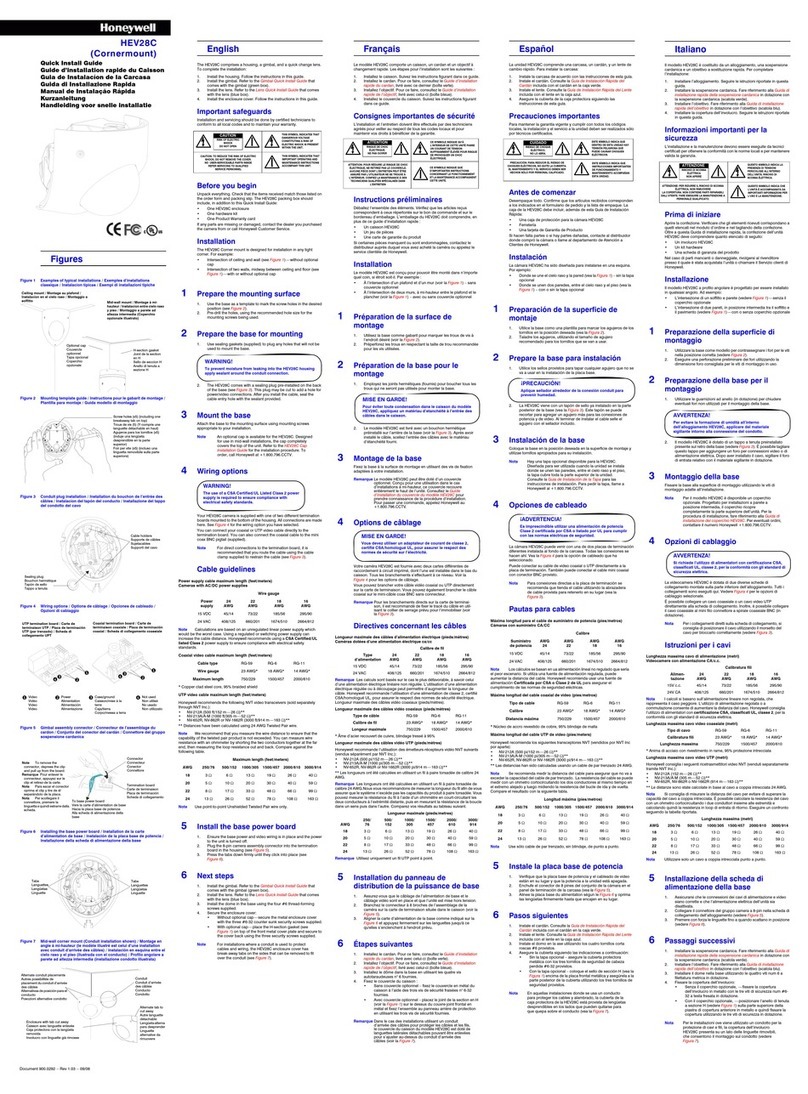
Honeywell HD4U User manual

Document 800-00032 – Rev B – 04/08
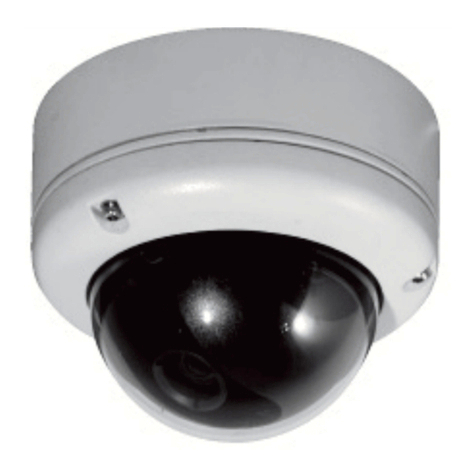
Day/Night Ultra Wide Dynamic Fixed Dome Camera
Quick Install Guide
Thank you for purchasing a Honeywell Day/Night Ultra Wide Dynamic Fixed Dome
Camera. Before installing the camera, please verify your model and read this guide
carefully:
Unpack Everything
Model Signal format Lens
HD4U NTSC 2.8 to 10 mm Vari-focal Auto Iris lens
HD4UX PAL 2.8 to 10 mm Vari-focal Auto Iris lens
HD4U/X Camera
+ factory-installed pigtail power and video
connectors
+ wall mount adapter plate
This guide
Mounting template
Hardware Kit
You will also require a Phillips screwdriver and side-cutters.
1Prepare for Installation
1. Use the mounting template to mark and pre-drill the holes.
2. Connect the cables:
Through the grommet in the housing base
Through the side conduit
a. Use a sharp knife to cut an opening in the
base gasket !only large enough to feed
the cable assembly through.
b. Apply sealant around the opening.
c. Peel back the bottom flat gasket below the
side conduit to expose the security screw.
d. Use the Allen key to remove the security
screw.
e. Unscrew the conduit plug.
f. Pull the cabling through the hole.
g. Apply appropriate sealant around the opening.
2Mount the Camera
Surface Mount Installations Without an Electrical Box
Secure the camera to a wall or ceiling using #6-1 7/16 inch slotted Type A screws
(x4) supplied. For wall mount installations, orient the conduit plug face down to
prevent moisture from entering housing.
4S Electrical Box Installation
Electrical box
(not supplied)
HD4U base
Optional: Secure
adapter plate to the
4S electrical box.
Secure the base with
supplied screws.
Ceiling/wall
Screws (not supplied)
#6- 1 7/16 Inch
slotted Type A screws
(surface mount
without electrical box)
Mount the Camera (cont’d)
Electrical Box Installation (4S Shown)
Electrical box
(not supplied)
4S electrical box: Secure the
adapter plate using appropriate
screws (not supplied)
Double/Single Gang electrical box:
Adapter plate not required.
Ceiling/wall
Secure the base with screws
appropriate to your installation
(not supplied)
#6- 1 7/16 Inch slotted Type A
screws (surface mount without
electrical box)
HD4U base
3Connect the Wiring
Red + Black –
Power
Video: female BNC
Note For secure installations, surface mounted cables should be protected by
plastic or metal cable covers.
4Adjust the Camera
1. Apply 12 VDC or 24 VAC power to the camera and monitor the video signal.
2. Loosen the screws that lock the gimbal assembly in place.
3. Adjust the camera carrier to the desired view, then retighten the screws.
4. Orient as shown below to maintain the correct picture orientation.
Lenses are pre-focused at the factory. In the unlikely event the optical effect of the
dome causes a slight defocusing of the lens, hold the dome over the lens to make to
make a final adjustment.
Legend
A = Tilt rotation
B = Horizontal rotation
C = Pan rotation
Angle view
Top view
Loosen setscrews
(x2) to adjust Pan (C).
B
C
A
Locking
screw
Loosen locking screw to
adjust Horizontal (B).
Set focus
(top)
Set focal length
(bottom)
www.honeywellvideo.com
+1.800.796.CCTV (North America only)
[email protected]
Document 800-00032 – Rev B – 04/08
© 2008 Honeywell International Inc. All rights reserved. No part of this publication may be reproduced by any means without written permission from Honeywell Video Systems. The
information in this publication is believed to be accurate in all respects. However, Honeywell Video Systems cannot assume responsibility for any consequences resulting from the use
thereof. The information contained herein is subject to change without notice. Revisions or new editions to this publication may be issued to incorporate such changes.
Honeywell Video Systems (Head Office)
2700 Blankenbaker Pkwy, Suite 150
Louisville, KY 40299, USA
www.honeywellvideo.com
℡+1.800.796.2288
Honeywell Security Australia Pty Ltd.
Unit 5, Riverside Centre
24-28 River Road West
Parramatta, NSW 2150, Australia
www.honeywellsecurity.com/au
℡+61.2.8837.9300
Honeywell Security Asia Pacific
33/F Tower A, City Center
100 Zun Yi Road
Shanghai 200051, China
www.asia.security.honeywell.com
℡+86021.2527.4568
Honeywell Security Asia
Flat A, 16/F, CDW Building
388 Castle Peak Road
Tsuen Wan, N.T., Hong Kong
www.asia.security.honeywell.com
℡+852.2405.2323
Honeywell Security France
Parc Gutenberg, 8, Voie La Cardon
91120, Palaiseau, France
www.honeywell.com/security/fr
℡+33.01.64.53.80.40
Honeywell Security Italia SpA
Via della Resistenza 53/59
20090 Buccinasco
Milan, Italy
www.honeywell.com/security/it
℡+39.02.48880551
Honeywell Security España
Mijancas 1. 3aPlanta
P. Ind. Las Mercedes
28022 Madrid, Spain
www.security.honeywell.com/es
℡+34.902.667.800
Honeywell Video Systems
Northern Europe
Netwerk 121
1446 WV Purmerend, The Netherlands
www.honeywell.com/security/nl
℡+31.299.410.200
Honeywell Video Systems UK Ltd.
Aston Fields Road, Whitehouse Ind Est
Runcorn, Cheshire, WA7 3DL, UK
www.honeywell.com/security/uk
℡+44 (0)1928 756999
Honeywell Security South Africa
Unit 6 Galaxy Park, 17 Galaxy Avenue
Linbro Park, P.O. Box 59904
2100 Kengray, Johannesburg
South Africa
www.honeywell.co.za
℡+27.11.574.2500
Honeywell Security Deutschland
Johannes-Mauthe-Straße 14
D-72458 Albstadt, Germany
www.honeywell.com/security/de
℡+49.74 31.8 01.0
Honeywell Security Poland
Chmielewskiego 22a, 70-028
Szczecin, Polska
www.ultrak.pl
℡+48.91.485.40.60
Honeywell Security Czech Republic
Havránkova 33, Brno
Dolní Heršpice, 619 00
Czech Republic
www.olympo.cz
℡+420.543.558.111
Honeywell Security Slovakia Republic
Vajnorská 142, 83104 Bratislava
Slovakia
www.olympo.sk
℡+421.2.444.54.660
5Operate Your Camera
Camera Functions
Joystick (5 way) control
- Press the joystick down and hold for 2 seconds to access
MAIN MENU
- Press the joystick down to enter a screen or select a menu
option
!, "
#,$
“…” indicates submenus
To leave the screen and return to the previous menu, select
PREVIOUS PAGE, and then press down the joystick.
To save your changes, select SAVE & EXIT, and then press
the down joystick. Your settings remain in effect when power
is turned off, then on again.
Select a menu, then
press down the joystick
to enter the submenu.
Move the joystick !or "to
change the status.
>
MENU
CAMERA SETUP ..
VIEWING ..
WDR PRESETS ..
DAY/NIGHT SETUP ..
VERSION INFO ..
RESTORE DEFAULTS <NO>
EXIT EXIT W/O SAVE.
Move horizontally to and between menus and options
Move vertically to and between menus and options
#"
$
!
6Select the WDR Preset For Your Scene
>
WDR PRESETS
>
MENU
CAMERA SETUP ..
VIEWING ..
WDR PRESETS .. INDOOR>
DAY/NIGHT SETUP ..
VERSION ..
RESTORE DEFAULTS
EXIT SAVE & EXIT
WDR PRESETS
PRESETS .. <CUSTOM.>
FLUORESCENT OFF
PREVIOUS PAGE
WDR Preset Area of Interest WDR Exposure
INDOOR Full scene Wide Highlights
LOADING DOCK Center scene Wide Highlights
GAMING Full scene spot glare Medium Highlights
LICENSE PLATE Full scene spot glare Medium Shadows
OUTDOOR Full scene Ultrawide Highlights
ATM Center scene Ultrawide Shadows
LOBBY Center scene Wide Shadows
The Wide Dynamic (WDR) presets and the scenes for which they are optimized.
7Set the Day/Night Function
8Set the AGC
The Automatic Gain Control is set by the WDR preset chosen. You can refine the
AGC setting in the AGC menu (MAIN MENU ➤CAMERA SETUP ➤AGC).
The light level at which the camera changes from day mode to night mode—and
from night mode to day mode—is affected by the AGC value. The higher the AGC
value, the lower the light level required to change from day to night. While observing
a video monitor, adjust the noise in the image, from 0 dB to 36 dB.
Note This setting is dependent on the AGC setting.
On the DAY/NIGHT SETUP menu, select:
•DAY/NIGHT SETUP, then select either:
•AUTO (default) depending on light level, the
camera automatically switches from color to
black and white, OR
•OFF the camera stays color mode regardless
of light level, OR
•B/W the camera stays in black and white mode
regardless of light level
•*CLR BURST (color burst), then select either:
•ON (default) = B/W with color burst, OR
•OFF = B/W without color burst
•TDN DELAY to set the period (in seconds) the
camera waits before switching modes
>
MENU
CAMERA SETUP ..
VIEWING ..
WDR PRESETS .. INDOOR>
DAY/NIGHT SETUP ..
VERSION ..
RESTORE DEFAULTS
EXIT SAVE & EXIT
9Set the Camera Image Properties
VIEWING
FLIP OFF
ID DISPLAY <OFF>
SHARPNESS NORMAL
BRIGHTNESS 110 80 130
RESOLUTION NORMAL
COLOR ADJ. 0 -8 8
PREVIOUS PAGE .
>
#
#
The VIEWING menu has the following controls:
•FLIP reverses the image horizontally on the
video monitor.
•ID DISPLAY opens the CAMERA ID SETUP
screen where you can add a CAMERA ID (title)
of up to 8 characters. You can also select the
position of the CAMERA ID on the video
monitor.
•SHARPNESS and RESOLUTION affects the
sharpness of the image.
•BRIGHTNESS adjusts the brightness of the
image.
•COLOR adjusts the color saturation.
10 Install the Enclosure Cover
HD4U dome enclosure
Secure the dome enclosure to the base
with three #8-32 security screws.
Note Certain video recorders require color carrier/burst to operate.
Other manuals for HD4U

2

This manual suits for next models

1

Other Honeywell Security Camera manuals

Honeywell ACUIX Equip series User manual

Honeywell

Honeywell ACUIX Equip series User manual

Honeywell HSGN502 User manual

Honeywell

Honeywell HSGN502 User manual

Honeywell equip acuix User manual

Honeywell

Honeywell equip acuix User manual

Honeywell HD40 User manual

Honeywell

Honeywell HD40 User manual

Honeywell HDZ402LIWV User manual

Honeywell

Honeywell HDZ402LIWV User manual

Honeywell HD3CB User manual

Honeywell

Honeywell HD3CB User manual

Honeywell AUTOCUBE 8200 User manual

Honeywell

Honeywell AUTOCUBE 8200 User manual

Honeywell HCM574L User manual

Honeywell

Honeywell HCM574L User manual

Honeywell HD251 User manual

Honeywell

Honeywell HD251 User manual

Honeywell HCD92534 User manual

Honeywell

Honeywell HCD92534 User manual

Honeywell HD3CHS User manual

Honeywell

Honeywell HD3CHS User manual

Honeywell HCD95534 User manual

Honeywell

Honeywell HCD95534 User manual

Honeywell HD73P Series User manual

Honeywell

Honeywell HD73P Series User manual

Honeywell HDZ20HD User manual

Honeywell

Honeywell HDZ20HD User manual

Honeywell 2450Cm Series User manual

Honeywell

Honeywell 2450Cm Series User manual

Honeywell HCD92534 User manual

Honeywell

Honeywell HCD92534 User manual

Honeywell 2450Cm Series User manual

Honeywell

Honeywell 2450Cm Series User manual

Honeywell HD62 User manual

Honeywell

Honeywell HD62 User manual

Honeywell 30 Series User manual

Honeywell

Honeywell 30 Series User manual

Honeywell HCD95534 User manual

Honeywell

Honeywell HCD95534 User manual

Honeywell HCU484X User manual

Honeywell

Honeywell HCU484X User manual

Honeywell HCD5HIH User manual

Honeywell

Honeywell HCD5HIH User manual

Honeywell HCD95534 User manual

Honeywell

Honeywell HCD95534 User manual

Honeywell 2450Cm Series User manual

Honeywell

Honeywell 2450Cm Series User manual

Popular Security Camera manuals by other brands

Vitek VT-IR1C/24 Operation manual

Vitek

Vitek VT-IR1C/24 Operation manual

Vivotek 4X-PT7137 Quick installation guide

Vivotek

Vivotek 4X-PT7137 Quick installation guide

IMOU F Series quick start guide

IMOU

IMOU F Series quick start guide

Appro LANCAM LC-7214P Installation & operation manual

Appro

Appro LANCAM LC-7214P Installation & operation manual

Panasonic WV-CF212 operating instructions

Panasonic

Panasonic WV-CF212 operating instructions

ALC AWF54 quick start guide

ALC

ALC AWF54 quick start guide

Vivotek IB9387-HT-A user manual

Vivotek

Vivotek IB9387-HT-A user manual

Velleman CAMTVI15 user manual

Velleman

Velleman CAMTVI15 user manual

Dahua TPC-SD8320 quick start guide

Dahua

Dahua TPC-SD8320 quick start guide

Avonic AV-CM93-NDI-W user manual

Avonic

Avonic AV-CM93-NDI-W user manual

Wisenet XNV-8083R user manual

Wisenet

Wisenet XNV-8083R user manual

Clover CC5301 Specifications

Clover

Clover CC5301 Specifications

Reconyx HYPERFIRE manual

Reconyx

Reconyx HYPERFIRE manual

Swann MWABCAM150514T instruction manual

Swann

Swann MWABCAM150514T instruction manual

JAI LQ-401CL user manual

JAI

JAI LQ-401CL user manual

Kogan KAODPNTSP2A user guide

Kogan

Kogan KAODPNTSP2A user guide

ZMODO CM-S11153BK user guide

ZMODO

ZMODO CM-S11153BK user guide

Reolink E1 Series Operational Instruction

Reolink

Reolink E1 Series Operational Instruction

manuals.online logo
manuals.online logoBrands
  • About & Mission
  • Contact us
  • Privacy Policy
  • Terms and Conditions

Copyright 2025 Manuals.Online. All Rights Reserved.