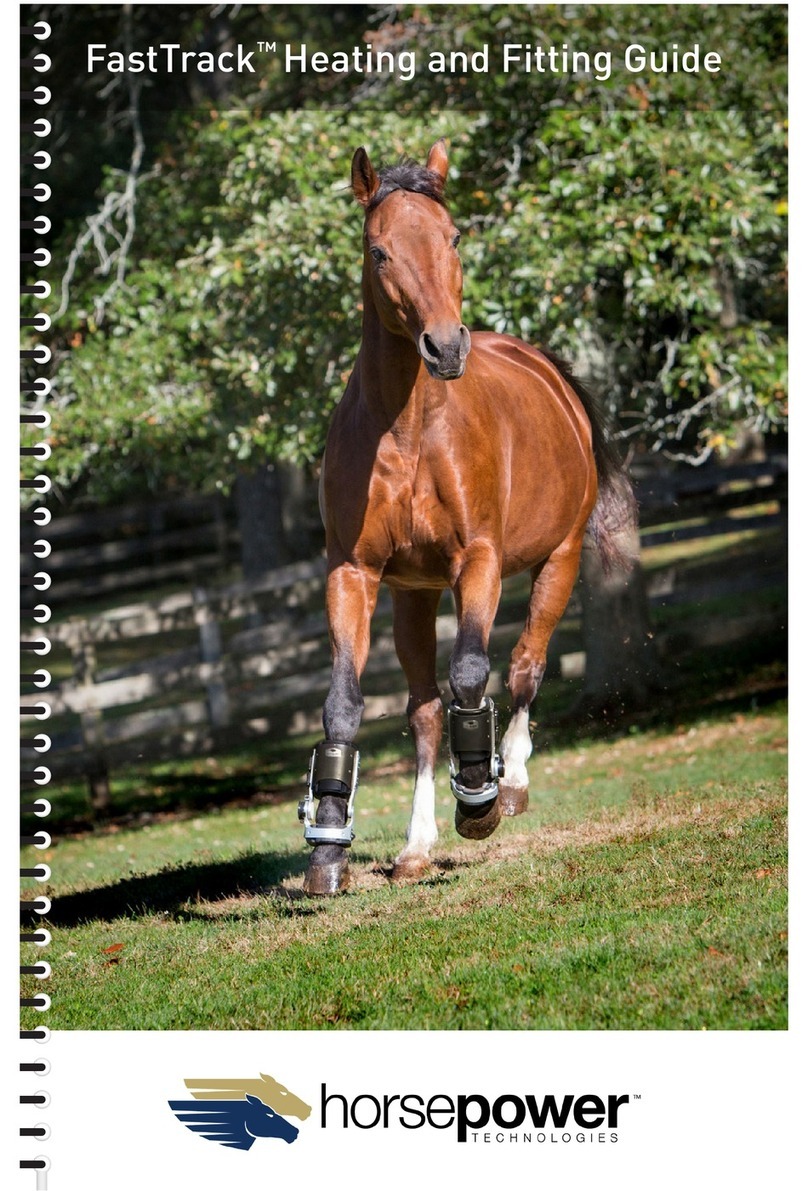
Horsepower Technologies FastTrack Operating manual

FastTrack™Daily Use Guide

WARNING:
1. Correct and accurate fit and application is critical to this
device’s proper performance.
• Carefully read instructions and warnings prior to use.
2. Consult your veterinarian regarding safe, appropriate
activity levels and duration while your horse wears
FastTrack™.
• FastTrack™will not prevent or reduce all injuries.
3. FastTrack™ is designed to be used during elective
exercise activities from stall rest through moderate
canter.
4. Do not apply if your horse has open wounds or sores on
their cannon or pastern.
5. Do not apply any topical ointments or insecticides prior to
applying FastTrack™.
6. Immediately discontinue use and consult your
veterinarian if your horse experiences pain, swelling,
skin irritation or any adverse reactions while using
FastTrack™.
7. This FastTrack™is sized specifically for your horse to
ensure best fit and functionality.
8. Do not use product if padding is damaged (torn, ripped).
Discontinue use if padding is showing significant wear
and tear.
A pair of Horsepower Technologies approved
Liners have been included with this order of
FastTrack™. To purchase additional Liners
please contact your distributor or
Customer Support.
Congratulations on your purchase of
Horsepower Technologies FastTrack™. Please
take a moment to read these instructions
before using FastTrack™.
You can find step-by-step videos online at
http://www.horsepowertech.com/support
For questions or comments please contact:
Customer Support
844-51-HORSE
support@horsepowertech.com
or visit www.horsepowertech.com
1 2

Fetlock Joint AnatomyFastTrack™Features
3 4

1. Fully depress the gold button on the side
of the SafeStop™.
2. While holding the button down, pull the
dial out and away from the device until it
is disengaged.
3. You will hear a click when the dial is
fully released and the dial will not pull
out any further. The gear teeth on the
lower cuff should be visible.
4. Locate the engraved black marker line
on the back of the lower cuff.
5. Rotate the FastTrack™ dial counter
clockwise to line up the white 90 degree
mark on the SafeStop™ with the black
marker line on the cuff.
Note: 90 degrees is the last line on the
SafeStop™ dial.
Set SafeStop™ Dial to 90 Degrees
2
1. Choose whether to apply the left or right
FastTrack™ first.
2. Select the appropriate side FastTrack™
by confirming that the SafeStop™
(indicated in green) is on the outside of
the leg when the gold logo faces toward
the front of the horse.
3. Unfasten all three straps from buckles
by depressing buckle button on the
ribbed surface and pulling strap out
towards rear of legwear.
Note: If the straps are tight, rotating the
rear side of the buckle forward while
depressing the button can help create
slack in the strap making it easier to
pull the strap through.
4. Release upper and lower cuff Velcro
wraps.
Prepare FastTrack™for Application
1
65

1. Have the horse stand square on a firm,
flat surface.
2. Make sure the horse’s legs from the
knee down are clean, dry and free of
abrasions or irritations.
3. Hold the strap and Velcro wrap of the
lower cuff open and out of the way.
4. Open the rear padding of the lower cuff
using two hands.
5. Fit the lower cuff onto the horse by
placing the open padding around the
horse’s pastern from the front. Ensure
that the inner front surface of the
padding is in contact with the front of the
pastern.
Important: FastTrack™ is applied to the
front of the leg with the opening and
straps facing the back of the horse.
Apply FastTrack™to Pastern
3
6. Push the dial back into place. You may
have to rotate the dial forward or back
slightly to align the internal gear teeth.
7. You will hear a click when dial is secure.
There should be no gap between
the silver lower cuff and the black
SafeStop™ when the dial is secure. The
gold button should return to its original
position.
Note: During extended exercise it
is recommended to apply an Liner
directly to the horse limb underneath
FastTrack™.
Set SafeStop™ Dial to 90 Degrees cont.
2
87

1. Readjust the location of FastTrack™ on
the leg if needed.
2. Pull the lower wrap snugly around
the back of the pastern and secure
the Velcro. The padding should be
completely closed in the back.
4. Depress the upper buckle buttons and
thread the straps through the back of
the buckles.
5. Pull upper straps through the buckles
and snug down but do not fully tighten.
Readjust and Secure Cuffs
5
3. Pull the upper wrap around, tighten and
secure the Velcro. The padding should
close up completely in the back.
Note: Upper cuff pads should line up
and not overlap in the back when closing
the upper wrap.
1. Hold the straps and Velcro wrap of the
upper cuff open and out of the way.
2. Open the padding of the upper cuff using
two hands.
3. Fit the upper padding onto the cannon
by pushing the pad firmly onto the limb.
Ensure that the inside front surface of
the padding rests snuggly against the
front of the cannon bone.
Note: There should be a gap where
the padding does not touch the back of
the leg, only the front and sides of the
cannon bone.
Apply FastTrack™to Cannon
4
9 10

1. Check the fit of FastTrack™ to ensure
the padding has formed correctly to the
horse’s leg. Make sure padding is in
contact with the front of the leg. Padding
should be snug around cannon and
pastern. The process may be repeated to
achieve a better fit if necessary.
2. A snug but not uncomfortably tight fit of
FastTrack™ on the limb is essential to
ensure full effectiveness.
3. Check for a minimum of 0.5” clearance
between interior of tendon bumpers
and sides of FastTrack™, from any
tendon and/or ligament structures on
the horse’s distal limb between knee
(carpus) and fetlock.
Note: A gap behind the tendon is
desirable. The lower cuff may not close
fully in the back.
4. Check that the center of the SafeStop™
is at the same height off the ground as
the Center of Rotation, i.e. the 2 axes of
rotation should be in alignment.
Checking Fit
6
6. Depress the lower buckle button and
thread strap through the back of the
buckle.
7. Pull lower strap through the buckle and
snug down but do not fully tighten.
8. Ensure FastTrack™ is in appropriate
position and go back to fully tighten all
straps.
9. Tighten straps by pulling the ends
towards the rear of the horse while
holding the buckle buttons down. Hold
FastTrack™ immobile with one hand
while tightening strap to avoid pulling
on FastTrack™ and causing injury to the
horse’s leg.
10. Once lower strap is tight, release button
and tuck strap end into the keeper slot
in the wrap.
Readjust and Secure Cuffs cont.
5
11. Once upper straps are tight, tuck strap
ends into the keeper slots in the wrap.
1211

Repeat the above steps for the other forelimb.
FastTrack™is now ready for use per
your veterinarian’s treatment protocol.
1. Check your veterinarian’s treatment
protocol to determine the Degree of
Restriction required.
2. Offload the horse’s leg by picking it up to
set the SafeStop™.
3. Perform same actions as in Section 2
to set the Degree of Restriction on the
SafeStop™ (refer to Pages 6-7).
Set SafeStop™ to Degree of Restriction
7
5. Test fit by placing index finger in
between pad and horse’s leg from the
top.
Note: You may not have the same
spacing on both sides of the cannon.
6. Lower cuff should be set mid-pastern
with no contact of cuff padding with heel
bulbs or coronary band while horse is
standing square.
7. Lower cuff should fit very snug against
pastern. A proper fit should prohibit you
from placing an index finger between
the pastern and the padding.
Note: Fit should be very snug. It should
be difficult to get your index finger
between the pastern and the padding.
Checking Fit cont.
6
1413

1. Have the horse stand square on a firm,
flat surface.
2. Offload the horse’s leg by picking it up
and reset SafeStop™ to 90 degrees on
both the left and right FastTrack™.
3. Unfasten both the upper and lower cuff
straps from the keepers and buckles.
4. Open the upper and lower Velcro wraps.
5. Gently pull lower cuff away from the
horse’s pastern.
Remove FastTrack™from Horse
8
6. Use both hands to spread apart the back
of upper cuff.
7. Slide the upper cuff completely off the
horse’s cannon.
Remove FastTrack™from Horse cont.
8
Discontinue use if you notice any abrasion
and/or skin irritation.
Contact your veterinarian with any concerns
you may have.
1615

Storage and Care Instructions
After Every Use: • Remove dirt and debris using stiff hard brush
• Pay extra care to keep Velcro clean/free of debris
• If used for water therapy, FastTrack™ should be
rinsed thoroughly and allowed to dry completely
before next use
Storage: • Store in a cool and dry area
• Provided bag (or breathable substitute). Use the
attached luggage tag to label the name of the
horse as each FastTrack™ is fit specifically for
each individual horse.
Cleaning: • Clean and dry as needed
• Hand wash with mild soapy water and rinse
• Dry for 12-24 hours
Customer Support
844-51-HORSE
support@horsepowertech.com
or visit www.horsepowertech.com
For Product Warranty information, please refer to
our website: www.horsepowertech.com
17 18

Horsepower Technologies
110 Canal Street, Suite 311
Lowell, MA 01852 USA
For questions and support,
please contact customer support:
844-51-HORSE
support@horsepowertech.com
visit www.horsepowertech.com
Version 1.0
526-03-055
Other manuals for FastTrack
1
Table of contents
Other Horsepower Technologies Medical Equipment manuals