2.Ordering
When the dado panic strip is delivered to site it cannot be altered in length, therefore it is of
vital importance to ensure the sizes are correct when placing the order, please measure from
corner to corner. To ensure the order is placed correctly please include a sketch of the area
the dado is required for as illustrated in Figure 2.1, a hand drawn sketch will suffice.
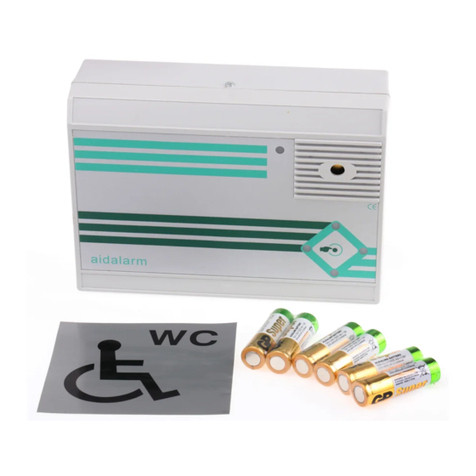
As well as the measurements, when
placing an order colour preference is
also required as is whether the strip is
to be illuminated or not.
Table 2.1 is a quick checklist of the
requirements to place an order.
3.Fitting the switch
When fitting the dado panic strip, there are two grooves on the aluminium channel, these
denote the top and therefore should be facing upwards when attached to the wall.
Only when the channel is correctly orientated and attached to the wall can the switch be
inserted. The switch must be inserted under the upper lip of the aluminium channel then
pressed in at the bottom as shown on above.
If the switch is installed in any other manner, including pulling in from the side or forcing it
under the bottom lip first, it will suffer damage.


