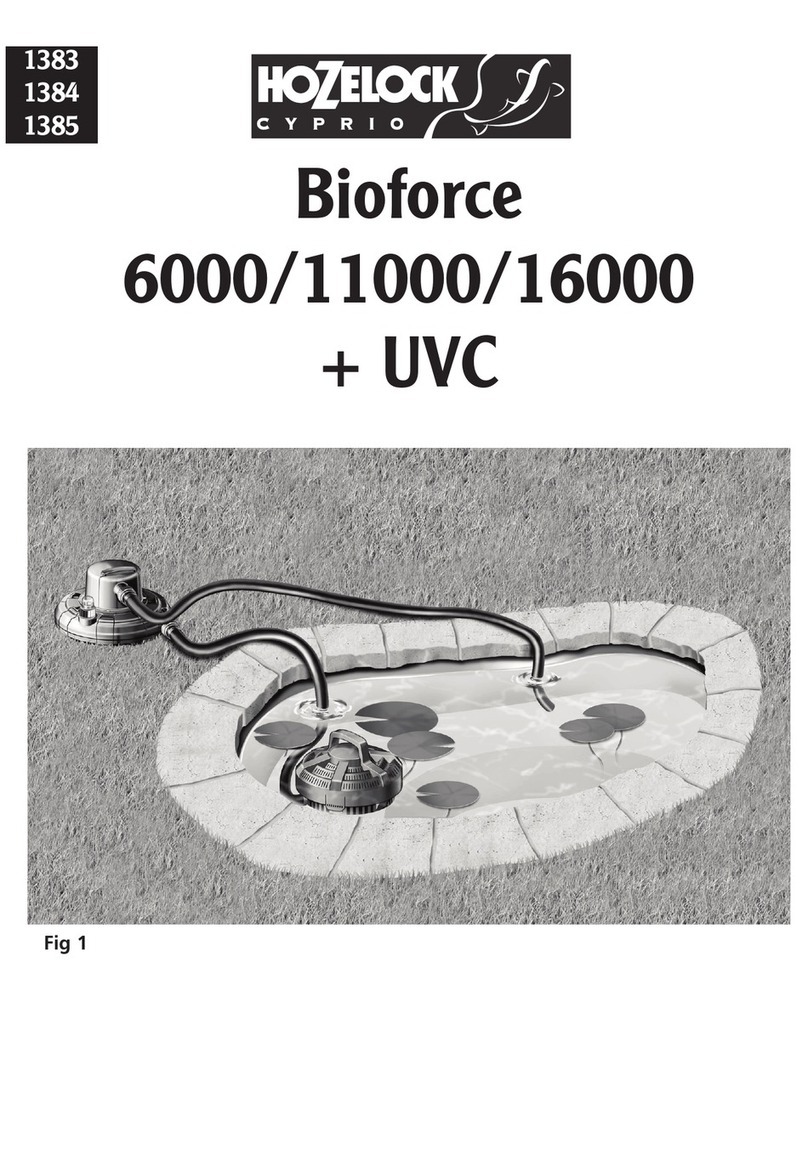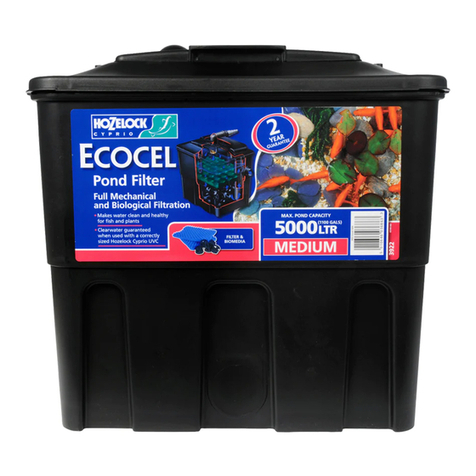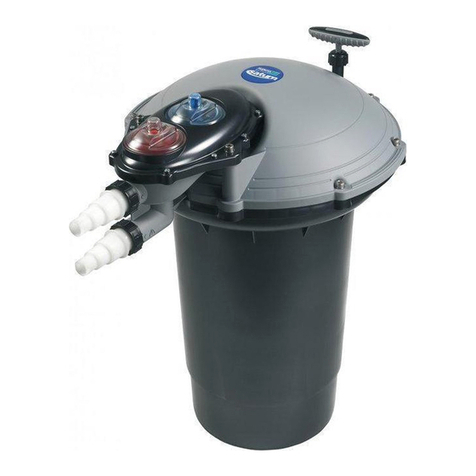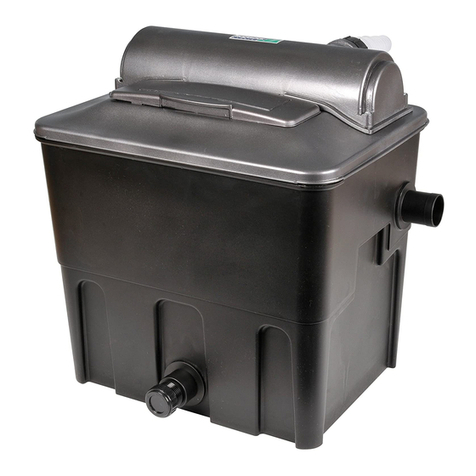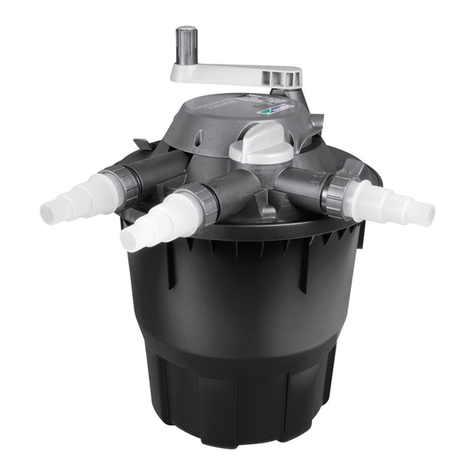
diagram.
Attention: Please ensure that the foam module tray is fully pushed
down in all four corners following unpacking from the display
carton.
1) Push the foam support posts into the foam module tray. Push
the post until it reaches the solid stop (SEE IG 1).
2) Mount foams over the posts ensuring they are pushed to the
bottom of the post holders (SEE IG 2). With new foams it is
advisable to ‘wet’ the foams by squeezing them in pond water.
This ensures the foams are effective from the start, and by
removing any trapped air will avoid any tendency for them to
float.
3) (When using a Vorton UVC unit) Assemble the joining tube to
connect the two Vorton units together as shown in ig 3 of the
instructions supplied with the VortonUVC. Note that the inlet
and outlet can be rotated relative to the main body for
alignment. Cut the hose tail down to the 40mm step (SEE IG 3)
and ensure the ‘O’ ring seal provided is in place on the hosetail.
Slide the assembled Vorton onto the support bracket ensuring
the connection between the two Vorton chambers is on the
right hand side (SEE IG 4). Rotate the inlet and outlet
connections of the Vorton to line up the Vorton’s outlet with
the TrinamicTM tank inlet and to point the inlet down at
approximately 45 degrees. Hang the Vorton bracket (with
Vorton assembled) onto the side of the tank (SEE IG 5). Use the
female-to-female connector to connect the Vorton outlet to the
tank inlet. Tighten all fittings by hand (SEE IG 6).
4) Cut the inlet hose tail on your Trinamic ilter to the size
appropriate for the diameter of the hose to be used (see ig 3).
Connect the hose (attached to the filter pump) to the inlet hose
tail (or to the Vorton UVC inlet hose tail) using hose clips. We
recommend the use of Hozelock Cyprio hose clips and Cypriflex
hose, which is corrugated to avoid kinking – these are available
separately.
5) Connect the appropriate hose or rigid pipe to the outlet feeding
back to the pond or waterfall. The TrinamicTM12,500 uses 2 x
40mm hose runs connected with jubilee clips. The Trinamic
20,000 will accept rigid pipe with external diameter between
88mm and 110mm. Push the rigid pipe into the outlet using
petroleum jelly to ease assembly. Alternatively the filter can be
positioned next to the pond so the water pours directly from
the filter outlet back into the pond.
6) Replace the filter lid securely and drop the floating cleaning
indicator into the hole in the lid (SEE IG 7).
C MMISSI N
On first use, turn on the filter pump and check for any leaking
fittings. If fittings are not sufficiently tight, rotate a further
quarter of a turn by hand. Do not use tools as over-tightening can
permanently damage the fitting. If leaking continues, check that
the rubber o-ring is correctly positioned on the hosetail.
Empty 75% of the bag of KaldnesTM into the first chamber. Retain
about 25% of the KaldnesTM and empty this into the chamber
gradually over a period of the first week. The KaldnesTM may not
spin effectively until bacteria has begun to colonise on it. The filter
is now ready for maturation.
MATURATI N AND P ND CLARITY
In order for your TrinamicTM filter to reach full operating efficiency
in converting ammonia and nitrite into less harmful substances,
beneficial bacteria need to colonise on the KaldnesTM K3 and
Cypripak biomedia. Biological nitrification bacteria will normally
colonise the filter during the first eight weeks of use. The
KaldnesTM K3 biomedia will turn a brown colour as it matures. Use
Hozelock Cyprio’s Ammonia and pH test kit (3961) to measure the
chemical balance of the pond and ensure the maturation process is
underway.
Do not switch on your UVC (if fitted) for 6-8 weeks as maturation
is slowed if the UVC is active.
As the foams begin to block, the mechanical filtration rate
improves. A marked improvement in pond clarity is expected
within 2 weeks. Clarity should continue to improve over the
following 4 weeks.
IN-USE
1.Ultra-violet Clarifier
Hozelock Cyprio strongly recommend that a Hozelock Cyprio
Vorton UVC is used with the TrinamicTM filter. Without a Vorton
UVC, clear water cannot be guaranteed. If fitted (SEE IG 5), locate
the Vorton UVC on the metal attachment bracket supplied. If you
are using an alternative UVC (non Vorton) keep hose runs to a
minimum and ensure hose tails are cut to suit the 40mm hose
diameter.
2. Cleaning indicator
When in use, regular checks of the water level within the
TrinamicTM are essential. The water level in the product rises as the
foams become blocked with debris. When the water level reaches
the top of the foams, it bypasses down the centre of the foam
cartridges. At this point the cleaning indicator rises to alert the
user that the foams need to be cleaned.
3. When to operate the TrinamicTMfilter
The filter must be operational for 24 hours a day. If the filter is left
to dry, the nitrification bacteria will die off and the filter will need
to be re-matured as if from new. The bacteria in the filter will not
be harmed by turning the filter pump off for short periods of time,
for example for maintenance.
Hozelock Cyprio recommend that the filter be run throughout the
winter as this will help prevent the pond completely freezing over.
However, if necessary, filtration can be stopped if the temperature
falls below 10°C, as long as it is resumed when temperatures rise
again in the spring. Never feed the fish when the filter is not
running.
MAINTENANCE
1. Routine cleaning
When the water level rises to the top of the foams and the
cleaning indicator float rises, the foams need to be cleaned.
or cleaning of the foams, switch off the pump and allow the
foam chamber to drain. Remove the foams and clean using pond
water in a large bucket to ensure the biological balance is not
disturbed.
Any debris collected in the foam chamber can be washed out
through the drain at the end. Connect a length of 25mm diameter
hose to the debris drain outlet and fit the 25mm valve supplied in-
line. Simply open the valve (SEE IG 8) and turn on the pump to
flush the sludge to waste. When complete fully close the valve.
2. Seasonal cleaning
Approximately once a year, the KaldnesTM chamber will need to be
cleaned to remove any build up of debris.
Turn off the filter pump. The water level of the KaldnesTM chamber
will drop to the bottom of the chamber divide screen.
Stir the water and KaldnesTMK3 in the chamber thoroughly to
dislodge the debris. Remove the KaldnesTM chamber end cap and
flush the debris to waste. If further cleaning of the KaldnesTM is
needed, turn the filter pump on again for a few moments and
continue to stir the KaldnesTM in the flow. Repeat until water is
sufficiently clear in the chamber and turn off the filter pump.
Securely replace all drain caps and turn the filter pump on again
to resume normal operation.
FAULT FINDING
Possible faults
1 Cleaning indicator activated but foams not fully clogged
a) The filter pump flow rate is too high. Ensure the flow rate is
between 4,000 and 7,000 litres per hour for the TrinamicTM 12500
and 7,000 – 10,000 LPH for the TrinamicTM20000.
b) Restriction to the filter outlet. Check bends in the hose for
restriction.
c) Screen chamber divide is blocked. Check and clean the screen if
necessary.
2. Kaldnes™ not moving even when mature
This will be because the flow rate is too low. Check:
a) Is the inlet to the pond pump clogged?
b) Can the Trinamic be lowered? The outlet should ideally be less
than 0.25m above the pond.
c) Can the hoses be shortened? Ideally, use less than 5m.
d ) Can the hose diameter be increased? Use 40mm wherever
possible.
3. Clear water not achieved
a) The pump position is not allowing adequate circulation. Ensure
the pump is at the opposite end of the pond to the return from
the filter.
b) Insufficient flow rate due to a restriction. Blanket weed can
slow the flow rate down considerably by clogging the pump.
Check that there isn’t a restriction in hose runs.
c) oams have not been cleaned for a long time and water is by-
passing down the centre of the foam cartridges.
d) The UVC is not operational or is undersized for the volume or
sun exposure of the pond.
e) The UVC’s quartz tube needs cleaning or the UV-bulb needs
replacing.
4. Tank overflows
