manuals.online logo
Brands
  1. Home
  2. •
  3. Brands
  4. •
  5. HP
  6. •
  7. Controllers
  8. •
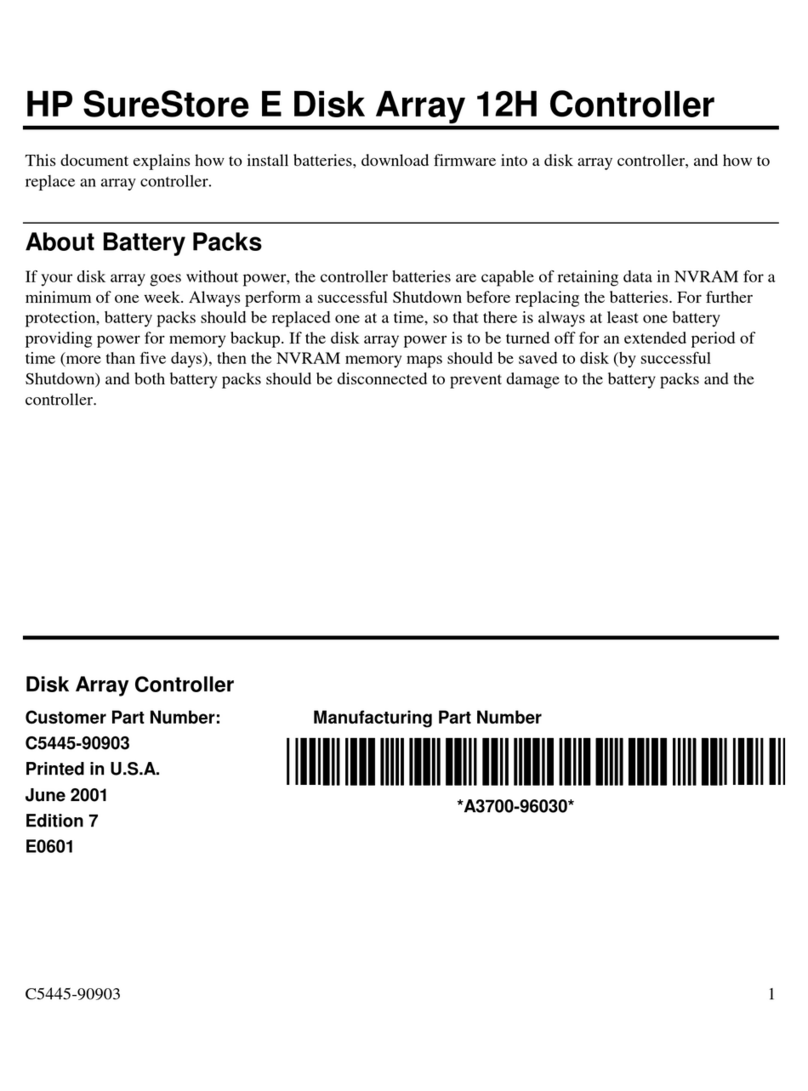
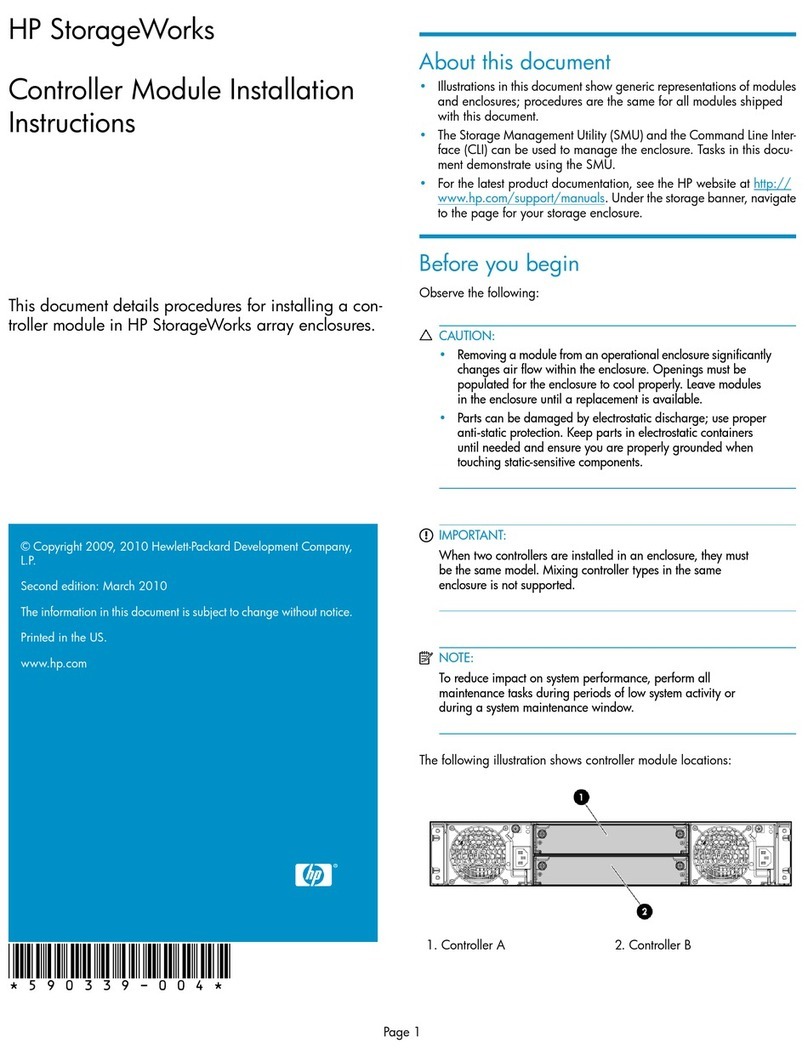
  9. HP StorageWorks ESL E Series User manual

HP StorageWorks ESL E Series User manual

hp
StorageWorks
ESL E-Series
e2400-160
Interface
Controller
Replacement
Caution: Parts can be damaged by
electrostatic discharge. Keep parts in their
containers until needed. Ensure you are
properly grounded when touching static-
sensitive components.
Note: This part is not hot-pluggable.
It is necessary to power down the library
to replace this part.
4
2
1
Open the back door of the library.
Inspect the contents of the kit.
hp
StorageWorks
ESL E-Series
e2400-160
Interface
Controller
Replacement
Caution:Parts canbedamagedby
electrostaticdischarge. Keepparts in their
containers until needed. Ensureyou are
properly groundedwhen touchingstatic-
sensitive components.
Note:This part is not hot-pluggable.
It is necessary to power down thelibrary
to replacethis part.
4
2
1
Openthebackdoor of thelibrary.
Inspect thecontents of thekit.
Power off thelibrary.
a.
Use your backup softwareto empty thepicker
or to verify that thepicker is empty.
b.
Placethelibraryoff-lineby pressingthe
Standbybutton on thelibrary's front panel.
c.
Verifythat thefront panel displayindicates
“System Off-line”.
d.
Press andhold thepowerbutton, locatedon
thefront of thelibrary behindthelaptoptray,
until thefront panel goes blank.
Removal
ACT/
LNK
ACT/
LNK
PORT1PORT0ETHERNET
SERIAL
PWR
FIBRE
CHANNEL
FIBRE
CHANNEL
ACT/
LNK
ACT/
LNK
PORT1PORT0ETHERNET
SERIAL
PWR
FIBRE
CHANNEL
FIBRE
CHANNEL
3
Identifythe
e2400-160
interface
controller to
bereplaced.
It is locatedin
oneof thetop
6slots of the
cardcage. When thepower is on, theACT/LNK
LEDs will beoff insteadof green; thepower LED
might also beoff. You mayneedto findout
which drives areconnectedto eachcontroller to
identifythecontroller to replace.
hp
StorageWorks
ESLE-Series
e2400-160
Interface
Controller
Replacement
Caution:Partscanbedamagedby
electrostaticdischarge.Keepparts in their
containersuntilneeded. Ensureyouare
properlygroundedwhentouchingstatic-
sensitivecomponents.
Note:Thispartis not hot -pluggable.
Itis necessarytopowerdownthelibrary
toreplacethispart.
4
2
1
Openthebackdoorofthelibrary.
Inspectthecontentsof thekit.
Poweroffthelibrary.
a.
Useyourbackupsoftwaretoemptythepicker
ortoverifythatthepickeris empty.
b.
Placethelibraryoff-linebypressingthe
Standbybuttononthelibrary'sfrontpanel.
c.
Verifythatthefront panel displayindicates
“SystemOff-line”.
d.
Pressandholdthepowerbutton,locatedon
thefrontof thelibrary behindthelaptoptray,
untilthefrontpanelgoesblank.
Removal
ACT/
LNK
ACT/
LNK
PORT1PORT0ETHERNET
SERIAL
PWR
FIBRE
CHANNEL
FIBRE
CHANNEL
ACT/
LNK
ACT/
LNK
PORT1PORT0ETHERNET
SERIAL
PWR
FIBRE
CHANNEL
FIBRE
CHANNEL
3
Identifythe
e2400-160
interface
controllerto
bereplaced.
Itis locatedin
oneofthetop
6slotsofthe
cardcage. Whenthepowerison, theACT/LNK
LEDswillbe off insteadofgreen; thepowerLED
mightalsobeoff.Youmayneedtofindout
whichdrivesareconnected toeachcontroller to
identifythecontrollertoreplace.
Power off the library.
a. Use your backup software to empty the picker
or to verify that the picker is empty.
b. Place the library off-line by pressing the
Standby button on the library's front panel.
c. Verify that the front panel display indicates
“System Off-line”.
d. Press and hold the power button, located on
the front of the library behind the laptop tray,
until the front panel goes blank.
Removal
ACT/
LNK
ACT/
LNK
PORT1 PORT0 ETHERNET
SERIAL
PWR
FIBRE
CHANNEL
FIBRE
CHANNEL
ACT/
LNK
ACT/
LNK
PORT1 PORT0 ETHERNET
SERIAL
PWR
FIBRE
CHANNEL
FIBRE
CHANNEL
3
Identify the
e2400-160
interface
controller to
be replaced.
It is located in
one of the top
6 slots of the
card cage. When the power is on, the ACT/LNK
LEDs will be off instead of green; the power LED
might also be off. You may need to find out
which drives are connected to each controller to
identify the controller to replace.
ACT/
LNK
ACT/
LNK
PORT 1 PORT0 ETHERNET
SERIAL
PWR
FIBRE
CHANNEL
FIBRE
CHANNEL
ACT/
LNK
ACT/
LNK
PORT 1 PORT0 ETHERNET
SERIAL
PWR
FIBRE
CHANNEL
FIBRE
CHANNEL
ACT/
LNK
ACT/
LNK
PORT 1 PORT0 ETHERNET
SERIAL
PWR
FIBRE
CHANNEL
FIBRE
CHANNEL
ACT/
LNK
ACT/
LNK
PORT 1 PORT0 ETHERNET
SERIAL
PWR
FIBRE
CHANNEL
FIBRE
CHANNEL
ACT/
LNK
ACT/
LNK
PORT1 PORT0 ETHERNET
SERIAL
PWR
FIBRE
CHANNEL
FIBRE
CHANNEL
ACT/
LNK
ACT/
LNK
PORT1 PORT0 ETHERNET
SERIAL
PWR
FIBRE
CHANNEL
FIBRE
CHANNEL
Installation
Take note of the cable connections for easier
reconnection to the replacement controller, then
remove the cables from the E2400-160 interface
controller.
6
7
Use a #2 Phillips screwdriver to loosen the captive
screws in the black ejector handles at both ends
of the E2400-160 interface controller. Push the
ejector handles toward the outside, then pull on
them to remove the controller.
ACT/
LNK
ACT/
LNK
PORT1 PORT 0 ETHERNET
SERIAL
PWR
FIBRE
CHANNEL
FIBRE
CHANNEL
910
Connect the SCSI, Fibre Channel, and Ethernet
cables (if present) exactly as they were on the
original board.
Note: If necessary refer to the HP
StorageWorks ESL E-Series Tape Library
Unpacking and Installation Guide for
detailed cabling configurations.
With the SCSI ports located to your right as you
face the back of the library, slide the controller
into a slot in the card cage. Tighten the captive
screws.
5
Flip the two breaker switches off (to the left) at the
power distribution unit.
Hold the new controller’s ejector handles so they
extend toward the outer edges of the controller.
8
ACT/
LNK
ACT/
LNK
PORT 1 PORT 0 ETHERNET
SERIAL
PWR
FIBRE
CHANNEL
FIBRE
CHANNEL
ACT/
LNK
ACT/
LNK
PORT 1 PORT 0 ETHERNET
SERIAL
PWR
FIBRE
CHANNEL
FIBRE
CHANNEL
13
Power on the library.
a. Verify that power cables are firmly in place.
b. Press the power button located behind the
laptop tray.
c. After several seconds, verify that the current
state of the library appears in the System
State display on the front panel (“System On-
line”or “System Off-line”).
Note: To change the state, press the
Standby button on the front panel.
This toggles the library between on-line
and off-line states.
11
Secure the SCSI cables going from the controller
to the tape drives with the cable restraint bracket
as shown.
12
Flip the two breaker switches on at the power
distribution unit.
ACT/
LNK
ACT/
LNK
PORT 1 PORT 0 ETHERNET
SERIAL
PWR
FIBRE
CHANNEL
FIBRE
CHANNEL
ACT/
LNK
ACT/
LNK
PORT 1 PORT 0 ETHERNET
SERIAL
PWR
FIBRE
CHANNEL
FIBRE
CHANNEL
Configuration
16
Use the Interface Manager's command-line
interface or the HP StorageWorks Command
View ESL User Interface to verify detection of
the new board(s), and to perform configuration
and firmware updates, if necessary.
Verify that the power LED on the controller is solid
green. This indicates a good connection.
14
Close the back door of the library.
15
© 2004 Hewlett-Packard Development Company, L.P.
First Edition (January 2004)
Part Number: 351425-001
*351425-001*
351425-001
Getting help
•HP product information:
http://www.hp.com/products/tapestorage
•HP technical support and phone numbers:
http://www.hp.com/support
•HP StorageWorks Library and Tape Tools
(L&TT) diagnostic software:
http://www.hp.com/support/tapetools
•Interface Manager and HP StorageWorks
Command View ESL:
http://www.hp.com/support/cvesl

Other manuals for StorageWorks ESL E Series

2

This manual suits for next models

1

Other HP Controllers manuals

HP P420 User manual

HP

HP P420 User manual

HP Smart Array P800 User manual

HP

HP Smart Array P800 User manual

HP ProCurve MSM710 User manual

HP

HP ProCurve MSM710 User manual

HP ProCurve MSM765zl User manual

HP

HP ProCurve MSM765zl User manual

HP 3X-DEGXA-XX PCI-X User manual

HP

HP 3X-DEGXA-XX PCI-X User manual

HP Smart Array P712m User instructions

HP

HP Smart Array P712m User instructions

HP 9000 Series 300 User manual

HP

HP 9000 Series 300 User manual

HP Smart Array P711m User instructions

HP

HP Smart Array P711m User instructions

HP Compaq Presario,Presario 4400 Guide

HP

HP Compaq Presario,Presario 4400 Guide

HP StorageWorks 1510i - Modular Smart Array User manual

HP

HP StorageWorks 1510i - Modular Smart Array User manual

HP ProCurve MSM765zl User manual

HP

HP ProCurve MSM765zl User manual

HP 273914-B21 - Smart Array 6404/256 RAID... User manual

HP

HP 273914-B21 - Smart Array 6404/256 RAID... User manual

HP 9000 Series 700 User manual

HP

HP 9000 Series 700 User manual

HP StorageWorks P2000 Guide

HP

HP StorageWorks P2000 Guide

HP StorageWorks P2000 Instruction Manual

HP

HP StorageWorks P2000 Instruction Manual

HP 30240A Manual

HP

HP 30240A Manual

HP ProCurve 800 Manual

HP

HP ProCurve 800 Manual

HP ProCurve MSM710 User manual

HP

HP ProCurve MSM710 User manual

HP MSM720 User manual

HP

HP MSM720 User manual

HP ProCurve MSM760 User manual

HP

HP ProCurve MSM760 User manual

HP MSM720 User manual

HP

HP MSM720 User manual

HP StorageWorks HSG60 User manual

HP

HP StorageWorks HSG60 User manual

HP ProCurve MSM750 User manual

HP

HP ProCurve MSM750 User manual

HP VXI 75000 C Series Owner's manual

HP

HP VXI 75000 C Series Owner's manual

Popular Controllers manuals by other brands

FARM SCAN 7000 Series Operator's guide

FARM SCAN

FARM SCAN 7000 Series Operator's guide

OutBack Power FLEXmax 60 owner's manual

OutBack Power

OutBack Power FLEXmax 60 owner's manual

Bodine FPM Series Instructions for installation and operation

Bodine

Bodine FPM Series Instructions for installation and operation

Precision Medical EasyPulse 5 user manual

Precision Medical

Precision Medical EasyPulse 5 user manual

CUE irCUE user manual

CUE

CUE irCUE user manual

Russound ACP-1DU instruction manual

Russound

Russound ACP-1DU instruction manual

Tunze 7074/2 Instructions for use

Tunze

Tunze 7074/2 Instructions for use

Rain Bird ESP-TM Series Installation, Programming, & Operation

Rain Bird

Rain Bird ESP-TM Series Installation, Programming, & Operation

AIC	Wireless Aurora-AX Sedona AUR-WIO-4DI installation instructions

AIC Wireless

AIC Wireless Aurora-AX Sedona AUR-WIO-4DI installation instructions

Weinzierl KNX IP LineMaster 760 OPERATING AND INSTALLATION Manual

Weinzierl

Weinzierl KNX IP LineMaster 760 OPERATING AND INSTALLATION Manual

CPC MultiFlex RTU Installation and operation manual

CPC

CPC MultiFlex RTU Installation and operation manual

Nitto Seiko HC100 Operation manual

Nitto Seiko

Nitto Seiko HC100 Operation manual

SMC Networks LEJS Series instructions

SMC Networks

SMC Networks LEJS Series instructions

danalock Danabridge V3 manual

danalock

danalock Danabridge V3 manual

LG G3F-AD3A user manual

LG

LG G3F-AD3A user manual

Mitsubishi QJ71MT91 user manual

Mitsubishi

Mitsubishi QJ71MT91 user manual

Johnson Controls FX-PCV1615 installation instructions

Johnson Controls

Johnson Controls FX-PCV1615 installation instructions

Atmel WINC1500 Getting started guide

Atmel

Atmel WINC1500 Getting started guide

manuals.online logo
manuals.online logoBrands
  • About & Mission
  • Contact us
  • Privacy Policy
  • Terms and Conditions

Copyright 2025 Manuals.Online. All Rights Reserved.