manuals.online logo
Brands
  1. Home
  2. •
  3. Brands
  4. •
  5. HP
  6. •
  7. Desktop
  8. •
  9. HP Brio 8300 Manual

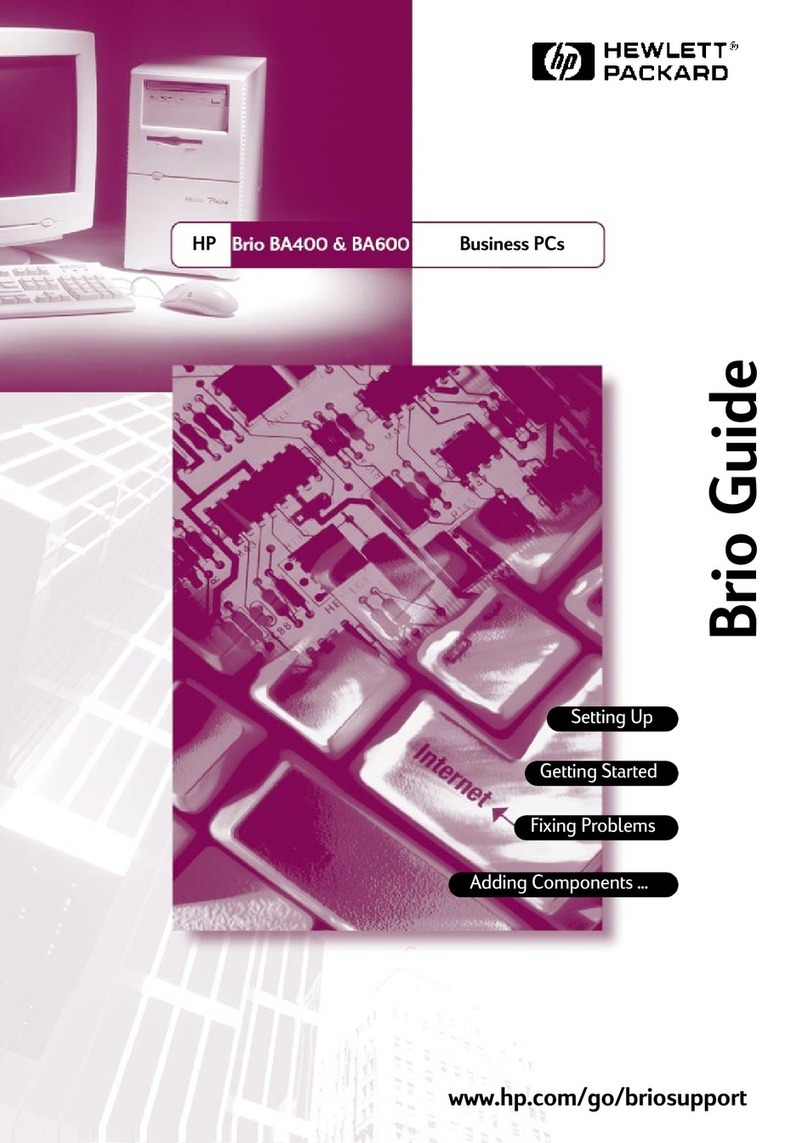
HP Brio 8300 Manual

HP Brio PC 83xx/84xx/85xx Page 1 of 4
Before You Start
• For your safety, disconnect the power cord and all other
external cables.
• Rest the computer on a flat surface, such as a desk.
Replacing the Cover
1. Rotate the computer so that you are looking at the back
of it.
2. Locate and remove the four screws ❶.
3. Slide the cover towards the back of the computer and
lift off ❷.
4. Place the new cover over the computer and push in
both sides.
5. Slide the cover forward until it is firmly seated.
6. Replace the four screws.
Before You Start
• Remove the computer’s cover as described in Task 1
“Replacing the Cover”.
Replacing a 5.25” Hard Disk
1. Remove any drives above the hard disk (CD-ROM, for
example — see Task 3 “Replacing the CD-ROM Drive”)
2. Locate the hard drive ❶, remove the cables ❷and then
the screws ❸on either side of the bay.
3. Slide the hard drive upwards then out of the computer.
4. Put the new hard drive into the bay, replace the four
screws and the cables.
5. Replace the cover.
Replacing a 3.5” Hard Disk
1. Locate the hard drive ❶, remove the cables ❷and then
the screws ❸on either side of the bay.
Task 1 Replacing the Cover
Read Me First
Legal, Safety & Regulatory Information
Incorrect installation can cause damage to the PC or peripherals attached to it. Dam-
age due to incorrect installation may void the PC warranty. If you do not feel com-
fortable replacing this part yourself, please contact your local dealer or HP
representative to purchase repair services.
WARNING
AS WITH ANY ELECTRICAL EQUIPMENT IMPROPER HANDLING CAN CAUSE SEVERE
PERSONAL INJURY OR DEATH. CAUTION SHOULD BE USED WHEN WORKING WITH
THIS EQUIPMENT.
When replacing your CD-ROM drive...
To avoid electric shock and damage to your eyes by laser light, do not open the laser
module. The laser module should be serviced by service personnel only. Do not at-
tempt to make any adjustment to the laser unit. Refer to the label on the CD-ROM for
power requirements and wavelength. This product is a class 1 laser product.
When replacing your System Board...
If your old system board contains a lithium battery, do not dispose of it in household
waste. Please return batteries to the shop from which you bought them, to the dealer
from whom you purchased your PC, or to HP, so they can be recycled or disposed of
in a sound way. Returned used batteries will be accepted free of charge.
Caution
Static electricity can damageelectronic components. Turn off all equipment. Don’t let
your clothes touch the service part. To equalize the static electricity, rest the service
partbagon top of thecomputerwhile you are removingthe service part from the bag.
Handle this service part as little as possible and with care.
T-15
Task 2 Replacing the Hard Disk
❶
❶
❶
❶
❷
T-15
❶
❷➌➌
HP Brio PC 83xx/84xx/85xx Page 2 of 4
2. Slide the hard drive towards the back and then out of
the computer.
3. Put the new hard drive into the bay, replace the four
screws and the cables.
4. Replace the cover.
Before You Start
• Remove the computer’s cover as described in Task 1
“Replacing the Cover”.
Replacing the CD-ROM Drive
1. Locate the CD-ROM drive.
2. Disconnect the three cables ❶.
3. Remove the four screws, two on each side ❷.
4. Slide the drive towards the front of the computer and
lift out.
5. Slide the new drive into the bay and replace the four
screws ❷.
6. Reconnect the three cables ❶.
7. Replace the cover.
Before You Start
• Remove the computer’s cover as described in Task 1
“Replacing the Cover”.
• Remove all expansion cards as described in Task 8
“Replacing Expansion Cards”.
Replacing the System Board
1. Remove the airflow guide by pushing back the two
retaining tabs ❶, then lifting it clear of the CPU.
2. Disconnect all cables from the system board.
3. Remove the 4 retaining screws ❷of the system board
backplate, slide toward the front of the computer, and
lift out the backplate and system board.
4. Remove all DIMMs — see Task 6 “Replacing the
DIMMs”.
5. Remove the CPU by pushing inwards the two retaining
tabs, then lifting it clear of its socket.
Task 3 Replacing the CD-ROM Drive
❶
❷➌➌
T-15
❶
❷❷
❷❷
Task 4 Replacing the System Board
T-15
❶
❶
83xx
❶
❶
84xx/85xx
❷
❷❷
❷
❸❸
HP Brio PC 83xx/84xx/85xx Page 3 of 4
6. Locate and remove the seven screws ❹.
7. Replace the system board.
8. Ensure jumper positions J22 and J23 on the replace-
ment board match those of the old system board.
9. Replace the seven screws ❹.
10. Replace the DIMMs.
11. Replace the CPU, ensuring that both retaining tabs ❸
are pushed outwards (locking the CPU in place).
12. Slide the system board back into the computer and
replace the screws ❶.
13. Refit the cables into their appropriate sockets.
14. Replace the cover.
Before You Start
• Remove the computer’s cover as described in Task 1
“Replacing the Cover”
Replacing the Floppy Disk Drive
1. Locate the Floppy Disk drive.
2. Remove the cables ❶.
3. Remove the four screws ❷, two on either side.
4. Slide the Floppy Disk Drive backwards and out of the
computer.
5. Replace the Floppy Disk Drive.
6. Replace the four screws ❷.
7. replace the two cables ❶.
8. Replace the cover.
Before You Start
• Remove the computer’s cover as described in Task 1
“Replacing the Cover”.
Replacing the DIMMs
1. Locate the DIMMs on your system board.
2. Press out the two retaining clips ❶at either end of the
DIMM (this releases the DIMM).
3. Holding the DIMM by its edges, lift it clear of the
socket.
4. Replace the DIMM, pushing it home until the retaining
clips ❶lock it in place.
5. Replace the cover.
Before You Start
• Remove the computer’s cover as described in in Task 1
“Replacing the Cover”
Replacing the Power Supply
1. Locate and remove the four screws ❶on the back of
the computer.
2. Disconnect all the power connectors ❷on the system
board and drives.
❹
❹
❹
❹❹
❹❹
83xx
❹❹❹
❹
❹
❹
❹
84xx/85xx
Task 5 Replacing the Floppy Disk
Drive
Task 6 Replacing the DIMMs
T-15
❶❷❷
T-15
Task 7 Replacing the Power Supply
❶❶
T-15
&
❶
❶
❶
❶
HP Brio PC 83xx/84xx/85xx Page 4 of 4
3. Lift the power supply ❸up and away from the com-
puter and replace with new power supply.
4. Replace the four screws ❶and reconnect all connec-
tors ❷.
5. Replace the cover.
6. Ensure the voltage selector switch is set to the correct
value for the country you live in.
Before You Start
• Remove the computer’s cover as described in Task 1
“Replacing the Cover”.
Replacing Expansion Cards
1. Locate the expansion card and remove the retaining
screw ❶.
2. Carefully lift out the expansion card, making sure that
it does not make contact with any other part of the
computer.
3. Insert the replacement expansion card into the appro-
priate slot.
4. Replace the retaining screw ❶.
5. Replace the cover.
Task 8 Replacing Expansion Cards
❸
❷
T-15
❶
Part Number 5967-9527-EN

Other manuals for Brio 8300

3

This manual suits for next models

26

Other HP Desktop manuals

HP EliteDesk 800 G4 Installation instructions

HP

HP EliteDesk 800 G4 Installation instructions

HP Pavilion v300 - Desktop PC User manual

HP

HP Pavilion v300 - Desktop PC User manual

HP Compaq dc7100 DT Installation and operation manual

HP

HP Compaq dc7100 DT Installation and operation manual

HP EliteOne 705 G1 User manual

HP

HP EliteOne 705 G1 User manual

HP Presario SR1200 - Desktop PC User manual

HP

HP Presario SR1200 - Desktop PC User manual

HP A320m - Pavilion - 256 MB RAM User manual

HP

HP A320m - Pavilion - 256 MB RAM User manual

HP DesignJet T610 Operating and maintenance manual

HP

HP DesignJet T610 Operating and maintenance manual

HP Kayak XA Manual

HP

HP Kayak XA Manual

HP xw8600 - Workstation User manual

HP

HP xw8600 - Workstation User manual

HP Brio 8172 Installation and operation manual

HP

HP Brio 8172 Installation and operation manual

HP EliteOne 1000 G1 User manual

HP

HP EliteOne 1000 G1 User manual

HP IQ506 - TouchSmart - 4 GB RAM User manual

HP

HP IQ506 - TouchSmart - 4 GB RAM User manual

HP TouchSmart 310-1000 - Desktop PC Quick guide

HP

HP TouchSmart 310-1000 - Desktop PC Quick guide

HP Kayak XA User manual

HP

HP Kayak XA User manual

HP Brio BA User manual

HP

HP Brio BA User manual

HP Z1 G2 User manual

HP

HP Z1 G2 User manual

HP Compaq Presario Specification sheet

HP

HP Compaq Presario Specification sheet

HP EliteDesk 705 G3 Small Form Factor Manual

HP

HP EliteDesk 705 G3 Small Form Factor Manual

HP i2000 Mounting instructions

HP

HP i2000 Mounting instructions

HP Media Center Instruction Manual

HP

HP Media Center Instruction Manual

HP Compaq Presario User manual

HP

HP Compaq Presario User manual

HP A1210n - Pavilion - 512 MB RAM User manual

HP

HP A1210n - Pavilion - 512 MB RAM User manual

HP 24 Installation instructions

HP

HP 24 Installation instructions

HP s3020n - Pavilion - Slimline Specification sheet

HP

HP s3020n - Pavilion - Slimline Specification sheet

Popular Desktop manuals by other brands

AMSTRAD PC1640 Service manual

AMSTRAD

AMSTRAD PC1640 Service manual

Acer Aspire 6600 user guide

Acer

Acer Aspire 6600 user guide

Lenovo Aptiva user guide

Lenovo

Lenovo Aptiva user guide

UTC RETAIL 2600 POS installation guide

UTC RETAIL

UTC RETAIL 2600 POS installation guide

Dell Inspiron 535s Service manual

Dell

Dell Inspiron 535s Service manual

Dell OptiPlex 580 Setup and features information

Dell

Dell OptiPlex 580 Setup and features information

AOpen DE7200 Series user guide

AOpen

AOpen DE7200 Series user guide

Intermec 1011CM01 user guide

Intermec

Intermec 1011CM01 user guide

ASROCK ION 3D SERIES Brochure & specs

ASROCK

ASROCK ION 3D SERIES Brochure & specs

Zotac MAGNUS ONE quick start guide

Zotac

Zotac MAGNUS ONE quick start guide

Lenovo ThinkCentre A57 user guide

Lenovo

Lenovo ThinkCentre A57 user guide

Lenovo ThinkCentre M75e Guide d'utilisation

Lenovo

Lenovo ThinkCentre M75e Guide d'utilisation

Sony VGC-RB30C/G Safety information guide

Sony

Sony VGC-RB30C/G Safety information guide

Acer Altos BrainSphere P150 F8 user guide

Acer

Acer Altos BrainSphere P150 F8 user guide

Avigilon RM7-WKS-4MN user guide

Avigilon

Avigilon RM7-WKS-4MN user guide

Dell OptiPlex 960 MT Setup and features information

Dell

Dell OptiPlex 960 MT Setup and features information

Lenovo ThinkCentre Edge 72 null

Lenovo

Lenovo ThinkCentre Edge 72 null

Compaq CQ2000 - Desktop PC Limited warranty

Compaq

Compaq CQ2000 - Desktop PC Limited warranty

manuals.online logo
manuals.online logoBrands
  • About & Mission
  • Contact us
  • Privacy Policy
  • Terms and Conditions

Copyright 2025 Manuals.Online. All Rights Reserved.