HP 8114A User manual

Service Guide
HP
8114A 100
V/2
A
Programmable Pulse Generator
OTS LIBRARY
OTS LIBRARY
lll1ll1lllllllllllllllllllllllllllllllllllllllilllll
Ill1
Ill1
2400010747
HP Part No. 08114-91021
Printed in Germany December 1994
Edition 1 .O
El294

Notice
Copyright
@
1994
Hewlett-Packard
GmbH.
Herrenberger
Sir.
130
7 1034 Riiblingen
Federal
Repubhc
of Germany
All
Rrghm
Reserved. Reproduction,
adaptation or translation without prior
written permission is prohibited. except
as allowed under the copyright laws.
warranty
The information contained in this
document
IS
subject to change without
notice.
Hewbtt-Rwhmvd
makes
no
ummnty
of
any kind with regard to this material,
includiv~q,
but not
limited
tq
the implied
zuarranties
or
merchuntibility
and
pnmfi
a particular
pwp0se
Hewlett-Packard shall not be liable for
errors
contained herein or for incidental
or
consequentral
damages in connection
with the furnishing, performance, or use
of this material.
Complete product warranty information
is given in the User Guide.
Safety
This is a Safety Class 1 instrument
(provided with terminal for protective
earthmg).
Before applying power, verify
that the correct safety precautions are
taken (see the following warnings). In
addition, note the external markings on
the instrument that are described under
Safety Symbols. Do not operate the
mstrument
wrth
its covers removed.
Replace fuse only with specified type.
Warning
Before turning on the instrument, you
must connect the protective earth
terminal of the instrument to the
protective earth conductor of the (mains)
power cord. The mains plug must only be
inserted in a socket outlet with a
protective earth contact. Do not negate
the protective action by using an
extension power cord without a
protective grounding conductor.
Grounding one conductor of a
two-conductor outlet is not sufficient
protection.
Service instructions are for trained
service personnel. lb avoid dangerous
electric shock, do not perform any
service unless qualified to do so. Do not
attempt internal service or adjustment
unless another person, capable of
rendering
Arst
aid and resuscitation, is
present.
If you energize this instrument using an
auto-transformer (for voltage reduction)
make sure that the common terminal is
connected to the earth terminal of the
power source.
Whenever it is likely that the ground
protection is impaired, you must make
the instrument inoperative and secure
It
against any unintended operation.
Do not operate the instrument in the
presence of flammable gases or fumes.
Operation of any electrical instrument in
such an environment constitutes a
definite
safe@
hazard.
Do not install substitute parts or perform
any unauthorized modification to the
instrument.
Capacitors inside the instrument may
retain a charge even if the instrument is
disconnected from its source of supply.
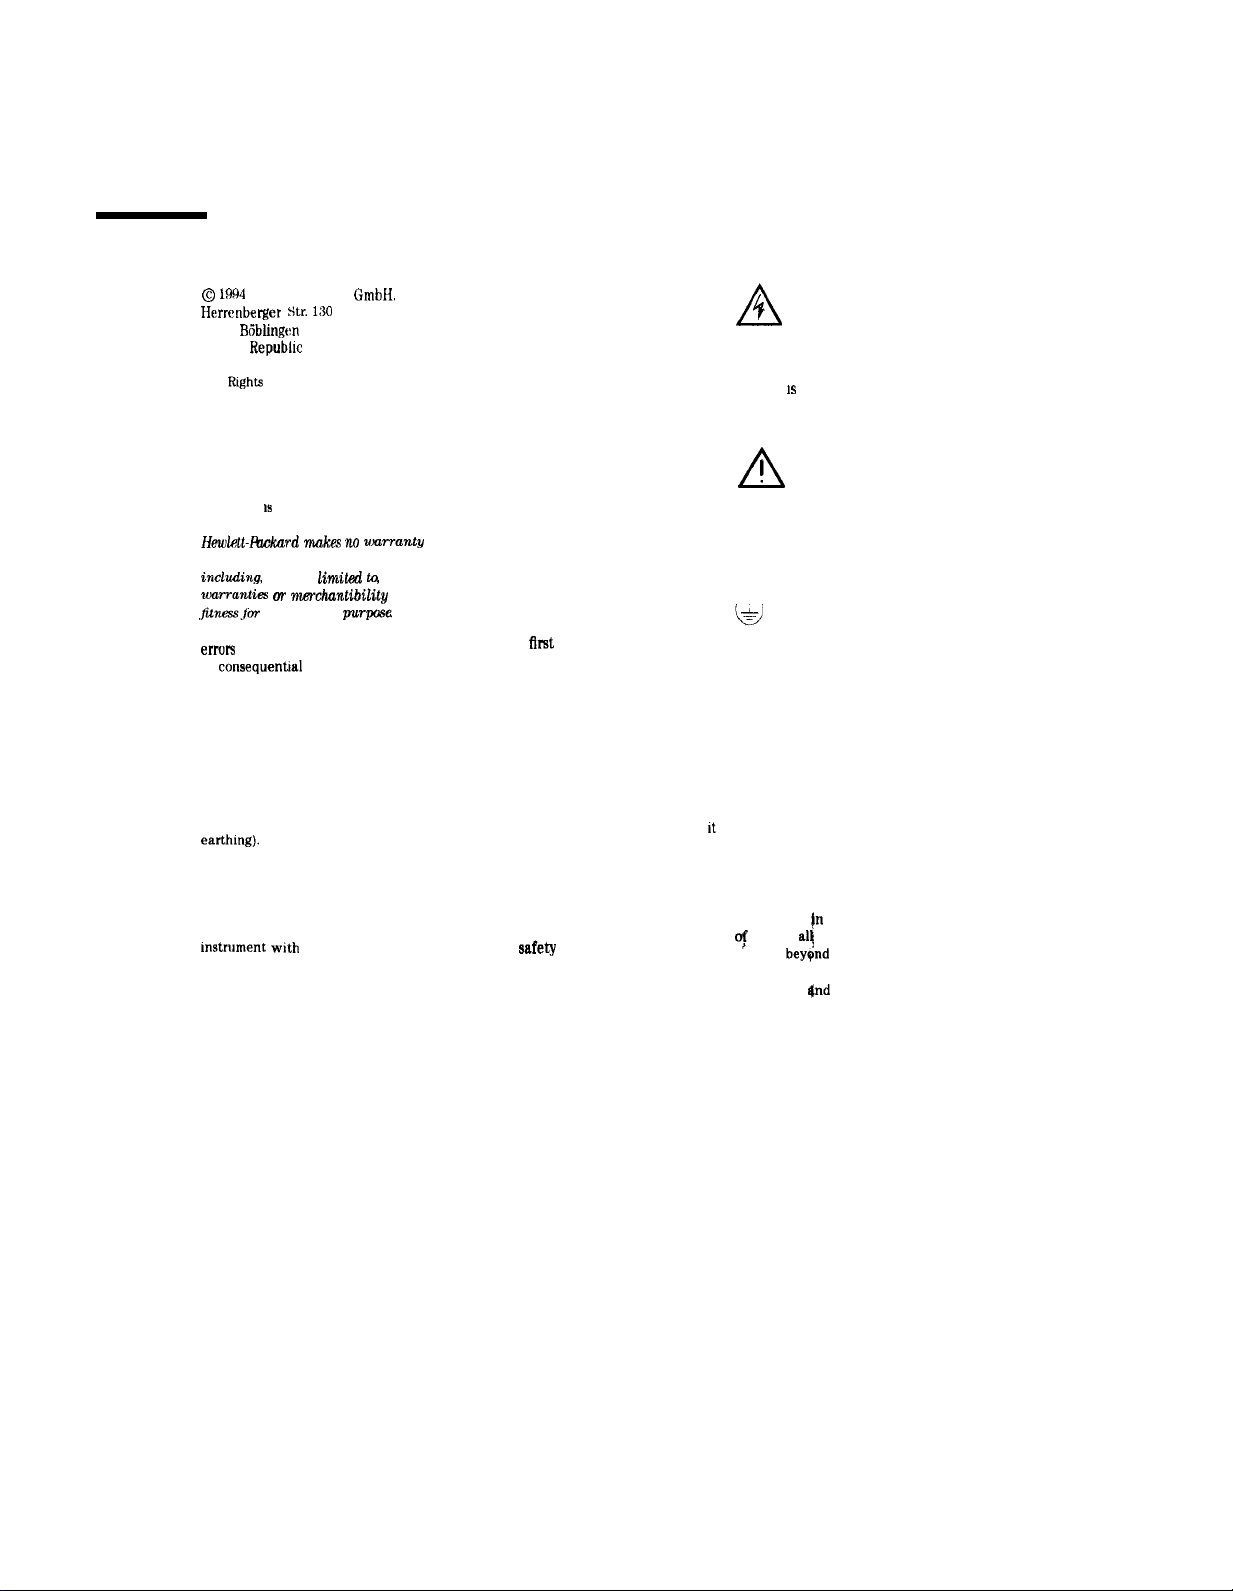
Safety Symbols
A
4
Instruction Manual symbols: The
instrument is marked with this symbol
when it
IS
necessary for you to refer to
the instruction manual in order to avoid
the hazard of electric shock.
A
I
Instruction Manual symbols: The
instrument is marked with this symbol
when it is necessary for you to refer to
the instruction manual in order to protect
against damage to the instrument.
Protected conductor symbol
WARNING
The Warning symbol calls attention to a
procedure, practice, or the like, which, if
not correctly performed or adhered to,
could result in personal injury or loss of
life. Do not proceed beyond a Warning
symbol until the indicated conditions are
fully understood and met.
CAUTION
The Caution symbol calls attention to a
procedure, practice, or the like, which, if
not correctly performed or adhered to,
could result
In
damage to or destruction
“f
part or
aI\
of the equipment. Do not
proceed
beyend
a Caution symbol until
the indicated conditions are fully
understood
end
met.

HP
8114A Service Guide
Notice warranty
This Hewlett-Packard product has
a warranty against defects in
material and workmanship for a
period of one year from date of
shipment. During the warranty
period, Hewlett-Packard Company
will, at its option, either repair or
replace products that prove to be
defective.
For warranty service or repair,
this product must be returned to a
service facility designated by
Hewlett-Packard. The Buyer shall
pay Hewlett-Packard’s round-trip
travel expenses.
For products returned
to
Hewlett-Packard for warranty
service, the Buyer shall prepay
shipping charges to
Hewlett-Packard and
Hewlett-Packard shall pay
shipping charges to return the
product to the Buyer. However,
the Buyer shall pay all shippmg
charges, duties and taxes for
product?. returned to
Hewlett-Packard from another
country.
Hewlett-Packard warrants that its
software and firmware designated
by Hewlett-Packard for use with
an instrument will execute
its
programming instructions when
properly installed on that
instrument.
Hewlett-Packard does not warrant
that the operation of the
instrument software, or firmware,
will be uninterrupted or error free.
Limitation of Warranty
The foregoing warranty shall not
apply to defects resulting from
improper or inadequate
maintenance by the Buyer,
Buyer-supplied
sofhvare
or
interfacing,unauthorized
modification or misuse, operation
outside of the environmental
specifications for the product, or
improper site preparation or
maintenance.
No other warranty is expressed or
implied. Hewlett-Packard
specifically disclaims the implied
warranties of merchantability
and fitness for a particular purpose
Exclusive Remedies
The remedies supplied are the
Buyer’s sole and exclusive
remedies. Hewlett-Packard shall
not be liable for any direct,
indirect, special, incidental, or
consequential damages, whether
based on con-
tract, tort or any other legal theory
Assistance
Product maintenance agreements
and other customer assistance
agreements are available for
Hewlett-Packard products.
For any assistance, contact your
nearest Hewlett-Packard Sales
office.
Certification
Hewlett-Packard Company
certifies that this product met its
published specifications at the
time of shipment.
Hewlett-Packard further certifies
that
its
calibration measurements
are traceable to the United States
Institute of Standards and
Rchnology,
to the extent allowed
by the institute’s calibrating
facility, and to the calibration
facilities of other International
Standards Organization members.
About this edition
HP
Part Number
08114-91021
Printed in Germany
Edition 1.0 El294
. . .
III

HP 8114A Service Guide
About this book This book is a guide to servicing the HP 8114A.
Installing
Line
vohage,
fuse and other installation information.
Specifications
The specifications of the HP 8114A.
Testing the HP 8114A
Performance tests for checking the HP 8114A against its specifications.
Disassembly and Reassembly
How to disassemble and reassemble the HP 8114A.
Troubleshooting the HP 8114A
Techniques for finding the causes of malfunction in the HP
8114A.
Replaceable Parts
A list of all replaceable parts in the HP
8114A.
CLIP
The component level information package of the HP 8114A can be
obtained separately, and inserted in this section.
iv

Contents
1. Instailing the HP 8114A
Initial Inspection . . . . . . . . . .
Power Requirements . . . . . . .
A
!
.
.
.
.
.
.
.
.
.
.
*
.
.
*
.
.
.
*
.
.
.
.
.
Replacing the Fuse . . . . . . .
Power Cable . . . . . . . . . . . .
Rack-Mounting Accessories . . . . .
Ventilation Requirements . . . . . .
Thermal Protection . . . . . . . .
Overheating Detection . . . .
Fan Failure . . . . . . . . . . .
$29
a*’
Battery . . . . . . . . . . .
Operating Environment , . . . . . .
.......
.......
.......
.......
.......
.......................
Installing Upgrades ..................
How to Make a Firmware Update for HP
8114A
....
Supported Hardware ................
Procedure
.....................
Memory Sizes
....................
EEPROM and RAM Sizes on the PC Boards
......
Restoring Default Settings ..............
Using the HP-IB Device Command .........
Overwriting Settings
...............
Firmware Upgrade Cards ..............
Memory Card Sizes
.................
2.
HP 8114A Pulse Generator Specifications
General
.......................
Environmental ...................
Safety
.......................
Power requirements
................
Maximum Dimensions (H x W x D)
..........
Weight
.......................
Net
.......................
Shipping
.....................
Recalibration period ................
Warranty
......................
Acoustic Noise Pressure
...............
Declaration of Conformity
..............
We declare that the product .............
Supplementary Information .............
output ........................
1-l
J-l
l-1
1-l
1-2
l-3
l-3
l-3
l-3
1-3
l-4
l-4
l-4
l-5
l-6
l-6
1-6
l-8
l-8
1-8
l-8
l-8
l-9
l-9
2-l
2-l
2-1
2-l
2-l
2-l
2-l
2-l
2-2
2-2
2-2
2-3
2-3
2-3
2-4
Contents-l

Amplitude . . . . . . . . . . . . . . . . . . . . .
A
4
.............
Range:
............
Current: ...........
Accuracy:
..........
Resolution: ..........
Baseline: ............
Variable Baseline (Option
001)
. .
Range:
............
Accuracy:
..........
Polarity ............
Source Impedance
.......
Load Compensation .......
Connector
...........
On/Off:
............
Output Protection .......
.
.
.
.
.
.
.
*
.
.
.
.
.
.
.
.
.
.
.
.
.
.
.
.
.
.
.
.
.
.
.
.
*
.
.
.
.
.
.
.
.
.
.
.
.
.
.
.
.
.
.
.
.
.
.
.
.
.
.
.
.
.
.
.
.
.
.
*
.
.
*
.
.
.
.
.
.
.
.
.
.
.
.
.
.
.
.
.
.
.
.
.
.
.
.
.
.
A
4
.......................
Limits
.......................
Pulse Performance
.................
Overshoot/Preshoot/Ringing:
...........
Settling time: ...................
Transition Times:
.................
Pulse Timing
....................
Repeatability: ..................
Period
.......................
Range:
......................
Accuracy:
....................
Resolution: ....................
RMS-Jitter:
....................
Width
........................
Range
.......................
Accuracy:
....................
Resolution: ....................
RMS-Jitter:
....................
Duty-cycle
......................
Standard HP 8114A (Baseline = 0 V) .........
Variable Baseline Option 001 ............
Delay
........................
Fixed delay ....................
Variable Range ...................
Accuracy
......................
Resolution
.....................
RMS-Jitter
.....................
Double Pulse Delay ..................
Minimum Period
..................
Range
.......................
Accuracy
......................
Resolution .....................
Minimum Period
..................
Trigger Output
... .................
Level .......................
2-4
2-4
2-4
2-4
2-4
2-4
2-4
2-4
2-4
2-4
2-5
2-5
2-5
2-5
2-5
2-5
2-5
2-5
2-5
2-5
2-5
2-5
2-6
2-6
2-6
2-6
2-6
2-6
2-6
2-6
2-6
2-6
2-6
2-6
2-7
2-7
2-8
2-9
2-9
2-9
2-9
2-9
2-9
2-9
2-9
2-9
2-9
2-9
2-9
2-10
2-10
Output Impedance . . . . . , . . . . . . . . . . 2-10
Contents-2

Trigger pulse width .............
Maximum external voltage .........
A
!.
.
.
.
.
.
.
.
.
.
.
.
.
.
.
.
.
.
.
Transition times ..............
Delay from External Input to Trigger Output. .
External Input ................
Input impedance ..............
Threshold
.................
Maximum external voltage .........
A
!
.
.
.
.
.
.
.
.
.
.
.
.
.
.
.
.
.
.
.
Input transitions ..............
Input frequency ..............
Minimum pulse width ............
Input sensitivity ..............
Inhibit Input .................
Inhibit on Edge ...............
Inhibit on Level ..............
Input Impedance ..............
Threshold
.................
Input transitions ..............
Input frequency ..............
Minimum pulse width ............
Input sensitivity ..............
Inhibit response time ............
Maximum external voltage .........
...................
.
.
.
.
.
.
.
.
.
.
Trigger Modes
...................
Continuous
....................
Triggered
....................
Gated
......................
External Width ..................
Pulse Modes
....................
Burst
......................
Double Pulse
...................
Human Interface ..................
Display
.....................
Help Key. ....................
Memory
.....................
Clear Memory:
.................
Memorycard
...................
Remote Control
...................
Function Code
..................
Programming times
................
2-10
2-10
2-10
2-10
2-10
2-10
2-10
2-10
2-10
‘L-10
2-10
2-10
2-10
2-10
2-11
2-11
2-11
2-11
2-11
2-11
2-11
2-11
2-11
2-11
2-11
2-11
2-11
2-11
2-11
2-11
2-11
2-12
2-12
2-12
2-12
2-12
2-12
2-12
2-12
2-12
2-12
2-12
2-12
CantentsJ

3.
Testing the
HP
8114A
Introduction .....................
Conventions
IJsed
.................
Test Results Tables
.................
Recommended Test Equipment and Accessories
.....
50
0,
10 W Feedthrough Termination .........
Getting Started ....................
Instrument Serial Numbers .............
Test, 1: Period
....................
Test Specifications
.................
Equipment Needed .................
Procedure .....................
Test 2: Width ....................
Test Specifications
.................
Equipment Needed .................
Procedure
.....................
Test 3: Delay .....................
Test Specifications
.................
Equipment Needed .................
Procedure
.....................
Test 4: Double Pulse Delay ..............
Test Specifications
.................
Equipment Needed .................
Procedure
.....................
Test 5: Jitter .....................
Test 5.1: Period Jitter ................
Test Specifications
.................
Equipment Needed .................
Procedure
.....................
Test 5.2: Width Jitter ................
Test Specifications
.................
Equipment Needed .................
Procedure
.....................
Test 5.3: Delay Jitter ................
Test Specifications
.................
Equipment Needed .................
Procedure
.....................
Test 6: Amplitude ..................
Test Specifications
.................
Equipment Needed .................
Calculating out Measurement Uncertainties .....
a) Calculation for
500
into
5061
measurements ...
Procedure
.....................
b) Calculation for HIZ (High-Z) into
5062
measurements
................
Procedure
.....................
A) Amplitude Test (from 500 into 5061)
.......
Procedure
.....................
B) Amplitude Test (from HIZ {High-Z} into 500)
...
Procedure
.....................
Test 7: Variable Baseline (Option 001) .........
Test Specifications
.................
Equipment Needed .................
Procedure
.....................
Test 8: Transition Time
................
3-1
3-l
3-1
:j-2
3-3
3-3
3-3
3-5
3-5
3-5
3-5
3-7
3-7
3-7
3-7
3-10
3-10
:3-10
3-10
3-13
3-13
3-13
3-13
3-17
3-17
3-17
3-17
3-17
3-20
3-20
3-20
3-20
3-23
3-23
3-23
3-23
3-25
3-25
3-25
3-25
3-26
3-26
328
3-28
3-31
3-31
3-32
3-32
3-34
3-34
3-34
3-34
3-36
Contents-4

Test Specifications
..............
Equipment Needed ..............
Test
&la:
Leading Edge Test,
.........
Procedure
..................
Test
&lb:
Trailing Edge Test .........
Procedure
..................
Test
8.2a:
Leading Edge Test .........
Procedure
..................
Test
8.2b:
Trailing Edge Test .........
Procedure
..................
Test 9: Pulse Aberration Test ..........
Test Specifications
..............
Equipment Needed ..............
Procedure
..................
1) Overshoot and Ringing
...........
2) Preshoot
..................
HP 8114A Performance Test Records
.......
.
.
.
.
.
.
.
.
.
.
.
.
.
.
.
.
.
.
*
.
.
.
*
.
.
.
4. Disassembly and Reassembly
A
4
.......................
ESD Protection
....................
Terms Used and What They Mean
...........
The Tools You Need
..................
Inside the HP 8114A .................
Instructions for Replacing or Retrofitting HP 8114A
Subassemblies
...................
Removing the Instrument Cover ...........
Refitting the Instrument Cover ...........
Removing the Power Supply
.............
Refitting the Power Supply .............
Removing the Variable Baseline (If Option 001 is
installed) ....................
Refitting the Variable Baseline ............
Removing the Power Supply Fan
...........
Refitting the Power Supply Fan ...........
Removing the Microprocessor Board
.........
Refitting the Microprocessor Board
.........
Removing the Timing Board .............
Refitting the Timing Board .............
Removing the Output Board .............
Refitting
t,he
Output Board .............
Information to the Replacement Output Board ....
Removing the Output Board Fan ...........
Refitting the Output Board Fan ...........
Removing the Motherboard .............
Refitting the Motherboard ..............
Removing the Memory-Card Connector Board ....
Refitting the Memory-Card Connector Board .....
Removing the Front Panel ..............
How to Remove PC Boards from Plastic Support Clips
The Front Panel Subassemblies
...........
Removing the Front Panel Subassemblies .......
Replacing or Refitting the Front Panel Subassemblies .
3-36
3-36
3-37
3-37
3-38
R-38
3-39
3-39
3-40
3-40
3-41
3-41
3-41
3-41
3-42
3-42
3-44
4-l
4-l
4-2
4-2
4-3
4-4
4-5
4-5
4-6
4-7
4-8
4-8
4-9
4-10
4-11
4-12
4-13
4-13
4-14
4-16
4-16
4-17
4-17
4-18
4-19
4-20
4-20
4-21
4-22
4-23
4-24
4-26
Contents-5

How to Fit PC Boards into Plastic Support Clips . . .
4-26
Points to Observe
when
Refitting or Replacing Front
Panel Subassemblies . . . . . . , . . . . . . . .
4-26
Replacing or Refitting the Motherboard . . . . . .
4-27
5. Troubleshooting
Selftest
.......................
Power-Up
Selftest
.................
Extended
Selftest
.................
Confidence Level ..................
Microprocessor
Selftest
Failure Messages
.......
Signal Boards
Selftest
................
Timing Board
Selftest
................
Timing Board
Selftest
Failure Messages ........
Output Board
Selftest
................
Output Board
Selftest
Failure Messages .......
Initial Tests. .....................
Power Supply Board
.................
Getting Started ...................
Power Supplies
...................
Fixed Supplies ..................
Floating Supplies .................
Microprocessor Board
.................
Timing Board
.....................
Supply Voltages
..................
Trigger Input ....................
Period Generator ..................
Check for the supply voltages: ..........
Check the current sources for the period generator:
Delay Generator ..................
Check for the supply voltages: ..........
Check the current sources for the delay generator: .
Width Generator ..................
Check for the supply voltages: ..........
Check the current sources for the width generator: .
Edge Interface ...................
Differential Signal Output ..............
Inhibit Input
.
...................
Trigger Output ...................
Output Board ....................
Onboard
Regulators .................
Fixed Supply ...................
Floating Supplies .................
Optocoupler ....................
Amplifier
DACs
...................
Hybrid Stage ....................
Variable Floating Supply (UFLVAR)
..........
Relays
.......................
Variable Baseline (Option 001) .............
HP 8114A Error Messages and Status Register contents .
Error Messages
...................
Register Usage ...................
Warning Messages
.................
5-2
5-2
5-2
5
2
5-2
5-3
5-3
5-4
5-4
5-4
5-5
5-6
5-7
5-8
5-8
5-9
5-10
5-12
5-12
5-13
5-13
5-13
5-13
5-13
5-13
5-13
5-14
5-14
5-14
5-14
5-15
5-15
5-15
5-16
5-16
5-16
5-16
5-18
5-18
5-19
5-20
5-20
5-21
5-22
5-22
5-42
5-43
Contents-6

6. Replaceable Parts
Exchange Parts List
..................
Exchange Boards ..................
Replacement Boards ................
HP
8114A
Parts List .................
6-l
6-l
(i-1
6-2
A. Component Level Information Package
Index
Contents.7

Figures
1-I. Power Cables Plug Identification ..........
2-l. Duty-cycle
/
Amplitude Ranges ...........
2-2. Baseline Duty-cycle
/
Amplitude Ranges .......
3-1. 50 Ohm, O.l%, 10 W Feedthrough Termination
....
3-2. The Product and Serial Number Screen With Variable
Baseline (Option 001) Fitted ...........
33. Equipment Set-up 2 for Amplitude Test .......
4-l. Top View of HP 8114A ...............
4-2. Removing the Carrying Handles ...........
4-3. Rear Panel View Showing Cover Fixing Screws
....
4-4. Rear Panel View Showing the Lever Point for the Screw
Driver
.....................
4.5. Power Supply and Primary Section Shielding Location
4.6. Location of the Variable Baseline (Option 001) . , . .
4-7. Location of the Power Supply Fan ..........
4-8. Location of the Microprocessor Board
........
4-9. Top View Showing the Microprocessor Securing Screws
4-10. Location of the Timing Board ............
4-l 1. Location of the Output Board ............
4-12.
Location of the Power Load Resistor and Power FET
.
4-13. Location of the Output Board Fan ..........
4.14. Location of the Motherboard ............
4-15. Location of the Memory-Card Connector Board ....
4-16. Front Panel Fixing Screws
..............
4- 17. Front Panel Subassemblies
.............
4-18. Front Panel Subassemblies .............
5-1. Testpoints used in Timing Board
Selftest
.......
5-2. Testpoint used in Output Board
Selftest
.......
5-3. getting Started
with
Troubleshooting the HP 8114A . .
5-4. The Power Supply Board
..............
5-5. Test Setup for the Power Supply Board
.......
5-6. Supply Voltages Testpoints on the Timing Board
...
5-7.
Testpoints for the Floating Voltages .........
5-8. Hybrid Stage ....................
1-2
2-7
2-8
3-3
3-4
3-27
4-3
4-5
4-5
4-6
4-6
4-8
4-9
4-11
4-11
4-13
4-14
4-15
4-17
4-18
4-20
4-21
4-22
4-23
5-3
5-4
5-5
5-6
5-7
5-12
5-17
5-19
Contents8

Ihbles
I 1. Line Voltage and Fuse Selection ...........
1.2. Rack-Mounting Accessories
.............
l-3.
..........................
3-l. Recommended Test Equipment List .........
3-2. Recommended Accessories
.............
3-3. Period Settings and TR Reference
..........
3-4. Width Settings and TR Reference
..........
3-5. Width Settings and TR Reference
..........
3-6. Delay Settings and TR Reference ..........
3-7. Delay Settings and TR Reference ..........
3-8. Double Delay Settings and TR Reference
.......
3-Q. Double Delay Settings and TR Reference
.......
3-10. Amplitude Levels: 500 into
5061
...........
3-11. Amplitude Levels: HIZ (High-Z) into
5051
.......
3-12. Baseline Levels Test
................
3-13. Leading Edge Setting ................
3-14. Trailing Edge Setting ................
3-15. Leading Edge Setting ................
3-16. Trailing Edge Setting ................
5-l. Field Repair Level of HP 8114A Boards .......
5-2. Fixed Power Supplies
................
5-3. Floating Power Supplies
...............
5-4. Settings for DIP Switch
Sl
.............
5-5. Power Supply Voltages on the Timing Board
.....
5-6. Voltage Drops Across R402
.............
5-7. Voltage at Pin 8 of
U504C
..............
5-8. Voltage Drops Across R502
.............
5-9. Voltage Drops Across R602
.............
5-10.
Floating Supply Voltages on the Output Board ....
5-11.
..........................
5-12. Variable Floating Supply UFLVAR
..........
5-13. Bits Used in SCPI Registers
.............
6-
1.
..........................
6-2.
..........................
6-3.
..........................
1-l
l-3
1-9
3-2
3-2
3-6
3-8
3-Q
3-11
3-12
3-15
3-16
3-31
3-33
3-35
3-38
3-38
3-40
3-40
5-l
5-8
5-9
5-10
5-13
5-13
5-14
5-14
5-14
5-17
5-18
5-20
5-42
6-1
6-1
6-2
Contents-9


1
Installing the HP 8 114A
Initial Inspection Inspect the shipping container for damage. If the container or
cushioning material is damaged, keep it until the contents of the
shipment have been checked for
complet,eness
and the instrument has
been verified both mechanically and electrically.
Warning
9
To avoid the hazard of electric shock, do not perform electrical
tests when there are signs of shipping damage to any part of the
instrument’s outer covers or panels.
If the contents are incomplete, or there is mechanical damage, or if
the instrument does not pass the Performance Tests in Chapter 3,
notify the nearest Hewlett-Packard office. Keep the shipping materials
for inspection by the carrier. The HP office will arrange for repair or
replacement without awaiting settlement.
Power Requirements
A
!
Caution
BEFORE APPLYING AC LINE POWER TO THE HP 8114A, ensure that
the correct line fuse is installed in the fuse holder and the correct
power cable is fitted.
The HP 8114A can operate from any single-phase AC power source
supplying 100
-
240 V in the frequency range from 50 to 60 Hz , or
100
-
120 V at 400 Hz. The maximum power consumption is 500 VA
with
al1
options installed.
‘lhble
l-l. Line Voltage and Fuse Selection
Line Voltage Fuse Type HP Fart Number
100
-
240
V-
T
4A,
250 V
21 lo-0014
Replacing the Fuse
1. Remove the power cord.
2. Unscrew the fuse-holder at the rear of the instrument beside the
power-inlet socket.
3. Replace the fuse with the equivalent part (See Table l-l).
4. Refit the fuse-holder.
installing the HP 8114A
1.1

EIP 8114A Service Guide
Power Cable In accordance with international safety standards, this instrument,
is equipped with a three-wire power cable. When connected to an
appropriate AC power receptacle, this cable grounds
t,he
instrument
cabinet. The type of power cable shipped with each instrument,
depends on the country of destination. Refer to Figure l-l for the
part numbers of the power cables available.
Warning
To avoid the possibility of injury or death, the precautionary
Wrnings
given on the inside front-cover of the manual must be
followed before the instrument is switched on.
Austrai~a
Denmark
8
I’O-
1369
8420-2956
iwltze:land
Ouln
litnca
PI ‘O-4211
/
‘1
if
,
\,,
0
i
I-../
lnited
Stares
‘QO\/
8120-1378
Great
Brltafn
8
120.-1315’
L,
,7J
\
E
II
‘pi:
Japan 120V
8120-4753
c
Figure l-l. Power Cables
-
Plug
Identifkation
The following work should be carried out by a qualified electrician
-
all local electrical codes being strictly observed. If the plug on the
cable does not fit the power outlet, or the cable is to be attached to a
terminal block, cut the cable at the plug end and re-wire it.
The color coding used in the cable will depend on the cable
supplied. If a new plug is to be connected, it must meet local safety
requirements and include the following features:
m
Adequate load-carrying capacity (see table of specifications).
n
Ground connection.
n
Cable clamp.
l-2
Installing the HP
8114A

HP
8114A
Service Guide
Rack-Mounting Accessories
IJse
the following information to order accessories for rack-mounting
the HP
8114A:
%ble
l-2. Rack-Mounting Accessories
~
Note that Option
lJN2,
Rear Panel Connectors, cannot be retrofitted,
but must be specified when initially ordering an instrument.
Ventilation Requirements
The HP 8114A is fitted with two cooling fans. Make sure that there
is adequate clearance of 3 inches (75 mm) at the rear and
112
inch
(12 mm) at the top and bottom to ensure adequate airflow. If the
airflow is restricted the internal operating temperature will be higher,
reducing the instrument’s reliability or causing the instrument’s
thermal-protection circuits to automatically switch off the instrument.
Thermal Protection
Overheating Detection
The HP 8114A monitors its internal temperature in the region of the
power supply. If the temperature exceeds approximately
80°C
the
power supply is switched off. The instrument must be switched off
to allow the detection circuit to recover (after the temperature falls
below approximately 77%).
If either of the fans is prevented from operating by a blockage, or
the power supply to the fans is interrupted, the power supply is
automatically switched off within approximately 10 seconds. Note
that after the fault condition has been fixed, the instrument must be
switched off to allow the detection circuit to recover.
Installing the HP g114A
l-3

BP
8114A
Service Guide
Warning
9
This instrument contains a lithium battery. The battery is not
user-replacable and replacement should only be carried out by
qualified service personnel.
There is a danger of explosion if the battery is incorrectly
replaced.
The battery must be replaced with the same or equivalent type
(HP Part No. 1420-0394). Discard used batteries according to local
regulations.
Operating Environment
A
4
Warning
a
The HP 8114A is not designed for outdoor use. Do not expose
the HP 8114A to rain or other excessive moisture. Protect the
FlP
8114A from humidity and temperature changes which could
cause condensation within the instrument.
n
’ Do not operate the HP 8114A in the presence of flammable
gases, fumes or powders. Operation of any electrical
instrument in such an environment constitutes a definite safety
hazard.
.
4
AWhen working with output voltages of 30
-
1OOV
amplitude, the output voltage can be dangerous to life. Care
should therefore be taken when connecting the HP 8114A
to
external devices.
.
4
A
When working in
HIZ
(High-Z) mode, if you remove
the external load the output voltage can be higher than the
programmed voltage.
V,,
can be as much as 130
V,
even when
set as low as 2 V,,.
1-4 Installing the HP
g114A

HP 8114A Service Guide
Caution
HP
8114A
is capable of providing output voltages that may exceed
the input capabilities of connected test equipment. The user should
ensure
t.hat
the HP
8114A
is operated in a way that prevents damage
to connected
t,est,
equipment.
Installing Upgrades
c
ATTENTION! STATIC SENSITIVE DEVICES: You must
A%&
perform upgrades only in Static Safe work areas.
ATTENTION
Slstlc
Sensltlve
These instructions cover the installation of the option 001,
variable baseline. The retrofit kit number of the variable baseline is
08114-68701.
1. Remove the instrument cover, see instructions on page 4-5,
Disassembly and Reassembly
2. Remove the power supply , see instructions on page 4-7,
Disassembly and Reassembly
3. Mount the variable baseline module with the reverse procedure of
removal, see instructions on page 4-9, Disassembly and Reassembly
Installing the HP
8114A
l-5

EIP
8114A Service Guide
How to Make a Firmware Update for HP 8114A
Supported Hardware
HP 8114A serial number 3330Gxxxxx and higher
Procedure
1.
Switch off the HP 8114A
2. Put the Memory Card in the slot at the right-hand side of the
front panel with the arrow on the card at the same side as the
arrow on the front panel (the card will not fit if inserted the
wrong way round)
3.
Simultaneously, press digit keys 1 and 3 with your right hand
4. While holding both keys down, switch HP 8114A ON
5. When
HP8114A
Selftest
appears on the display in very large letters, release the keys
6. After some seconds the message:
HP8114 Boot Program...
appears
7. If you get the message:
Firmware is not newer
then an update is unnecessary: Press the
MD
softkey
8. You may get a message like:
There is 1 board unknown. Load anyway.
Press the YES
softkey.
The EPROMs are now erased and re-loaded:
n
The first EPROMS will now be erased and this message is
displayed:
Erase U6 and
Ui’;
please wait.
n After one or two minutes you will hear a short beep and the
next EPROMs will be erased:
Erase U8 and
U9;
please wait.
n After another one or two minutes, you will hear a short beep
and the final EPROMs will be erased:
Erase U41 and U42; please wait.
I
After the next beep the following message is displayed:
Program all Flash Eproms; please wait.
n After the final beep you get the message:
Loading Finished
l-6
Installing the HP 6114A
Table of contents
Other HP Inverter manuals