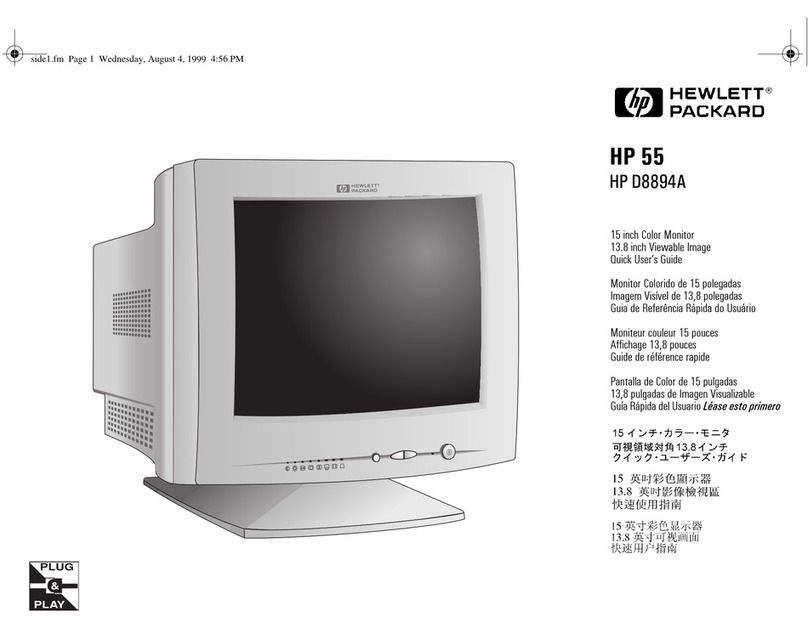
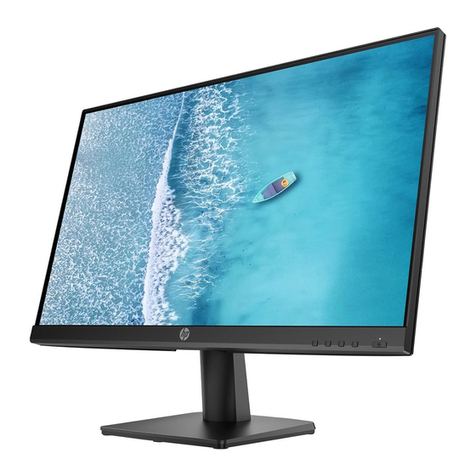
HP L1706 User manual

17" LCD Color Monitor HP L1706
1
Service
Service
Service
HorizontalFrequency
30-83kHz
TABLE OF CONTENTS
Description Page Description Page
SAFETY NOTICE
ANY PERSON ATTEMPTING TO SERVICE THIS CHASSIS MUST FAMILIARIZE HIMSELF WITH THE CHASSIS
AND BE AWARE OF THE NECESSARY SAFETY PRECAUTIONS TO BE USED WHEN SERVICING ELECTRONIC
EQUIPMENT CONTAINING HIGH VOLTAGES.
Table Of Contents.......……..............................…........1
Revision List.…........................................……......2
1. Monitor Specification..............................………........3
2. LCD Monitor Description…………………………….......4
3. Operation Instruction…………...............……...........5
3.1. General Instructions...........................…...........5
3.2. Control Button…………….…..............……...............5
3.3 Adjusting the Picture...........................…............6
4. Input/Output Specification............……………............7
4.1. Input Signal Connector............………….................7
4.2. Factory Preset Display Modes......…..................8
4.3. Power Supply Requirements...............................9
5. Panel Specification.....………………..................10
5.1. General Feature…….....………………..................10
5.2. Optical Characteristics………………………………11
5.3 Parameter guide line for CCFL Inverter……………..13
6. Block Diagram……...................…………................15
6.1. Monitor Exploded View…………………....….......15
6.2 Software Flow Chart……………………….……….16
6.3. Electrical Block Diagram……………..….......18
7. Schematic……………......................................20
7.1 Main Board....……….......................................20
7.2 Power Board.….……....................................24
8.PCB Layout..………….......................................26
8.1. Main Board………........................................26
8.2. Power Board….......................................28
8.3. Key Board………............….......................31
9. Maintainability……….......................................32
9.1. Equipments and Tools Requirement..............32
9.2. Trouble Shooting………..............................33
10. White-Balance, Luminance adjustment...39
11. BOM List….....................................................40
12. Different Parts List.........…….……........................52
CAUTION: USE A SEPARATE ISOLATION TRANSFOMER FOR THIS UNIT WHEN SERVICING

17" LCD Color Monitor HP L1706
2
Revision List
Version Date Revision History TPV Model Name
A00 Apr.-04-2007 first release T76CM9DKAKHPNE
T76GM9DKAKHPNE
A01 May.-08-2007 Add TPVDW Model in Item 12
T76GM9DPAKHPNE
A02 Jun.-07-2007 Add TPVDW Model in Item 12 T76SM9DKAKHPNE
A03 Jun.-19-2007 Add TPVDW Model in Item 12 T76CM9DPAKHPNE
A04 Sep.-26-2007 Add TPVDW Model in Item 12 T76GM9DBAKHFNNE
A05 Oct.-10-2007 Add TPVDW Model in Item 12 T76SM9DBAKHFNNE
A06 Oct.-16-2007 Add TPVDW Model in Item 12 T76SM9DAAKHANNE
A07 Oct.-18-2007 Add TPVDW Model in Item 12 T76CM9DBAKHFNNE
A08 Nov.-01-2007 Add TPVDW Model in Item 12 T76GM9DNAKHANNE
T76SM9DKAKHPN1E
A09 Nov.-09-2007 Add TPVDW Model in Item 12
T76SM9DPAKHPNE
A10 Dec.-09-2007 Add Second Panel in Item 5 LTM170EUL31-8TM

17" LCD Color Monitor HP L1706
3
1. Monitor Specification

17" LCD Color Monitor HP L1706
4
2. LCD Monitor Description
The LCD Monitor will contain main board, power board, key board and an audio board which house the flat panel
controllogic,brightnesscontrollogicandDDC.
The power board will provide AC to DC Inverter voltage to drive the backlight of panel and the main board chips each
voltage.
Video signal, DDC
Power Board
(
Include ada
p
ter and inverter
)
Flat Panel and
CCFL backlight
Main Board
Audio board
RS232 Connector
For white balance
adjustment in
factory mode
HOST Computer
CCFT Drive.
AC-IN
110V-240
Monitor Block Diagram
Key board

17" LCD Color Monitor HP L1706
5
3. Operation Instructions
3.1 General Instructions
Press the power button to turn the monitor on or off. The other control buttons are located at front of the panel. By
changing these settings, the picture can be adjusted to your personal performance.
-The power cord should be connected and insert to adaptor.
-Connect the video cable from the monitor to the computer VGA card.
-Press the power button to turn on the monitor, the power indicator will light up to Green.
3.2 Control Buttons

17" LCD Color Monitor HP L1706
6
3.3 Adjust the Picture
Use the On-Screen Display (OSD) to adjust the screen image based on your viewing preferences. To access the OSD,
do the following:
1. If the monitor is not already on, press the Power switch to turn on the monitor.
2. To access the OSD Menu, press the Menu button on the monitor’s front panel.
3. To navigate through the OSD Menu, press the + (Plus) button on the monitor’s front panel to scroll up, or the –
(Minus) button to scroll in reverse.
4. To select an item from the OSD Menu, use the + or – buttons to scroll to and highlight your selection, then press the
Menu button to select that function.
5. Adjust the item using the + or – buttons on the front panel to adjust the scale.
6. After adjusting the function, select Save and Return, or Cancel if you don’t want to save the setting, then select Exit
from the Main Menu.
If the buttons remain untouched for 10 seconds while displaying a menu, new adjustments will be discarded and the
settings will revert to previous settings and exit the menu.

17" LCD Color Monitor HP L1706
7
4. Input/Output Specification
4.1 Input Signal Connector
Pin Signal Pin Signal
1 Red Video 9 +5 V (from PC)
2 Green Video 10 Ground
3 Blue Video 11 Ground
4 Ground 12 DDC-serial Data
5 Detect Cable 13 Horizontal Sync
6 Red GND 14 Vertical Sync
7 Green GND 15 DDC-serial Clock
8 Blue GND
VGA connector layout
PIN 1 PIN 5
PIN 11

17" LCD Color Monitor HP L1706
8
4.2 Factory Preset Display Modes

17" LCD Color Monitor HP L1706
9
4.3 Power Supply Requirements
Parameter Range
AC Line Voltage range 100 to 240V
AC Line Frequency range 47 to 63 Hz
Peak surge Current < 55 A MAX AT 220VAC and cold starting
Leakage Current < 3.5 mA
Power Consumption ≤37W

17" LCD Color Monitor HP L1706
10
5. Panel Specification
5.1 General Feature
CLAA170EA07P
LTM170EUL31-8TM

17" LCD Color Monitor HP L1706
11
5.2 Optical Characteristics
CLAA170EA07P

17" LCD Color Monitor HP L1706
12
LTM170EUL31-8TM

17" LCD Color Monitor HP L1706
13
5.3 Parameter guide line for CCFL Inverter
TFT LCD Module:
CLAA170EA07P
LTM170EUL31-8TM

17" LCD Color Monitor HP L1706
14
Back Light Unit:
CLAA170EA07P
LTM170EUL31-8TM

17" LCD Color Monitor HP L1706
15
6. Block Diagram
6.1 Monitor Exploded View

17" LCD Color Monitor HP L1706
16
6.2 Software Flow Chart
1
2
N
Y
5
Y
N
10
Y
N
12
Y
N
7
Y
N
6
4
3
8
9
14
11
13
Y
N
15
Y
N
16
17
19
Y
N
18

17" LCD Color Monitor HP L1706
17
REMARK:
1) MCU initialize.
2) Is the EEprom blank?
3) Program the EEprom by default values.
4) Get the PWM value of brightness from EEprom.
5) Is the power key pressed?
6) Clear all global flags.
7) Are the AUTO and SELECT keys pressed?
8) Enter factory mode.
9) Save the power key status into EEprom.
Turn on the LED and set it to green color.
Scalar initialize.
10) In standby mode?
11) Update the lifetime of back light.
12) Check the analog port, are they’re any signals coming?
13) Does the scalar send out an interrupt request?
14) Wake up the scalar.
15) Are there any signals coming from analog port?
16) Display "No connection Check Signal Cable" message. And go into standby mode after the message
disappear.
17) Program the scalar to be able to show the coming mode.
18) Process the OSD display.
19) Read the keyboard. Is the power key pressed?

17" LCD Color Monitor HP L1706
18
6.3 Electrical Block Diagram
6.3.1 Scalar Board
Scalar TSUM16AL
(Include ADC、OSD、MCU)
(U401)
EEPROM
(U402)
D-Sub Connector
(CN405)
EEPROM
(U404)
Hsync,
V
s
y
nc
R
G
B
RXD
TXD
DB15_SDA
DB15 SCL
EPR_SDA
EPR SCL
Panel Interface
(CN101)
DDC_SDA
DDC SCL

17" LCD Color Monitor HP L1706
19
6.3.2 Inverter / Power Board
AC inlet filter Rectifier and
filter
Start circuit R905; R909, R910
Transform
Switching circuit
PWM control
IC&MOSFET
Rectifier and
filter D20;
D921
Feedback
circuit
IC902;IC921
12V/5V
Start circuit
On/off control
PWM control IC Push-pull
circuit
LC resonant Lamp
Dimming control Feedback circuit
To main board
12V
OVP circuit

17" LCD Color Monitor HPL1706
20
7. Schematic
7.1 Main Board
CN 405
DB15
1
6
2
7
3
8
4
9
5
11
12
13
14
15
10
1716
HSI
ESD_5V
RED+
RED-
BLUE+
PC5V
BLUE-
GREEN+
SCL_VGA
Tit l e
Size Docum ent Number Rev
Dat e: Sheet of
INPUT
D
715G2433-A(L1706 down size)
B
14Thursday , December 07, 2006
SDA_VGA
D411
MLL5232B 5.6V
C433 0. 047uF
R449
2.2K 1/ 10W
D409
MLL5232B 5.6V
R440
75 1/10W
C437 0. 047uF
D407
BAV70
3
1
2
C443
220pF
R437 470 1/10W
R452
10K 1/10W
R436 56 1/10W
FB411 150 OHM
R454 47 1/10W
R451
10K 1/10W
FB410 150 OHM
R441 100 1/10W
C439 0.1uF
D405
BAV99
3
1
2
C435 0. 001uF
R470
1K 1/10W
C442
33pF C444
0.1uF
FB412 150 OHM
C432 0. 047uF
U404
24LC02B/ SNG
A0 1
A1 2
A2 3
VSS 4
SDA
5SCL
6WP
7VCC
8
C441 0. 1uF
R439
75 1/10W
D403
BAV99
3
1
2
R435 56 1/10W
C434 0. 047uF
D408
MLL5232B 5.6V
R450
10K 1/10W
D410
MLL5232B 5.6V
R453 47 1/10W
R442 100 1/10W
C436 0. 047uF
C438 0. 047uF
D406
MLL5232B 5.6V
R443 100 1/10W
R434 56 1/10W
R438
75 1/10W
D404
BAV99
3
1
2
R444
10K 1/10W
R446 1K 1/10W
R447 1K 1/10W
R445 100 1/10W
C440 0. 1uF
R448
2.2K 1/ 10W
FB409 150 OHM
D412
MLL5232B 5.6V
+5V 2, 3
PC5V
ESD_5V
+5V
+5VA
PC5V
+5V
GIN 2
GNDB 2
GNDR 2
BIN 2
SOG 2
VSYNC 2
RIN 2
HSYNC 2
DDCA_SCL2
DDCA_SDA2
DET_VGA 2
GNDG 2
DDC_WP 2
GREEN+
GREEN-
RED-
BLUE-
D425
MLL5232B 5.6V
GREEN-
VGA_CON
VSI
11/27 D407 change to BAV70(93G-64-42-P)
RED+
BLUE+
11/21 CN405 #11 change to NC
Other manuals for L1706
4
This manual suits for next models
1
Table of contents
Other HP Monitor manuals

HP
HP Vp17 User manual

HP
HP EliteDisplay E243 Installation instructions

HP
HP LD4312 Installation instructions

HP
HP EliteDisplay P224 Installation instructions

HP
HP EF227A4 Series User manual

HP
HP E241e User manual

HP
HP 2393A User manual

HP
HP FS7600 Series User manual

HP
HP Z24U G3 Manual

HP
HP E22 G4 Assembly instructions