manuals.online logo
Brands
  1. Home
  2. •
  3. Brands
  4. •
  5. HP
  6. •
  7. Storage
  8. •
  9. HP StorageWorks DAT320 USB Instruction Manual

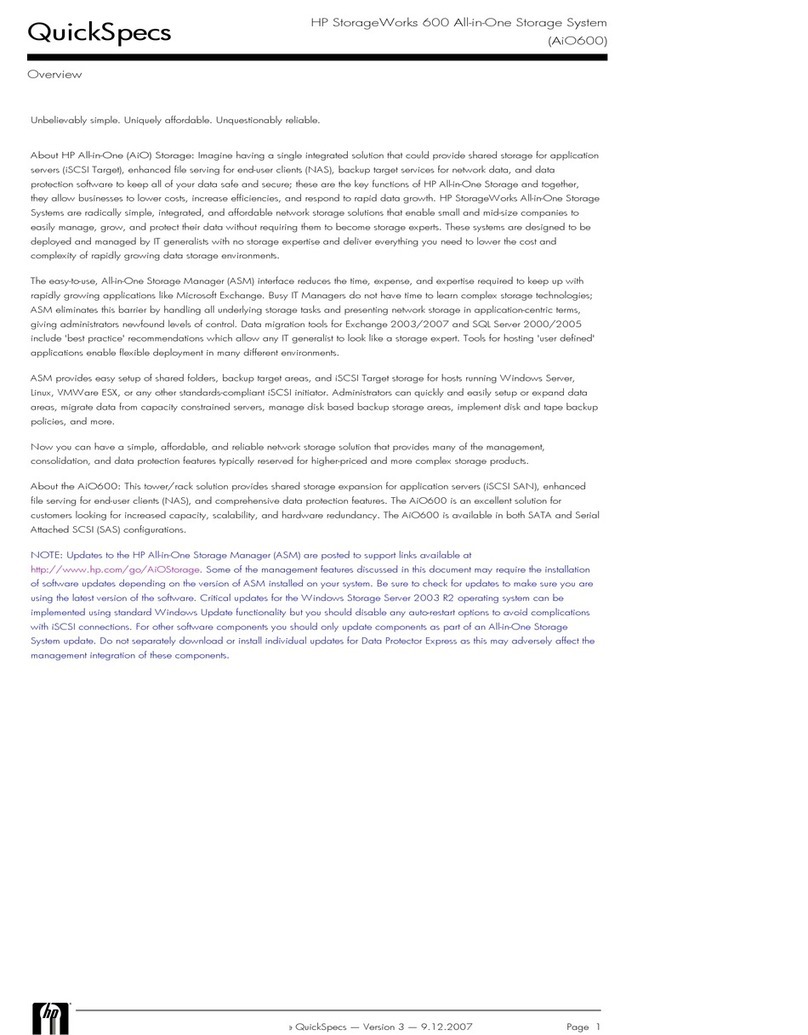
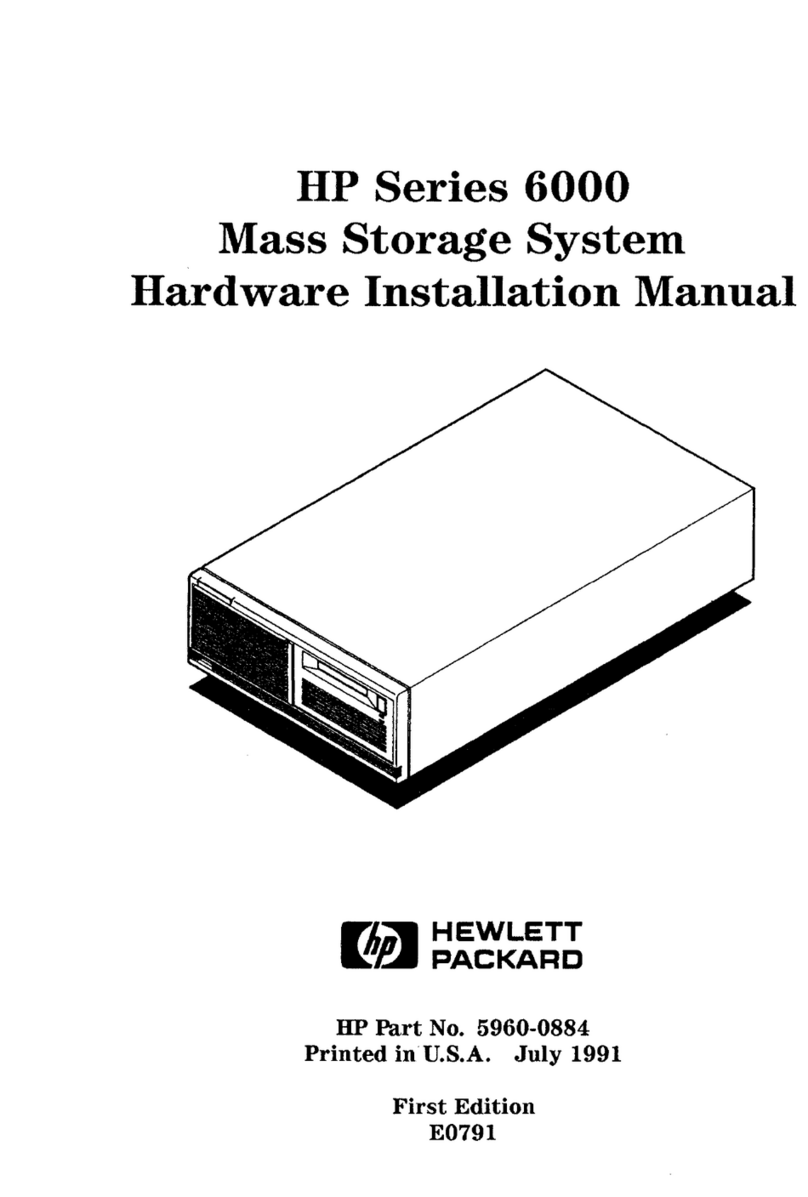
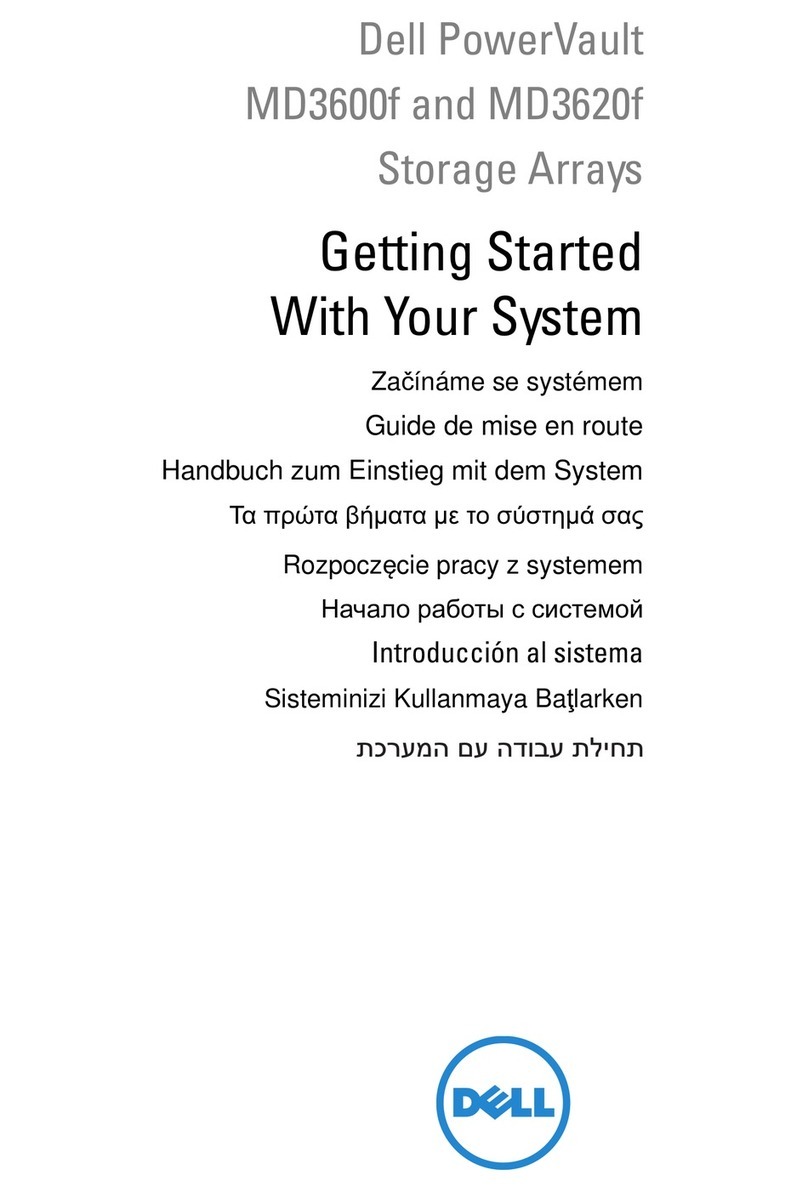
HP StorageWorks DAT320 USB Instruction Manual

DW050-90901
© 2009 Hewlett-Packard Development Company, L.P.
Printed in Singapore
www.hp.com
© 2009 Hewlett-Packard Development Company, L.P.
Printed in Singapore
www.hp.com/fr
USB cable
to computer
Power button
Supplied power cable
Cordon USB
vers ordinateur
Bouton
Marche/Arrêt
Cordon d'alimentation fourni
Start Here
Commencez ici
Starten Sie hier
2Completing the installation
Install drivers
Windows: Install drivers from the CD-ROM. If the Found New Hardware Wizard runs,
follow the on-screen instructions to automatically search for the installed drivers.
Linux: The correct drivers are already provided with the operating system.
Install or update backup software:
It is important to check www.hp.com/go/connect for software compatibility and install
any recommended upgrades. The in-box software provides full support for all the features
of your tape drive.
Take advantage of free diagnostic tools:
HP StorageWorks Library & Tape Tools (L&TT) is the recommended diagnostic and
support tool for your HP tape drive. It is available free at
www.hp.com/support/tapetools.
3Other sources of information
• The "Beginners's Guide to DAT USB tape drives" on the CD-ROM
• The detailed “User Guide” on the CD-ROM
• www.hp.com/go/connect (for computer, OS and software compatibility)
• www.hp.com/support/dat (for latest product details)
• For detailed safety instructions, see the “Safety Booklet” on the CD-ROM
1Installation overview
IMPORTANT: For detailed, step-by-step installation instructions refer to the "User
Guide" found on the HP StorageWorks CD supplied with your tape drive.
See also the “Safety Booklet” on the CD-ROM.
Refer to www.hp.com/go/connect for detailed compatibility information about
servers, operating systems and software applications.
Install drive
You must connect to a dedicated USB 2.0 port on your computer. USB 1.1 will severely
degrade performance.
Use the supplied power cable to connect to the mains power supply. (The drive is not
powered from the USB bus.)
4Understanding the front panel LEDs
For detailed information about other LED sequences and how to operate your DAT tape
drive refer to the “User Guide” on the CD-ROM.
IMPORTANT INFORMATION ABOUT YOUR
NEW TAPE DRIVE
• Always connect to a USB 2.0 port (on a computer running Windows or Linux)
– The tape drive should be the only device on the USB hub
• If you're new to USB tape drives, the "Beginner's Guide to DAT USB tape drives" on
the CD-ROM contains much useful information - and it takes only a few minutes to read.
• For optimum performance use DAT 320 (Q2032A) cartridges. (DAT 160 media is
also supported.)
Note: This tape drive is not compatible with 4 mm DAT 72/DDS-4 media.
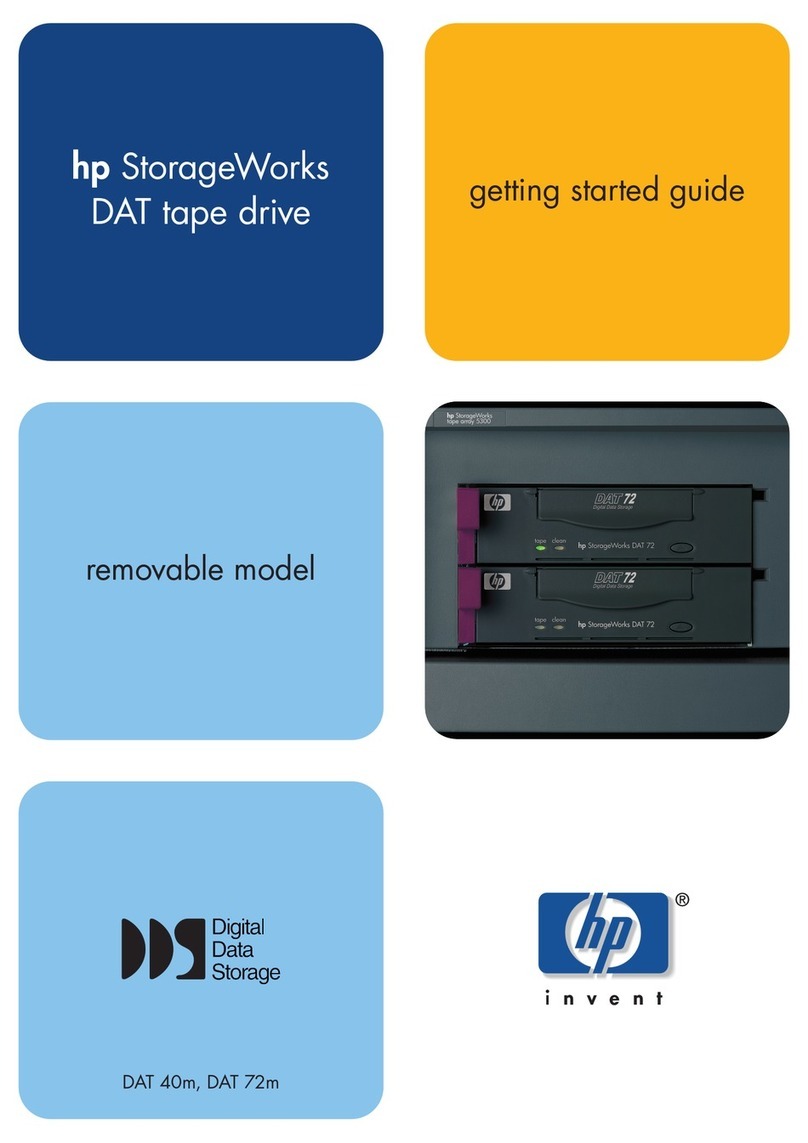
HP StorageWorks
DAT 320 USB
External tape drive
Clean – amber
• Off: the drive does not require cleaning
• Flashing: the drive needs cleaning
Tape – amber
• Off: no fault has been detected
• Flashing: the cartridge currently in the drive is
faulty (damaged or unsupported). Discard the
cartridge.
Drive – amber
• Off: no fault has been detected
• Flashing: the drive mechanism has detected a
hardware error
Encrypt – blue
• Off: no encryption activity, encryption
parameters are not loaded
• On: encryption parameters loaded, drive is
ready to read/write encrypted data
• Flashing: reading/writing encrypted data
• Fast flash (with Drive LED): encryption related
error
Ready – green
• On: the drive is ready for use
• Off: the drive power is off or there was a
failure during self-test
• Flashing: the drive is busy
Commencez ici
2Dernières étapes de l’installation
Installation des pilotes
Windows : Installez les pilotes à partir du CD-ROM. Si l'Assistant Nouveau matériel
découvert s'exécute, suivez les instructions pour rechercher automatiquement les pilotes
installés.
Linux : Les pilotes appropriés sont déjà fournis avec le système d'exploitation.
Installation ou mise à jour du logiciel de sauvegarde :
Il est important de consulter le site www.hp.com/go/connect pour connaître la
compatibilité logicielle et installer les éventuelles mises à niveau recommandées. Le
logiciel fourni avec le lecteur prend en charge l'ensemble des fonctions de votre lecteur
de bande.
Utilisation des outils de diagnostic :
HP StorageWorks Library & Tape Tools (L&TT) est l'outil de diagnostic et d'assistance
recommandé pour votre lecteur de bande HP. Il est disponible gratuitement à l'adresse
www.hp.com/support/tapetools.
3Autres sources d'information
• « Manuel d'introduction aux lecteurs de bande DAT USB » fourni sur le CD-ROM
• Manuel de l'utilisateur détaillé fourni sur le CD-ROM
• www.hp.com/go/connect (pour vérifier la compatibilité des ordinateurs, des systèmes
d'exploitation et des logiciels)
• www.hp.com/support/dat (pour obtenir les dernières informations sur les produits)
• Pour obtenir des informations détaillées concernant la sécurité, consultez la « Brochure
sur la sécurité » fournie sur le CD-ROM.
1Présentation de l'installation
IMPORTANT :
Pour obtenir des instructions d'installation détaillées, reportez-vous au
manuel utilisateur du CD HP StorageWorks fourni avec votre lecteur de bande.
Consultez aussi la « Brochure sur la sécurité » du CD-ROM.
Pour des informations détaillées sur la compatibilité concernant les serveurs, les
systèmes d'exploitation et les applications logicielles, consultez notre site Web à
l’adresse
www.hp.com/go/connect.
Installation du lecteur
Vous devez connecter le lecteur à un port USB 2.0 dédié de votre ordinateur. L'utilisation
d'un port USB 1.1 réduit considérablement les performances.
Utilisez le cordon d'alimentation fourni pour vous brancher le lecteur au secteur.
(Le lecteur n'est pas alimenté à partir du bus USB.)
4Signification des voyants du panneau avant
Pour obtenir des informations détaillées sur les autres séquences de voyants et sur le
fonctionnement de votre lecteur de bande DAT, reportez-vous au manuel utilisateur fourni
sur le CD-ROM.
INFORMATIONS IMPORTANTES SUR LE
NOUVEAU LECTEUR
• Réalisez toujours la connexion sur un port USB 2.0 (ordinateurs sous Windows
ou Linux) – Le lecteur de bande doit être le seul périphérique présent sur le
concentrateur USB
• Si vous n'êtes pas familiarisé à l'utilisation des lecteurs de bande USB, vous
trouverez un grand nombre d'informations utiles dans le « Manuel d'introduction
aux lecteurs de bande DAT USB » présent sur le CD-ROM. Sa lecture ne prend
que quelques minutes.
• Pour des performances optimales, utilisez des cartouches DAT 320 (Q2032A).
(Les supports DAT 160 sont également pris en charge.)
Remarque : Ce lecteur de bande n’est pas compatible avec les supports DAT 72/
DDS-4 4 mm.
HP StorageWorks
DAT 320 USB
Lecteur de bande externe
Clean – orange
• Eteint : inutile de nettoyer le lecteur
• Clignotant : le lecteur doit être nettoyé
Tape – orange
• Eteint : aucun incident n’a été détecté
•
Clignotant : impossible d'utiliser la cartouche
installée dans le lecteur (abîmée ou incorrecte).
Éliminez cette cartouche.
Drive – orange
• Eteint : aucun incident n’a été détecté
• Clignotant : erreur matérielle
Encrypt – bleu
•
Éteint : aucune activité de chiffrement, les
paramètres de chiffrement ne sont pas chargés
• Allumé : les paramètres de chiffrement sont
chargés, le lecteur est prêt à lire/écrire des
données chiffrées
• Clignotant : lecture/écriture de données
chiffrées
• Clignotement rapide (avec le voyant Drive) :
erreur de chiffrement
Ready – vert
• Allumé : le lecteur est prêt
• Eteint : l'alimentation du lecteur est coupée
(ou incident à l'auto-test)
• Clignotant : le lecteur est occupé
C
M
Y
CM
MY
CY
CMY
K
DW050-90901 DAT 320 USB Ext poster front.pdf 22/5/09 11:23:26
All manuals and user guides at all-guides.com
all-guides.com
© 2009 Hewlett-Packard Development Company, L.P.
Printed in Singapore
www.hp.com
© 2009 Hewlett-Packard Development Company, L.P.
Printed in Singapore
www.hp.com
USB-Kabel
zum Computer
Netzschalter
Mitgeliefertes Netzkabel
Hier starten
2Abschluss der Installation
Installieren Sie die Treiber
Windows: Installieren Sie die Treiber von der CD-ROM. Wenn der Assistent für das
Suchen neuer Hardware ausgeführt wird, folgen Sie den Anweisungen, um automatisch
nach den installierten Treibern zu suchen.
Linux: Die richtigen Treiber sind bereits im Betriebssystem enthalten.
Installieren oder aktualisieren Sie die Sicherungssoftware:
Es wird dringend empfohlen, dass Sie sich auf der Website www.hp.com/go/connect
zur Softwarekompatibilität informieren und empfohlene Aktualisierungen installieren. Die
im Lieferumfang enthaltene Software bietet vollständige Unterstützung für alle Funktionen
Ihres Bandlaufwerks.
Nutzen Sie die Vorteile kostenloser Diagnosetools:
HP StorageWorks Library & Tape Tools (L&TT) ist das empfohlene Diagnose- und
Supporttool für Ihr HP Bandlaufwerk. Es steht Ihnen kostenlos zur Verfügung unter
www.hp.com/support/tapetools.
3 Weitere Informationsquellen
• Das Handbuch für DAT USB-Bandlaufwerke für Anfänger auf der CD-ROM
• Das ausführliche Benutzerhandbuch auf der CD-ROM
• www.hp.com/go/connect (für Computer-, Betriebssystem- und Softwarekompatibilität)
• www.hp.com/support/dat (für neueste Produktinformationen)
• Detaillierte Sicherheitsanweisungen finden Sie in den Sicherheitshinweisen auf der
CD-ROM
1Übersicht über die Installation
WICHTIG: Detaillierte Schrittanleitungen zur Installation finden Sie im
Benutzerhandbuch auf der gemeinsam mit Ihrem Bandlaufwerk gelieferten
HP StorageWorks CD.
Weitere Informationen finden Sie in den Sicherheitshinweisen auf der CD-ROM.
Detaillierte Informationen zur Kompatibilität von Servern, Betriebssystemen und
Softwareanwendungen finden Sie unter www.hp.com/go/connect.
Installation des Laufwerks
Sie müssen das Laufwerk mit einem dedizierten USB 2.0-Port am Computer verbinden.
USB 1.1 beeinträchtigt die Leistung erheblich.
Verwenden Sie das mitgelieferte Netzkabel, um das Laufwerk mit dem Netzteil zu
verbinden. (Das Laufwerk wird nicht über den USB-Bus mit Strom versorgt.)
4LED-Anzeigen der Vorderseite
Weitere Informationen zu den LED-Sequenzen und zum Einsatz des DAT-Bandlaufwerks
finden Sie im Benutzerhandbuch auf der CD-ROM.
WICHTIGE INFORMATIONEN ZU IHREM
NEUEN BANDLAUFWERK
•
Stellen Sie immer eine Verbindung mit einem USB 2.0-Port her (Windows oder Linux).
– Das Bandlaufwerk sollte das einzige Gerät am USB-Hub sein.
• Falls Sie sich mit USB-Bandlaufwerken noch nicht auskennen, finden Sie viele
nützliche Informationen im Handbuch für DAT USB-Bandlaufwerke für Anfänger.
Das Lesen dieses Handbuchs nimmt nur wenige Minuten in Anspruch.
• Verwenden Sie für eine optimale Leistung DAT 320 (Q2032A) Kassetten. (DAT
160-Medien werden ebenfalls unterstützt.)
Hinweis: Dieses Bandlaufwerk ist nicht kompatibel mit 4 mm-DAT 72/DDS-4-Medien.
Internes HP StorageWorks
DAT 320 USB
Externes Bandlaufwerk
Clean – gelb
• Aus: Eine Reinigung des Laufwerks ist derzeit
nicht erforderlich.
• Blinkt: Das Laufwerk muss gereinigt werden.
Tape – gelb
• Aus: Es wurde kein Fehler erkannt.
• Blinkt: Die Kassette im Laufwerk ist fehlerhaft
(beschädigt oder nicht unterstützt). Entsorgen
Sie die Kassette.
Drive – gelb
• Aus: Es wurde kein Fehler erkannt.
• Blinkt: Der Laufwerksmechanismus hat einen
Hardwarefehler erkannt.
Encrypt – blau
•
Aus: Keine Verschlüsselungsaktivität.
Verschlüsselungsparameter sind nicht geladen.
• Ein: Verschlüsselungsparameter sind geladen.
Laufwerk ist zum Lesen/Schreiben
verschlüsselter Daten bereit.
• Blinkt: Verschlüsselte Daten werden gelesen/
geschrieben.
• Blinkt schnell (mit LED Drive):
Verschlüsselungsfehler.
Ready – grün
• Ein: Das Laufwerk ist betriebsbereit.
• Aus: Das Laufwerk ist ausgeschaltet, oder
während des Selbsttests ist ein Fehler
aufgetreten.
• Blinkt: Das Laufwerk ist aktiv.
C
M
Y
CM
MY
CY
CMY
K
DW050-90901 DAT 320 USB Ext poster back.pdf 22/5/09 11:24:24
All manuals and user guides at all-guides.com

Other HP Storage manuals

HP 500 G2 Installation guide

HP

HP 500 G2 Installation guide

HP StorageWorks 4000/6000/8000 - Enterprise Virtual... Instruction Manual

HP

HP StorageWorks 4000/6000/8000 - Enterprise Virtual... Instruction Manual

HP D2D100 Instruction Manual

HP

HP D2D100 Instruction Manual

HP Open View Product manual

HP

HP Open View Product manual

HP StorageWorks MSL6000 series User manual

HP

HP StorageWorks MSL6000 series User manual

HP LTO-4 Ultrium 1760 Product manual

HP

HP LTO-4 Ultrium 1760 Product manual

HP Storevirtual 4000 Quick reference guide

HP

HP Storevirtual 4000 Quick reference guide

HP HP 7936 Installation instructions

HP

HP HP 7936 Installation instructions

HP StorageWorks 1900ux User manual

HP

HP StorageWorks 1900ux User manual

HP StorageWorks DAT 40i User manual

HP

HP StorageWorks DAT 40i User manual

HP StorageWorks XP12000 User manual

HP

HP StorageWorks XP12000 User manual

HP StorageWorks XP10000 - Disk Array User manual

HP

HP StorageWorks XP10000 - Disk Array User manual

HP D2D User manual

HP

HP D2D User manual

HP v275w User manual

HP

HP v275w User manual

HP StorageWorks EML E Series User manual

HP

HP StorageWorks EML E Series User manual

HP StorageWorks 8000 - NAS User manual

HP

HP StorageWorks 8000 - NAS User manual

HP Surestore 64 - Director Switch User manual

HP

HP Surestore 64 - Director Switch User manual

HP StorageWorks NAS 8000 - Version 1.6.X User manual

HP

HP StorageWorks NAS 8000 - Version 1.6.X User manual

HP SmartMemory User manual

HP

HP SmartMemory User manual

HP Storevirtual 4000 User manual

HP

HP Storevirtual 4000 User manual

HP Designjet 220 User instructions

HP

HP Designjet 220 User instructions

HP SimpleSave User manual

HP

HP SimpleSave User manual

HP StorageWorks 2000fc User manual

HP

HP StorageWorks 2000fc User manual

HP R/T2200 G4 ERM Installation instructions

HP

HP R/T2200 G4 ERM Installation instructions

Popular Storage manuals by other brands

Acer SDX-400C user guide

Acer

Acer SDX-400C user guide

NEC N8102-708 user guide

NEC

NEC N8102-708 user guide

ELEMENT SYSTEM EASY manual

ELEMENT SYSTEM

ELEMENT SYSTEM EASY manual

Seagate ST3320620A - Barracuda 320 GB Hard Drive manual

Seagate

Seagate ST3320620A - Barracuda 320 GB Hard Drive manual

SanDisk 80-36-00323 datasheet

SanDisk

SanDisk 80-36-00323 datasheet

Western Digital WD1200JB - Caviar 120 GB Hard Drive Quick install guide

Western Digital

Western Digital WD1200JB - Caviar 120 GB Hard Drive Quick install guide

Seagate BARRACUDA GREEN ST2000DL003 datasheet

Seagate

Seagate BARRACUDA GREEN ST2000DL003 datasheet

Seville Classics UltraHD UltraGuard 16234 Assembly instructions

Seville Classics

Seville Classics UltraHD UltraGuard 16234 Assembly instructions

Stack-On GCB-2SF-BB Assembly instructions

Stack-On

Stack-On GCB-2SF-BB Assembly instructions

OWC Envoy Pro EX quick start guide

OWC

OWC Envoy Pro EX quick start guide

Western Digital WDMT3200 - My Passport Studio user manual

Western Digital

Western Digital WDMT3200 - My Passport Studio user manual

Exabyte Mammoth Field Instructions

Exabyte

Exabyte Mammoth Field Instructions

Canyon Hydro M300 Pico Installation operation & maintenance

Canyon Hydro

Canyon Hydro M300 Pico Installation operation & maintenance

Seagate Dashboard user manual

Seagate

Seagate Dashboard user manual

GOO Air Disk user guide

GOO

GOO Air Disk user guide

ioSafe 910-10841-00 user manual

ioSafe

ioSafe 910-10841-00 user manual

Toshiba MQ01ABD025 overview

Toshiba

Toshiba MQ01ABD025 overview

Philips FM01SW80/27 user manual

Philips

Philips FM01SW80/27 user manual

manuals.online logo
manuals.online logoBrands
  • About & Mission
  • Contact us
  • Privacy Policy
  • Terms and Conditions

Copyright 2025 Manuals.Online. All Rights Reserved.