manuals.online logo
Brands
  1. Home
  2. •
  3. Brands
  4. •
  5. HP
  6. •
  7. Switch
  8. •
  9. HP ProCurve 4100 Series Guide

HP ProCurve 4100 Series Guide

This manual suits for next models

2

Other HP Switch manuals

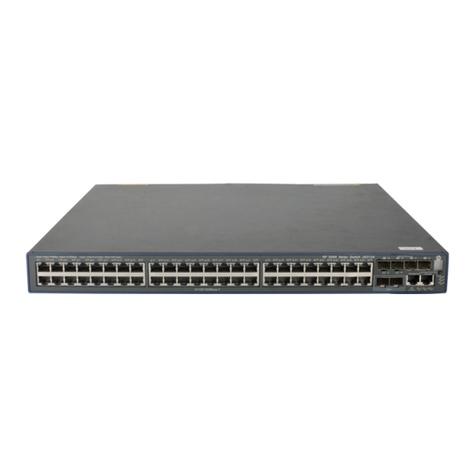
HP 6125XLG Installation manual

HP

HP 6125XLG Installation manual

HP Compaq Presario,Presario 1910 User manual

HP

HP Compaq Presario,Presario 1910 User manual

HP OfficeConnect 1820 8G User manual

HP

HP OfficeConnect 1820 8G User manual

HP ProCurve 6600-48G-4XG Assembly instructions

HP

HP ProCurve 6600-48G-4XG Assembly instructions

HP 6125G Installation manual

HP

HP 6125G Installation manual

HP P4459A Original operating instructions

HP

HP P4459A Original operating instructions

HP 1620 Series User manual

HP

HP 1620 Series User manual

HP ProCurve Switch xl Module Manual

HP

HP ProCurve Switch xl Module Manual

HP StorageWorks SN6000 Installation and operating manual

HP

HP StorageWorks SN6000 Installation and operating manual

HP Brocade 4Gb SAN Switch User manual

HP

HP Brocade 4Gb SAN Switch User manual

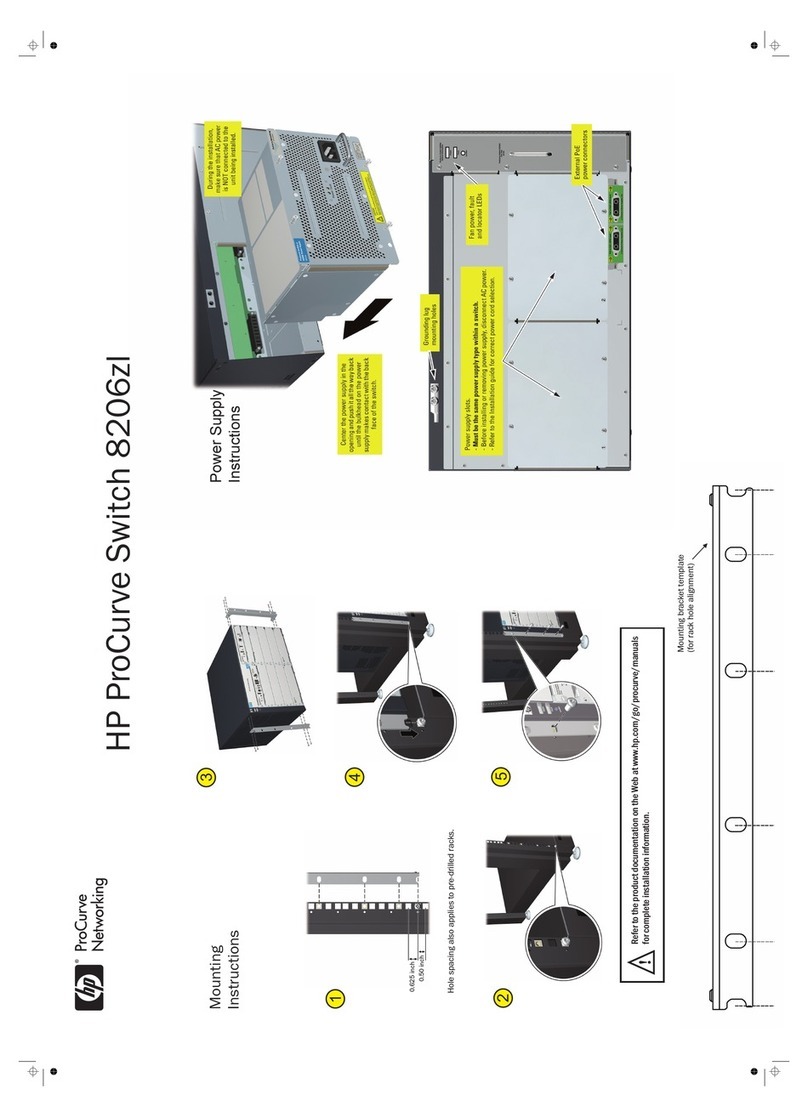
HP ProCurve 8200zl User manual

HP

HP ProCurve 8200zl User manual

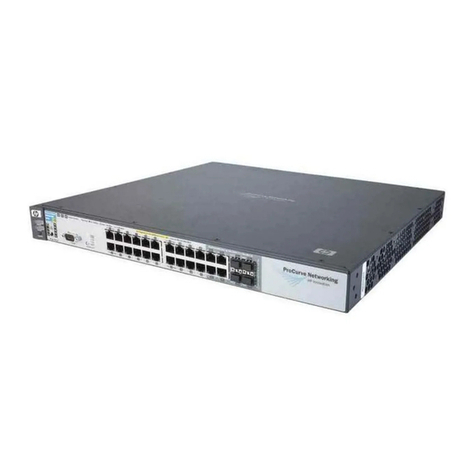
HP 5500 EI series User manual

HP

HP 5500 EI series User manual

HP A12500 Assembly instructions

HP

HP A12500 Assembly instructions

HP 34970A User manual

HP

HP 34970A User manual

HP 6127XLG Blade Series Installation manual

HP

HP 6127XLG Blade Series Installation manual

HP Aruba Instant On 1430 5G Assembly instructions

HP

HP Aruba Instant On 1430 5G Assembly instructions

HP ProCurve 6120G/XG User manual

HP

HP ProCurve 6120G/XG User manual

HP OfficeConnect 1820 24G PoE+ User manual

HP

HP OfficeConnect 1820 24G PoE+ User manual

HP ProCurve 6208M-SX Manual

HP

HP ProCurve 6208M-SX Manual

HP 6125XLG User manual

HP

HP 6125XLG User manual

HP SN8000D User manual

HP

HP SN8000D User manual

HP JG726A User manual

HP

HP JG726A User manual

HP 6125XLG User manual

HP

HP 6125XLG User manual

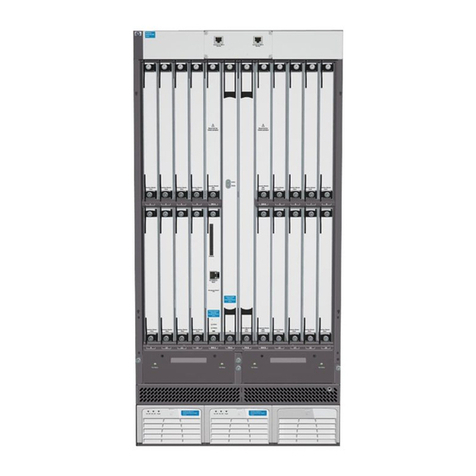
HP ProCurve 8212zl Series User manual

HP

HP ProCurve 8212zl Series User manual

Popular Switch manuals by other brands

SMC Networks SMC6224M Technical specifications

SMC Networks

SMC Networks SMC6224M Technical specifications

Aeotec ZWA003-S operating manual

Aeotec

Aeotec ZWA003-S operating manual

TRENDnet TK-209i Quick installation guide

TRENDnet

TRENDnet TK-209i Quick installation guide

Planet FGSW-2022VHP user manual

Planet

Planet FGSW-2022VHP user manual

Avocent AutoView 2000  AV2000BC AV2000BC Installer/user guide

Avocent

Avocent AutoView 2000 AV2000BC AV2000BC Installer/user guide

Moxa Technologies PT-7728 Series user manual

Moxa Technologies

Moxa Technologies PT-7728 Series user manual

Intos Electronic inLine 35392I operating instructions

Intos Electronic

Intos Electronic inLine 35392I operating instructions

Cisco Catalyst 3560-X-24T Technical specifications

Cisco

Cisco Catalyst 3560-X-24T Technical specifications

Asante IntraCore IC3648 Specifications

Asante

Asante IntraCore IC3648 Specifications

Siemens SIRIUS 3SE7310-1AE Series Original operating instructions

Siemens

Siemens SIRIUS 3SE7310-1AE Series Original operating instructions

Edge-Core DCS520 quick start guide

Edge-Core

Edge-Core DCS520 quick start guide

RGBLE S00203 user manual

RGBLE

RGBLE S00203 user manual

Thrustmaster FLIGHT SIMULATOR X quick guide

Thrustmaster

Thrustmaster FLIGHT SIMULATOR X quick guide

Southwire SURGE GUARD 41390 RVC troubleshooting guide

Southwire

Southwire SURGE GUARD 41390 RVC troubleshooting guide

Buhler Nivotemp NT 61 Brief instructions

Buhler

Buhler Nivotemp NT 61 Brief instructions

Kramer VS-41HDCP user manual

Kramer

Kramer VS-41HDCP user manual

Techly IDATA AU-270 user manual

Techly

Techly IDATA AU-270 user manual

Belkin F1U109 user manual

Belkin

Belkin F1U109 user manual

manuals.online logo
manuals.online logoBrands
  • About & Mission
  • Contact us
  • Privacy Policy
  • Terms and Conditions

Copyright 2025 Manuals.Online. All Rights Reserved.

HP ProCurve Switch 4100 Series
Fan Tray Replacement Instructions
This booklet describes the procedures to replace the fan tray in your HP ProCurve
Switch 4100 Series devices. Separate procedures are provided for the Switch 4104,
and Switch 4108 chassis. The procedures are slightly different for these different
sized chassis.
© Copyright 2003 Hewlett-Packard
Development Company, L.P.
The information contained herein is
subject to change without notice.
Part Number: 5990-6001
Edition 1, July 2003
Printed in Singapore
*5990-6001*
Fan Tray Installation Precautions
Warnings
●Make sure that all AC power is disconnected from the switch
before starting the procedures described in this guide. Do not
reconnect the power until the switch is completely reassembled
and cover plates are replaced on any open module slots or power
supply bays.
●If your switch is rack mounted, make sure that the rack is not
going to tip over as you complete these procedures. If the switch
is difficult to reach, remove it from the rack or other mounting
location before proceeding.
Cautions
●Attach a properly grounded ESD wrist strap to your wrist when han-
dling the switch modules, the fan tray, and the fan tray connector. Do
not touch the components or edge connectors on any printed circuit
boards, or the pins on any connectors. Otherwise, damage due to static
discharge could occur.
●Refer to the installation guides that came with your switch and switch
power supply for precautions on proper handling and installation of the
switch and power supplies. For copies of the installation guides, visit
the HP Procurve web site at http://www.hp.com/go/hpprocurve.
Removal and Replacement Procedures (Switch 4104) Removal and Replacement Procedures (Switch 4108)
1. Disconnect power and remove power
supplies and cover plates.
2. Disconnect the fan cable connector from
the backplane and remove the two
screws securing the fan tray.
3. Remove the old tray assembly. 4. Install the new tray assembly.
5. Connect the fan cable connector to
the backplane and re-install the two
screws securing the fan tray.
6. Re-install power supplies and cover
plates, and re-connect AC power.
7. Verify that the new fans are operating
correctly:
• the fans should be operating
• the switch Power LED
should be on
• the switch Fault and Fan
Status LEDs should be on
solidly and not flashing
power supply
cover plate
Loosen the captive screws holding the power
supply and remove the screws in the cover plate.
Caution: This connector has a positive lock.
Be sure to depress the lock to remove the con-
nector and pull straight out to avoid damaging
the pins on the backplane.
positive lock
remove
the two
screws
re-install
the two
screws
Caution: Avoid damage to the pins on the
backplane connector by pushing the cable
connector straight in.
1. Disconnect power and remove power
supplies and cover plates.
2. Disconnect the fan cable connector from
the backplane and remove the two
screws securing the fan tray.
3. Remove the old tray assembly. 4. Install the new tray assembly.
5. Connect the fan cable connector to
the backplane and re-install the two
screws securing the fan tray.
6. Re-install power supplies and cover
plates, and re-connect AC power.
7. Verify that the new fans are operating
correctly:
• the fans should be operating
• the switch Power LED should
be on
• the switch Fault and Fan
Status LEDs should be on
solidly and not flashing
cover plates
power supply
Loosen captive screws holding the power
supply and remove screws in cover plates.
Caution: Avoid damage to the pins on
the backplane connector by pulling
the cable connector straight out.
remove
the two
screws
Caution: Avoid damage to the pins on the
backplane connector by pushing the cable
connector straight in.
re-install
the two
screws