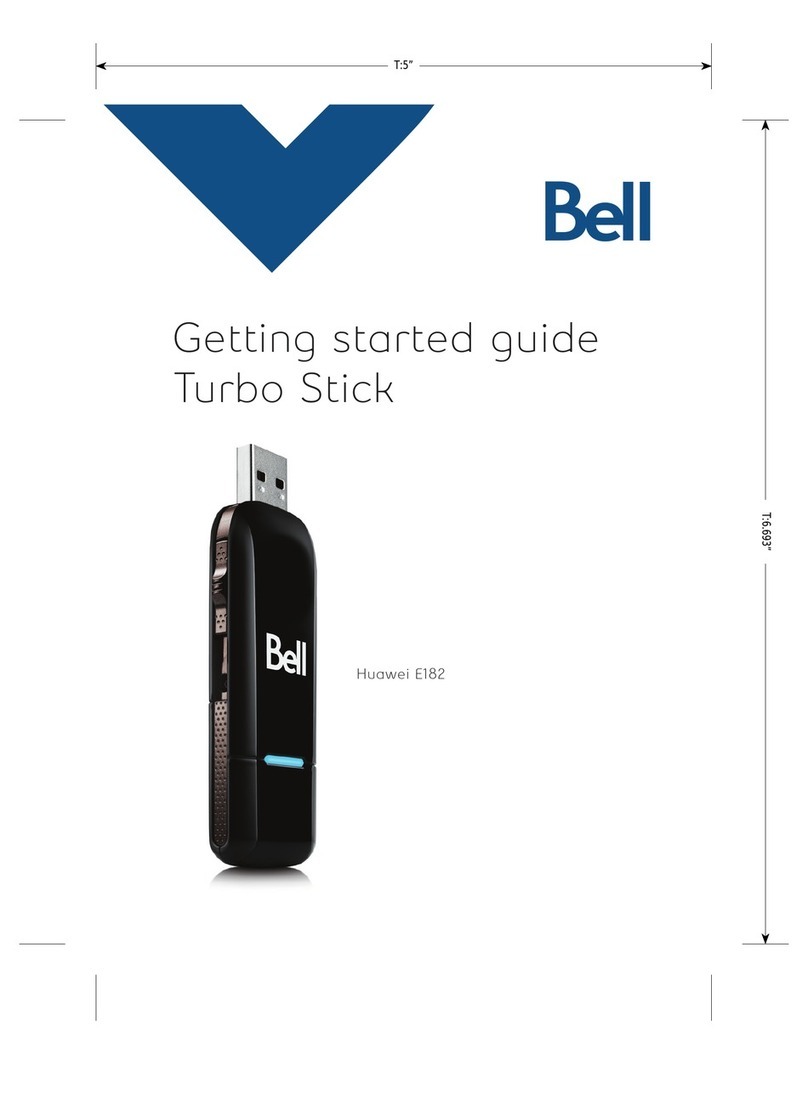
Huawei E220 User manual

Wonderful Communication, Mobile Life.
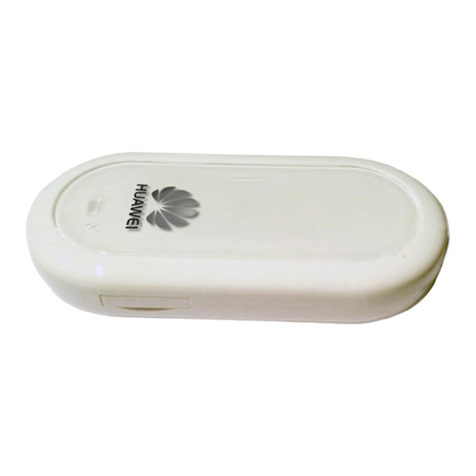
Welcome to HUAWEI E220 HSDPA USB Modem.
HUAWEI E220 HSDPA USB Modem
User Manual

Copyright © 2007 Huawei Technologies Co., Ltd.
All Rights Reserved
No part of this manual may be reproduced or transmitted in any form or by any
means without prior written consent of Huawei Technologies Co., Ltd.
Trademarks
and HUAWEI are trademarks of Huawei Technologies Co., Ltd. All other
trademarks mentioned in this manual are the property of their respective holders.
Notice
The information in this manual is subject to change without notice. Every effort
has been made in the preparation of this manual to ensure accuracy of the contents,
but all statements, information, and recommendations in this manual do not
constitute the warranty of any kind, expressed or implied.

Safety Precautions
Before using the wireless device, please read the safety precautions carefully and
let your children know these, so that you can use your wireless device correctly
and safely. For details, see the section "Warnings and Precautions".
Do not switch on your wireless device when it is prohibited to use
wireless device or when the wireless device may cause interference
or danger.
Do not use your wireless device while driving.
Follow any rules or regulations in hospitals and health care facilities.
Switch off your wireless device near medical apparatus.
Switch off your wireless device in aircraft. The wireless device may
cause interference to control signals of the aircraft.
Switch off your wireless device near high-precision electronic
devices. The wireless device may affect the performance of these
devices.
Do not attempt to disassemble your wireless device or its
accessories. Only the qualified personnel are allowed to service or
repair the wireless device.
Do not place your wireless device and its accessories in containers
with strong electromagnetic field.
Do not place magnetic storage media near your wireless device.
Radiation from the wireless device may erase the information stored
on them.
Do not put your wireless device in a high-temperature place or use it
in a place with flammable gas such as a gas station.
Keep your wireless device and its accessories away from children.
Do not allow children to use your wireless device without guidance.
Observe any laws or regulations on the use of wireless device.
Respect others’ privacy and legal rights when using your wireless
device.

i
Table of Contents
1 Overview...............................................................................................................................1
2 Packing List...........................................................................................................................2
3 Getting to Know Your E220..................................................................................................3
4 Getting Started.......................................................................................................................4
Computer Configuration Requirements........................................................................4
Preparing E220..............................................................................................................4
5 Installation.............................................................................................................................5
Connecting E220 to the PC ...........................................................................................5
Installing the Mobile Connect Management Program..................................................6
Disconnecting E220 from the PC..................................................................................7
Uninstalling Mobile Connect ........................................................................................7
6 Introduction to Mobile Connect............................................................................................8
Launching Mobile Connect...........................................................................................8
Introduction to the Home Screen...................................................................................8
7 Menu....................................................................................................................................11
8 Internet Service ...................................................................................................................13
Network Connection Settings......................................................................................13
Accessing the Internet .................................................................................................14
Volume Statistic...........................................................................................................14
9 SMS.....................................................................................................................................16
Creating a Message......................................................................................................16
Inbox............................................................................................................................17
Outbox .........................................................................................................................20
Draft.............................................................................................................................22
Trash ............................................................................................................................23
Reports.........................................................................................................................24
Message Import Management.....................................................................................25
SMS Settings ...............................................................................................................25
10 Contacts.............................................................................................................................26

ii
Managing Contacts......................................................................................................26
Importing/Exporting Contacts.....................................................................................28
11 Settings and Information Query........................................................................................30
Selecting the Network .................................................................................................30
Selecting the Connection Type....................................................................................30
Selecting the Band.......................................................................................................30
Managing the PIN Code..............................................................................................31
System Settings............................................................................................................32
Diagnostic....................................................................................................................33
12 FAQ...................................................................................................................................34
13 Warnings and Precautions.................................................................................................35
14 Acronyms and Abbreviations............................................................................................40

1
1
A USB Modem (hereinafter referred to as E220). With
t
ySend or receive text messages
yManage contacts
Overview
Welcome to HUAWEI E220 HSDP
E220, you can easily:
yAccess the Interne

2
2 Packing List
T ox contains the following items:
USB Modem (including a PDF document of User Manual and a setup
Two USB cables
yQuick Start
h kage b
SDPA
e E220 pac
yOne E220 H
program)
y

3
3 tting to Know Your E220Ge
The following figure shows E220.
USB interface
USIM/SIM card slot Indicator
ote:
ly.
T dicator indicates the status of E220.
N
The figure is for your reference on
he in
Indicator Status Description
Off E220 is powered off.
Blinking twice every 2.7 seconds (green) E220 is searching for a network or no
network is available.
Blinking once every 2.9 seconds (green) The GSM network is normal.
Blinking once every 2.9 seconds (blue) The WCDMA network is normal.
On (green) The GPRS data service is established.
On (cyan) The HSDPA data service is established.
On (blue) The WCDMA data service is established.

4
4 g Started
s
Gettin
Computer Configuration Requirement
To use E220, your PC is required to have:
modem interface: USB 2.0 full speed
yDispl
Note:
Make sure that the configuration of your PC meets the requirements. Otherwise,
improper configuration may degrade the performance of your PC.
yCPU: Pentium 4, 1 GHz or above
yMemory: 128 MB RAM or above
Hard disk: 50 MB or above
y
yOperating system: Windows XP, Windows 2000 or Windows Vista
yUSB ay resolution: 800 %600 or above; 1024 %768 is recommended
Preparing E220
1. Take out E220 from the protective cover.
2. USIM/SIM card slot. Make sure that
3. Insert the USIM/SIM card slot into E220.
Take out the USIM/SIM card slot from E220. Then insert the USIM/SIM card into the
the USIM/SIM card is fully inserted.

5
5
ystem. The following installation
res are for your reference only.
Take the
Note:
r on the PC. Otherwise, the installation
Installation
The installation procedures vary with the operating s
procedu
Windows XP operating system as an example.
Before connecting E220 to the PC, powe
may be affected.
Connecting E220 to the PC
Use the dedicated USB cable to connect E220 to the PC.
The following figure shows the USB cable.
Auxiliary USB
data cable
Main USB
data cable Mini-USB
connector
220 to the PC:
cable to the USB interface of E220.
Do the following to connect E
1. Connect the Mini-USB plug of the USB

6
aces of the PC.2. Insert the main plug and auxiliary plug to the USB interf
Note:
USB data cable. Make
sure that it is connected to the USB interface of the PC.
3. lays
The PC can supply power for E220 through the auxiliary
Windows XP auto detects and recognizes E220 and disp on the lower right
corner, indicating that E220 is connected successfully.
Installing the Mobile Connect Management Program
1. Connect E220 to the PC.
2. The setup program auto runs. Then the E220 installation interface appears.
Note:
am does not start, double-click the AutoRun.exe file in the
anguage dialog box and click Next.
If the auto-run progr
drive path to run it.
3. Select the language in the Choose L

7
Finish to complete the installation.
Note:
Do not disconnect E220 during the installation.
6.
4. Follow the remaining instructions.
5. Click
When the installation completes, the shortcut icon of the Mobile Connec
managem t
ent program (hereinafter referred to as Mobile Connect) appears on the
desktop.
Disconnecting E220 from the PC
Before disconnecting E220, stop it through the hardware removing function of Windows.
Do the following:
1.
Double-click on the lower right corner of the PC screen and the Safely Remove
3. After the system prompts you that it is safe to remove the device, disconnect E220.
Hardware dialog box is displayed.
2. Select Huawei Mass Storage USB Device to stop E220.
Uninstalling Mobile Connect
Uninstall Mobile Connect through the Add or Remove Programs function of Windows.

8
6 to Mobile ConnectIntroduction
Launching Mobile Connect
1.
2. the
ly, your USIM/SIM card is
cked. In this case, use the PIN Unblocking Key (PUK) code to unblock it.
ou enter wrong PUK codes ten times consecutively, your USIM/SIM card is
disa
Note:
The service provider provides the PIN code and the PUK code. For details about
how to modify, enable or disable the PIN code, refer to "Managing the PIN Code".
e Screen
Connect E220 to the computer and Mobile Connect is auto launched.
If you are required to enter the Personal Identification Number (PIN) code, enter
correct one and click OK.
If you enter wrong PIN codes three times consecutive
blo
If y bled. In this case, contact your service provider.
Introduction to the Hom
Overview of the Home Screen
After Mobile Connect is launched, the home screen is displayed as follows:

9
You can maximize the screen.
Icons and Shortcut Keys
The following table lists the icons and corresponding shortcut keys of Mobile Connect.
Icon/Shortcut Key Description
//F2 Connect to/Disconnect from the network.
/F3
Launch the IE.
/F5 Display the SMS interface.
/F6
Display the Contacts interface.

10
Status Information
The status information shown on the right panel varies with the ongoing service. The
following two tables list the status information and description.
When the screen is in the minimized status:
Status Information Description
Signal The network type and signal strength. The more the bars are,
the stronger the signal strength is.
Network Service provider information.
Duration The duration of the current data connection.
Volume The volume of the current data connection.
When the screen is in the maximized status:
Status Information Description
Signal The network type and the signal strength.
Network Service provider information.
Connection The current connection information:
yDuration
yVolume
Sent Received ySent volume, rate, and the top rate
yReceived volume, rate, and the top rate
Information yNew messages: The number of new messages.
If there is a new message, the number blinks.
yNew SMS reports: The number of new message reports.
If there is a new message report, the number blinks.

11
7 Menu
t
IM/SIM Card
To USIM/SIM Card
port Message from USIM/SIM Card
e Statistic
pe
ed
1 File
1.1 Connect/Disconnec
1.2 Import Contacts
1.2.1 From File
1.2.2 From US
1.3 Export Contacts
1.3.1 To File
1.3.2
1.4 Im
1.5 Exit
2 Tools
2.1 Open Browser
2.2 SMS
2.3 Contacts
2.4 Volum
2.5 Diagnostics
3 Settings
3.1 Choose Network
3.1.1 Auto
3.1.2 Manual
3.2 Choose Connection Ty
3.2.1 GPRS Preferr

12
y
3.3 B
00/WCDMA2100
e
ction
S Settings
gs
4.1 HUAWEI Online Support
4.2 About
3.2.2 3G Preferred
3.2.3 GPRS Onl
3.2.4 3G Only
and Selection
3.3.1 All Band
3.3.2 GSM900/18
3.3.3 GSM1900
3.4 Modify PIN Cod
3.5 PIN Code Prote
3.5.1 Validate
3.5.2 Enable
3.5.3 Disable
3.6 Options
3.7 SM
3.8 Network Connection Settin
4 Help

13
8 Internet Service
ection SettingsNetwork Conn
C g a Profile
Sele Sett Connection Settings…. Then do the following:
reatin
ct ings > Network
Step Procedure
1 Click New.
2 Enter the profile name.
3 Enter the APN, IP, authentification, DNS, WINS, and authentication protocol.
Click Save.
4
der.
Note:
For details of network connection settings, consult your service provi
D g a Profile
Sele Sett following:
eletin
ct ings > Network Connection Settings…. Then, do the
Step Procedure
1 In the Choose Profile Name field, select the profile.
2 Click Remove > OK.
M ing a Profile
Sele Sett following:
odify
ct ings > Network Connection Settings…. Then, do the
Step Procedure
1 In the Choose Profile Name field, select the profile.
2 Click Modify.

14
Step Procedure
3 Modify the profile.
4 Click Save.
Accessing the Internet
You n ac > Network
Connection Setti Then do the following:
ca cess the Internet through a 3G or GPRS connection. Select Settings
ngs….
Step Procedure
1 I the Choose Profile Name field, select the profile and click OK.n
2 Click to establish the 3G connection or the GPRS connection.
prom e connection is established, click
3 After a pt is displayed indicating that th
or launch the browser of the operating system. Then you can access the
Click
Internet.
4 to disconnect the connection.
When the connection is established, details of the network connection are displayed as
follows:
ent connection d received data
yThe current connection duration
yThe data volume of the curr
yThe volume, rate and the top rate of the sent an
Volume Statistic
You can view the details of the volume statistic.
lect Tools > Volume Statistic… to view:
Se
the last connection, including the sent volume, the
e duration
Volume Statistic: the volume of all connections, including the sent volume, the
v
yLast
y:
received volume, and th
Last Volume Statistic the volume of
yTotal
recei ed volume, and the duration
Reset Time: the last reset time

15
Reset: Click it to reset
ote:
yThe volume statistic is for your reference only.
yIf you do not perform the reset operation, the last reset time is null.
y
N
Other manuals for E220
8
Table of contents
Other Huawei Modem manuals

Huawei
Huawei EC1260 User manual

Huawei
Huawei E5577 User manual

Huawei
Huawei HiLink E3131 User manual

Huawei
Huawei E1691 User manual

Huawei
Huawei EC150 User manual

Huawei
Huawei Home Broadband User manual

Huawei
Huawei LTE CPE User manual

Huawei
Huawei E169 User manual

Huawei
Huawei Maxis E5832 User manual

Huawei
Huawei E1756A User manual

Huawei
Huawei SoftBank 005HW User manual

Huawei
Huawei EC 121 User manual

Huawei
Huawei B315s User manual

Huawei
Huawei EC305 User manual

Huawei
Huawei E270 Instruction Manual

Huawei
Huawei HG658 User manual

Huawei
Huawei E352S User manual

Huawei
Huawei E156G Installation guide

Huawei
Huawei Mobile Broadband USB Stick User manual

Huawei
Huawei B2368 User manual