Human HumaFIA User manual

Weitere Information auf den folgenden Seiten!
See the following pages for more information!
Produktinformation
Lieferung & Zahlungsart
Lieferung: frei Haus
Bestellung auf Rechnung
Lieferung ab € 30,-
Erstbestellung Vorauskassa
Zuschläge
• Mindermengenzuschlag
• Trockeneiszuschlag
• Gefahrgutzuschlag
• Expressversand
linkedin.com/company/szaboscandic
facebook.com/szaboscandic
SZABO-SCANDIC
HandelsgmbH
Quellenstraße 110, A-1100 Wien
T. +43(0)1 489 3961-0
F. +43(0)1 489 3961-7
www.szabo-scandic.com
Diagnostik & molekulare Diagnostik
Laborgeräte & Service
Zellkultur & Verbrauchsmaterial
Forschungsprodukte & Biochemikalien

Cat. No. 16090/1
REF 16090/1
HumaFIA
│User Manual

HumaFIA | User manual

HumaFIA
HumaFIA | User manual
HumaFIA
Semi-automated time-resolved fluorescence immunoassay analyser
Catalogue numbers covered
16090
Name and Address of Manufacturer
HUMAN Diagnostics Product (Beijing) Co., Ltd.
Address:Unit 703, Yongchang Industry Park, No.3 Yongchang North Road, BDA 100176, Beijing, China
Name and Address of Authorized Representative
HUMAN Gesellschaft für Biochemica und Diagnostica mbH
Address: Max-Planck-Ring 21, 65205, Wiesbaden, Germany, Tel: +49-6122-99880, E-Mail: human@human.de
Revision List
Rev.
Date
Description of revision
001
2022.02.28
First edition
002
2022.08.23
Software upgrade
003
2023.01.06
Software upgrade to Vers. 1.5.930, minor text adjustments
System Version
Software 1.5.930
Copyright
Copyright 2023, HUMAN Diagnostics China. All rights reserved.
No part of this documentation may be reproduced in any form, nor processed, copied or distributed by means
of electronic systems, without prior permission of HUMAN Wiesbaden or HUMAN China in writing. Since all
precautionary measures were taken into account in producing these operating instructions, the manufacturer
accepts no responsibility for any errors or omissions. This includes any liability for damage that could arise
from possible incorrect operation based on this information. Subject to changes without notice as result of
technical development.

HumaFIA | User manual

Table of Contents
HumaFIA | User manual
Table of Contents
HumaFIA..........................................................................................................................................................3
Table of Contents ............................................................................................................................................5
1 SAFETY INSTRUCTIONS............................................................................................................................9
1.1 Introduction............................................................................................................................................9
1.2 User warranty........................................................................................................................................9
1.3 Use of the instrument ............................................................................................................................9
1.4 General safety warnings........................................................................................................................9
1.5 Disposal management concept...........................................................................................................10
1.6 Biohazard warning...............................................................................................................................10
1.7 Instrument disinfection.........................................................................................................................10
2 SYSTEM DESCRIPTION ...........................................................................................................................11
2.1 Intended purpose.................................................................................................................................11
2.2 Instrument structure.............................................................................................................................11
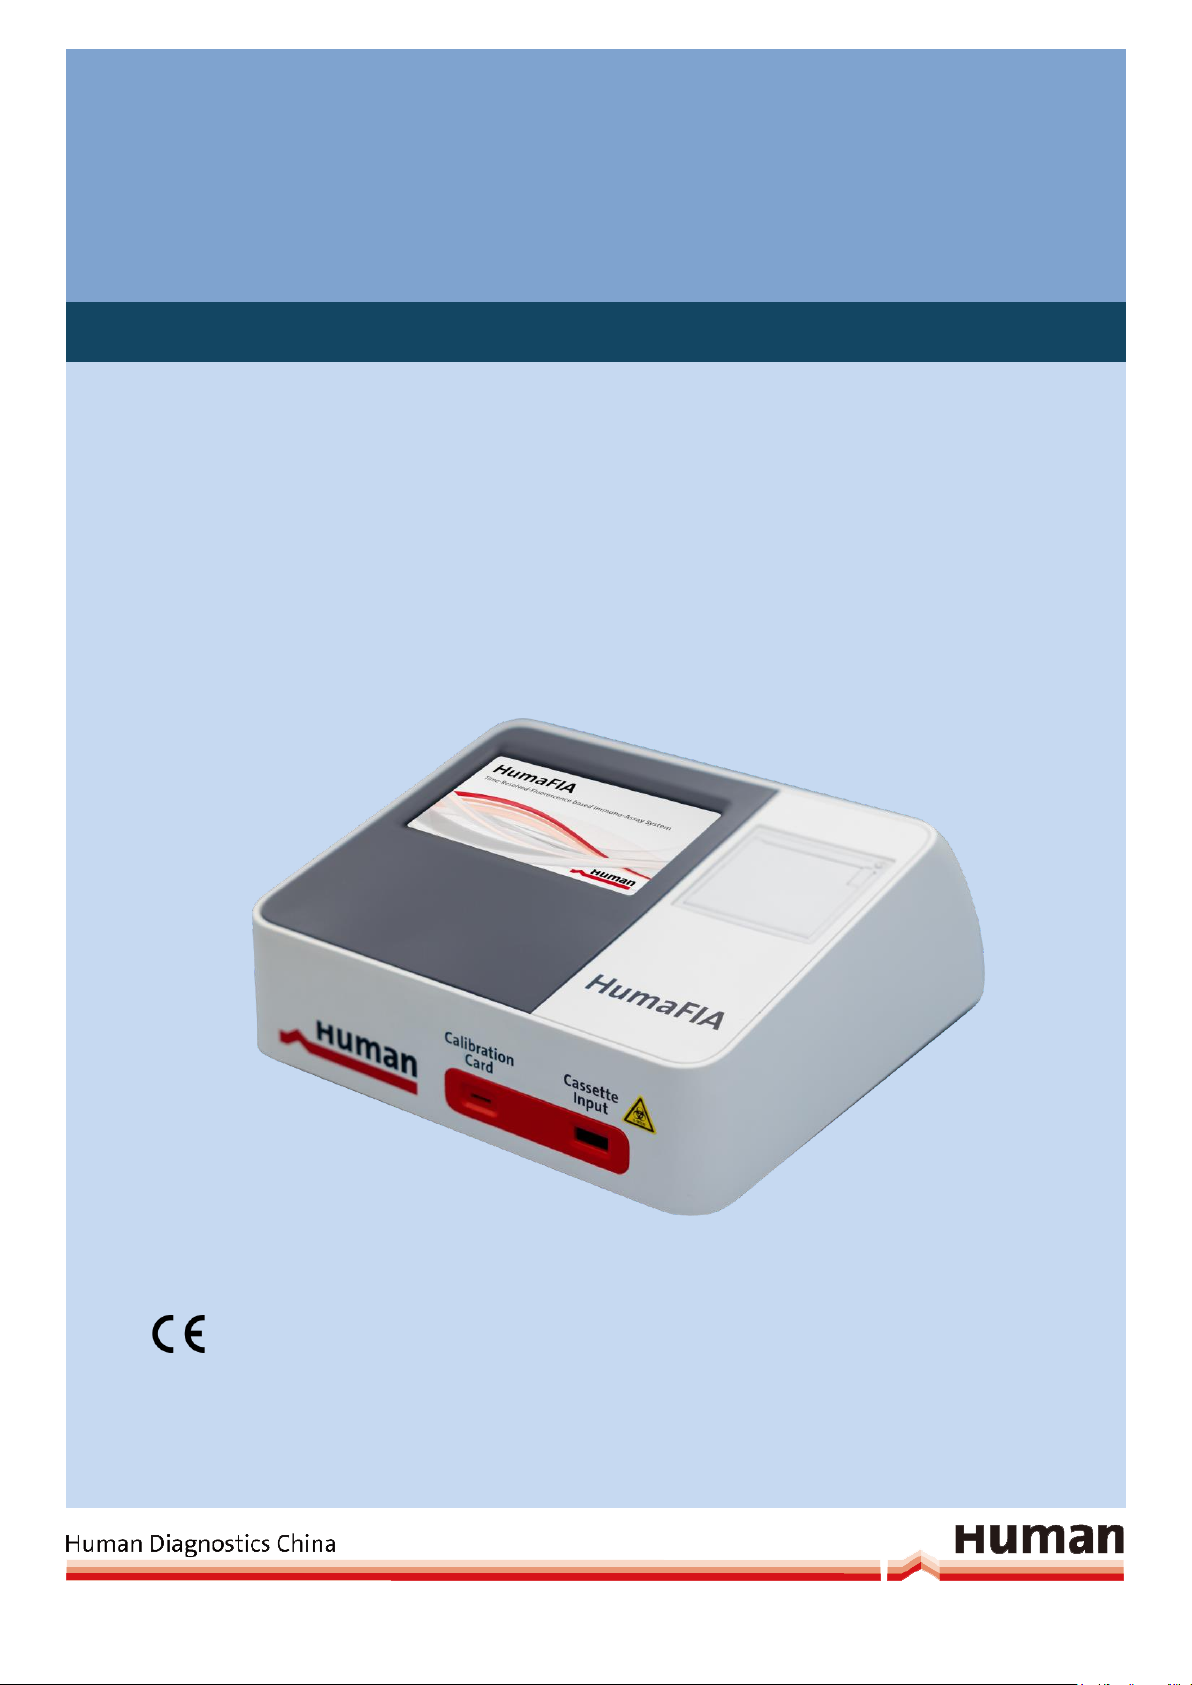
2.2.1 HumaFIA instrument ....................................................................................................................11
2.2.2 HumaFIA power supply................................................................................................................11
2.2.3 HumaFIA calibration card.............................................................................................................12
2.2.4 HumaFIA power bank...................................................................................................................12
2.2.5 HumaFIA test cartridges...............................................................................................................12
2.2.6 HumaFIA data cable.....................................................................................................................13
2.2.7 HumaFIA Standard Cartridge.......................................................................................................14
2.3 Technical data.....................................................................................................................................14
2.4 Method: time-resolved fluorescent immunoassay...............................................................................15
2.4.1 Fluorescent immunoassay lateral flow cartridge..........................................................................15
2.4.2 The time-resolved technology of HumaFIA..................................................................................15
2.5 Installation ...........................................................................................................................................16
2.5.1 Turning the instrument ON...........................................................................................................17
2.5.2 Turning the instrument OFF .........................................................................................................17
2.6 Software user interface........................................................................................................................18
2.6.1 User interface...............................................................................................................................18
2.6.2 Menu tree.....................................................................................................................................19
3 ROUTINE UTILIZATION AND MEASUREMENT.......................................................................................21
3.1 Instrument operation and sample preparation.....................................................................................21
3.1.1 Specimen .....................................................................................................................................21
3.1.2 Procedure.....................................................................................................................................21
3.1.3 Calibration....................................................................................................................................22
3.1.4 Calculation of results....................................................................................................................22
3.1.5 Quality control ..............................................................................................................................22
3.1.6 Reference value...........................................................................................................................22

Table of Contents
HumaFIA | User manual
3.1.7 Interpretation of results.................................................................................................................22
3.1.8 Limitations....................................................................................................................................22
3.2 Sampling modes..................................................................................................................................23
3.2.1 Auto sample mode, with internal incubation.................................................................................23
3.2.2 STAT sample mode, flexible testing.............................................................................................24
3.2.3 Fast mode sampling.....................................................................................................................25
3.2.4 Add sample, patient data and parameter type .............................................................................27
3.3 QC module ..........................................................................................................................................29
3.3.1 Upload of new control material.....................................................................................................30
3.3.2 Run controls in Auto mode...........................................................................................................31
3.3.3 Run controls in Fast mode ...........................................................................................................32
3.3.4 Database in the QC module.........................................................................................................34
3.3.5 Calibration cards overview in the QC module..............................................................................34
3.4 Database interface ..............................................................................................................................35
3.4.1 General operations.......................................................................................................................35
3.4.2 Filter functions of the database....................................................................................................36
4 ADVANCED OPERATION..........................................................................................................................37
4.1 Settings interface.................................................................................................................................37
4.2 Settings for the test procedure ............................................................................................................38
4.3 General (Date, Time, Language, Brightness, Temperature, Delete)...................................................39
4.4 Selection of parameter list...................................................................................................................40
4.5 Settings to enable flags.......................................................................................................................41
4.6 General (2) settings, software update, auto-warnings.........................................................................42
4.7 Selection of data fields in the database...............................................................................................43
4.8 Settings to establish connectivity channels.........................................................................................44
4.9 Service and maintenance....................................................................................................................44
4.9.1 Run Standard Cartridge as quality check.....................................................................................44
5 TROUBLESHOOTING................................................................................................................................47
6 LATEST INFORMATION/UPDATES..........................................................................................................49

Table of Contents
HumaFIA | User manual


1 SAFETY INSTRUCTIONS 9
HumaFIA | User manual
1 SAFETY INSTRUCTIONS
1.1 Introduction
This manual is considered part of the instrument and must be available to the operator and the maintenance
personnel. For accurate installation, use and maintenance, please read the following instructions carefully.
In order to avoid damage to the instrument or personal injury, carefully read chapter 1.4 General safety
warnings, describing the appropriate operating procedures. Please contact your HUMAN authorized local
Technical Service in the event of instrument failure or other difficulties with the instrument.
1.2 User warranty
HUMAN warrants that instruments sold by one of its authorized representatives shall be free of any defects
in material or workmanship, provided that this warranty shall apply only to defects which become apparent
within one year from the date of delivery of the new instrument to the purchaser.
The HUMAN representative shall replace or repair any defective item within this warranty period at no charge,
except for transportation expenses to the point of repair.
This warranty excludes the HUMAN representative from liability to replace any item considered as expendable
in the course of normal usage, e.g.: lamps, valves, syringes, glassware, fuses, tubing etc.
The HUMAN representative shall be relieved of any liability under this warranty if the product is not used in
accordance with the manufacturer instructions, altered in any way not specified by HUMAN, not regularly
maintained, used with equipment not approved by HUMAN or used for purposes for which it was not designed.
1.3 Use of the instrument
This instrument must be used for its intended purpose (see chapter 2.1 Intended purpose). It must beoperated
in perfect technical conditions, by qualified personnel, in such working conditions and maintained as described
in this manual, in chapter 1.4 General safety warnings. This manual contains instructions for qualified
professional operators.
1.4 General safety warnings
Use only chemical reagents and accessories specified and supplied by HUMAN and/ or mentioned in this
manual. Place the product so that it has proper ventilation. The instrument should be installed on a flat,
stationary working surface, that is free of vibrations.
Do not operate in area with excessive dust. Operate at temperature and at a humidity level in accordance
with the specifications listed in this manual. Do not operate this instrument with covers and panels removed.
Use only the power cord specified for this product, with the grounding conductor of the power cord connected
to earth ground.
Use only the fuse type and rating specified by the manufacturer for this instrument. The use of fuses with
improper ratings may pose electrical and fire hazards. To avoid fire or shock hazard, observe all ratings and
markings on the instrument. Do not power the instrument in environments that are potentially explosive or at
risk of fire.
Prior to cleaning and/or performing maintenance on the instrument, switch off the instrument and remove the
power cord. Only cleaning materials described in this manual may be used, as other materials may damage
parts. It is recommended to always wear protective clothing and eye protection while using this instrument.
All warning symbols that appear in this manual must be carefully observed.
The instrument is exclusively used for clinical diagnostics.
For users in the European Union only: Please report any serious incident that has occurred in relation to the
device to the manufacturer and the competent authority of the Member State in which the user and/or the
patient is established.

1 SAFETY INSTRUCTIONS 10
HumaFIA | User manual
1.5 Disposal management concept
The applicable local regulations governing disposal must be observed. It is the user’s responsibility to arrange
for proper disposal of the individual components.
All parts which may contain potentially infectious materials must be disinfected by suitable, validated
procedures (autoclaving, chemical treatment) prior to disposal. The instruments and electronic accessories
(without batteries, power packs etc.) must be disposed of according to the applicable local regulations for the
disposal of electronic components.
Batteries, power packs and similar power sources must be removed from electric/electronic parts and
disposed of in accordance with applicable local regulations.
1.6 Biohazard warning
Analytical instruments for in vitro diagnostic application involve the handling of human samples and controls
which should be considered at least potentially infectious. Therefore, every part and accessory of the
respective instrument which may have come into contact with such samples must equally be considered as
potentially infectious.
The BIOHAZARD warning label must be affixed to the instrument prior to its first use with biological material!
Figure 1 Biological hazard symbol
1.7 Instrument disinfection
Before performing any servicing on the instrument, it is very important to thoroughly disinfect all possibly
contaminated parts. Before the instrument is removed from the laboratory for disposal or servicing, it must be
decontaminated. Decontamination must be performed by authorized, well-trained personnel, and in
observance of all necessary safety precautions.

2 SYSTEM DESCRIPTION 11
HumaFIA | User manual
2 SYSTEM DESCRIPTION
2.1 Intended purpose
HumaFIA is a semi-automated time-resolved fluorescence immunoassay analyser, intended for quantitative
measurements of physiological or pathological parameters in human serum, plasma, or whole blood,
depending on the test parameter. The instrument is a closed system intended to be used only in combination
with HumaFIA SR reagents, as an aid to diagnosis, for screening or monitoring. For laboratory professional
use only.
2.2 Instrument structure
The instrument consists of the instrument shell, power supply, cassette reader by fluorescence technique,
display and a data management unit.
The instrument shell consists of two parts: the upper and lower shell. The upper shell can be removed from
the instrument so that it provides an easy access for service personnel.
The instrument is controlled by an internal software which can store up to 10,000 test results. The power
supply switch is located on the back of the instrument.
2.2.1 HumaFIA instrument
Figure 2-1 HumaFIA instrument with cartridges, to be inserted into the Cassette input slot
2.2.2 HumaFIA power supply
Figure 2-2 Power supply

2 SYSTEM DESCRIPTION 12
HumaFIA | User manual
2.2.3 HumaFIA calibration card
The calibration card [CAL] contains the calibration curve for one parameter, which is shown on the card.
Further, the LOT number of the corresponding cartridge kit is shown below the parameter name. Insert the
calibration card into the analyser to upload the calibration curves into the analyser. The calibration card is
then not needed anymore, since the calibration curve for this LOT and parameter is already stored in the
analyser. Nevertheless, keep the calibration card until the kit is used up. For further details on upload, see
chapter 3.3.5 Calibration cards overview in the QC module.
Figure 2-3 Calibration card, with LOT and parameter information
2.2.4 HumaFIA power bank
The HumaFIA power bank (73 Wh) is an optional accessory that allows the analyser to run for several hours
even when no mains power is available. It can be combined with a solar panel to function as a stand‑alone
power system.
Figure 2-4-1 Power bank, 20100 mAh, 73 Wh Figure 2-4-2 Solar panel, foldable, 36W
REF: 18250/70 REF: 18250/73
2.2.5 HumaFIA test cartridges
Each test cartridge has the same shape that fits into the slot marked Cassette input on the front of the
analyser. The sample volume gets administered at the sample port of the cartridge. The reading of the test
occurs inside the analyser in the rectangular window of the cartridge.
The analyser automatically reads the barcode on the cassette and matches the type of cartridge with the
user’s selection in the software. Also, the expiration date of the LOT is checked. The test type and LOT
number are shown next to the barcode.

2 SYSTEM DESCRIPTION 13
HumaFIA | User manual
Insert the cartridge with the sample port end first into the analyser, as indicated by the arrow.
Figure 2-5 Cartridges of various parameters, with barcode containing LOT information
2.2.6 HumaFIA data cable
Figure 2-6 Data cable, to connect HumaFIA with a PC for data exchange

2 SYSTEM DESCRIPTION 14
HumaFIA | User manual
2.2.7 HumaFIA Standard Cartridge
The Standard Cartridge is a service tool. The Standard Cartridge allows a service engineer or an experienced
user to check the correct function of the HumaFIA optical system.
Figure 2-7 Standard Cartridge, REF: 16090/510
To run the Standard Cartridge on HumaFIA, first insert the corresponding calibration card. Run the Standard
Cartridge in the QC module, see chapter 3.3 QC module.
2.3 Technical data
Display
800 x 480 pixels, / 7-inch touch screen
Operating system
Linux
Sample reading time
Less than 3 seconds
Sample requirements
Depends on parameter type (serum, plasma, whole blood)
Environmental conditions
20-25 °C operation temp.
20-90 % relative humidity, non-condensing.
Air pressure 86.0-106.0 kPA
Avoid strong magnetic disturbance, keep away from explosive gas,
dust, direct light and water immersion.
Storage conditions
10-40 °C (when the analyser is not connected)
<93 % relative humidity, non-condensing.
Air pressure 50.0-106.0 kPA
Printer
Internal thermal printer
Sample identification
External (optional) barcode scanner
Power supply
100-220 V, 50-60 Hz, max power consumption 60 VA. DC 12V 5A.
Three-wire power cord of good grounding performance.
Dimensions
300 x 305 x 120 cm
Weight
4.2 kg
Table 2-1 Specifications

2 SYSTEM DESCRIPTION 15
HumaFIA | User manual
2.4 Method: time-resolved fluorescent immunoassay
2.4.1 Fluorescent immunoassay lateral flow cartridge
Lateral flow assays with dry reagents are simple to use, but very specific due to their antibody detection
method.
Principle: The test uses a sandwich detection method to determine an analyte like CRP in a specimen. If the
analyte is present in the sample, the Eu3+ labelled antibody will capture analytes flowing downstream in the
nitrocellulose membrane. The immunocomplex is then captured in the test area by a fixed antibody, forming
antibody-antigen-antibody complexes. The more antigen/analyte in the sample, the more immunocomplexes
are captured in the test area. This leads to a stronger intensity of the Eu3+ fluorescence signal, which is
processed by the instrument displaying the analyte concentration of the sample.
Figure 2-8 Reaction principle
Stable dry reagent cartridges are ready to use (4-30 °C) for easy storage and transportation. Whole blood,
serum and plasma are supported sample types. Refer to the corresponding IFU for each parameter.
2.4.2 The time-resolved technology of HumaFIA
The highly sensitive time-resolved fluorescent immunoassay (TR-FIA) technology is based on fluorescent
europium Eu3+ chelates, with large Stokes shifts, narrow emission bands and long fluorescence lifetimes.
Conventional fluorescence dyes emit only during a short period of time after the excitation pulse. However,
in that first time span auto-fluorescence emission occurs, too, which contributes to the background signal of
conventional tests.
Time-resolved technology, based on Eu3+ with long fluorescence lifetimes, allows the detection of
fluorescence to start just after auto-fluorescence has completely decayed. This guarantees very sensitive
tests with a low limit of detection (LOD).
Since this process takes place in 0.5 ms, the read-out time of the test by the instrument takes only a few
seconds.

2 SYSTEM DESCRIPTION 16
HumaFIA | User manual
Figure 2-9 TR-FIA method explanation, graph for illustration purposes only
2.5 Installation
This chapter provides instructions for the unpacking and installation of the HumaFIA analyser. Follow the
procedures below to ensure proper operation and service. Carefully read and follow all the instructions in this
User Manual before operating the analyser. This immune-fluorescence analyser is a precision instrument:
Handle with care.
Dropping or improperly handling the instrument will disrupt or damage the calibrated mechanical and
electronic components. Inspect the instrument for any visible signs of damage incurred during shipping. If
there is any damage, file a claim with the carrier or your distributor immediately. Check the accessories
received against the packing list. Contact Service if anything is missing.
1. Unpack the instrument.
2. Place the instrument on a surface with easy access to a ground power outlet and ensure that the distance
between the instrument and the power outlet is greater than 20 cm.
3. Place the instrument in a way that the user can easily access the power switch. In an emergency, the
user can turn off the instrument with the switch or unplug the power cord.
4. The workbench should be at least 400 mm (L) x 450 mm (W) x 450 mm (D) and should be able to hold
more than 5 kg.
5. Keep enough space in front of the instrument for easy operation. Place the instrument in a stable way
to avoid impact or collision.
6. Connect the power cord to the instrument power interface.
7. Do not remove the instrument randomly.
8. Keep the room well ventilated for cooling.
To ensure the accuracy of the instrument and the comparability of the measured data, the optical part of the
instrument needs to be tested. See the description of use of the Standard Cartridge, chapter 4.9.1 Run
Standard Cartridge as quality check.

2 SYSTEM DESCRIPTION 17
HumaFIA | User manual
Basic steps to run a sample, explained in detail below in the description of the software
1. Turn on the analyser.
2. Insert the calibration card to upload the calibration curve (see 3.3.5 Calibration cards overview in the
QC module).
3. Select a sampling mode.
4. Add patient name or ID.
5. Add sample to cartridge and wait for incubation (see IFU for each parameter).
6. Insert cartridge into analyser for reading.
7. Automatic data storage, optional print-out of result.
8. Turn off the analyser.
2.5.1 Turning the instrument ON
Connect the power cord. Turn on the power switch on its back. Each time the instrument is turned on, it will
conduct a self-check. The system will check its hardware automatically. Once the self-test is finished, the
system will enter the Login interface of the instrument. Select Admin and type in the numbers 12345678as
password.
Figure 2-10 Start screen
Note: Not all functions/options are available in Admin mode and even less are available in User mode.
Contact your supplier to introduce changes which are only possible in Service mode.
Select the user level, type in the password, and click Login to enter the home screen (see chapter 2.6.1.4
Home screen).
2.5.2 Turning the instrument OFF
After completing the tests, turn off the power switch at the back of the instrument.

2 SYSTEM DESCRIPTION 18
HumaFIA | User manual
2.6 Software user interface
This chapter contains information about the structure and use of the software implemented menu structure.
This integrated software controls instrument operations, including calculation and evaluation of measured
data, displaying results and information screens, storage and retrieval of data.
2.6.1 User interface
The user interface of the HumaFIA analyser is designed to be intuitive and easy to use and provide access
to all user level functions. The user can interact with the HumaFIA by using only the touch screen and the
virtual on-screen keypad, or by using an external keyboard.
2.6.1.1 Using the touch screen
The touch screen is a capacitive sensor behind glass. It must be operated by finger, or a conductive stylus
designed for capacitive touch screens, as it is not sensitive to pressure. The touch screen allows selection of
menu items and ‘pressing’ of buttons by gently tapping the surface over the selected item. The touch-screen
device used in the HumaFIA analyser was selected for its reliability, endurance, and compatibility with the
medical laboratory environment. Simple operations are supported, but multi-touch gestures or multiple
tapping are not supported. The surface glass material is resistant to liquids. However, it should be dry when
in use, otherwise it may not work reliably. Use a damp cloth to clean the glass surface when the analyser is
turned off.
2.6.1.2 Button colours
Activated buttons are displayed either in red with white icons or in dark grey with white icons, while inactive.
Upon selection they turn to opposite colours. In case a button is not selectable, it remains greyed out.
2.6.1.3 Entering information
HumaFIA sometimes requires the operator to enter information such as sample ID or patient data. To enter
information into a data field, simply tap or click on its box. The data field will change colour, indicating that
data entry is active for that field. Enter information using the virtual on-screen keypad or with an optional
external keyboard.
Data is not saved until the user presses Enter or Save or Accept to proceed.
2.6.1.4 Home screen
The Main menu will appear after start-up or when the HUMAN logo is pressed in the menu headline.
Figure 2-11 Home screen

2 SYSTEM DESCRIPTION 19
HumaFIA | User manual
Description of the home screen interface
Red bar on the left side:
•Instrument time and date
•User mode of the instrument (Admin, User or Service mode)
•External barcode reader connection status
•Printer connection status
Six grey buttons:
•The grey buttons lead directly to the function after which they are named.
2.6.2 Menu tree
The following is a list of the HumaFIA analyser menu tree.
2.6.2.1 Home screen interface
Figure 2-11 shows the main interface, which appears automatically after logging into the system.
The menu shows 3 sampling modes and 3 modules to operate the system. Each is explained below and in a
separate chapter (3.2 Sampling modes, 3.3 QC module, 3.4 Database interface and 4.1 Settings interface).
•Auto sample with incubation: Insert the test cassette after adding a sample, incubation and reading
are done automatically.
•STAT sample only reading: Incubation of samples is done outside the analyser. The timing can be
managed manually. Insert cartridge only for reading.
•Fast mode: workflow planning by software with definition of start-point of incubation, request for
reading and monitoring of incubation time.
•QC module: Allows the user to set the QC LOT number, reference value and deviation, check the
L-J curve, and check the quality control result value (this module will be released in a second phase).
•Database module: To view the sample result value, query result.
•Settings module: for settings of date and time, but also of flags, reference values, printer settings,
connectivity, and database selection for review of results.
Access the home screen from any screen on the analyser by pressing on the HUMAN logo in the upper left
corner of the permanent header.
2.6.2.2 Permanent header
Figure 2-12 Permanent header is displayed on each HumaFIA screen
The first line shows the HUMAN logo and then the selected user (e.g., Admin) followed by the status of various
connectivity ports, software checks and settings.
The 6 main categories or modules of the software are shown in the second line of the permanent header:
Auto sample, STAT sample, Fast mode, QC module, Database and Settings. Each module is explained in a
separate chapter (3.2 Sampling modes, 3.3 QC module, 3.4 Database interface and 4.1 Settings interface).
This manual suits for next models
1
Table of contents
Other Human Measuring Instrument manuals
Popular Measuring Instrument manuals by other brands

Endress+Hauser
Endress+Hauser Proline Prosonic Flow 92F Safety instructions

JB INDUSTRIES
JB INDUSTRIES DV-40S quick start guide

TSI Instruments
TSI Instruments DP-CALC 5825 Operation and service manual

natus
natus otometrics Bio-Logic AuDX PRO FLEX quick start guide

DAKOTA ULTRASONICS
DAKOTA ULTRASONICS ZX-2 Operation manual

Zoom
Zoom Handy REcorder H1 Operating