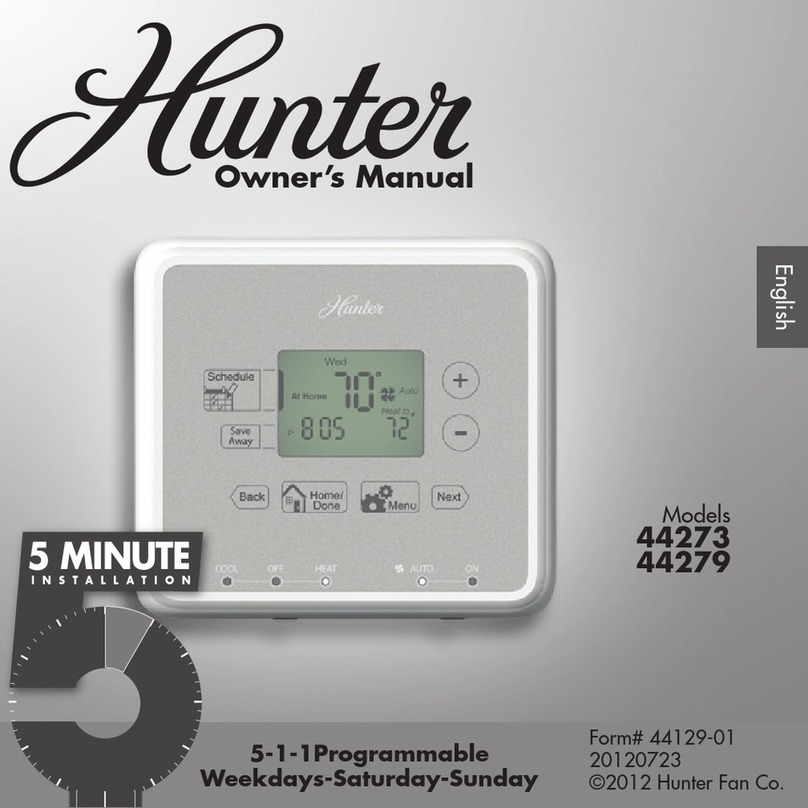
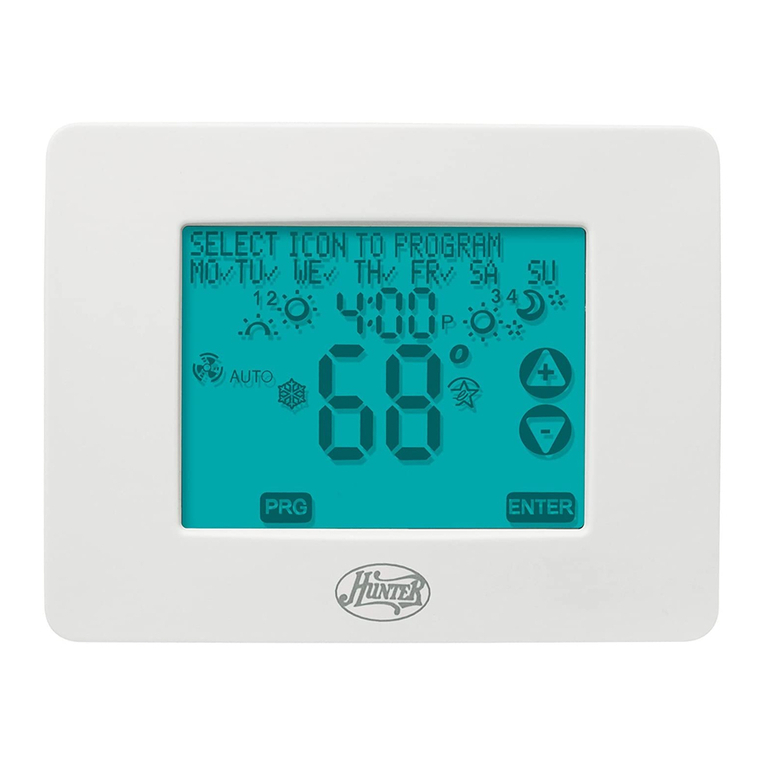
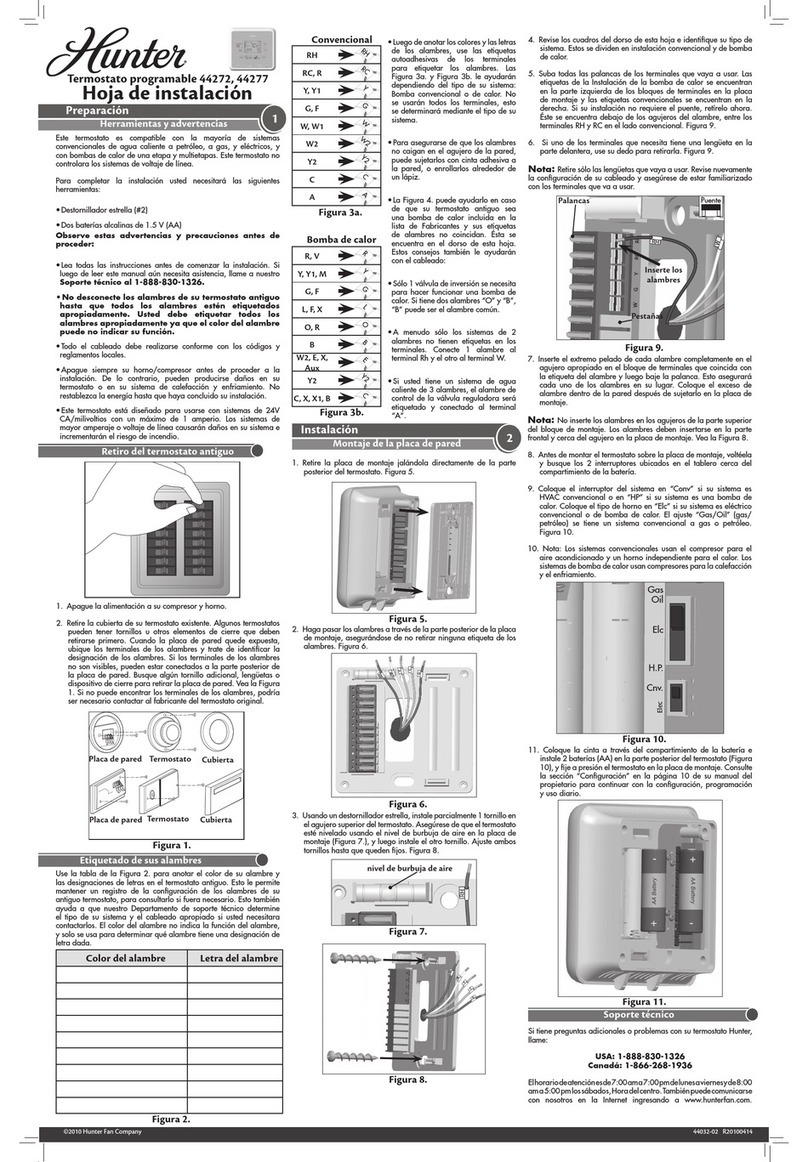
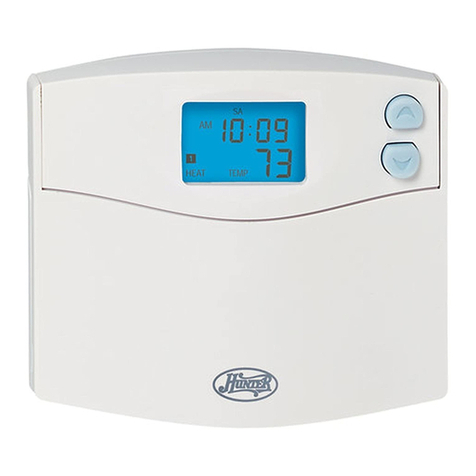
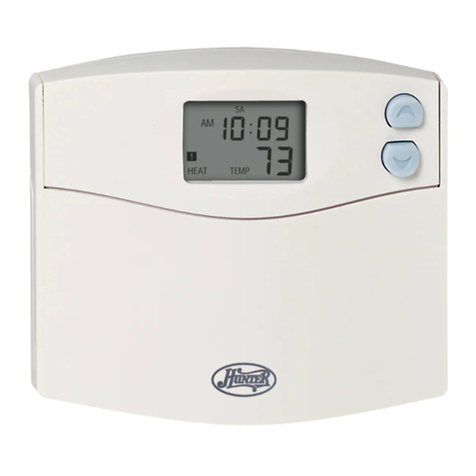
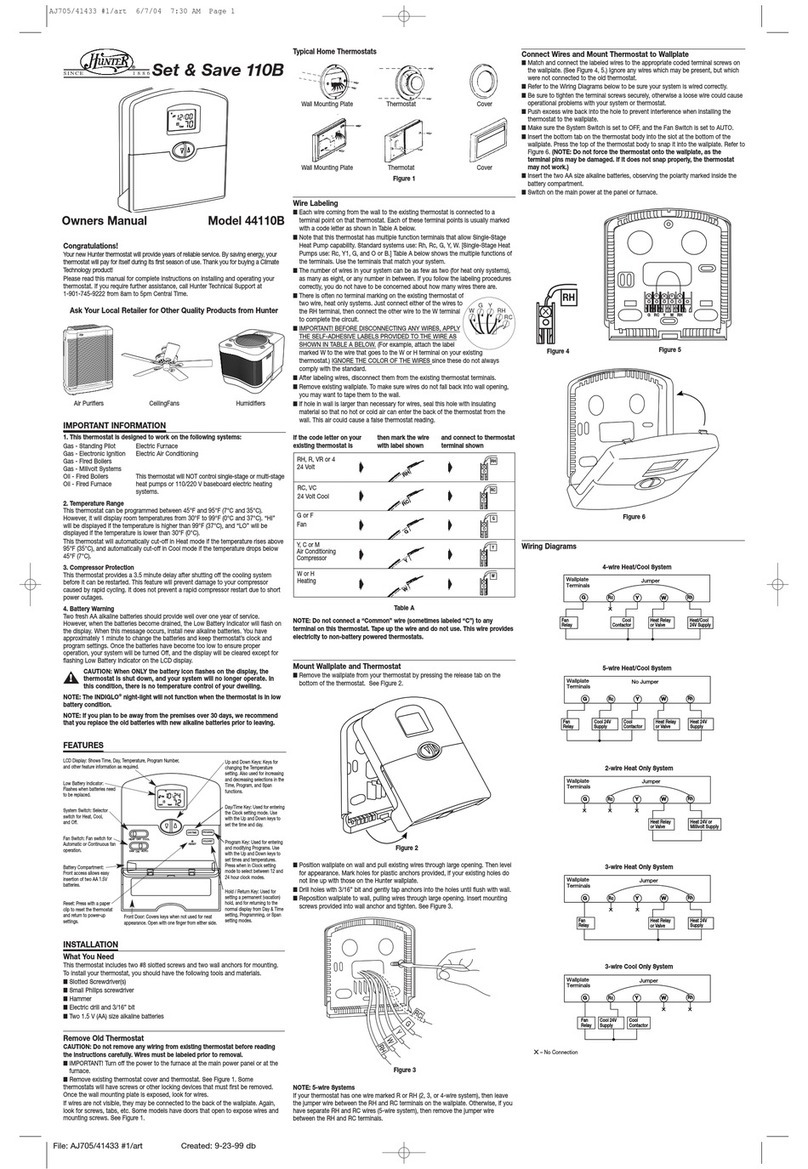
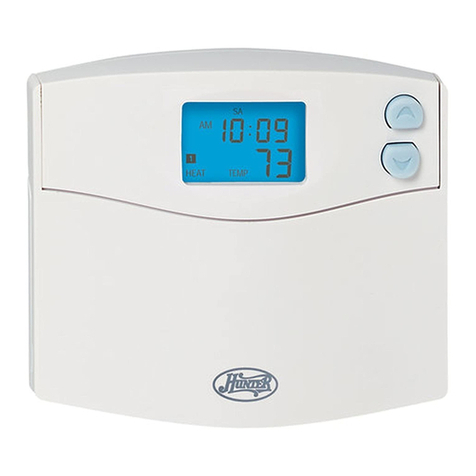
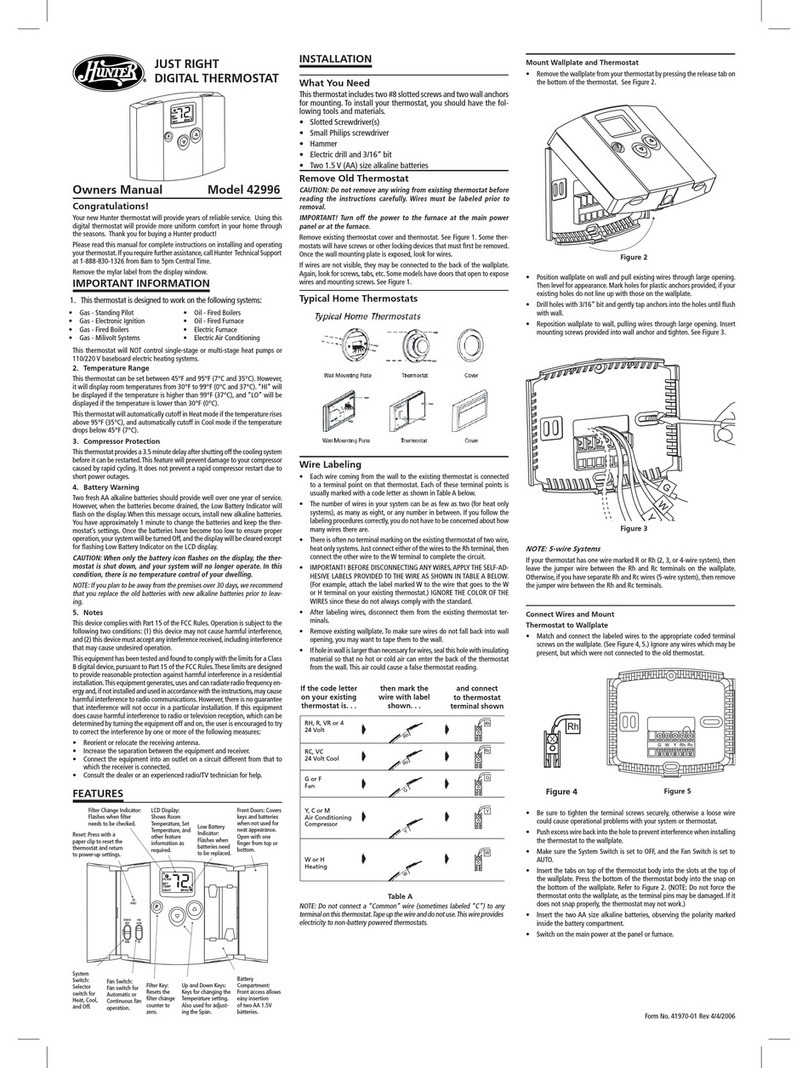
Hunter 44668 User manual

Gather all tools necessary to complete your installation
before removing the old thermostat.
To install your thermostat you should have the
following tools:
Slotted Screwdriver
Phillips Screw Driver
Electric Drill and 3/16” drill bit
Hammer
Four 1.5v (AA) size alkaline batteries
Unpack your new Hunter®thermostat and ensure all
components are present in the Accessory Pack. This
includes:
2 - #8 slotted screws
2 - wall anchors for mounting
1 - sheet of terminal labels
1 - jumper wire
1 - thermostat with mounting plate.
Before you Begin
44668 ThermosTaT
This guide will make installation and programming
your new thermostat simple and fast. In just a few
minutes, you can have the Comfort Saver with Room
Control installed, programmed and ready to go. Videos
showing each step of installation and programming
are available at www.hunterfan.com/comfortsaver. Of
course, if you have additional questions, please call
our help line at 1-888-830-1326 from 7:00 am to 7:00
pm Monday – Friday or 8:00 am to 5:00 pm (Central)
on Saturday. You may also contact us online at www.
hunterfan.com.
©2009 Hunter Fan Company 43078-01 • 12/18/08

How to unistall old tHermostat and install new Hunter tHermostat
44668 tHermostat
©2009 Hunter Fan Company 43091-01 • 03/20/2009
Note: Most thermostats are low voltage, and present
no threat to you during the uninstallation or installation
process. As a precaution though, turn off the power to
your Furnace by using the switch on the side or your
breaker box.
REMOVING YOUR OLD THERMOSTAT
1. Remove the cover from your old thermostat and set
it aside.
After removing the cover, you will see a series of wires
and terminal blocks. They may not necessarily look
like the ones in the image, but they should be similar.
These wires will have to be removed from the terminal
blocks to remove the thermostat.
Note: It is important to remember that these wires
are color coded and have terminal designations on
the thermostat. These two things are not necessarily
related. When removing the wires, use the terminal
designation, not wire color to match them with the
provided labels.
2.Remove the wires one at a time and label them
with the labels provided with the Accessory Kit. For
example: When removing the “G” terminal, label it
with the “G” label.
Note: When labeling the “R” or “RH” terminal, be sure
to use the “RC” label, not the RH label. You will only
use the “RH” label if you have a “5 wire” system.
Consult your wiring diagram for “5 wire” systems.
3. Group the wires together in order to remove the
sub-base of the exhisting thermostat.
4. Loosen and remove the screws from the sub-base
to remove it from the wall.
5. Not all thermostats are equipped with a mounting
base like the rst picture on the next page. If yours
does, remove it by loosening the screws and
detaching it from the wall.
1

How to unistall old tHermostat and install new Hunter tHermostat
44668 tHermostat
©2009 Hunter Fan Company 43091-01 • 03/20/2009
Note: Make sure to bend your wires to one side so
you do not loose them in the wall.
4. Next, drill the holes in the wall using the marks you
made.
5. Insert the wall anchors and tap them into place
using the heel of your screwdriver or a hammer.
6. To mount the base, bring the wires through the
square hole in the base, and line up the wall
anchors with the slots in the base of the thermostat.
1. Remove the base from the Hunter thermostat by
pushing the button on the bottom and pulling both
pieces apart. Set the body of the thermostat aside.
2. To install the thermostat base, insert the wires
through the square hole in the back of the base.
Eyeball the base to the point it appears level. It does
not have to be exact.
3. Mark the place for the holes where the screws will
go.
INSTALLING YOUR
NEW HUNTER THERMOSTAT
2
7. Insert the screws and tighten with a phillips
head screw driver. Before tightening the screws
completely, ensure the thermostat base looks level
and rmly tighten the base to the wall.
Warning: Do not over tighten the screws into the wall
anchors.
8. For your convenience, we have included a red
jumper wire in the Accessory Pack. If your system
has “5 wires”, you will not need this jumper. If your
system has “4 wires”, as in this example, you will
need to install the jumper wire into the RH and RC1
terminals. Loosen, but do not remove, the terminal
screws and insert the jumper wire. Securely tighten
the screws of both terminals.

How to unistall old tHermostat and install new Hunter tHermostat
44668 tHermostat
©2009 Hunter Fan Company 43091-01 • 03/20/2009
3
Next you will need to insert the rest of the wires into
the terminals with the appropriately marked wires:
The “RC” labelled wire will go into the “RC” terminal.
Tighten the screw securely.
9. You are now ready to install the body of the the
thermostat onto the base. Place the top of the
thermostat onto the top tabs of the mounting base
and snap into place.The “Y/O” labelled wire will go into the “Y/O”
terminal. Tighten the screw securely.
The “W/B” labelled wire will go into the “W/B”
terminal. Tighten the screw securely.
The “G” labelled wire will go into the “G” terminal.
Tighten the screw securely.

How to Program
44668 tHermostat
©2009 Hunter Fan Company 43092-01 • 03/20/2009
1
We are now ready to program the Hunter thermostat
and start to save.
Open the door to the thermostat and open the battery
door on the front of the thermostat. The thermostat will
operate for well over a year on 2 AA batteries.
After the batteries have been installed, you will notice
the display will become functional. It will display a day
of the week, temperature, time of day, and several
other features to be discussed later.
The rst step in the process is to set the current time
and day of the week. The thermostat will probably not
be showing the correct time or day of the week.
To set these features:
1. Push the day/time button, at which time the hour will
start to ash.
2. Push the or button until the time
reaches the current hour.
3. Push the day/time button again, and now the minutes
will be ashing. Punch the or button
until you reach the correct minutes setting. You have
now set the correct time of day.
4. Punch the day/time button again and you will notice
the current day starts to ash. Punch the or
buttons until you reach the current day of the
week.
5. Again, push the day/time button to set the current time
and day in the thermostat.
SETTING CURRENT TIME AND DAY
SETTING WEEKDAY/WEEKEND
PROGRAMMING
Your thermostat comes pre-programmed from the
factory with numerous settings. One of these is
weekday/weekend programming. This is the most
common programming format that is used.
All ve working days are the same, and Saturday
and Sunday, the days of the week we are off, are the
same.
Each day has four program periods per day available.
Period one is when you get up in the morning. Period
two is when you leave for work. Period three is when
you arrive home and will be home for the evening, and
period four is the time during which you sleep. These
programs are very easy to set. Here’s how:

How to Program
44668 tHermostat
©2009 Hunter Fan Company 43092-01 • 03/20/2009
2
SETTING INDIVIDUAL DAY
PROGRAMMING
Your Hunter thermostat comes with a couple of other
programming options, one of which is individual day
programming. If you punch the program button to enter
programming mode, you can then press prog/day to
change to weekends, again to change to Monday,
Tuesday, and so forth. Each one of these days can be
programmed individually to better suite your lifestyle.
SETTING EVERYDAY PROGRAMMING
Another tremendous feature, is the ability to set all
seven days of the week to the same 4 programming
periods. If you are home most of the day, this can be a
tremendous benet over the other programs.
1. Push the program button and you will see period one
ash on the display, the current day will change to
weekdays, and the hour will be ashing.
2. If 6:30 is not the time you wish to set your “wake”
time to, the use the or to adjust the
hour.
3. Press the program button again and use the or
` buttons to adjust your minutes.
4. Punch the program button again to set the
temperature. Use the or to adjust this
as well.
You’ve now set period one to be the same for all ve
working days. You can now press the program button
again and you are ready to set period two, which is the
time of day which you are gone.
5. Program two is set for 10:00 am. If you don’t like
that time, you can change it by using the or
buttons.
6. Press program to go to temperature. Use the or
buttons to change the temperature if needed.
Bonus: This is where you can maximize your energy
saving benets by setting your temperature low in the
winter and higher in the summer.
You have now programmed period two for the time
when you are away. Period three, the time in which
you are home and four, the time in which you sleep,
will be set that same way as programs one and two.
Press prog/day to enter into weekend mode to set all four
periods for Saturday and Sunday.
Bonus: Set period four, your sleep period, for a couple
of degrees cooler in the winter and warmer in the
summer for additional energy savings.

How to Program
44668 tHermostat
©2009 Hunter Fan Company 43092-01 • 03/20/2009
3
Press the program button to enter programming mode,
then punch the prog/day button nine times to reach
everyday mode.
Note: Remember, your thermostat comes pre-
programmed. You can install it, set the time and
day, and begin saving without having to change the
programs.
SETTING HOME TODAY AND HOLD
Here we will discuss a couple other of the most
commonly used features on your Hunter thermostat.
The rst being Hunter’s patented ”Home Today”
feature. This allows you to temporarily reprogram the
thermostat for the day, to your set comfort temperature
until you go to bed at night, where it will change back
to your normal programming.
Simply press the “ home today” button, and your
comfort temperature is set for the day.
Another convenient feature is our temporary
temperature override. This allows you to change the
temperature until the next programming period.
Press and hold the or buttons for a few
seconds until the temperature blinks, then set your
desired temperature. The temperature will stay set
until your next scheduled program period.
One of the coolest features of the thermostat is the
programmed hold feature. This allows you to maintain
a constant temperature, for the time you are away for
a prolonged period of time.
To activate this feature, press the hold button
and use the or buttons to change the
temperature. This hold your new set temperature until
you decide to change back to your programs by hitting
the ret/clear button.

How to Program
44668 tHermostat
©2009 Hunter Fan Company 43093-01 • 03/20/2009
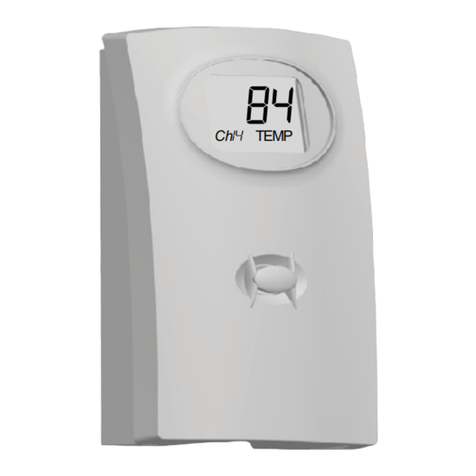
1
SETTING-UP
THE REMOTE SENSOR
Also included in the thermostat pack you purchased
from Sam’s Club, is our unique remote sensing device.
This device provides a couple of convenient functions
to work in conjunction with the programmable
thermostat.
The rst of these functions is an outdoor temperature
sensing function. You can mount this sensor outside
your home, and with the touch of a button, determine
what the temperature is outside to help you plan your
day or dress.
The second feature the sensor provides to the
thermostat system, is to be installed in a specic room
in your house where you want to precisely control the
temperature, during a given period of the day.
Example: During your sleep time, you may want the
temperature in your bedroom to drive the thermostats
operation and not a remote location in the house
where the thermostat is mounted.
Once you have placed the batteries in the remote
sensor, it will indicate on the screen which channel it is
set to. Channel 15 is default in most cases.
To program the thermostat to receive the transmission
for the remote sensor, follow these steps:
1. Press the option button eight times to get to the
channel screen. At this point, punch the or
button to reach the channel number on the
sensor. Then hit the ret/clear button to set the channel.
Note: It is important that you wait a couple of minutes
before proceeding with the sensor programming. This
time is necessary to allow the thermostat to sync with
the remote sensor. Consult your Owner’s Manual
for setting the location of the remote sensor in the
“Remote Sensor Channel Set-Up” section.
If the sensor is set to outside, you can read the outside
temperature by pressing the “ Sensor“ button until
you see the outside icon “ “ on the screen.
To control the thermostat by using the remote sensor
in another room, you must have the sensor set to
channel . Press the sensor button eight times
again to reach the channel screen. Once there, press
the sensor button until is displayed. This sets the
channel the sensor is on to sensor 1. Ensure the
channel number matches that of the sensor.
PROGRAMMING
THE REMOTE SENSOR
Remember, we are setting the sensor to control a
specic room during a specic time of day. We now
have to tell the thermostat the sensor is in control.
Press the program button until you reach the program
period you want the sensor to control. Now press the
“ Sensor“ button until you see the “ ” icon on the
screen. This tells us the sensor is in control of this
specic program. You can repeat this process for any
program period or program set you choose.
Congratulations, you have now completed the
installation and programming of your Hunter remote
sensor. Keep in mind, you do not have to use the
remote sensor to enjoy the energy saving benets of
this programmable thermostat. If you do not wish to
use the sensor, simply install the thermostat, set the
time and date, and enjoy the savings.
Table of contents
Other Hunter Thermostat manuals

Hunter
Hunter 44660 User guide

Hunter
Hunter 44273 User manual

Hunter
Hunter 42999 User manual

Hunter
Hunter Energy Monitor AC 42205 User manual

Hunter
Hunter 44272 Assembly instructions

Hunter
Hunter 40135 User manual

Hunter
Hunter 44260 User manual

Hunter
Hunter 44155C User manual

Hunter
Hunter 44300 User manual

Hunter
Hunter F42213 User manual

Hunter
Hunter 44259 User manual

Hunter
Hunter 42999 44050S User manual

Hunter
Hunter 44100 User manual

Hunter
Hunter 40170 User manual

Hunter
Hunter 40120 User manual

Hunter
Hunter 44008-01 User manual

Hunter
Hunter SET & SAVE 47110A User manual

Hunter
Hunter 44360 Set & $ave User manual

Hunter
Hunter HUNTER 42203 User manual

Hunter
Hunter 42122 User guide