MoniMax7600I Installation Manual
5
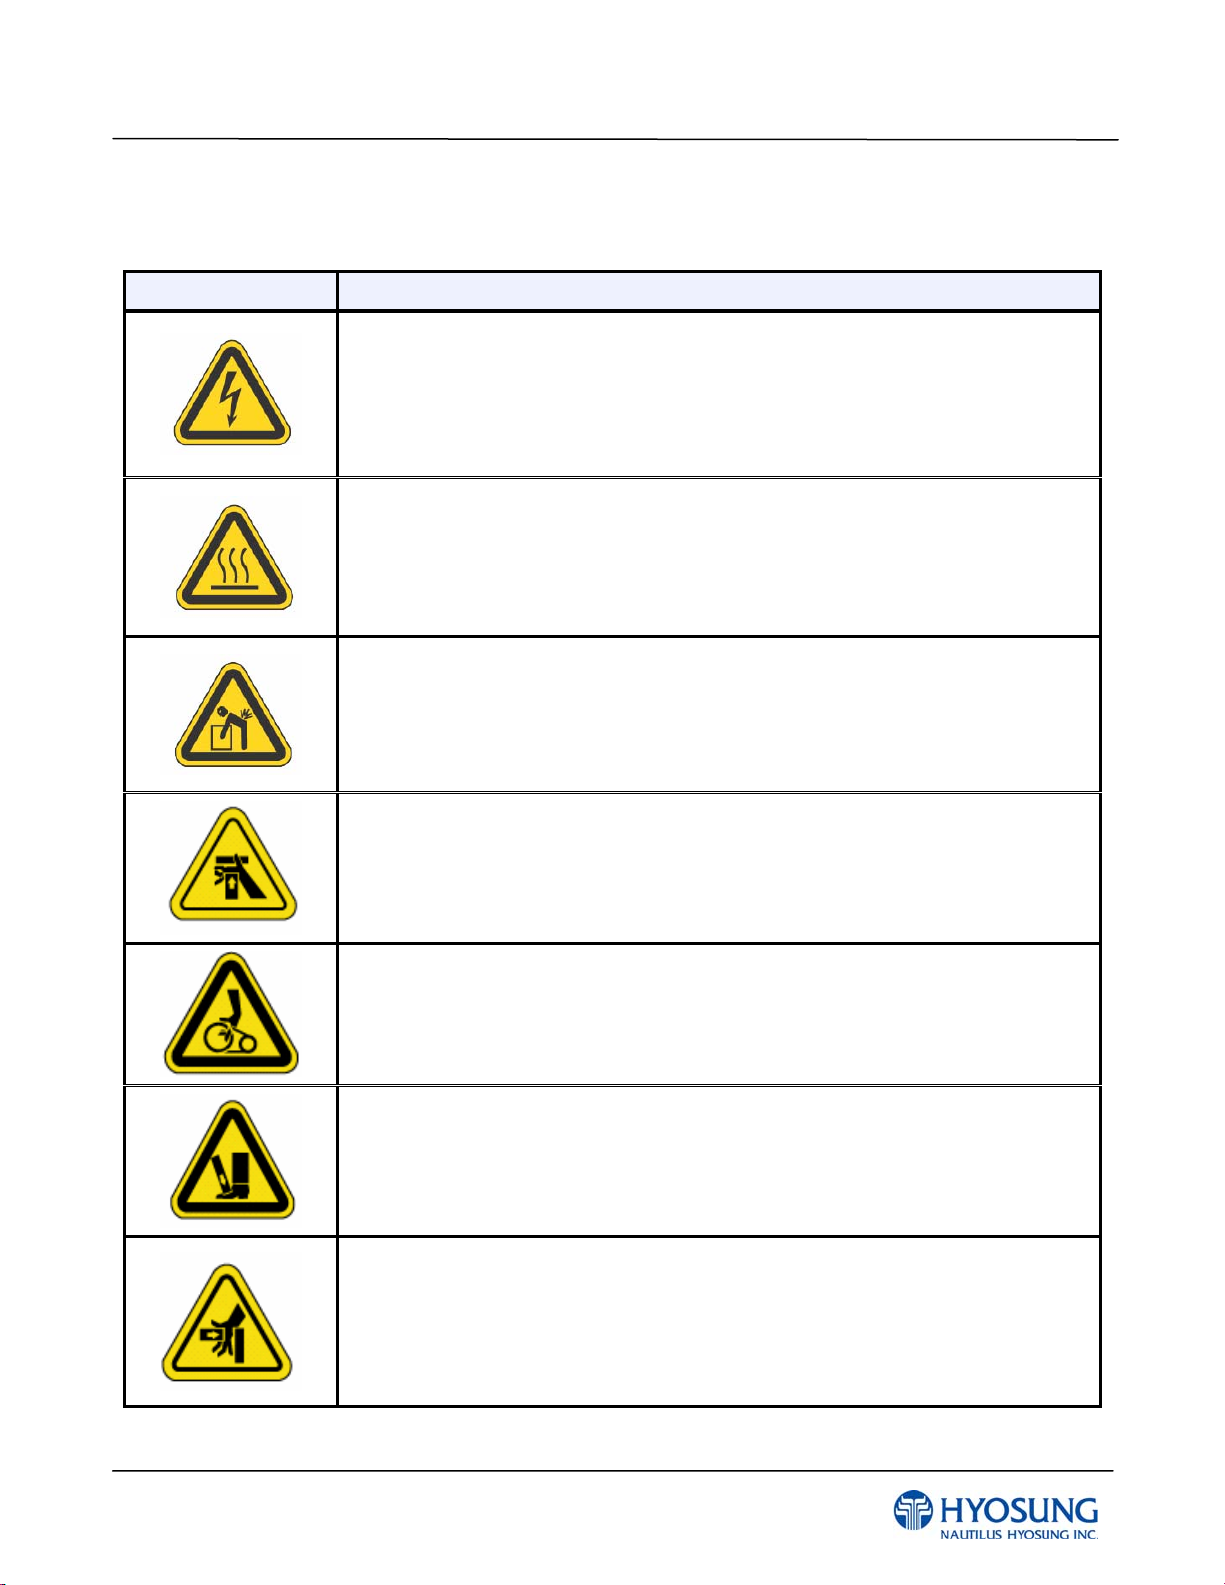
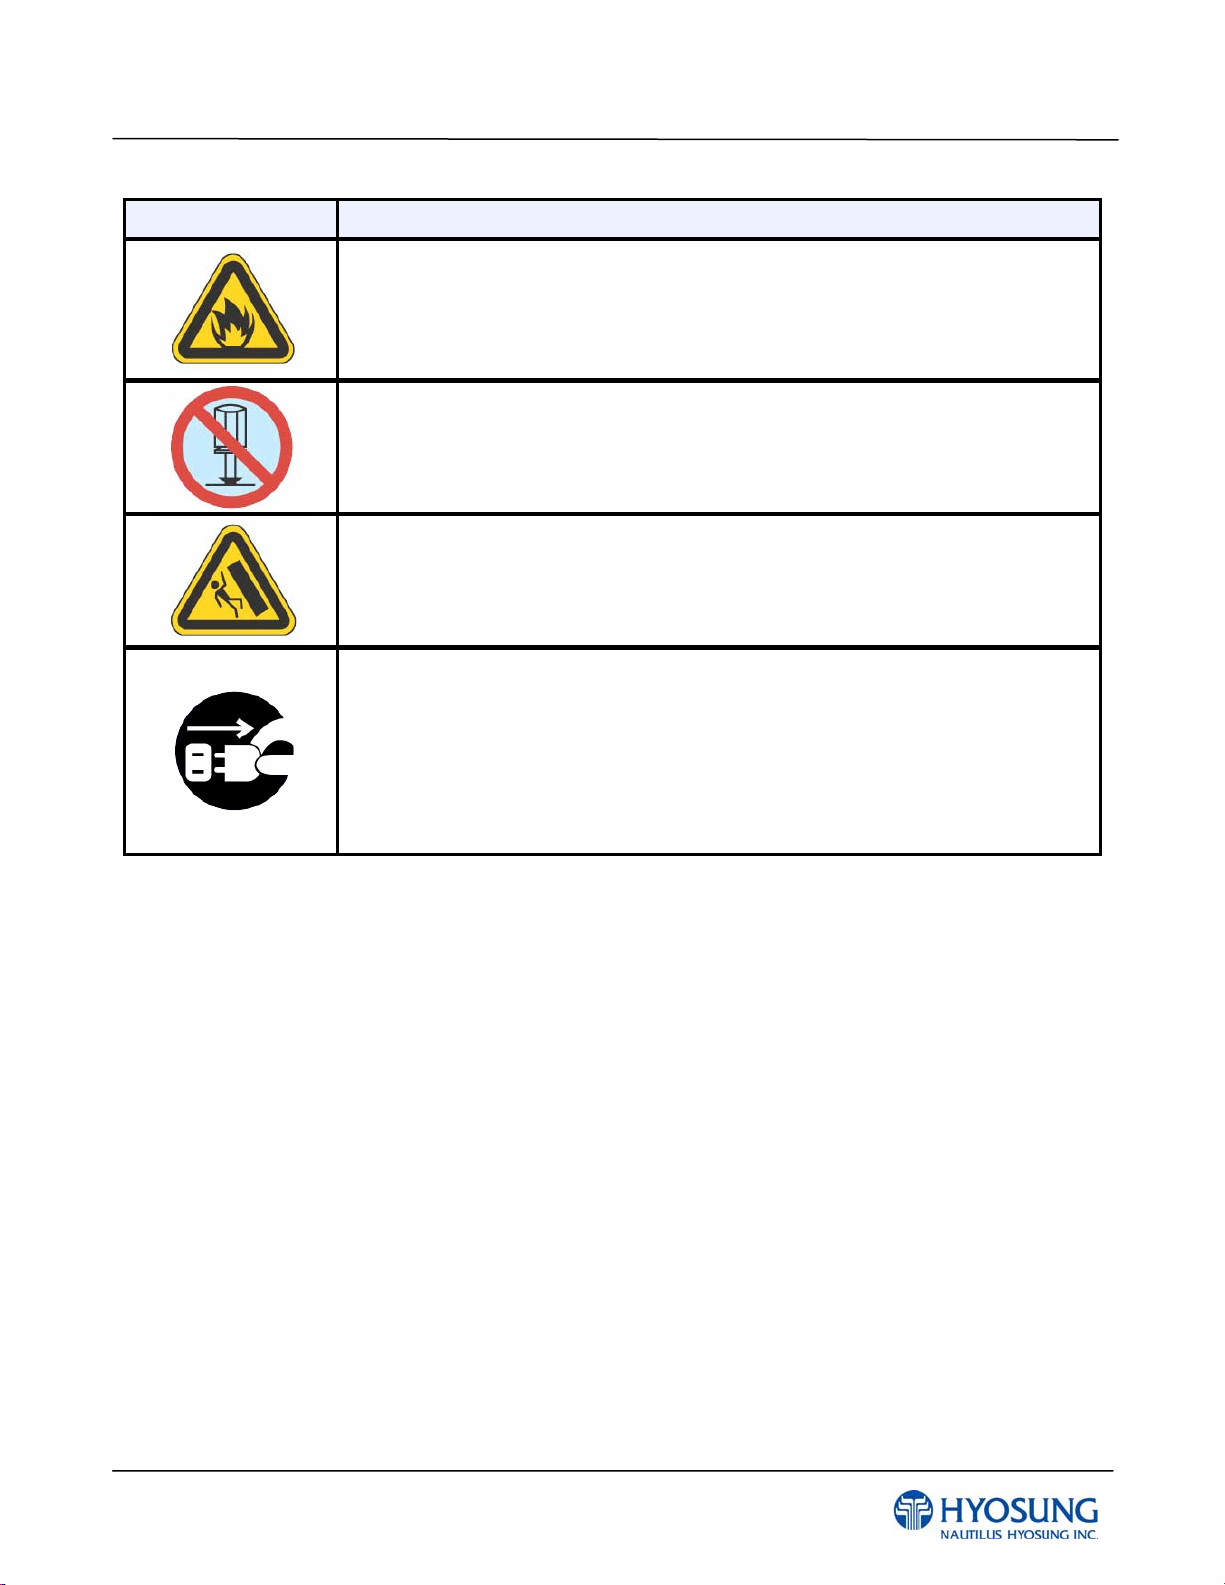
Warning Signs
Common Precautions for Safety
Precautions outlined this manual provide information on safe and proper
handling of the product. Non-compliance of the precautions may result
in injury or damage to the product.
This precaution symbol with sample term tells you safety warnings during
equipment handlings.
Please read the following instructions before operating equipment.
zOperate equipment in the order outlined in this manual.
zFollow precautions indicated in this manual, as well as the equipment itself.
Failure to properly address these precautions may lead to injury or damage to
the product.
zAvoid operations not addressed in this manual.
zIf you cannot remedy system problems using the methods outlined in this manual,
please refer to contact information listed in the manual.
zAny change or modifications in construction of this device which are not expressly approved
by the party responsible for compliance could void the user’s authority to operate the equipment.
NOTE: This equipment has been tested and found to comply with the limits for a Class A digital
device, pursuant to part 15 of the FCC Rules. These limits are designed to provide reasonable
protection against harmful interference when the equipment is operated in a commercial
environment. This equipment generates, uses, and can radiate radio frequency energy and, if not
installed and used in accordance with the instruction manual, may cause harmful interference to
radio communications. Operation of this equipment in a residential area is likely to cause harmful
interference in which case the user will be required to correct the interference at his own expense.