WHAT YOU NEED
WORKING 2.4 GHz
WIFI CONNECTION
(NAME & PASSWORD)
1SMARTPHONE2HYPERSMART
APP & ACCOUNT
3LAMP OR FIXTURE
WITH E26 BASE
4
HyperSmart
INSTALLATION MANUAL
THIS MANUAL IS DESIGNED FOR:
• HYPERSMART BULB
MODEL# HYPERSMART-A7LED
• HYPERSMART OMNICOLOR BULB
MODEL# HYPERSMART-A7RGB
HYPER
SMART
INSTALLATION NOTES
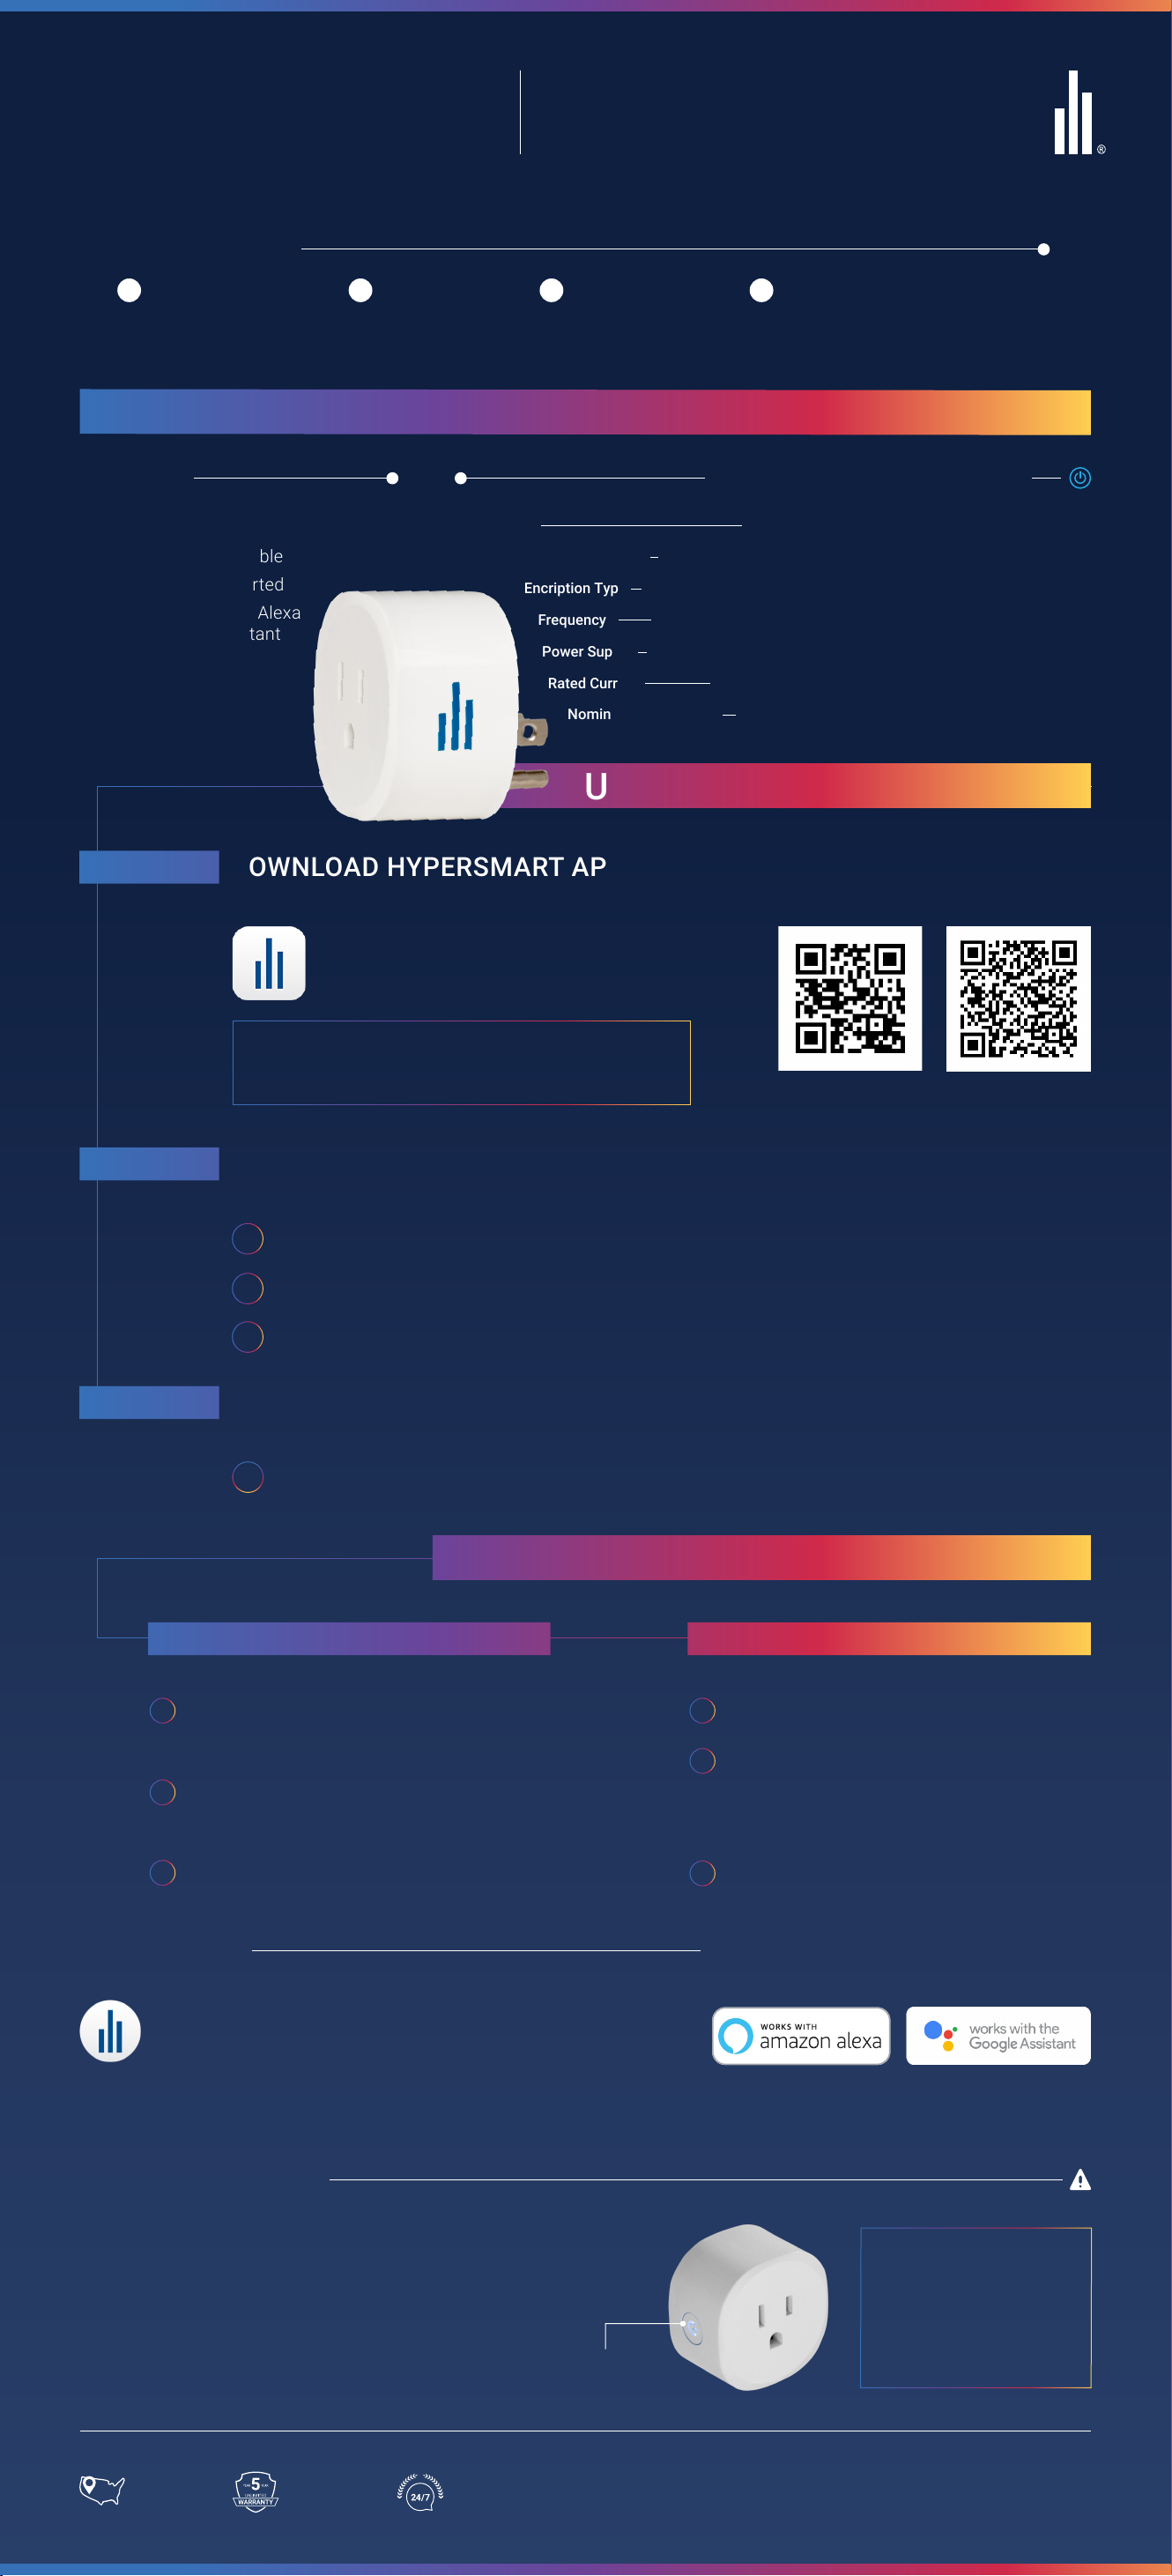
FEATURES
• Schedulable
• Voice Control With
Amazon Alexa &
The Google Assistant
• Remote Access by the
HyperSmart App
• Set the Mood! Control by
Room and Locations
Search by name or scan the QR code
below to download the app on your
Smartphone.
NOTE
Easily find the HyperSmart App in AppStore or Google
PlayStore with keywords “HyperSmart” or “Hyperikon”. IOS ANDROID
Register with your mobile number or email. A verification code will be sent to you
for confirmation.
1 Create account by enterng your
Mobile Number or Email depending
on your preference.
2 Select “Continue” to receive a
verification code at the number or
email entered.
2 Select “Add Device” or “+”, and then
“HyperSmart Lighting” Category.
1 Screw in the light bulb, ensure you
have access to the ON/OFF switch.
3 Type in the verification code within
60 seconds to set your account
password.
4 Select “Done” to enjoy a HyperSmart
life!
THE HYPERSMART BULB
GET CONNECTED
STEP 2 REGISTER AN ACCOUNT
STEP 1 DOWNLOAD HYPERSMART APP
STEP 3 ADD A DEVICE
L
N
HYPERSMART
BULB
ON-OFF
3 TIMES
WARNING: Turn the power off before installation! Make
sure the bulb is within the WIFI network reach to ensure a
successful connection between the bulb and the router.
NOTE
Make sure the device and your smartphone are
on the same network.
CONNECT TO WIFI
WARNING: The setup process includes a blinking
light for a short period of time. if the light should
cause discomfort, we recommend placing a cover
over the light bulb until successfully connected.
Please Confirm that your mobile device is connected to the 2.4 GHz WiFi.
There are two modes for WiFi connection:
1. EZ Mode (default)
2. AP Mode
When connecting the smart bulb for the first time, when connecting the smart bulb for the first time, the
light should blink during the connection.
EZ MODE AP MODE
1 When in configuration AP mode, the light will
start blinking slowly.
2 Confirm mobile is connected to 2.4 Ghz WiFi,
enter the password when prompted, follow the
steps and select the device AP name
(HyperSmart-XXXX) in your phone’s Wifi
network options.
3 Wait for the configuration to complete, this
should take no more than 30 seconds.
1 To initiate the EZ mode, turn power on-and-off 3
times (on-off, on-off, on-off, on). At this point the
bulb should be blinking rapidly.
2 Click “Confirm Light Blinks Rapidly”. App will
automatically recognize the WiFi through the
mobile device.
3 Check that 2.4 Ghz network is connected and
enter WiFi password when prompted. ”Confirm”
when done.
DEVICE CONTROL
• Control your device remotely through the app!
• Adjust the brightness of the device by sliding
your finger on the adjustment bar.
• Set the mood with the color wheel and preset
Scenes (OmniColor Model).
• Multiple Schedules
• Customizable Device Naming
• Device Sharing
• Device Grouping (same model only, in App)
• OTA Upgrade
COMMON FUNCTIONS SUPPORTS
COMPATIBILITY HyperSmart is compatible with voice assistants
Amazon Alexa and The Google Assistant.
To Connect to Voice Assistants, make sure to first
enable the HyperSmart Skill or Action separately.
Amazon, Alexa and all related logos are trademarks of Amazon.com, Inc. or its affiliates. Google is a trademark of Google LLC
1 Open the HyperSmart App.
2 Click on the icon in the upper right corner
and then tap “Remove Device.”
3 When the device is removed successfully,
the LED indicator will start to blink rapidly.
1 In the App, go to the Bulb you want to share
and select the “• • •” for more settings. Then
select “Share Devices”.
2 Add the account you want to share with.
(NOTE: Only you will be able to share devices
with others.)
REMOVING THE DEVICE SHARING THE DEVICE
After pairing, select the device to enter “More” at the upper
right corner and tap “Restore Manufacturer Defaults” to
restore factory setting and the LED indicator will flash.
NOTE
Removing the device will clear the WiFi LED Bulb’s
memory which means erasing all information about
the WiFi network and configuration.
RESET TO FACTORY SETTINGS
SAFETY INSTRUCTIONS
Turn power off before inspection, installation or removal. Suitable for damp
locations but not where exposed to water or weather. This device is not
intended for use with emergency exit fixtures or emergency exit lights.
WARNING: Risk of electric shock. Disconnect the main
power at the fuse or circuit breaker before installing or
servicing the fixture.
Still experiencing difficulties? Give our live
support a call and we will walk you through this!
+1-888-846-4973
ww.hyperikon.com
PRODUCT
SUPPORT
BASED IN
THE USA
5 YEAR
UNLIMITED
WARRANTY
SPECS
Connection WiFi
WiFi Frequency 2.4 GHz - 2.48 GHz
WiFi to Device Range 229 ft Outdoor; 98 ft Indoor
Power Supply AC 120 - 240 V, 50/60 Hz
Stand By Power <1.5 W
Rate Power 7 W
Brightness Max. 600 Lm