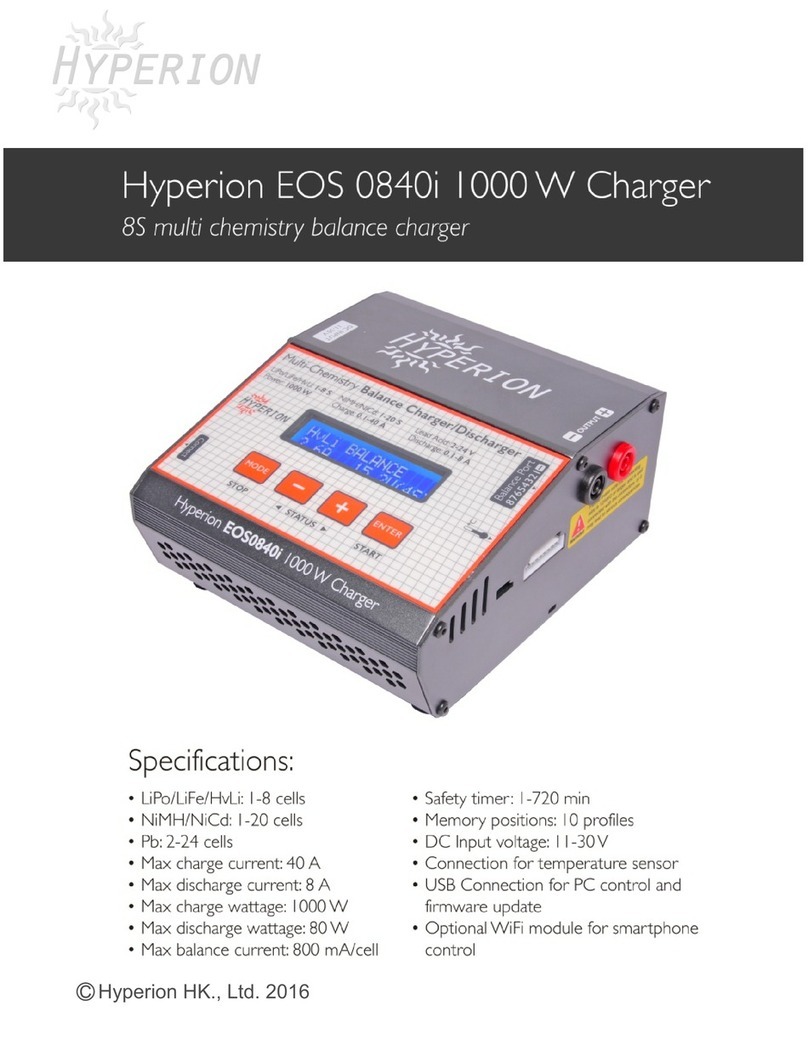
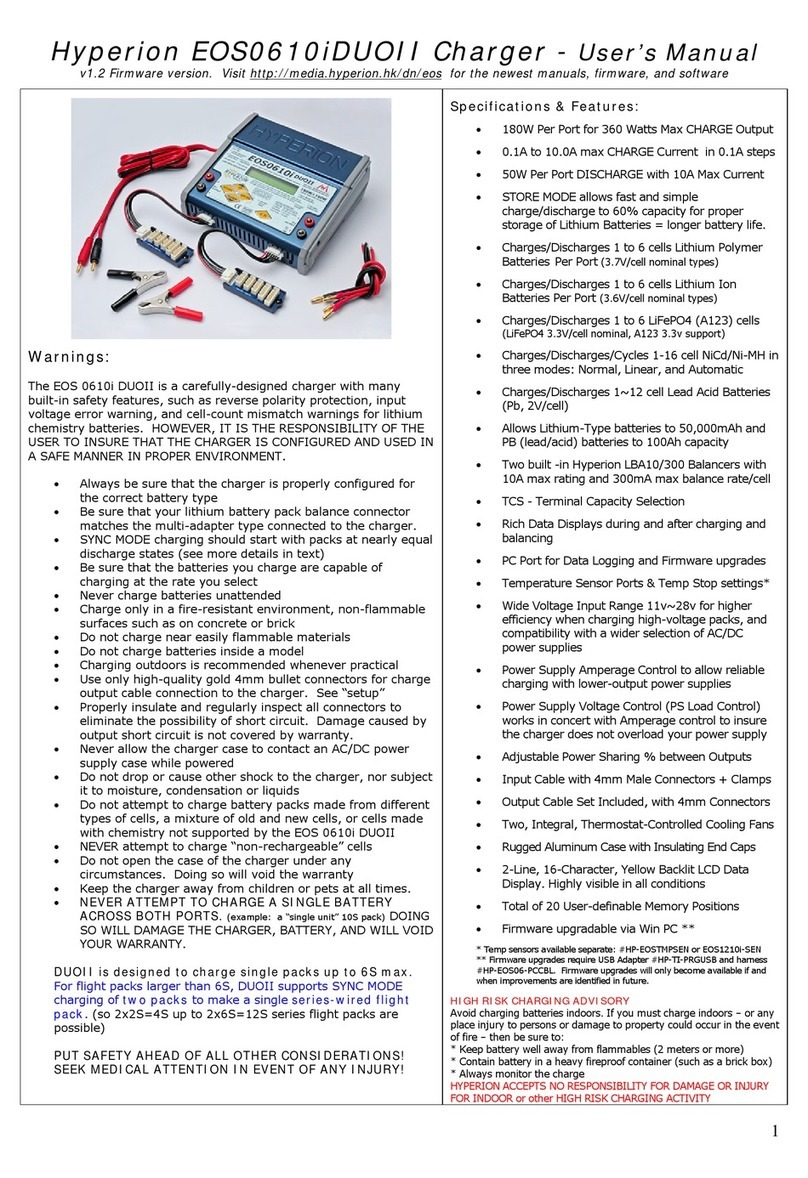
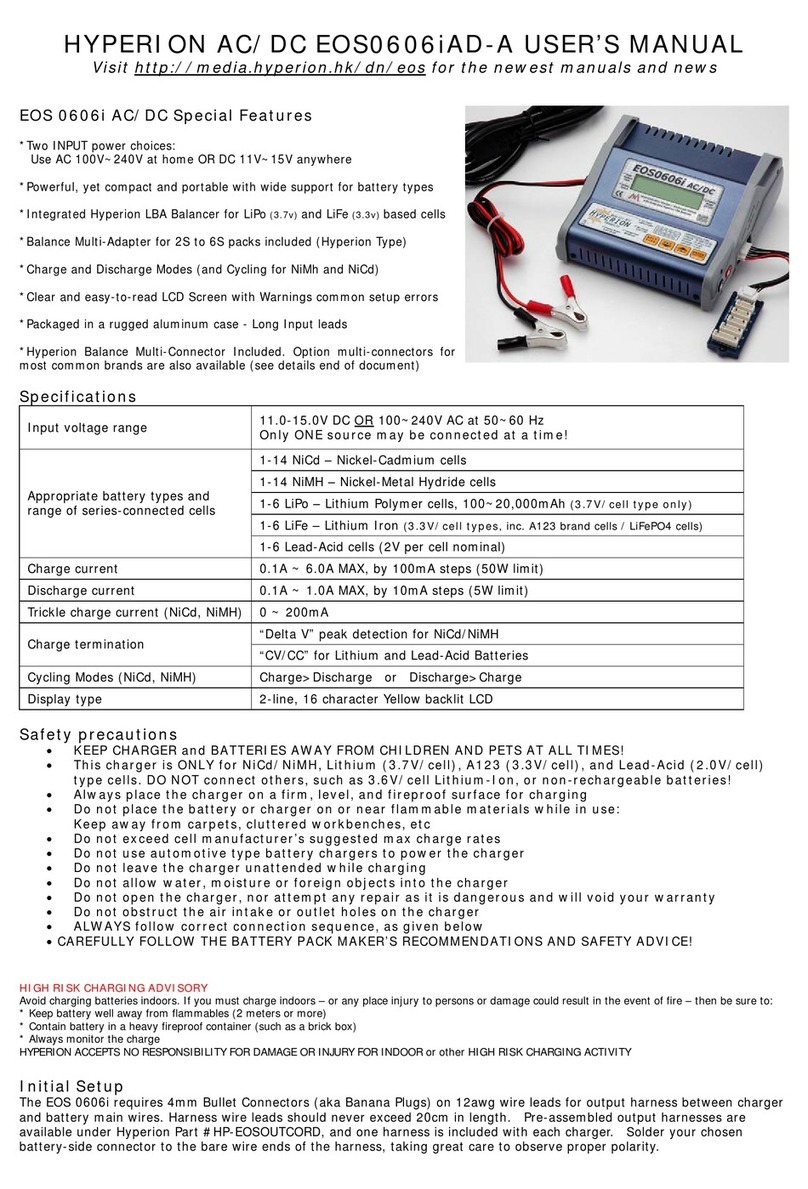
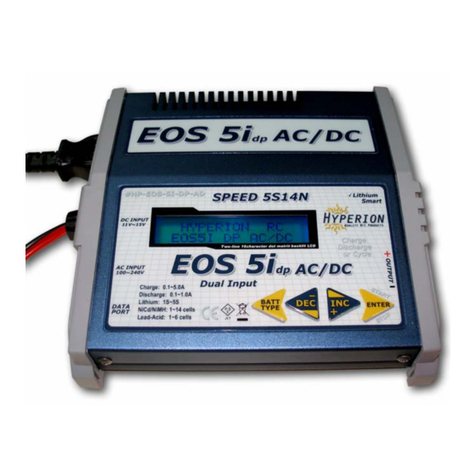
Hyperion Sentry User manual

Hyperion Sentry Mini Charger & Discharger - User Manual REV.A
Hyperion chargers are carefully designed with many built-in safety features, such as reverse polarity protection,
thermal protection, input voltage error warning, and error messages. The Sentry also boasts a Automatic shut down
after 10 minutes in standby mode and buzzer. HOWEVER, IT’S THE RESPONSIBILITY OF THE USER TO ENSURE THAT
THE CHARGER/DISCHARGER IS CONFIGURED AND USED IN A SAFE MANNER IN PROPER ENVIRONMENT.
•Always be sure that the charger is properly configured for the correct battery type.
•Be SURE that your lithium battery pack balance connector matches the connector on the charger.
•Be sure that the batteries you charge are capable of charging at the current (A) rate you select
•Never charge batteries unattended
•Charge only in a fire-resistant environment, non-flammable surfaces such as on concrete or brick
•Do not charge near easily flammable materials
•Do not charge batteries inside a model
•Charging outdoors is strongly recommended
•Properly insulate and regularly inspect all connectors to eliminate the possibility of short circuit. Damage caused by
output short circuit is not covered by warranty.
•Never allow the charger case to contact an AC/DC power supply case while powered
•Do not drop or cause other shock to the charger, nor subject it to moisture, condensation or liquids
•Do not attempt to charge battery packs made from different types of cells, a mixture of old and new cells, or cells
made with chemistry not supported by the Sentry charger
•NEVER attempt to charge “non-rechargeable” cells
•Do not open the case of the charger under any circumstances. Doing so will void the warranty
•Keep the charger away from children or pets at all times.
•PUT SAFETY AHEAD OF ALL OTHER CONSIDERATIONS! HIGH RISK CHARGING ADVISORY
Avoid charging batteries indoors. If you must charge indoors, or any place injury or damage to property could occur in
the event of fire, then be sure to: * Keep battery well away from flammables (2 meters or more) * Contain battery in
a heavy firebox safe or LiPo protective bag.
HYPERION ACCEPTS NO RESPONSIBILITY FOR DAMAGE OR INJURY FOR INDOOR or other HIGH RISK CHARGING
ACTIVITY
Lithium Care
To maximize your investment in Lithium Battery packs, do the following:
After a day of flying, use DISCHARGE/ STORE Mode to achieve this. It is especially harmful to store lithium packs fully
charged, and should be avoided for more than a few hours at most.
* ALWAYS Store your packs at 60%~70% capacity. 3.7 ~3.8v
* NEVER discharge cells beyond 90% of capacity (plan for 80% max). <3.2~3.4v
* NEVER fully discharge lithium packs.
* STORE your packs in a cool, relatively dry location.
See https://hyperion-world.com/en/blog/view/post/a-guide-to-lithium-polymer-batteries for full details on best care
practices for your valuable Lipo batteries.
Features
• 2S ~ 6S Lithium Discharging Compatible: Up to 390 watt Discharging power for LiPo and HvLi
• No Parasitic mah Draw when idle HvLi/LiPo
• 2S ~6S Charger: 50 watts, or 2.0 Amps max (whichever is less)
• 2S ~ 8S Lithium Battery compatible with HvLi LiPo, Standard LiPo, Li-Ion and LiFe
• 4S ~ 8S Ni-Cd/MH batteries support
• Battery Checker Displays the total battery pack voltage and a percentage bar graph for estimated remaining
capacity.
• View screens for Minimum and Maximum cell voltages, and voltage difference between max and minimum cell.
• Convenient Balance and Discharge function.
• Clear display and easy-to-use menu.
• Discharger Powered from the battery pack you connect. No auxiliary batteries/power supply needed for device.
Screen Outline: Quick Guide
1. This highlighted area represents the Chemistry “Type” selected. Press the “Type” button to navigate to your proper
battery settings. You’ll have the option to select either LiPo, LiFe, HvLi, or NiMH Battery Types.
2. This highlighted area represents the “Cell”count of the Battery. When initially connected, the Sentry will sense the
Cell count and display the Series configuration, in this example it’s a “4S”battery. To display each cell voltage
individually, press the “Cell” button and the corresponding cell will be highlighted along with the individual cells
voltage.
3. This highlighted area represents the “Mode” selected. The Sentry will display four separate Modes while in use,
details for each mode are highlighted below;
“Store” mode = This will be displayed while the Sentry is Discharging the battery
“Balance” mode = This will be displayed while the Sentry is Balancing the cells, after Discharging.
“V Total” mode = This is the total voltage of the battery pack displayed.
“Max-Min” = This is the voltage-difference between the highest and lowest cells. The corresponding Max-Min cells
will be highlighted in the “Cell” area.
4. This highlighted area represents the relative Capacity % of the battery. A Graphical Chart display is also shown in
correspondence of the Capacity %.
5. This highlighted area when illuminated represents whether the Sentry is in “DisCharge”, or “Charge” mode.
Depending on whether you have the Sentry connected to a Power Supply, or connected to its Main Battery Xt60
Connector will determine which option is available to be displayed.

Three Connection-Sensing Options.
Depending on how you connect your battery to the Sentry will determine the available features. If the battery is not
connected properly, then options such as Charge or Discharge will not be available.
1. Voltage Checker Mode= By plugging in only the JST-XH balancer connector to the Sentry you can quickly access
Total Voltage, Max-Min voltages. Users may also navigate to each individual cell voltage via the “Cell” Button. The
Voltage percentage will also be displayed.
2. Discharge Mode= Plug both the Batteries Main XT-60 connector and the JST-XH balancer to the Sentry. At this
point the Sentry will sense the connection and make available the “Discharge” option when users try to select it.
Before entering the Discharge mode, make sure to select the Battery “Type”, and confirm the proper “Cell” count has
been detected. Once confirming that you have selected the proper battery settings, Press and hold the “Mode/Charge”
button for atleast three seconds.
The Sentry will then show “DisCharge” on the screen. Depending on the discharge state, either “Store” or “Balance”
will also be displayed.
Once complete discharging and balancing, the Sentry will turn off automatically within several minutes. There’s no
parasitic draw while connected to the Sentry.
Do note, if trying to discharge a battery under 3.78v per cell, the Sentry will automatically turn off when trying to
access this feature. This is a safety feature to ensure over-discharging does not occur.
3. Charger Mode=
Plug a 12~30V Power Supply to the XT60 Main Battery Port, then connect the Batteries JST-XH balancer connector to
the Sentry. At this point the Sentry will sense the connection and make available the “Charge” option when users try
to select it.
Before entering the Charge mode, make sure to select the Battery “Type”, and confirm the proper “Cell” count has
been detected. Once confirming that you have selected the proper battery settings press and hold the “Mode/Charge”
button for atleast three seconds.
The Sentry will then show “Charge” on the screen. Users are then able to control the charging rate by pressing the
“Cell/Rate” button. The screen will then display “0.5” amp, “1.5” amp, or “2.0” amp charging rate options.
Do note, If the Input Voltage of Power Supply and Total Voltage of the main Battery is too similar, then the Sentry
might get confused and not enter “Charge”mode. Make sure that your input voltage of the power supply and your
main battery differ by 0.5+/-volt or more. For example, a semi-discharged 3S LiPo at 12.0v might confuse the Sentry
and cause Error. This is due to the fact that most common power supplies operate at 12.0v, similar to a 3S LiPo. The
Total Voltage of the Battery and the Total Voltage of the Power Supply must have a slight voltage difference for the
Sentry to sense properly.
Also note, make sure the Sentry has selected the proper Battery TYPE, and Cell count before Charging or Discharging.
Improper failure to do so may result in fire or damage.

The Buttons:
1. “TYPE” Button = This button is used to select the Chemistry Type when checking voltages, Charging, or
Discharging. LiPo, LiFe, HvLi, or NiMH Battery Types are available.
2. “MODE / CHARGE” Button = This button is used to select the Mode of the battery. When selecting “V Total”
mode, this will show the Total voltage of the battery. When selecting the “Max-Min” mode, this will show the
maximum difference between the highest and lowest cell, it will also display those corresponding cells in the Cell count
area.
To enter the “Charge” or “Discharge” mode, make sure you have the batteries main XT60 connector, or Power supply
connected to the Sentry, and then the battery. Once you confirm the proper battery Type and Cell counts is selected,
press and hold down the “MODE / CHARGE” button for atleast three seconds. You will hear the Sentry beep, and then
either “Charge” or “DisCharge” will be displayed on the screen.
3. “CELL / RATE” Button = This button is used to view the individual cell voltages of a battery when checking
voltages. The corresponding cell number will be displayed i.e, “1S”, “2S”, “3S”…
Also, while in the “Charge” mode, the user may press the “CELL / RATE” Button to adjust the charging rate. The
options of 0.5amp, 1.5amp, and 2.0amp will be displayed when selected.
WARRANTY: HYPERION Chargers are guaranteed to be free from defects in materials and workmanship for a period of
one calendar year from date of purchase. Your selling dealer is your first point of contact for warranty issues. Return
postage costs are the responsibility of the user in all cases. You MUST submit a copy of original receipt with the
charger, and full description of the problem must also be included in the return package. Damage due to physical
shock (dropping on the floor, etc), connection errors due to unauthorized charging configurations, inappropriate power
supply [automotive battery charger, etc!], water, moisture, and humidity are specifically NOT covered by warranty. It
is well to carefully check your charger and consult your vendor before making a return, as problems in setup, cabling,
batteries, or power supply are much more common than defects in the
www.Hyperion-World.com Hyperion HK Ltd.
Table of contents
Other Hyperion Batteries Charger manuals

Hyperion
Hyperion EOS0606iAD-A User manual

Hyperion
Hyperion EOS 0840i User manual

Hyperion
Hyperion EOS 5i DP AC/DC User manual

Hyperion
Hyperion EOS0610IDUOII User manual

Hyperion
Hyperion EOS0606i-B User manual

Hyperion
Hyperion EOS 1210i User manual

Hyperion
Hyperion EOS0720iNET 3 User manual

Hyperion
Hyperion EOS Mounting instructions

Hyperion
Hyperion EOS 0606i AC/DC User manual

Hyperion
Hyperion EOS0606iAD-B User manual