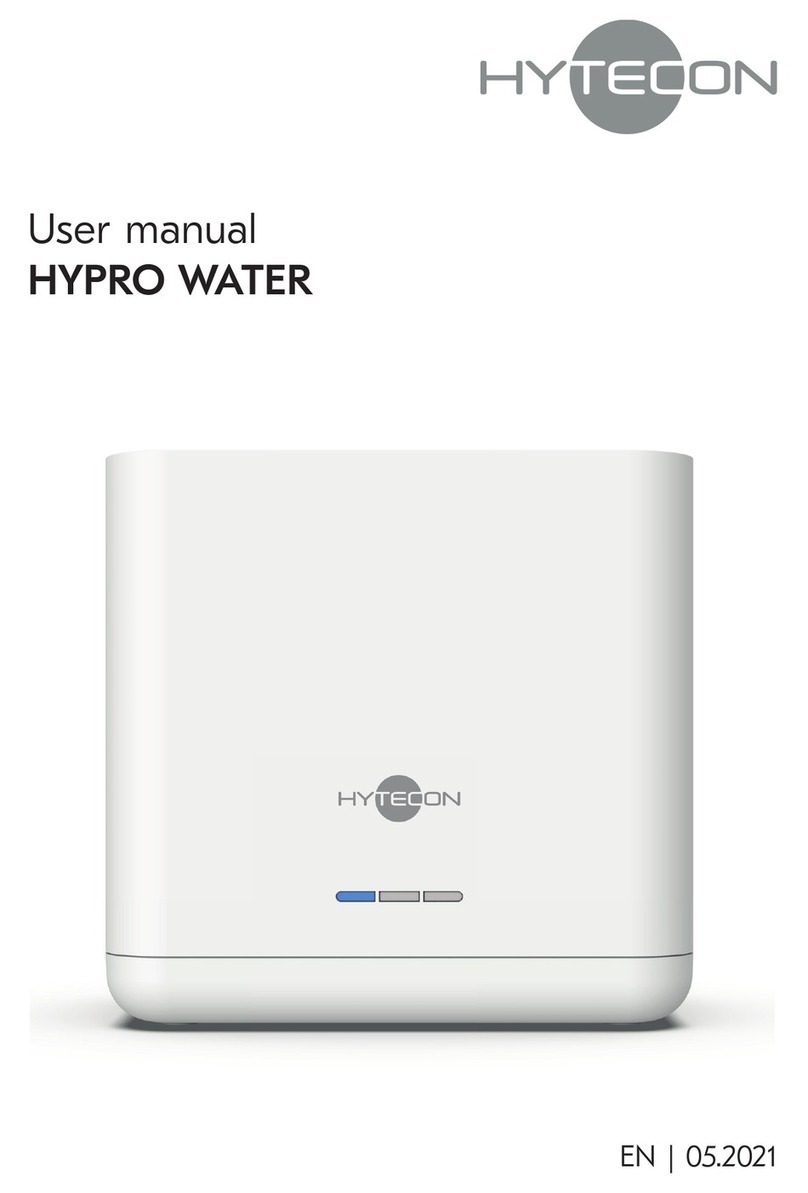
HYTECON HYPRO WATER User manual

User manual
HYPRO WATER
EN | 09.2020
This product may be covered by one or more of the following
U.S. patents: US10,377,644 B2.

HYPRO WATER – 09.2020
2
Document information
Safety information
DWARNING!
Information with the word WARNING warns
of a dangerous situation that can lead to
death or serious injuries.
DCAUTION!
Information with the word CAUTION warns
of a situation that can lead to minor or
moderate injuries.
DATTENTION!
Information with the word ATTENTION
warns of a situation that can lead to
damage to property or the environment.

3
HYPRO WATER – 09.2020 3
Table of contents
1. Safety information .............4
1.1 Intended use . . . . . . . . . . . 4
1.2 Users . . . . . . . . . . . . . . . 4
1.3 General safety information . . . . 5
2. Product information............ 7
2.1 Functional principle . . . . . . . . 7
2.2 Product overview . . . . . . . . . 7
2.3 Scope of supply . . . . . . . . . .9
2.4 Technical data . . . . . . . . . . 10
2.5 HYPRO app . . . . . . . . . . . 10
3. Assembly ....................11
3.1 Requirements applicable to
the installation site . . . . . . . . 11
3.2 Unpacking the device . . . . . . .12
3.3 Preparing for assembly . . . . . .12
3.4 Performing assembly . . . . . . .13
3.5 Completing assembly . . . . . . 20
4. Use ........................23
5. Cleaning ....................24
6. Maintenance.................25
6.1 Changing the filter . . . . . . . 25
6.2 Checks . . . . . . . . . . . . . 26
7. Trouble-shooting ............. 27
8. Disassembly .................29
9. Disposal. . . . . . . . . . . . . . . . . . . . . 30
9.1 Disposing of the packaging . . . 30
9.2 Disposing of used filters. . . . . 30
9.3 Disposing of the device . . . . . 30
10. Annex .......................31
10.1 Contact details for customer
service. . . . . . . . . . . . . . .31
10.2 Data protection . . . . . . . . . .31
10.3 NSF/ANSI . . . . . . . . . . . . .31
10.4 FCC/ISED Notes. . . . . . . . . 32
10.5 List of replacement parts . . . . 34
10.6 CE declaration of conformity . . 35
10.7 NSF performance data . . . . . 36

HYPRO WATER – 09.2020
4
1. Safety information
1.1 Intended use
The device is used for filtering and
disinfecting drinking water.
The device is suitable for private or minor
commercial use.
Assembly can take place in combination
with a 3-way water tap or an additional
water tap.
The device is only intended for use with
cold water.
➡“2.4 Technical data” (page10).
The flowing water must originate from a
public supply. Rainwater cisterns, ponds,
etc. are not suitable.
The device is not suitable for continuous
operation.
Use of the device is only permitted:
– After reading and observing this user
manual.
– In technically faultless, unmodified
condition.
– When using new original accessories.
– After correct assembly and checking.
– In enclosed spaces.
All other uses are deemed non-intended
use.
1.2 Users
Requirements applicable to users:
– Knowledge of this user manual.
– Experience of using mechanical tools.
Special requirements apply to the following
users:
– Children from 8 years.
– Persons with limited physical, sensory
or mental capabilities.
– Persons with a lack of experience and
knowledge.
These users may only use the device as
described in the chapter “Use”.
➡“4. Use” (page23).
Special requirements:
– Users are supervised.
– Users have received instructions on
safe use of the device.
– Users understand the dangers
associated with use of the device.
– Children must not play with the device.
– Children must not perform cleaning
and maintenance without supervision.

5
HYPRO WATER – 09.2020 5
1.3 General safety information
DWARNING!
Danger due to a disregard of the user
manual!
This user manual contains important
information for safe handling of the device.
Possible dangers are noted separately.
Failure to observe the information can lead
to injuries.
yRead the user manual through carefully.
yStore the user manual in an accessible
location.
yObserve the safety information in this
user manual.
yStore the film and other parts of the
packaging out of the reach of children.
yMake sure that assembly complies with
the local regulations and provisions.
The device is operated with electricity.
There is therefore a fundamental risk of an
electric shock.
yMake sure that the electrical
connection is secured with a ground
fault circuit interrupter (max. 30 mA).
yNever submerge the device in water or
other liquids.
yNever take hold of the mains plug with
wet hands.
yAlways hold the mains plug by the
hand grip intended.
yDo not pull on the mains cable.
yDo not transport the device by the
mains cable.
yDo not bend the cable.
yDo not pinch the cable.
yMake sure that the cable does not
come into contact with heat.
yMake sure that the cable does not
come into contact with sharp edges.
yMake sure that the cable does not
constitute a tripping hazard.
The device internally generates UV
radiation, which can cause damage if it
comes into direct contact with the eyes or
skin.
yNever open the housing.
yYou must not look into the UV LEDs.
Only check the function of the UV
LEDs indirectly via the status LEDs on
the device and the HYPRO app.
The device’s components (such as UV LEDs
or batteries) must be replaced only by the
manufacturer.

HYPRO WATER – 09.2020
6
Used hoses must not be reused.
Spent adsorption media will not be
regenerated and used.
In the following instances, use of the
device is prohibited:
– If the device or individual components
are damaged.
– In case of unauthorised modifications
or changes to the device.
– In case of device malfunctions.
The manufacturer shall accept no liability
for damages in the following cases:
– With a failure to observe this user
manual.
– With non-intended use.
– With incorrect handling.
– When using third-party accessories.
Made in Germany.
System and installation comply with state
and local laws and regulations.

7
HYPRO WATER – 09.2020 7
2. Product information
2.1 Functional principle
The device filters and disinfects tap water.
An active carbon filter removes harmful
substances. The UV light from the UV LEDs
destroys pathogens. The drinking water is
taken off:
– Via the third setting with the use of a
3-way water tap.
– Via the additional water tap.
The device disinfects itself regularly by
switching on the UV LEDs briefly.
The device cleans the water of:
– Bacteria, viruses and parasites
– Drug residues and hormones
– Pesticides and herbicides
– Heavy metals
– Chlorine, chloramine and
trihalomethanes
– Microplastics
– Volatile organic compounds
– Per- and polyfluoroalkyl substances
(e.g. PFOA and PFOS)
– Odorants and flavourings
“Dynamic Twist Technology”
With the HYPRO WATER “Dynamic Twist
Technology”, the UV light has a flow-
optimised effect on the tap water. The
water is optimally disinfected in this way.
2.2 Product overview
E
C
D
F
2.2 / 1
B
G
A
A Device cover
B Pressure point on the device cover
C Screw cap for the filter chamber
D Filter
E Shut-off valve
F Filter chamber in the device
G LED display

HYPRO WATER – 09.2020
8
H
I
K LJ
2.2 / 2
H Type plate
I Mains cable with plug
J Thread for mounting on the wall
bracket
K Water inlet
L Water outlet
G1
2.2 / 3
G2G3
The LED display signals the operating
statuses of the device to the user.
G1
LED lights up green:
The device is ready.
G1
LED lights up blue:
The device is disinfecting.
G2
The LED flashes yellow:
The device is ready for WLAN
connection.
G2
LED lights up yellow continuously:
The device is connected with the
WLAN.
G3
LED lights up or flashes red:
Fault or filter change.

9
HYPRO WATER – 09.2020 9
2.3 Scope of supply
C
I
A
K
B
L
D
J
F
G
H
M
N
P
O
E
2.3 / 1
A HYPRO WATER device
B Filter
C Wall bracket
D Angled piece (⁄")
E Angled piece (⁄")
F Reducer piece
G Connection piece (water tap ⁄")
H Connection piece (water tap ⁄")
I Water inlet hose (⁄")
J Water outlet hose (⁄")
K T-piece including shut-off valve
L 4 safety clips (⁄")
M 4safety clips (⁄")
N 4 screws for mounting on chipboard
O Knurled screw
P User manual

HYPRO WATER – 09.2020
10
2.4 Technical data
Connection voltage
110 - 240VAC/
41 W/
50 - 60Hz
Water throughput*≤3l/min
Water temperature min.5 °C/
max.30 °C
Ambient
temperature
min.5 °C/
max.35°C
Operating pressure min. 2bar/200kPa
max. 4bar/400kPa
Protection class IPx1
Width 249.5mm
Depth 161mm
Height 209.3mm
Net weight 4.6 kg
Weight with water 5.5kg
Filter capacity 2000l
Filter change 4months
WLAN WLAN802.11b/g/n
* Varies depending on the type of filter
used.
2.5 HYPRO app
It is necessary to download the HYPRO
app from an AppStore to connect the
device with a smartphone or tablet.
System requirements:
– Smartphone or tablet (Android version
5.0 or higher).
– Smartphone or tablet (iOS version 8.0
or higher).
Android iOS
You can find the app in the respective
AppStore under the name “HYPRO”.
The following information can be viewed
using the app:
– Water consumption
– Device status
– Filter status
– Error messages

11
HYPRO WATER – 09.2020 11
3. Assembly
3.1 Requirements applicable to the
installation site
– The installation site must be clean and
dry.
– A suitable socket must be available at
the installation site. The socket must be
set up by a qualified electrician. The
power connections must comply with
the local regulations. The mains power
supply must concur with the voltage
specifications on the type plate.
➡“2.4 Technical data” (page10).
– For assembly above the worktop, a
suitable cut-out must be available in or
behind the worktop through which the
mains cable and hoses are fed.
– If the wall bracket is used: Select the
installation site such that 10cm remain
clear below the device to enable
mounting on the wall bracket.
– Select the installation site such that
20cm remain clear above the device
to enable the filter change.
– If the device is used with the HYPRO
app: A WLAN connection to the
internet must be available at the
installation site.
– A 3-way water tap or an additional
water tap must be installed at the
installation site.
Examples:
3.1 / 1
yObserve the documentation for your
water tap.
Documentation for the water tap.

HYPRO WATER – 09.2020
12
3.2 Unpacking the device
DATTENTION!
Danger of damage due to incorrect
handling!
The device and its surfaces may be
damaged during unpacking or transport.
yDo not cut into the protective
cardboard box.
yKeep objects that may scratch the
device away from it.
yUnpack the device and all enclosed
parts carefully.
yCheck the device and all enclosed
parts for damage.
yCheck that the scope of supply is
complete.
➡“2.3 Scope of supply” (page9).
If parts are missing or damaged:
yContact your customer service centre.
➡“10.1 Contact details for customer
service” (page31).
yRemove the packaging material.
➡“9.1 Disposing of the packaging”
(page30).
As a result of the manufacturer’s quality
inspection, the device may contain residual
moisture, which may escape. This residual
moisture does not reduce quality or
functionality.
3.3 Preparing for assembly
yBefore assembly, make sure that
the power supply is and remains
interrupted at all poles.
yFamiliarise yourself with the assembly
situation and the associated
documents.
– User manual.
– Accessories and their instructions.
yUse only original accessories.
The scope of supply includes two
connection pieces for the water tap.
yChoose the correct connection piece
for your water tap.
Documentation for the water tap.
yInstall the HYPRO app.

13
HYPRO WATER – 09.2020 13
3.3 / 1
yAssemble all of the required tools and
materials:
– Bucket
– Cutter knife
– Pen
– Spirit level
– Screwdriver
– Pipe wrench
3.4 Performing assembly
This user manual contains an example
illustration of the device:
– With connection to a 3-way water tap.
– With assembly beneath the worktop.
3.4 / 1
20cm
10cm

HYPRO WATER – 09.2020
14
3.4 / 2
yShut off the angle valve on the cold
water line.
3.4 / 3
yPosition a bucket beneath the angle
valve on the cold water line.
yUnscrew the cold water connection to
the water tap from the angle valve.
DATTENTION!
Danger of damage due to incorrect
handling!
The device and the environment can be
damaged if a torque of 3 Nm is exceeded
when screwing on the connections.
yTighten the connections with a
maximum torque of 3 Nm.
3.4 / 4
yScrew the T-piece onto the angle valve
on the cold water line.
yScrew the opposite side of the T-piece
onto the cold water connection of the
water tap.
yMake sure that the T-piece valve is
closed.
yRemove the bucket.

15
HYPRO WATER – 09.2020 15
3.4 / 5
ySelect a suitable position for the wall
bracket.
➡“3.1 Requirements applicable to the
installation site” (page11).
yStraighten the wall bracket using the
spirit level.
yMark the four fastening points.
The screws included in the scope of
delivery are intended for mounting on
chipboard.
When mounting on a wall, suitable
fasteners must be selected.
DWARNING!
Danger of explosion or electric shock!
Drilling into gas, water or electrical lines
can result in dangerous situations.
yMake sure no lines are inside the wall
at the fastening points.
3.4 / 6
yScrew the wall bracket on with the four
small screws.

HYPRO WATER – 09.2020
16
3.4 / 7
yInsert the angle piece (⁄") in the water
inlet (left) as far as it will go.
ySecure the angled piece (⁄”) with the
safety clip (⁄").
3.4 / 8
yInsert the hose (⁄") in the angle piece
(⁄") as far as it will go.
ySecure the hose (⁄”) with the safety
clip (⁄").
3.4 / 9
yInsert the angle piece (⁄") in the water
outlet (right) as far as it will go.
ySecure the angled piece (⁄”) with the
safety clip (⁄").
3.4 / 10
yInsert the hose (⁄") in the angle piece
(⁄") as far as it will go.
ySecure the hose (⁄”) with the safety
clip (⁄").

17
HYPRO WATER – 09.2020 17
3.4 / 11
yGuide the mains cable and hoses from
the top through the cut-out into the
wall bracket.
yPosition the device on the wall bracket.
3.4 / 12
yScrew the knurled screw from below
through the wall bracket into the
device.
3.4 / 13
ySlide the reducer piece into the T-piece
as far as it will go.
3.4 / 14
yScrew the connection piece (water tap)
onto the drinking water tap.

HYPRO WATER – 09.2020
18
3.4 / 15
yGuide both hoses from the device
to the connection piece and reducer
piece respectively.
yMark the respective hose lengths
required.
yShorten both hoses to the required
lengths. Make sure the hoses are cut
straight.
3.4 / 16
yInsert the hose (⁄") in the reducer
piece as far as it will go.
ySecure the hose (⁄”) with the safety
clip (⁄").
3.4 / 17
yInsert the hose (⁄") in the connector
(water tap) as far as it will go.
ySecure the hose (⁄”) with the safety
clip (⁄").

19
HYPRO WATER – 09.2020 19
3.4 / 18
yRemove the device cover. To do so,
push down on the pressure point and
then grasp beneath the edge of the
device cover.
3.4 / 19
yTurn the shut-off valve in the “CLOSE”
direction.
3.4 / 20
yUnscrew the screw cap for the filter
chamber.
3.4 / 21
yRemove the protective film from the
filter.
yInsert the filter.
yDuring insertion, carefully press the
filter down until it latches into the
device.

HYPRO WATER – 09.2020
20
3.4 / 22
yClose the screw cap for the filter
chamber until it reaches the end
position.
3.5 Completing assembly
3.5 / 1
yPlug the mains plug into the socket.
As soon as the power supply has been
established, the device opens a hotspot
for a period of fifteen minutes. The LED
flashes yellow at this time. It is possible to
connect the device with the WLAN with
the help of the HYPRO app.
When the device is connected to the
WLAN, the LED continuously glows yellow.
To search again:
yUnplug the mains plug and plug it in
again.
yWait until the LED lights up yellow.
Other manuals for HYPRO WATER
1
Table of contents
Other HYTECON Water Filtration System manuals
Popular Water Filtration System manuals by other brands

STIEBEL ELTRON
STIEBEL ELTRON FOUNTAIN 7S user manual

A/DA
A/DA Nature Aquarium VUPPA II instructions

PREMIER TECH
PREMIER TECH Rewatec Ecoflo ST-500 owner's manual

Plasma Made
Plasma Made GUC 1212 Installation and user manual

Pure-Pro
Pure-Pro S800-Alkaline user manual

Ferplast
Ferplast bluwave 03 user manual

Oase
Oase BioSmart 1600 operating instructions

Fiap
Fiap BioSieve Active 50.000 2840 manual

Mar Cor Purification
Mar Cor Purification WRO 300 Service manual

Watts
Watts OneFlow OF220-2 Installation, operation and maintenance manual

Sterling
Sterling CRS-3 installation manual

Veolia
Veolia ELGA CENTRA-MDS-US Operator's manual