EN
FR
TECHNICAL DATA
Minimum dynamic pressure:____________________________________________0.5 bar
Maximum operational pressure:___________________________________________5 bar
Recommended operational pressure:____________________________________1-5 bar
It’s recommended to use a pressure reducer in case of
static pressure superior than 5 bar inside the waterpipe.
Maximum hot water temperature:_________________________________________80°C
INSTALLATION, MAINTENANCE AND PRELIMINARY CHECKING PROCE-
DURE
In order to get your device work correctly and fine in time, must ensure com-
pliance with the mode of installation and maintenance described in this booklet.
Relying on a qualified plumber. Make sure that the system is free from all debris
and impurities existing.
INSTALLATION
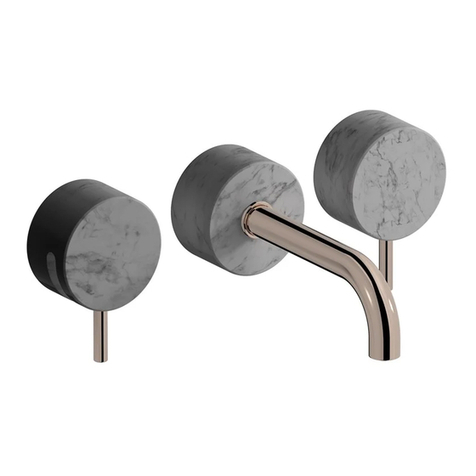
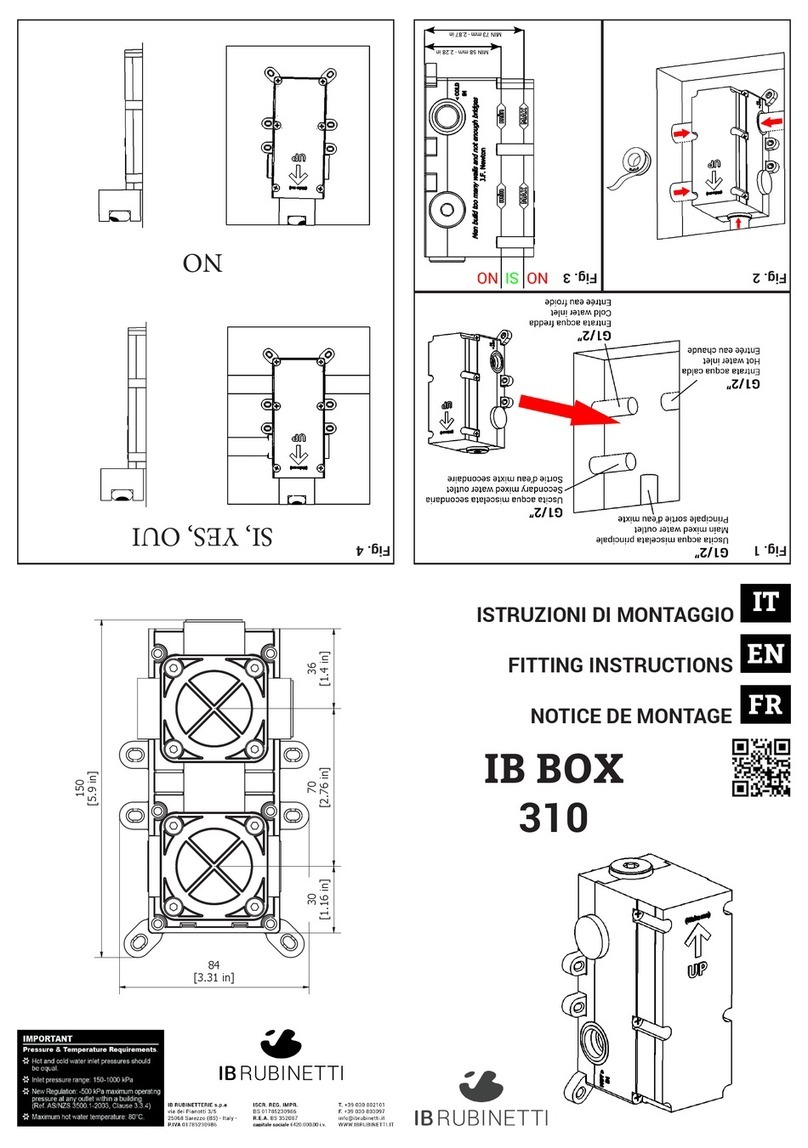
Fig. 1-2: Make two holes Ø45 - 1.77 in with a distance of 153 mm - 6.02 in. Swi-
tch the hydric system supply with G1/2” female inlets.
The connections to the water supply must be 10 mm - 0.39 in the finished floor
including coating .
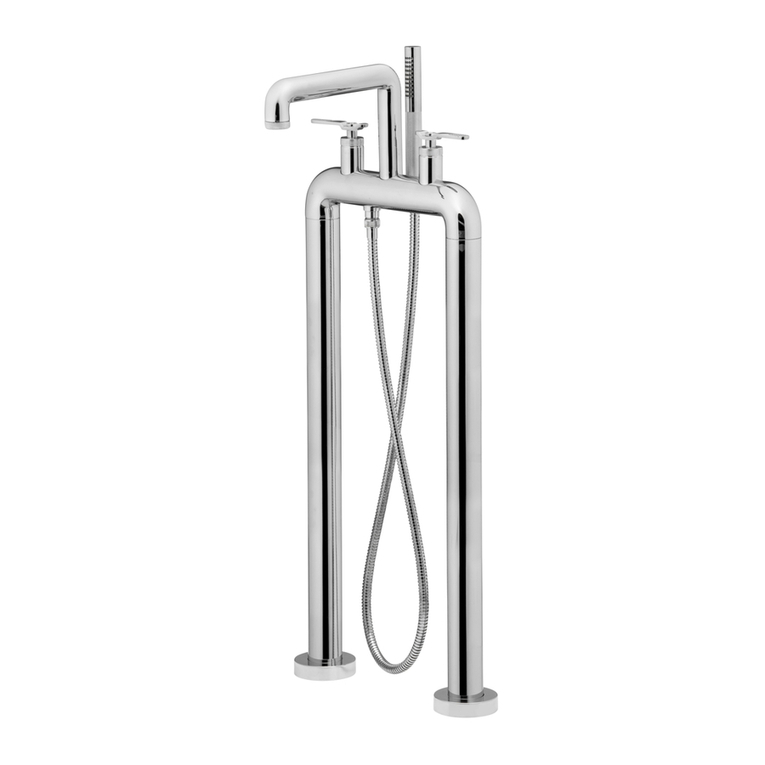
Fig. 3: Connect the hoses to the water supply. Fix the two legs using the supplied
plugs.
After connecting the basin mixer to the system, open the stopcocks and verify
the correct operation of the mixer. Check the lack of losses into the system.
Fig. 4: Connect the shower hose to the outlet and to the hand shower.
CLEANING
In order to get a correct cleaning, exclusiveny wash with soap and water, rewash
and dry with deerskin and a soft cloth. Avoid to use alcohol, solvents, solid or
liquid detergents made by corrosive or acid substances, towel made by synthetic
materials, abrasive sponges, because they could irreversibly alterate the treated
surfaces.
CARACTERISTIQUES TECHNIQUES
Pression dynamique minimale :__________________________________________0.5 bar
Pression de service maximale :____________________________________________5 bar
Pression de service recommandée :______________________________________1-5 bar
Il est recommandé d’utiliser un réducteur de pression en cas,
dans le système hydraulique, il y a des pressions statiques
supérieures à 5 bar.
Température maximum d’eau chaude :_____________________________________80°C
INSTALLATION, D’ENTRETIEN ET VÉRIFICATIONS PRÉLIMINAIRES
Pour assurer le bon fonctionnement du produit et il puisse durer dans le temps, il
est nécessaire qu’ils soient remplies les procédures de installation et l’entretien
définies dans la brochure. S’appuyer sur un plombier qualifié. S’assures que les
tuyauteries soient nettoyées par toutes saletés et résidus.
INSTALLATION
Fig. 1-2 : Faire deux puits Ø45 - 1,77 avec un empattement de 153 mm - 2,6
in. Mettez le système d’approvisionnement en eau avec G1 / 2 “ femelle. Les
connexions à l’alimentation en eau doivent être de 10 mm - 0,39 dans le sol fini, y
compris le revêtement.
Fig. 3: Raccordez les tuyaux pour l’alimentation en eau . Fixer les deux jambes en
utilisant les connecteurs fournis.
Après le raccordement du robinet déverseur à la tuyauterie, ouvrir les robinets
d’arrêts pour vérifier le bon fonctionnement. Vérifier l’absence de fuites.
Fig. 4: Raccorder le tuyau de la douche à la sortie et à la douche à main.
NETTOYAGE
Afin d’assurer un bon nettoyage, laver exclusivement avec eau et savon, rincer
et essuyer avec un chiffon doux. N’utiliser jamais alcool, solvants, de poudres à
récurer ni de nettoyants acides et éponges abrasives ou éponges métalliques car
risquent de causer des dommages irrémédiables.
IT
DATI TECNICI
Pressione dinamica min:________________________________________________0.5 bar
Pressione MAX di esercizio:_______________________________________________5 bar
Pressione di esercizio raccomandata:___________________________________1-5 bar
Si raccomanda di utilizzare un riduttore di pressione,
se all’interno dell’impianto si hanno pressioni statiche superiori a 5
bar.
Temperatura MAX acqua calda:___________________________________________80°C
NORME DI INSTALLAZIONE, MANUTENZIONE E VERIFICHE PRELIMINARI
Perchè il suo apparecchio funzioni nella maniera corretta e possa durare nel tem-
po, occorre che vengano rispettate le modalità di installazione e manutenzione
illustrate in questo opuscolo. Affidarsi ad un idraulico qualificato. Assicurarsi che
l’impianto sia stato liberato da tutti i detriti ed impurità esistenti.
INSTALLAZIONE
Fig 1 – 2: Realizzare due pozzetti Ø45 – 1.77 in con un interasse di 153 mm –
6.02 in. Predisporre l’impianto della rete idrica con attacchi da G1/2” femmina.
Gli attacchi alla rete idrica devono essere a 10 mm – 0.39 in dal pavimento finito,
compreso di rivestimento.
Fig. 3: Collegare i flessibili alla rete idrica. Fissare le due gambe con gli appositi
tasselli.
Dopo aver collegato il rubinetto all’impianto, aprire i rubinetti d’arresto e verificare
il corretto funzionamento del miscelatore. Controllare la mancanza di perdite
nell’impianto.
Fig. 4: Collegare il flessibile doccia all’uscita e alla doccetta.
PULIZIA
Per una corretta pulizia, lavare esclusivamente con acqua e sapone, risciacquare
ed asciugare con una pelle di daino e panno morbido. Evitare assolutamente l’im-
piego di alcool, solventi, detersivi solidi o liquidi contenenti sostanze corrosive o
acide, strofinacci con fibre sintetiche, spugne abrasive, tamponi con fili metallici,
poichè potrebbero alterare irreversibilmente le superfici trattate.
SOSTITUZIONE VITONE
Chiudere le entrate dell’acqua fredda e calda.
Svitare la ghiera porta placchetta. Svitare la vite ed estrarre la maniglia. Svitare il
copri vitone ed il vitone stesso, utilizzando una chiave da 17 mm. Per il montaggio
procedere in ordine inverso, assicurandosi che la base d’appoggio del vitone sia
accuratamente pulita.
CHANGING THE HEADWORK
Shut off cold and hot water.
Unscrew finishing plate. Unscrew the screw and remove the handle. Unscrew
the cover headwork and the headwork itself using a 17 mm wrench. To assem-
ble, proceed in reverse order, making sure that the support base of the screw is
thoroughly clean.
TETE À CLAPET DE REMPLACEMENT
Coupez l’eau froide et chaude.
Dévissez la bague porte cache trou. Dévissez la vis et retirer la poignée. Dévissez
la bague cache tête céramique et la tête céramique en utilisant une clé de 17 mm.
Pour assembler procéder dans l’ordre inverse, en veillant à ce que la base de
support de la vis est bien propre.
