manuals.online logo
Brands
  1. Home
  2. •
  3. Brands
  4. •
  5. ICM Controls
  6. •
  7. Controllers
  8. •
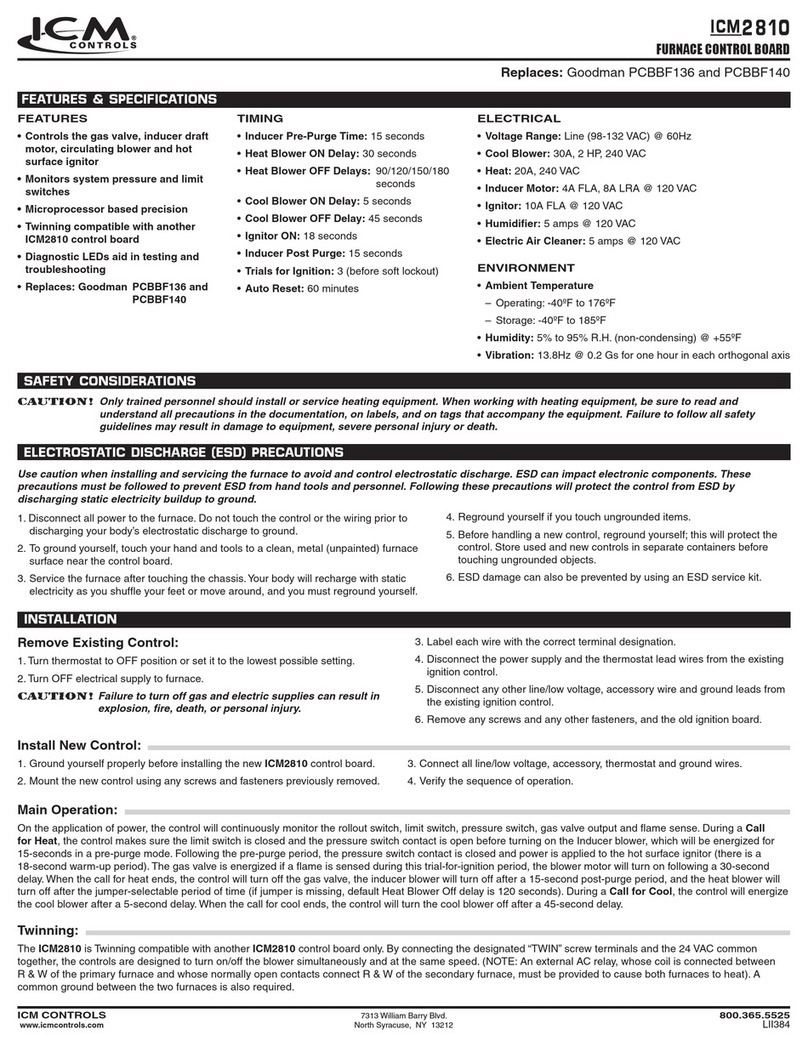
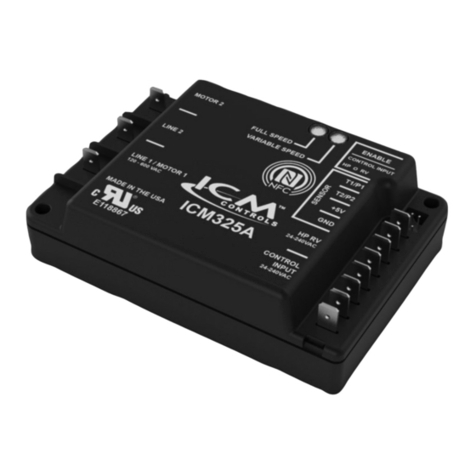
  9. ICM Controls ICM325A General instructions

ICM Controls ICM325A General instructions

•Line voltage: 120 - 600 VAC
• Control voltage: 24-240 VAC (Jumper enabled)
• Frequency: 50-60 Hz
• Operating temperature: -40ºF to +176ºF (-40°C to +75°C)
• Temperature sensors: 10K ohms at 77°F (25°C)
• Heat pump reversing valve input: 24-240 VAC (Cool active default / jumper
enabled heat active option)
Note: A maximum of two temperature or two pressure sensors can be connected
to the control.
Note: The ICM325A should be applied to motors and equipment that have
been designated by their respective manufacturers as capable of being speed
controlled.
• Mounting:
– Surface mount using (4) #8 screws
– The  should be surface mounted to a clean metal or other thermally
conductive surface for maximum heat dissipation
– It is recommended that the  be mounted away from the condenser
exhaust air in order to maintain lower operating temperatures
Installation of the ICM325A shall be performed by trained technicians only. Adhere
to all local and national electric codes.
Disconnect all power to the system before making any connections.

For more information on our complete range of American-made products – plus wiring
diagrams, troubleshooting tips and more, visit us at www.icmcontrols.com
Example
1. Install the temperature probe several bends into the condenser. It can

of the condenser (see other side for more information).
Note:

the probe. Place the probe on the condenser where it is 100°F
when pressures are correct for best response.
2.
Connect the two wires from the sensor to the terminal block where it is marked . If
additional probes are necessary for multiple refrigerant circuits, they may be attached to
terminals marked .
Note:
The control will respond to the probe that senses the highest temperature.
With probe temperatures above 100°F, the control applies full voltage to the motor.
The green light (full speed LED) is illuminated indicating full speed operation of the
motor. With probe temperatures between 70°F and 100°F, the motor speed is pro-
portional to the probe temperature. The yellow light is illuminated (variable speed
LED). When the motor starts at temperatures between 70°F and 100°F, it will hard

start time has elapsed, the motor speed is controlled by the probe temperature. As
the temperature being sensed decreases, the output voltage decreases. The output
voltage may decrease to the pre-determined cutout speed dictated by the default
-


The HP RV (Heat Pump Reversing Valve) heat pump bypass mode input allows the
 to determine when the reversing valve on a heat pump is active in heat-
ing which in turn determines if the heat pump is in cooling or heating mode. If in
heating mode, the control bypasses variable speed operation and runs the fan at
full speed to push as much air across the condenser as possible. The  is
defaulted to cool active reversing valves and a jumper must be placed at the HP RV
enable terminals to allow for heat active reversing valves. Control voltage is enabled
when the control input Jumper is placed. The  can be used with or without
the control voltage jumper placed. The control voltage input is disabled by default. A
jumper can be placed to enable the control voltage input which allows the 
to be energized only if the control voltage is present at the control input.
NOTE: The  is intended to be used with single phase permanent split capac-
itor motors which are capable of having the input voltage varied.
The minimum output voltage adjusts the range which the control operates in variable
speed. The MAX setting of 48% allows the least amount of modulation over the range
whereas the MIN setting of 17% allows for the most amount of modulation over the range.
The Hard start operates the fan at full speed for a brief period at startup to prevent modulat-
ing the fan on a dry bearing. Both the hard start and minimum output voltage are initially
NFC App.

NFC App
• Inputs for two temperature sensors or two pressure sensors
• Heat pump bypass for full speed operation in heating mode
• Jumper selectable heat active reversing valve enabling
• Jumper selectable control voltage enabling
• Universal input voltage 120-600 VAC
• Universal Control voltage 24-240 VAC (jumper enabled)

monitor up to two
condensers
Reversing Valve
for Heat Pump
Terminal to
be used for
480 VAC
Line Voltage
Line 1
Motor
1
Motor
2
Line 2
T-Stat
Control
Transformer
Condenser


 




Symptom 
Unit fails to start
The sensor may not be connected or it is defective.
With the probe disconnected, use an ohmmeter to measure the resistance
between the probe wires. It should match the chart in Appendix B (see below).
If you read an OPEN or SHORT, replace the sensor. If a pressure sensor is used,
measure the DC voltage between GND and the sensor output at BWG and compare
your reading to the expected pressure in Appendix A.
Check the Line 1 power on the  is being supplied by the same leg of
power which is also supplying the run capacitor common.
Fan overheats, over
amps or runs very
rough
Check with the motor manufacturer to see if the motor is able to be speed
controlled by reducing the input voltage. Verify the motor is a single phase PSC
motor.
The fan cycles from
full ON to full OFF
with little or no
modulation
Check the Hard start setting in the App. Too much hard start can drop pressure

Should the fan cycling persist, move the probe up several bends into the
condenser to increase the sensitivity to the condensing temperature.

placement on the condenser.
The fan does not
come on at all
Using an AC voltmeter, measure the voltage between the 24 VAC terminals. It
should read approximately 24 volts.

present. Check Line 1 of the 
of power as the common of the Run capacitor.
Remove the thermistor probe from the terminal block and measure its resistance
at ambient temperature. Compare your reading at the appropriate temperature
in Appendix B to see if the actual resistance approximates the listed value.

a pressure sensor is used, measure the DC voltage between GND and the sensor
output at BWG and compare your reading to the expected pressure in Appendix A.
The high pressure
switch trips o
Move the probe further into the condenser where the temperature is higher. This
will produce a higher fan RPM and will decrease the head pressure.
Fine adjust the cutout and hard start settings in the App.
Green and yellow LEDs
alternate
Using an AC voltage meter, measure the voltage between the control input
terminals. It should read the control voltage you are using (18-240 VAC)
Also verify you have the voltage between Line 1 and LINE 2 terminals.


When a sensor is mounted into the condenser, the control responds more rapidly to
changes in head pressure than when it is mounted on the liquid line. This is espe-

line, the control responds more slowly which could result in a fan that cycles on and

condenser instead of mounting it on the liquid line (see illustration below). A spot
on the condenser that is 100°F when the pressures are correct is ideal.

°C °F )
0°  
5° 41° 25.4
10° 50° 19.9
15° 59° 15.7
20° 68° 12.5
25° 77° 10.0
 86° 8.1
 95° 6.5
40° 104° 
45°  4.4
50° 122° 
 

Wiring of the  to a heat pump is the same as for air conditioning with the
exception of the Motor 2 output and the reversing valve input. For a heat pump, the
 Motor 2 terminal is connected to the outdoor fan relay input power termi-
nal (com) on the defrost board. The condenser fan common remains connected to
the normally closed terminal of the fan relay on the defrost board.

run capacitor.
Heat pump bypass mode runs the fan continuously at full speed when the system is
operating in heat mode to move as much air as possible across the condenser coil
during heating. The  HP RV determines which mode the heat pump is in by
detecting voltage on the reversing valve. The  is defaulted to cool activecool active
reversing valves and will allow bypass when the reversing valve is de-energized
in heating. If the HP B RVHP B RV jumper is placed, the  will be set for heat activeheat active
reversing valves and will go into bypass when the reversing valve is energized in the
heating mode.


Connect the wires from the contactor (load side), run capacitor, and the condenser
fan as shown in diagram above. If control voltage is desired, ensure the jumper is
placed on the control voltage enable input and the proper voltage (24-240 VAC)
is applied to the control voltage input. Place the temperature probe at T1/P1 and
5V and mount the probe on a U-bend in the upper third of the condenser. If two
temperature probes are needed, wire the additional temperature probe to T2/P2 &
5V. If a pressure transducer is used, mount the transducer on the discharge line at

(blue/white/green) wire to T1/P1 input. If two pressure sensors are used, connect
the black and red wires of the additional pressure sensor to the same points as pre-





00.5
50 0.9
100 
150 1.7
200 2.1
250 2.5
 2.9
 
400 
450 4.1
500 4.5

MOTOR 2
ICM325A
LINE 2
LINE 1 / MOTOR 1
120 - 600 VAC
FULL SPEED
VARIABLE SPEED
CONTROL
INPUT
24-240VAC
HP RV
24-240VAC
GND
+5V
T2/P2
T1/P1
CONTROL INPUT
HP B RV
MADE IN THE USA
SENSOR
ENABLE
Line Voltage
120-600 VAC
Fan
Relay
Single
Phase PSC
Fan Motor
Place jumper to enable
the control voltage input
Place jumper to enable
a heat active reversing
valve at the HP RV input
24-240 VAC Heat Pump cool
active (default) reversing
valve voltage input
24-240 VAC
Control Voltage
Temperature
Sensor
Defrost Board
COMN
Run
Start Common
C
L1
L2
T1
T2
Contactor
Run
Capacitor
To Compressor
Field Installed Wire
Com
Herm
Fan
MOTOR 2
ICM325A
LINE 2
LINE 1 / MOTOR 1
120 - 600 VAC
FULL SPEED
VARIABLE SPEED
CONTROL
INPUT
24-240VAC
HP RV
24-240VAC
GND
+5V
T2/P2
T1/P1
CONTROL INPUT
HP B RV
MADE IN THE USA
SENSOR
ENABLE
Line Voltage
120-600 VAC
Single
Phase PSC
Fan Motor
Place jumper to enable
the control voltage input
24-240 VAC
Control Voltage
Temperature
Sensor
Run
Start Common
L1
L2
T1
T2
Contactor
Run
Capacitor
To Compressor
Field Installed Wire
Com
Herm
Fan
800.365.5525

www.icmcontrols.com


Other ICM Controls Controllers manuals

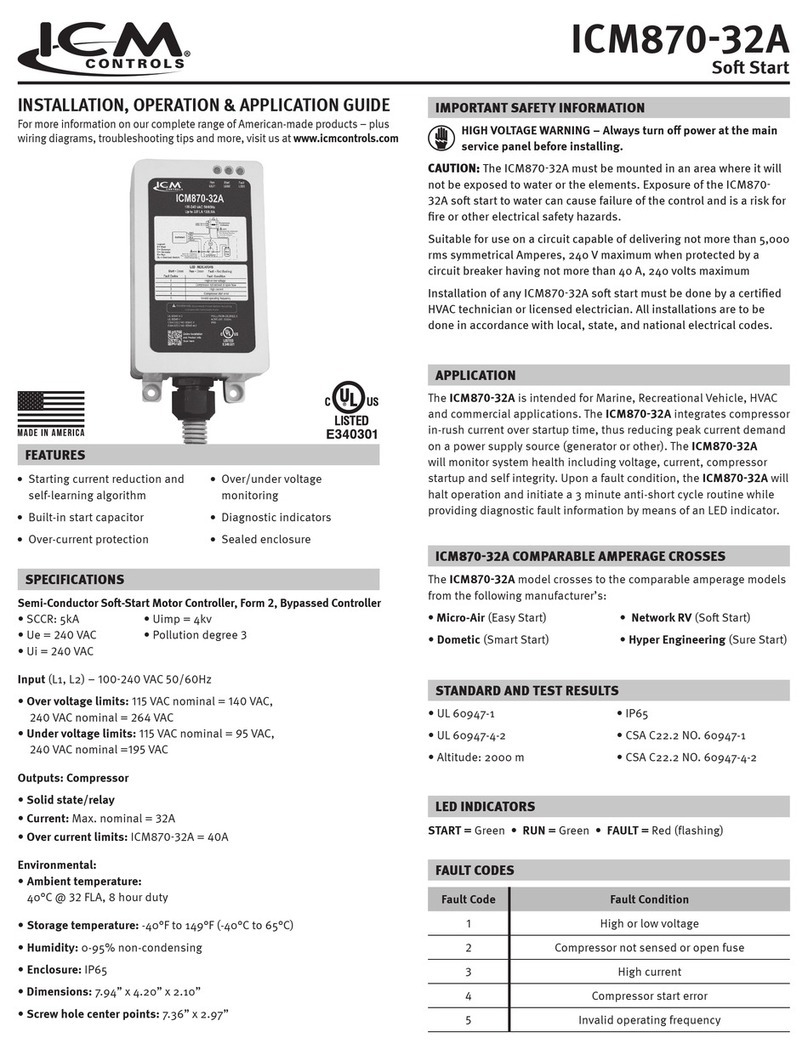
ICM Controls ICM870-32A General instructions

ICM Controls

ICM Controls ICM870-32A General instructions

ICM Controls ICM326HN Manual

ICM Controls

ICM Controls ICM326HN Manual

ICM Controls ICM325HNV General instructions

ICM Controls

ICM Controls ICM325HNV General instructions

ICM Controls ICM2812ж ICM2812-KIT General instructions

ICM Controls

ICM Controls ICM2812ж ICM2812-KIT General instructions

ICM Controls ICM325A General instructions

ICM Controls

ICM Controls ICM325A General instructions

ICM Controls ICM271 General instructions

ICM Controls

ICM Controls ICM271 General instructions

ICM Controls ICM2909 User manual

ICM Controls

ICM Controls ICM2909 User manual

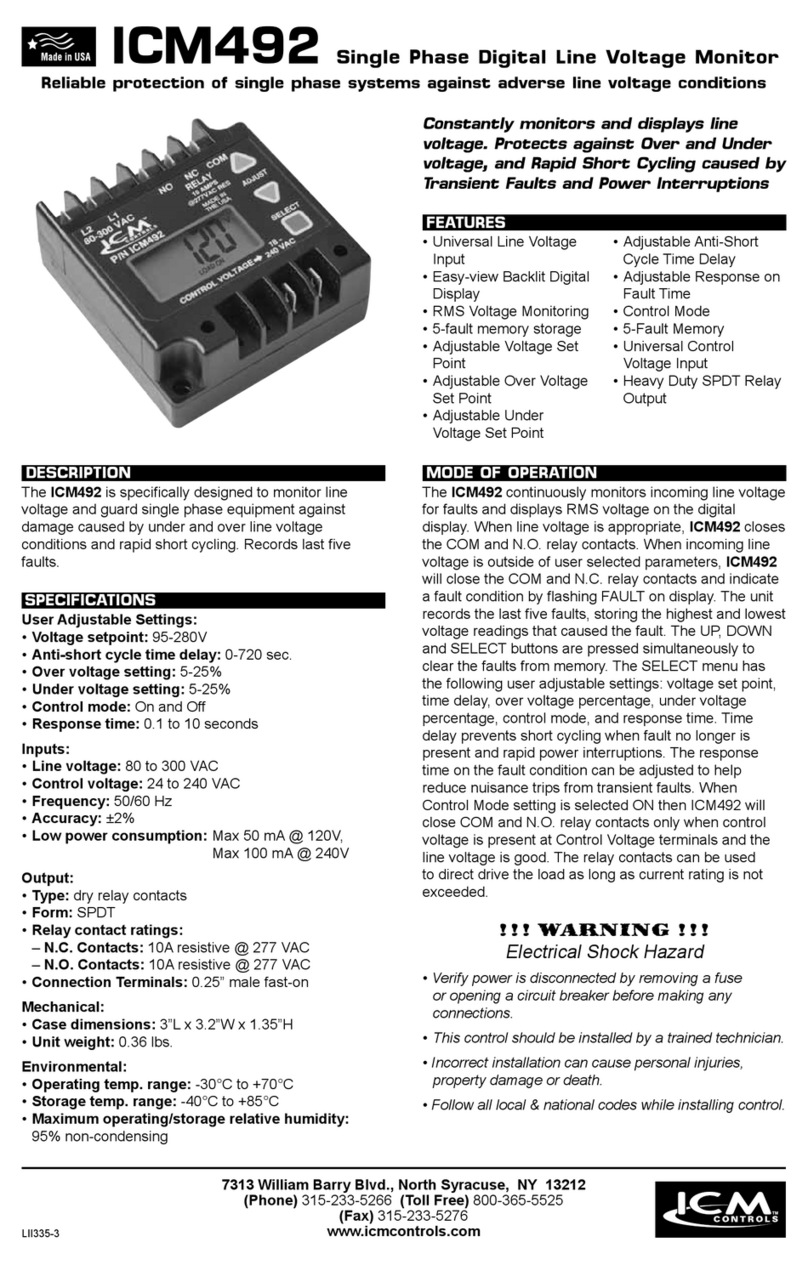
ICM Controls ICM492 User manual

ICM Controls

ICM Controls ICM492 User manual

ICM Controls ICM330 User manual

ICM Controls

ICM Controls ICM330 User manual

ICM Controls ICM2909 User manual

ICM Controls

ICM Controls ICM2909 User manual

ICM Controls ICM600 User guide

ICM Controls

ICM Controls ICM600 User guide

ICM Controls ICM2810 User manual

ICM Controls

ICM Controls ICM2810 User manual

ICM Controls ICM271 User manual

ICM Controls

ICM Controls ICM271 User manual

ICM Controls ICM2811 General instructions

ICM Controls

ICM Controls ICM2811 General instructions

ICM Controls ICM1511 Series User manual

ICM Controls

ICM Controls ICM1511 Series User manual

ICM Controls ICM550 User manual

ICM Controls

ICM Controls ICM550 User manual

Popular Controllers manuals by other brands

Gree CE52-24/F(C) owner's manual

Gree

Gree CE52-24/F(C) owner's manual

White Rodgers UNIVERSAL INTEGRATED FURANCE CONTROL... installation instructions

White Rodgers

White Rodgers UNIVERSAL INTEGRATED FURANCE CONTROL... installation instructions

AQTRONIC THC102MX Operation manual

AQTRONIC

AQTRONIC THC102MX Operation manual

Siemens RVL482 installation instructions

Siemens

Siemens RVL482 installation instructions

Titanium TT-Q4 Connecting Instructions

Titanium

Titanium TT-Q4 Connecting Instructions

CA RIOCN8WS Assembly instruction

CA

CA RIOCN8WS Assembly instruction

Mastip TM20 user guide

Mastip

Mastip TM20 user guide

Hayward CAT-1000-ORP owner's manual

Hayward

Hayward CAT-1000-ORP owner's manual

Zaber Technologies Inc. X-MCC Series user manual

Zaber Technologies Inc.

Zaber Technologies Inc. X-MCC Series user manual

SEW-Eurodrive MOVIPRO ADC manual

SEW-Eurodrive

SEW-Eurodrive MOVIPRO ADC manual

Woodward 505 Installation and operation manual

Woodward

Woodward 505 Installation and operation manual

Neptronic LT060X11 Specification & installation instructions

Neptronic

Neptronic LT060X11 Specification & installation instructions

Renesas RX71M user manual

Renesas

Renesas RX71M user manual

Ringder RC-112E user manual

Ringder

Ringder RC-112E user manual

Watlow EZ-ZONE RM user manual

Watlow

Watlow EZ-ZONE RM user manual

Victron energy BlueSolar PWM 12V 24V 5A manual

Victron energy

Victron energy BlueSolar PWM 12V 24V 5A manual

bela GLISS user manual

bela

bela GLISS user manual

Sony CSP-5000E Service manual

Sony

Sony CSP-5000E Service manual

manuals.online logo
manuals.online logoBrands
  • About & Mission
  • Contact us
  • Privacy Policy
  • Terms and Conditions

Copyright 2025 Manuals.Online. All Rights Reserved.