Icom IC-F3160 SERIES User manual

OPERATING GUIDE
OPERATING GUIDE FOR
IC-F3160/F4160 SERIES
BIIS 1200/MDC 1200 SYSTEM/
LTR®/IDAS OPERATION

i
Thank you for purchasing this Icom transceiver.
The BIIS 1200/MDC 1200 system/LTR®/IDAS (Icom Digital
Advanced System) functions are available to your IC-F3160/
F4160 series transceiver.
READ ALL INSTRUCTIONS carefully and completely
before using the transceiver.
SAVE THIS OPERATING GUIDE — This operating
guide contains important operating instructions for;
•
IC-F3161T, IC-F3161S, IC-F3161DT, IC-F3161DS,
IC-F3162T, IC-F3162S, IC-F3163T, IC-F3163S
VHF TRANSCEIVERS
•
IC-F4161T, IC-F4161S, IC-F4161DT, IC-F4161DS,
IC-F4162T, IC-F4162S, IC-F4163T, IC-F4163S
UHF TRANSCEIVERS
NOTE: In this operating guide, the LCD illustration is de-
scribed using the 2 lines indication mode.
Icom, Icom Inc. and the Icom logo are registered trademarks of Icom
Incorporated (Japan) in Japan, the United States, the United Kingdom,
Germany, France, Spain, Russia and/or other countries.
LTR is a registered trademark of the E.F.Johnson Company.
All other products or brands are registered trademarks or trademarks of their
respective holders.
IMPORTANT TABLE OF CONTENTS
IMPORTANT.......................................................................... i
TABLE OF CONTENTS......................................................... i
1 PREPARATION............................................................1–2
■ Programmable function keys ........................................1
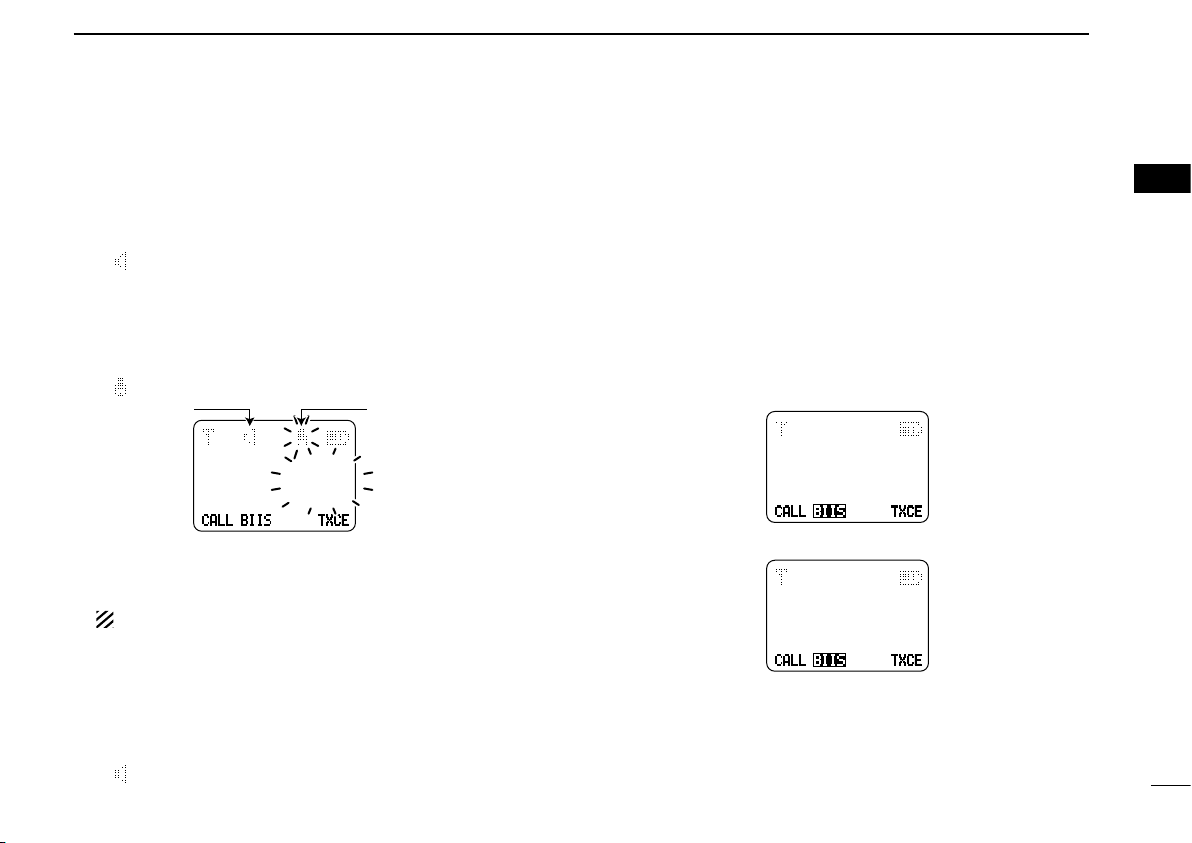
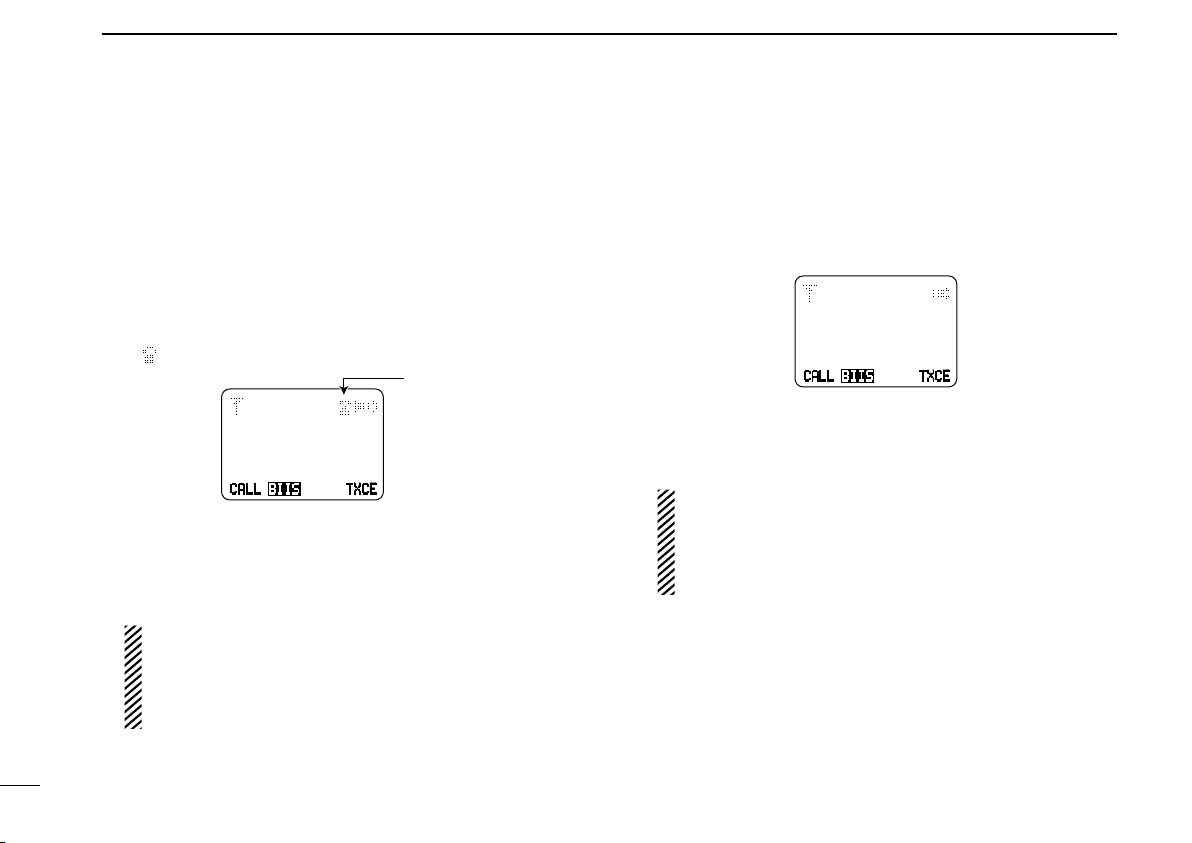
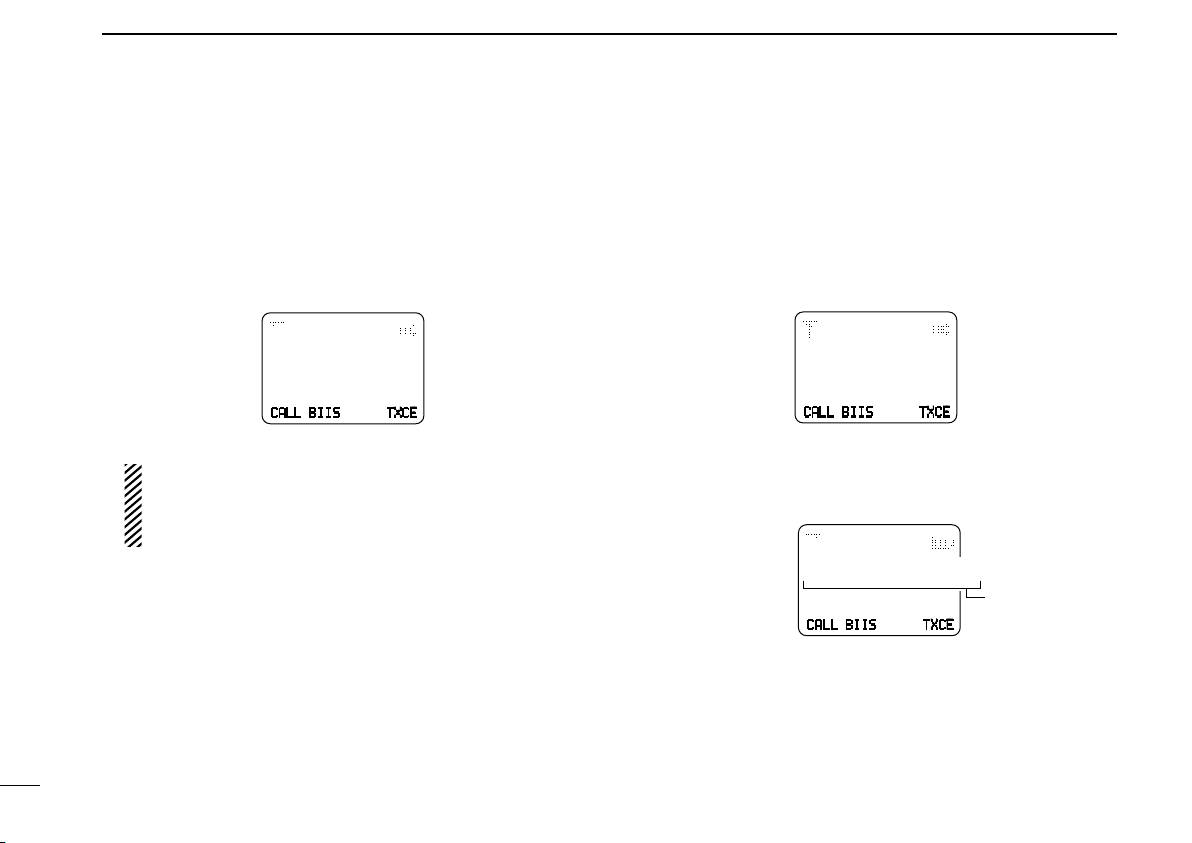
2 BIIS 1200 OPERATION .............................................3–13
■ Setting example............................................................3
■ Receiving a call ............................................................3
■ Transmitting a call.........................................................5
■ Receiving a message...................................................7
■ Transmitting a status.....................................................9
■ Transmitting an SDM ..................................................10
■ Position data transmission..........................................11
■ Printer connection ......................................................12
■ BIIS ANI .....................................................................12
■ Transmitting an Emergency call..................................12
■ Man Down Emergency Call........................................13
■ BIIS indication ............................................................13
■ Stun function ..............................................................13
■ Priority A channel selection........................................13

TABLE OF CONTENTS
ii
3 MDC 1200 SYSTEM OPERATION ..........................14–21
■ MDC 1200 system operation......................................14
■ Receiving a call ..........................................................14
■ Transmitting a call.......................................................17
■ Man Down Emergency Call........................................21
■ Status message transmission ....................................21
4 LTR®OPERATION...................................................22–23
■ Receiving a call ..........................................................22
■ Transmitting a call.......................................................23
5 IDAS OPERATION ..................................................24–41
■ IDAS operation ...........................................................24
■ IDAS-Trunk operation .................................................24
■ Receiving a call ..........................................................24
■ Transmitting a call.......................................................28
■ Man Down Emergency Call........................................40
■ Position data transmission..........................................40
■ Status message transmission ....................................41
■ Printer connection ......................................................41
■ Encryption function.....................................................41

1
1PREPARATION
■Programmable function keys
The following functions can be assigned to [EMR],[Side1],
[Side2], [Side3], [P0], [P1], [P2] and [P3] programmable
function keys.
Consult your Icom dealer or system operator for details con-
cerning your transceivers programming.
If the programmable function names are bracketed in the fol-
lowing explanations, the specific key is used to activate the
function depends on the programming.
DFor BIIS 1200 operation only
BIIS BUTTON KEY “BIIS”
➥Push to toggle the call ID list, transmit message and
stand-by operation.
➥Push to toggle between queue channel and received mes-
sage record indication after queue channel is selected.
➥Push and hold for 1 sec. to select queue channel indica-
tion.
STATUS UP/DOWN KEYS “STUP”/“STDN”
➥During stand-by operation, push to display the transmit
status indication and select a status number.
➥When a received SDM (Short Data Message) is displayed,
push to cancel the automatic scroll and scroll the mes-
sage manually.
➥When an SDM that contains more than 12 characters is
displayed, push to scroll the message manually.
DFor MDC 1200 system operation only
MDC CALL KEY “CALL”
➥Push to enter the MDC menu selection mode. Then select
the desired MDC menu from “SELCALL,” “CALALERT,”
“STUN,” “REVIVE,” “RADIOCHK,” “STATUS,” “MSG” and
“CALL LOG” using [CH Up] or [CH Down].
After selection, push this key again to enter the transceiv-
er alias selection mode.
• No operation is performed for about 15 sec., the transceiver
returns to the normal operation condition.
➥While in the transceiver alias selection mode, push to
return to the MDC menu selection mode.
MDC SELCALL KEY “SC”
Push to enter the transceiver alias selection mode for
SelCall.
• After the desired alias selection, push [PTT] to transmit a SelCall.
• No operation is performed for about 15 sec., the transceiver
returns to the normal operation condition.
MDC CALLALERT KEY “CA”
Push to enter the transceiver alias selection mode for
CallAlert.
• After the desired alias selection, push [PTT] to transmit a Call
Alert.
• No operation is performed for about 15 sec., the transceiver
returns to the normal operation condition.

DFor LTR®operation only
PHONE KEY “PHN”
Push to connect or disconnect the telephone network con-
nection.
DFor IDAS operation only
DIGITAL BUTTON KEY “DIGI”
➥Push to enter the application selection mode.
➥Push and hold for 1 sec. to toggle the call type between
Individual and Talkgroup, then enter the application selec-
tion mode automatically.
• Select the desired application from “VOICE,” “CALALERT,”
“STUN,” “KILL,” “REVIVE,” “REM MON,” “RADIOCHK,”
“STATUS,” “MSG,” “STAT POL” and “CALL LOG” using
[CH Up] or [CH Down].
➥During the application selection mode, push to enter the
Individual or Talkgroup ID selection mode.
• If “STATUS” or “MSG” is selected as the application, the mes-
sage selection mode appears. After the desired message is
selected using [CH Up] or [CH Down], push again to enter the
Individual or Talkgroup ID selection mode. (pgs. 34, 35)
➥During the application selection mode, push and hold for
1 sec. to return to the normal operation condition.
STATUS UP/DOWN KEYS “STUP”/“STDN”
➥When a received SDM is displayed, push to cancel the
automatic scroll and scroll the message manually.
➥When an SDM that contains more than 12 characters is
displayed, push to scroll the message manually.
2
1
PREPARATION
1
2
3
4
5
6
7
8
9
10
11
12
13
14
15
16

3
2BIIS 1200 OPERATION
■Setting example
The following key functions are recommended to be as-
signed to each programmable key for the BIIS 1200 opera-
tion. The key function can be assigned by your dealer. Ask
your dealer for details.
NOTE: During BIIS 1200 operation, MDC 1200 system,
LTR®, and IDAS operations are not available.
[Call] : Push to transmit a BIIS call when the se-
lected channel is an MSK channel.
• “CALL” is displayed on the key indicator.
[BIIS Button] : Push to select the call list ID/transmit
message, or push to display the receive
message record for selection.
• “BIIS” is displayed on the key indicator.
When this key is pushed, “BIIS” is inverted
as “ ”.
[TX Code Enter] :
Push to enter the ID code edit mode di-
rectly.
• “TXCE” is displayed on the key indicator.
[Moni(Audi)] : Push this key after the communication to
send a ‘Clear down’ signal during MSK
channel operation.
[CH Up]/[Down] : During stand-by operation, push to select
the operating channel.
After pushing [BIIS Button] or [TX Code
CH Enter], push to select call list or TX
code channel, respectively.
■Receiving a call
DIndividual call
qWhen an individual call is received;
• Beeps sound.
• “ ” appears and the mute is released.
• The programmed text message (e.g.“CALLING”) and the call-
ing station ID (or text) is displayed when the indication mode is
2 lines.
• The programmed text message (e.g.“CALLING”) and the call-
ing station ID (or text) is displayed alternately when the indica-
tion mode is 1 line, depending on the setting.
• “ ” appears or blinks depending on the setting.
1234
1111
TXCECALL BIIS
TXC
Calling station ID
Own ID
Appears Appears or
blinks
wPush and hold [PTT], then speak into the microphone at
a normal voice level.
• TX indicator lights red.
eRelease [PTT] to return to receive.
• BUSY indicator lights green while receiving a signal.
rTo finish the conversation, push [Moni(Audi)] to send the
‘Clear down’ signal.
• Either station can send a ‘Clear down’ signal.
• “CLR DOWN” is displayed for 2 sec. (approx.).
• “ ” disappears and the transceiver returns to stand-by opera-
tion.

4
2
BIIS 1200 OPERATION
1
2
3
4
5
6
7
8
9
10
11
12
13
14
15
16
DGroup call
qWhen a group call is received;
• Beeps sound.
• “ ” appears and the mute is released.
•
The programmed text message (e.g.“GROUP”) and the calling sta-
tion ID (or text) is displayed when the indication mode is 2 lines.
• The programmed text message (e.g.“GROUP”) and the calling
station ID (or text) is displayed alternately when the indication
mode is 1 line, depending on the setting.
• “ ” appears or blinks depending on the setting.
4001
1111
TXCECALL BIIS
TXC
Group ID
Calling station ID
Appears Appears or
blinks
wPush and hold [PTT], then speak into the microphone at
a normal voice level.
• TX indicator lights red.
NOTE: Only one station is permitted to speak.
eRelease [PTT] to return to receive.
• BUSY indicator lights green while receiving a signal.
rTo finish the conversation, push [Moni(Audi)] to send the
‘Clear down’ signal.
• Either station can send a ‘Clear down’ signal.
• “CLR DOWN” is displayed for 2 sec. (approx.)
•
“ ” disappears and the transceiver returns to stand-by operation.
DDisplaying the received call record
— Queue indication
The transceiver memorizes the calling station ID in the mem-
ory. Up to 3 calls can be memorized, and the oldest call re-
cord is erased when a 4th call is received. However, once
the transceiver is powered OFF, the all records are cleared.
qPush and hold [BIIS Button] for 1 sec.
• Displays following indication.
When a record is available
<
QUEUE
>
–QUEUE!–
TXCECALL
TXC
BIIS
When no record is available
<
QUEUE
>
NO QUEUE
TXCECALL
TXC
BIIS
wPush [CH Up] or [CH Down] to select the desired call.
ePush and hold [BIIS Button] for 1 sec. again to return to
stand-by operation.
• When no operation is performed for 30 sec., the transceiver re-
turns to stand-by operation automatically.

5
2BIIS 1200 OPERATION
■Transmitting a call
A total of 3 ways for code selection are available—selecting
the call code from memory, entering the call code from the
keypad and calling back from the queue channel record.
DUsing call memory
qDuring stand-by operation, push [BIIS Button] to enter
the call code memory channel selection mode.
• “ ” appears.
TXCECALL
TXC
BIIS
STATION1
0001
Appears
wPush [CH Up] or [CH Down] to select the desired call
code.
ePush [Call] or [PTT]* to call.
*PTT call can be made only when PTT call capability is permit-
ted.
NOTE: When no answer back is received, the trans-
ceiver repeats the call 3 times (default) automatically,
and “WAIT”is displayed during each call. However, an
error beep sounds and “FAILED”is displayed when
no answer back is received after the calls.
rPush [PTT] to transmit; release to receive.
tPush [Moni(Audi)] to send the ‘Clear down’ signal.
DCalling back from the queue channel
qDuring stand-by operation, push and hold [BIIS Button]
for 1 sec. to enter the queue memory channel selection
mode.
<
QUEUE
>
–QUEUE!–
TXCECALL
TXC
BIIS
wPush [CH Up] or [CH Down] to select the desired record.
ePush [Call] or [PTT]* to call.
* PTT call can be made only when PTT call capability is permit-
ted.
NOTE: When no answer back is received, the trans-
ceiver repeats the call 3 times (default) automatically,
and “WAIT”is displayed during each call. However, an
error beep sounds and “FAILED”is displayed when
no answer back is received after the calls.
rPush [PTT] to transmit; release to receive.
tPush [Moni(Audi)] to send the ‘Clear down’ signal.

6
2
BIIS 1200 OPERATION
1
2
3
4
5
6
7
8
9
10
11
12
13
14
15
16
DDirect code entry
qDuring stand-by operation, push [TX Code Enter] to
enter the TX code edit mode.
• Code digit for editing blinks.
TXCECALL
TXC
BIIS
0500
w
Push [TX Code Enter] to select the desired digit to be ed-
ited.
• Digit for editing differs according to the setting.
eSet the desired digit using [CH Up]/[CH Down] or 10-key-
pad*.
* 10-key versions only
rPush [TX Code Enter] to set the digit, then the digit to
the right will blink automatically.
• When the 10-keypad is used for setting, the digit to the right will
blink automatically without pushing [TX Code Enter].
tRepeat eand rto input all allowable digits.
yPush [Call] or [PTT]* to call.
* PTT call can be made only when PTT call capability is permit-
ted.
NOTE: When no answer back is received, the trans-
ceiver repeats the call 3 times (default) automatically,
and “WAIT”is displayed during each call. However, an
error beep sounds and “FAILED”is displayed when
no answer back is received after the calls.
uPush [PTT] to transmit; release to receive.
iPush [Moni(Audi)] to send the ‘Clear down’ signal.
For your information
When the “UpDate” setting for the call code is enabled, the
set code is overwritten into the call code memory.

7
2BIIS 1200 OPERATION
■Receiving a message
DReceiving a status message
qWhen a status message is received;
• Beeps sound.
• The calling station ID (or text) and the status message is dis-
played alternately when the indication mode is 1 line, depend-
ing on the setting.
TXCECALL
TXC
BIIS
RX Status 01
BASE
wPush [Moni(Audi)] to return to stand-by operation.
NOTE: Only the calling station ID (or text) is displayed
(no message is displayed alternately) when the scroll
timer is set to ‘OFF.’ In this case, push [Status Up]/
[Status Down] to display the status message manually.
DReceiving an SDM (Short Data Message)
qWhen an SDM is received;
• Beeps sound.
• The calling station ID (or text) and the SDM is displayed alter-
nately when the indication mode is 1 line, depending on the set-
ting.
TXCECALL
TXC
BIIS
Thank you!
BASE
wWhen the received SDM includes more than 12 charac-
ters, the message scrolls automatically, when the auto-
matic scroll function is activated.
•
Push [Status Up]/[Status Down] to scroll the message manually.
TXCECALL
TXC
BIIS
How about you?
BASE
Scrolls
ePush [Moni(Audi)] to return to stand-by operation.

8
2
BIIS 1200 OPERATION
1
2
3
4
5
6
7
8
9
10
11
12
13
14
15
16
DReceived message selection
The transceiver memorizes the received message in the
memory. Up to 6 messages for status and SDM, or 95 char-
acter SDM’s can be memorized. The oldest message is
erased when the 7th message is received. However, once
the transceiver is powered OFF, all messages are cleared.
qPush and hold [BIIS Button] for 1 sec.
• Displays queue memory.
wPush [BIIS Button] momentarily.
• Displays message memory.
When a message is available
TXCECALL
TXC
BIIS
MESSAGE
–
MSG
!
–
When no message is available
TXCECALL
TXC
BIIS
MESSAGE
–NO
MSG–
ePush [CH Up] or [CH Down] to select the desired mes-
sage.
• When selecting the SDM that includes more than 12 charac-
ters, the message scrolls automatically when the automatic
scroll function is activated.
• Push [Status Up]/[Status Down] to scroll the message manu-
ally.
rPush and hold [BIIS Button] for 1 sec. again to return to
stand-by operation.
• When no operation is performed for 30 sec., the transceiver re-
turns to stand-by operation automatically.

9
2BIIS 1200 OPERATION
■Transmitting a status
DGeneral
The status message can be selected with the programmed
text, and the message text is also displayed on the function
display of the called station.
Up to 24 status types (1 to 24) are available, and the status
messages 22 and 24 have designated meanings.
Status 22: Emergency*
Status 24: GPS request
*The status 22 can also be used as a normal status message
by disabling the designated meaning. However, the status 24 is
fixed.
The status call can be sent with both individual and group
calls.
DTransmitting a status
qDuring stand-by operation, push [BIIS Button], then push
[CH Up] or [CH Down] to select the desired station/group
code.
w
Push
[BIIS Button]
again, then push [CH Up] or [CH Down]
to select the desired status message.
Or, you can select the desired status message using
[Status Up]/[Status Down] key directly.
TXCECALL
TXC
BIIS
STATUS
01
TX Status 01
Status message is displayed.
ePush [Call] or [PTT]* to transmit the status message to
the selected station/group.
* PTT call can be made only when PTT call capability is permit-
ted.
• 2 beeps will sound and the transceiver returns to stand-by op-
eration automatically when the transmission is successful.

10
2
BIIS 1200 OPERATION
1
2
3
4
5
6
7
8
9
10
11
12
13
14
15
16
■Transmitting an SDM
DGeneral
The short data message, SDM, can be sent to an individual
station or group stations. Also, 8 SDM memory channels are
available and the messages can be edited via PC program-
ming.
DTransmitting an SDM
qDuring stand-by operation, push [BIIS Button], then push
[CH Up] or [CH Down] to select the desired station/group
code.
w
Push
[BIIS Button]
again
,then push [CH Up] or [CH Down]
to select the desired SDM.
Or, you can select the desired SDM using [Status Up]/
[Status Down] key directly.
SDM is displayed.
TXCECALL
TXC
BIIS
MESSAGE 1
How are you?
ePush [Call] or [PTT]* to transmit the SDM to the selected
station/group.
* PTT call can be made only when PTT call capability is permit-
ted.
• 2 beeps will sound and the transceiver returns to stand-by op-
eration automatically when the transmission is successful.
DProgramming an SDM memory
(10-key version only)
qDuring stand-by operation, push [BIIS Button] twice,
then push [CH Up] or [CH Down] to select the desired
SDM to be edited.
wPush [M]or [#] to enter the message editing condition.
• The first character blinks when [#] is pushed, the last character
blinks when [M]is pushed.
TXCECALL
TXC
BIIS
MESSAGE 1
How are you?
Blinks
When [#] is pushed.
ePush the appropriate digit key, [0] to [9], to enter the de-
sired character.
• See the table at the next page for the available characters.
• Pushing [CH Up] also enters space, pushing [CH Down] de-
letes the selected character.
rPush [#] to move the cursor to the right, push [M]to move
the cursor to the left.
tRepeat steps eand rto set the desired text message.
yPush and hold [BIIS Button] for 1 sec. to overwrite the
set content into the memory.
• Push [BIIS Button] momentarily to cancel the editing and re-
turn to the original message indication.

11
2BIIS 1200 OPERATION
• Available characters
Key Characters
[0]
[1]
[2]
[3]
[4]
[5]
[6]
[7]
[8]
[9]
(space)
0 ][!| ’ ” ,? : _ ( ) < >;
2 BA a b cC
3 ED d e fF
4 HG g h iI
5 KJ j k lL
6 NM m n oO
7 QP S p q r sR
9 XW Z w x y zY
8 UT t u vV
1 ^@# �/ – = \ & % $+
■Position data transmission
When the optional cable (OPC-966) and a GPS receiver is
connected to the transceiver, the position (longitude and lati-
tude) data can be transmitted automatically.
Ask your dealer or system operator for connection details.
The position data is transmitted when;
• Status 24 message is received
*When the status 24 message, GPS request, is received.
• Fully automatic
When automatic position transmission is enabled, send
the position data according to ‘Time Marker’ and ‘Interval
Timer’ settings.
• PTT is released
When ‘Send with Logoff’ is enabled.
- Set the ‘Log-In/Off’ item as ‘L-OFF.’
• After sending a status message
When ‘Send with Status’ is enabled.
• After sending an SDM
When ‘Send with SDM’ is enabled.
• After sending status 22 (Emergency)
When ‘Send with Emergency’ is enabled.

12
2
BIIS 1200 OPERATION
1
2
3
4
5
6
7
8
9
10
11
12
13
14
15
16
■Printer connection
When the optional cable is connected to the transceiver, a
printer can be connected to print out the received SDM con-
tent and the ID of the station who sent the message.
Ask your dealer or system operator for connection details.
■BIIS ANI
The own ID can be transmitted each time the PTT is pushed
(log-in) or released (log-off) during individual or group call
communications.
By receiving the ANI, the communication log can be re-
corded when using a PC dispatch application.
In addition, when using the ANI with log-in, the PTT side
tone function can be used to inform you that the ID is sent
and voice communication can be performed.
■Transmitting an Emergency call
When [Emergency] (described in the instruction manual) is
pushed and held for the specified time period, the emergency
signal (Status 22) is transmitted once or repeatedly on the
emergency channel. A repeat emergency signal is automati-
cally transmitted until it receives the acknowledgement signal.
When no emergency channel is specified, the signal is trans-
mitted on the previously selected channel.
If you want to cancel the emergency call, push and hold the
key again before transmitting the call.
The emergency call can be transmitted without a beep emis-
sion, and the LCD indication depending on the pre-setting.
The transceiver can also be programmed to keep the micro-
phone open during an emergency call, allowing monitoring of
the situation.
IMPORTANT: It is recommended to set an emergency
channel individually to provide the certain emergency call
operation.

13
2BIIS 1200 OPERATION
■Man Down Emergency Call
This function requires the optional UT-124R man down unit
and can be performed in conventional mode.
The man down emergency call function transmits the emer-
gency signal (Status 22) automatically when the transceiver
has been left in a horizontal position for the specified time
period.
After the emergency call, the transceiver performs transmis-
sion and reception alternately with receiving a signal and
emitting audio.
When the emergency reset signal is received, the function is
cancelled.
■BIIS indication
The following indications are available for the BIIS operation
on a BIIS channel.
CONNECT : Individual/group call is successful.
OK : Message (status or SDM) transmission is suc-
cessful.
FAILED : No answer back is received.
WAIT : Appears during retry of the call (2nd call).
CLR DOWN : End the communication.
BUSY : Operating channel is in the busy condition.
■Stun function
When the specified ID, set as a killer ID, is received, the stun
function is activated.
When the killer ID is received, the transceiver switches to
the password required condition. Entering of the password
via the keypad is necessary to operate the transceiver again
in this case.
■Priority A channel selection
When one of the following operations is performed, the
transceiver selects the Priority A channel automatically.
Priority A is selected when;
• Clear down signal is received/transmitted
- Set the ‘Move to PrioA CH’ item as ‘Clear down.’
• Turning the power ON
The Priority A channel is selected each time the trans-
ceiver power is turned ON.
• Status call
The Priority A channel is selected when transmitting a
status call.
- Enable the ‘Send Status on PrioA CH’ item in the MSK
configuration.

■MDC 1200 system operation
The MDC 1200 signaling system enhances your transceiver’s
capabilities. It allows PTT ID, Selective Calling (SelCall), Call
Alert, Radio Check, Stun, Revive, Status, Messaging and
Emergency signaling.
An additional feature of MDC 1200 system found in Icom
transceivers is called aliasing. Each transceiver on the sys-
tem has a unique ID number. Aliasing allows the substitution
of an alphanumeric name for this ID number. For transmit,
you can use this alias to select a transceiver to call. For re-
ceive, the alias of the calling station is displayed instead of
the ID.
Please note that your dealer has set one of the programma-
ble keys ([EMR],[Side1], [Side2], [Side3], [P0], [P1], [P2]
and [P3] ) for MDC 1200 system operation.
NOTE: During MDC 1200 system operation, BIIS 1200
and IDAS operations are not available.
■Receiving a call
DReceiving a SelCall
qWhen a SelCall is received;
• Beeps sound.
• “ ” appears.
• “ ” blinks.
• The calling station ID (or alias) and “SELCALL” are displayed
alternately.
SELCALL
CALL SC
CA
ID 1234
CALL SC
CA
Appears Blinks
Appears Blinks
wPush and hold [PTT] and speak into the microphone.
eRelease [PTT] to receive a response.
14
3
MDC 1200 SYSTEM OPERATION
1
2
3
4
5
6
7
8
9
10
11
12
13
14
15
16

15
3MDC 1200 SYSTEM OPERATION
DReceiving a Call Alert
qWhen a Call Alert is received;
• Beeps sound.
• “ ” blinks.
• The calling station ID (or alias) and “CALLALRT” are displayed
alternately.
CALLALRT
CALL SC
CA
ID 1234
CALL SC
CA
Blinks
Blinks
wPush and hold [PTT] and speak into the microphone.
eRelease [PTT] to receive a response.
DReceiving an Emergency Call
qWhen an emergency call is received;
• Beeps sound.
• The calling station ID (or alias) and “EMG EMG” are displayed
alternately until turning power OFF, the channel changing, etc.
EMG EMG
CALL SC
CA
ID 1234
CALL SC
CA
Appears
Appears
wWhen the automatic acknowledgement function is turned
ON, the transceiver automatically transmits an acknowl-
edgement call to the station.
• The calling station stops calling.
eTurn power OFF, change the channel, etc. to stop the
beep and display indication.

16
3
MDC 1200 SYSTEM OPERATION
1
2
3
4
5
6
7
8
9
10
11
12
13
14
15
16
DReceiving a Message
qWhen a Message is received;
• Beeps sound.
• The calling station ID (or alias) and the message are displayed
alternately.
ID 1234
CALL SC
CA
MSG 1
CALL SC
CA
wTurn power OFF, push [PTT], change the channel, etc. to
stop the display indication.
DReceiving a Status Message
➥When a Status Message is received;
• Beeps sound.
• The calling station ID (or alias) and the status message are dis-
played once.
ID 1234
CALL SC
CA
STATUS1
CALL SC
CA
DReceiving a Stun or Revive
If a Stun command is received that matches your station
ID, the transceiver will display “SORRY” and you can not re-
ceive or transmit. When a Revive command is received that
matches your station ID, normal operation is restored.
DCall log function
After receiving the SelCall, Call Alert and Emergency call,
the call logs are displayed (depends on the setting.) Up to 5
logs can be memorized, and the oldest log is erased when a
6th call is received.
qPush [MDC Call] to enter the MDC menu selection mode.
wSelect “CALL LOG” using [CH Up] or [CH Down].
ePush [MDC Call] again to indicate the call logs.
• When no call is received, error beep is emitted.
ID 1234
SC - 0:27
CALL SC
CA
Elapsed time from
receiving the call
: SelCall
: Call Alert
: Emergency call
Call type
SC
CA
EMG
Calling station ID
rPush [CH Up] or [CH Down] to select the desired call log
memory.
NOTE: 1000 hours has passed from receiving the call,
the elapsed time is reset to 0:00.

17
3MDC 1200 SYSTEM OPERATION
■Transmitting a call
DTransmitting a SelCall
SelCall allows you to make a call to a specific station or to
a particular group. Other MDC 1200 system transceivers on
the channel will not receive a SelCall that does not match
their station or group ID’s.
qPush [MDC Call] to enter the MDC menu selection mode.
• Or push [MDC SelCall] to enter the transceiver alias selection
mode. In this case, skip step w.
SELCALL
CALL SC
CA
wPush [MDC Call] again to enter the transceiver alias se-
lection mode.
eSelect the desired alias using [CH Up] or [CH Down].
rPush and hold [PTT] to transmit the SelCall to the se-
lected station, then speak into the microphone.
• “ ” appears.
tRelease [PTT] to receive.
DTransmitting a Call Alert
Call Alert allows you to notify another user who may be away
from the transceiver that you want to talk.
qPush [MDC Call] to enter the MDC menu selection mode.
• Or push [MDC CallAlert] to enter the transceiver alias selec-
tion mode. In this case, skip steps wand e.
wSelect “CALALERT” using [CH Up] or [CH Down].
CALALERT
CALL SC
CA
ePush [MDC Call] again to enter the transceiver alias se-
lection mode.
rSelect the desired alias using [CH Up] or [CH Down].
tPush [PTT] to transmit the Call Alert to the selected sta-
tion.
• “CA CALL” is displayed.
yRelease [PTT].
• “CA OK” is displayed after receiving an acknowledgement from
the targeted station.
• “CA FAIL” is displayed if the targeted station does not receive
the signal or send back an acknowledgement.
uAfter a specified time period has passed, the transceiver
will return to receive.
Other manuals for IC-F3160 SERIES
1
This manual suits for next models
1
Table of contents
Other Icom Transceiver manuals

Icom
Icom IC-F6122DD User manual

Icom
Icom IC-M801GMDSS User manual

Icom
Icom ID-1 Installation and operating instructions

Icom
Icom IC-7700 Guide

Icom
Icom IC-240 User manual

Icom
Icom IC-F11BR User manual

Icom
Icom IC-M604A User manual

Icom
Icom IC-M502AW User manual

Icom
Icom IC-M710 User manual

Icom
Icom IC-703 User manual