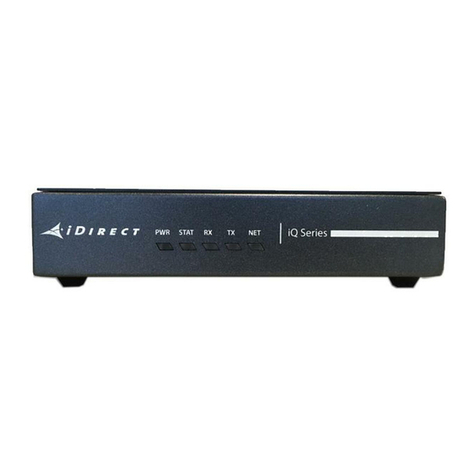
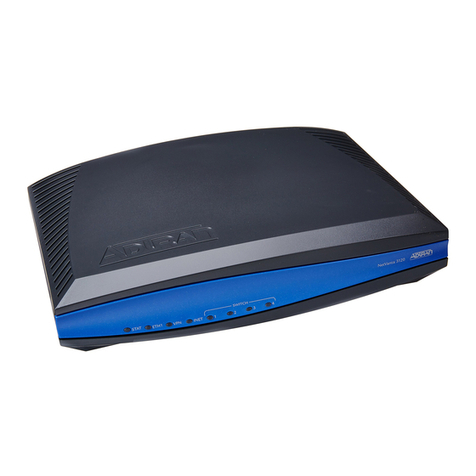
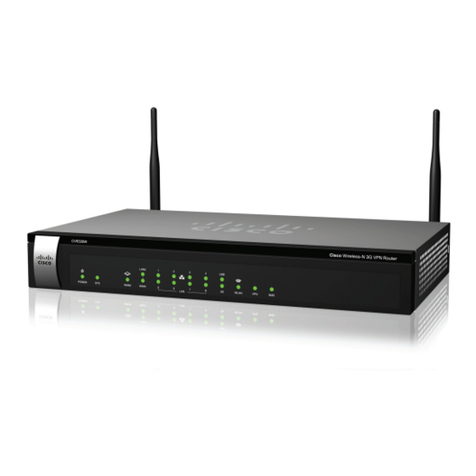
iDirect iNFINITI 3000 User manual

Installation and Commissioning Guide
iDirect iNFINITI series™
3000 5000 7000
Satellite Routers
Release 7.0
June 16, 2006

ii
iDirect iNFINITI series Installation and Commissioning Guide, Release 7.0
Copyright © 2006, iDirect, Inc. All rights reserved. This manual may not be reproduced, in part or
in whole, without the permission of iDirect, Inc.
The specifications and information regarding the products in this manual are subject to change
without notice. All statements, information, and recommendations in this manual are believed to
be accurate, but are presented without warranty of any kind, express, or implied. Users must take
full responsibility for their application of any products.
Trademarks, brand names and products mentioned in this manual are the property of their
respective owners. All such references are used strictly in an editorial fashion with no intent to
convey any affiliation with the name or the product’s rightful owner.
iDirect, Inc.
International Headquarters
13865 Sunrise Valley Drive
Herndon, VA 20171
www.iDirect.net
HQ: 1.703.648.8000
Toll free from within the US 1.888.362.5475

iii
iDirect iNFINITI series Installation and Commissioning Guide, Release 7.0
Contents
1 Getting Started 1
1.1 Required Equipment 1
1.2 When to Use this Guide 1
2 Install iSite Software and Remote Modem Images on your Laptop 3
2.1 Installing Software Downloaded from the Internet or CD 3
2.2 Components of the iSite Software and Remote Modem Images 3
3 Establish a Console Connection to the Satellite Router 5
3.1 Access your Satellite Router through HyperTerminal 5
3.2 Telnet to the iDirect Application 8
3.3 Discovering the Satellite Router’s IP Address 9
3.4 Modifying Your Laptop’s IP Address and Subnet Mask 10
4 Download the Application and Images Package to the Satellite Router 13
5 Download the Options File to the Satellite Router 19
6 Set Up your Antenna 23
6.1 Select a Site for the Antenna 23
6.2 Assemble the Antenna 23
6.3 Align the Antenna toward the Spacecraft 23
7 Point the Antenna Using a Voltmeter on the Transmit IFL Cable 27
7.1 Prepare the IDU (Indoor Unit) and ODU (Outdoor Unit) for Pointing 27
7.2 Log in to Your Satellite Router 27
7.3 Calculate Polarization, Azimuth, and Elevation 29
7.4 Perform Pulse Width Modulation (PWM) Antenna Pointing 30
8 Fine-tune the Antenna Pointing and Cross Polarization 35
8.1 Set up the Satellite Router for Cross Polarization 35
8.2 Set up iSite for Cross Polarization 35
8.3 Preparing for the Cross Polarization Test 36
8.4 Running the Cross Polarization Test 36
8.4.1 Adjusting Azimuth 37
8.4.2 Adjusting Elevation 37
8.4.3 Peaking the Polarization 37
8.4.4 After the Cross Polarization Test 38

iv
iDirect iNFINITI series Installation and Commissioning Guide, Release 7.0
9 Establish the 1 dB Compression Point 39
10 Record the Geo Location - Mobile Secure Remotes Only 41
10.1 Set the Satellite Router’s Geo Location 41
10.2 Verify the Satellite Router’s Geo Location 41
11 Bring the Satellite Router into the Network 43
11.1 Series 3000, 5000 and 7000 Front Panel LEDs 43
12 Post Acquisition Activities 45
12.1 Network Help Desk Duties 45
12.2 Remote Duties 46
13 Adjusting Power Settings and Configuring UCP Parameters 49
13.1 Set the Maximum Tx Power for a Remote 49
13.2 Set the Initial Tx Power for a Remote 51
13.3 Set the Clear Sky C/N Parameters for a Mesh Remote 54
14 iDirect Technical Support and Sales Information 57
Technical Assistance Center (TAC) 57
Sales 57
Appendix A Loading Images using the TFTP Server 59
Appendix B Pointing the Antenna through the Console Port 61
B.1 Performing Console Antenna Pointing 61
B.2 Modifying the Options File to Disable the Transmit PWM Voltage 61
B.3 Starting the Console Pointing 62
B.4 Using the DVM for Console Pointing 62
B.5 Pointing 63
B.6 Final Adjustments 63
Appendix C Disabling the PWM Voltage through iBuilder 65
Appendix D Pinout for RJ-45 to DB-9 Adapter 67

v
iDirect iNFINITI series Installation and Commissioning Guide, Release 7.0
Figures
Figure 6-1: Antenna Elevation Offset 24
Figure 7-1: Comparing Signal Strength 31
Figure 7-2: Locking into a Carrier Stream 32
Figure 8-1: iSite Cross Polarization 35
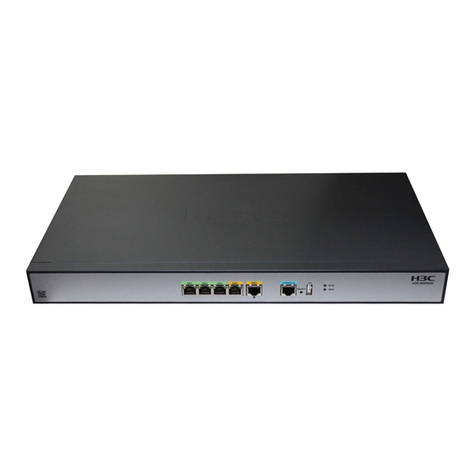
Figure 11-1: iDirect 3000 series Satellite Router Front Panel 43

vi
iDirect iNFINITI series Installation and Commissioning Guide, Release 7.0
Tables
Table 7-1: Signal Strength Ranges (PWM) 30
Table 11-1: iDirect 3000/5000/70000 LED Status 43
Table B-1: Signal Strength Ranges (DVM) 62

1
iDirect iNFINITI series Installation and Commissioning Guide, Release 7.0
1 Getting Started
This Quick Reference Guide is intended to help the user quickly install and commission iDirect
iNFINITI series™ 3000, 5000 and 7000 Satellite Routers.
Throughout this manual we will refer to an iDirect iNFINITI series™ 3000, 5000 or 7000 Satellite
Router as, simply, “the Satellite Router.”
Your network must be at iDS version 6.0.1 or later to support iDirect iNFINITI series™ Satellite
Routers.
iDirect iNFINITI series™ Satellite Routers have a Linux operating system.
1.1 Required Equipment
You will need the following equipment and software to successfully commission the Satellite
Router in the field:
The appendices of this document include additional helpful information.
1.2 When to Use this Guide
Once you have successfully commissioned an iDirect iNFINITI series Satellite Router at a specific
location it can be reset at any time. Resetting the Satellite Router will cause it to perform its self-
test startup sequence and acquire into the network.
However, if you move your iDirect iNFINITI series™ Satellite Router from one established location
to another, it must be re-commissioned by repeating the procedures in this manual.
1. A console cable with DB9 adapter
2. A cross over LAN cable
3. Digital (or Analog) Voltmeter plus adaptor from voltmeter to IFL "F" connector
4. A hand held GPS unit or a map that shows your current geographic location
coordinates
5. A laptop (or PC) with Windows XP or Windows 2000 Service Pack 3 loaded. (512
MB RAM recommended; 1 GHz processor or more; and at least 50 MB of free disk
space) iDirect recommends disabling the firewall to ensure complete functionality.
6. The correct options file provided to you by your Service Provider.
7. The correct remote application and firmware images (or correct “package”)
provided to you by your Service Provider.

2
iDirect iNFINITI series Installation and Commissioning Guide, Release 7.0

3
iDirect iNFINITI series Installation and Commissioning Guide, Release 7.0
2 Install iSite Software and Remote Modem Images on your Laptop
These instructions will guide you through the process of installing iSite software and remote
images onto your laptop (or PC). The software may be downloaded from the Internet or distributed
on a CD.
2.1 Installing Software Downloaded from the Internet or CD
iSite software is usually distributed in a ZIP file format. After receiving the compressed archive file,
remote-<version>.zip, copy it to a directory where you can uncompress the files. Be sure to store
the files some where on your laptop (or PC) that you can locate them later.
Several tools, such as Info-Zip (at http://www.info-zip.org/), WinZip (at http://www.winzip.com/), or
PKZIP (at http://www.pkware.com/), recognize the .zip format.:
2.2 Components of the iSite Software and Remote Modem Images
Currently, the Images for iDirect NetModem and Satellite Router remote modem products are
bundled together, in addition to the iSite software.
•The NMS iSite program and support files
•The NetModem II Remote-Modem application and image files
•The NetModem II Plus Remote-Modem application and image files
•The iNFINITI Remote-Modem application and image files
A directory structure similar to the following will be created when the files are uncompressed:
NetModem-<7_0_X>/
iSite/
Images
Remote_2plus/
Remote_iNFINITI
Remote_NM2/
1. Uncompress the files by using a utility that understands the .zip format.
2. If desired, create a shortcut on the desktop or Windows taskbar to iSite.exe
(located in the iSite folder).
3. Run the iSite program wizard to install the software on your laptop (or PC).
NOTE <version> is the software version number in the form
‘7_X_X’.

4
iDirect iNFINITI series Installation and Commissioning Guide, Release 7.0

5
iDirect iNFINITI series Installation and Commissioning Guide, Release 7.0
3 Establish a Console Connection to the Satellite Router
You can use any terminal emulator to connect to the Satellite Router console. The HyperTerm
application comes pre-installed on all Windows 2000 and XP machines.
3.1 Access your Satellite Router through HyperTerminal
1. Connect the RJ-45 to DB-9 adapter to the COM1 port of your laptop.
2. Plug the other end of the cable into the Console port of the iDirect Satellite Router.
3. Power Up your Satellite Router.
4. In the Windows Start menu of your Laptop (or PC), select Programs, select
Accessories, select Communications, and then select HyperTerminal. You
may have to answer some questions about your area code and provide dialing
information.
5. In the Connection Description dialog box, enter a name for the connection, such
as “Satellite Router Console”.
(You may also select an icon other than the default icon.)

6
iDirect iNFINITI series Installation and Commissioning Guide, Release 7.0
6. Select COM1 in the Connect To dialog box
7. Using the default variables illustrated in the COM1 Properties dialog box below,
enter the session properties.

7
iDirect iNFINITI series Installation and Commissioning Guide, Release 7.0
NOTE
If this is a mobile remote and you lose contact with it, the console
port settings will change during the boot process to 4800 bps. (All
other settings will remain the same.) To re-establish
communication with the console port, you must change your
serial port settings to match those in the dialog box above.
8. Press Enter a few times to see if you can generate a response from the Satellite
Router. If you are successful, you will see the console prompt. If you are unable to
generate a response from the Satellite Router, reexamine your settings to be
certain that they are correct.
9. At the iDirect login prompt, enter the default login “root”.
10. At the Password prompt, enter the default login “iDirect”.

8
iDirect iNFINITI series Installation and Commissioning Guide, Release 7.0
You are now in the Linux software running on the Satellite Router. You can access the iDirect
application running on the Satellite Router by telneting to it from Linux.
3.2 Telnet to the iDirect Application
1. At the Linux prompt, enter “telnet 0” to telnet to the iDirect application.
2. At the Username prompt, type the default user name “admin”.
3. At the Password prompt, type the default password “iDirect”.

9
iDirect iNFINITI series Installation and Commissioning Guide, Release 7.0
You will now be in the iDirect application. To find out the IP address of the Satellite router,
complete the following procedure.
3.3 Discovering the Satellite Router’s IP Address
1. At the Satellite Router prompt, enter the command “laninfo”.

10
iDirect iNFINITI series Installation and Commissioning Guide, Release 7.0
The Satellite Router’s IP address and Netmask will be displayed.
Use this information to configure your laptop (or PC) to be in the same subnet as the Satellite
Router. In this example, the IP address is 10.10.30.1 and the subnet is 255.255.255.0.
3.4 Modifying Your Laptop’s IP Address and Subnet Mask
To modify your laptop’s IP address, you must bring up the Network Connections window to launch
TCP properties.
The dialog box should look similar to the one displayed below.
1. From your computer’s Control Panel, double-click Network Connections. This
screen’s appearance is different in Windows 2000 and Windows XP.
2. Launch the status dialog box for your Local Area Connection object by double-
clicking on the icon.

11
iDirect iNFINITI series Installation and Commissioning Guide, Release 7.0
3. Click the Properties button.
4. In the Local Area Connection Properties dialog box, select Internet Protocol in
the scroll-down box, and then click the Properties button.

12
iDirect iNFINITI series Installation and Commissioning Guide, Release 7.0
You should now be able to connect to the Satellite Router using the iSite GUI.
5. In the Internet Protocol (TCP/IP) Properties dialog box, select Use the following
IP address, and then enter an IP address that is inside the range specified by the
Satellite Router’s IP address and subnet mask.
6. Enter the same subnet mask that you retrieved from the Satellite Router using the
“laninfo” command. For the purposes of a local connection, you do not need to
specify DNS server addresses.
7. Enter the Satellite Router’s IP address as the Default Gateway address
8. Click OK to save your changes.

13
iDirect iNFINITI series Installation and Commissioning Guide, Release 7.0
4 Download the Application and Images Package to the Satellite
Router
Follow the steps in this section to download the image package containing software and firmware
for the current release from your laptop to the remote.
1. Connect the LAN port of the laptop (or PC) to the LAN B port of the Satellite
Router using a crossover LAN cable. (Newer laptops (or PCs) will adjust when you
use a straight through cable, but older machines will not.)
2. Launch iSite. iSite will automatically discover the Satellite Router.

14
iDirect iNFINITI series Installation and Commissioning Guide, Release 7.0
3. Right-click the Satellite Router and select Login
4. Enter the default password “iDirect” and click OK.
This manual suits for next models
2
Table of contents
Other iDirect Network Router manuals
iDirect
iDirect iQ 200 Installation instructions

iDirect
iDirect evolution x5 User manual
iDirect
iDirect Evolution 8000 Series User guide

iDirect
iDirect iQ LTE Series Installation instructions

iDirect
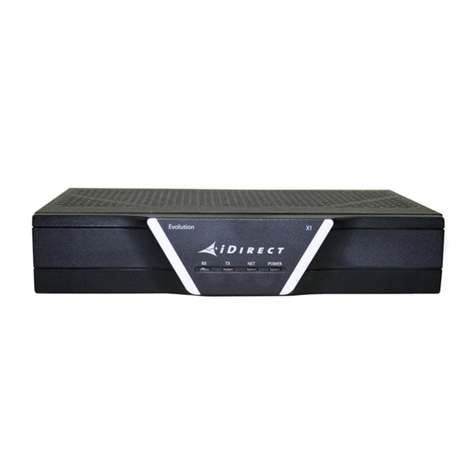
iDirect Evolution X1 User manual

iDirect
iDirect Evolution X7 Installation instructions

iDirect
iDirect iQ Desktop+ Installation instructions
iDirect
iDirect Evolution X3 User guide

iDirect
iDirect Evolution X1 User guide
iDirect
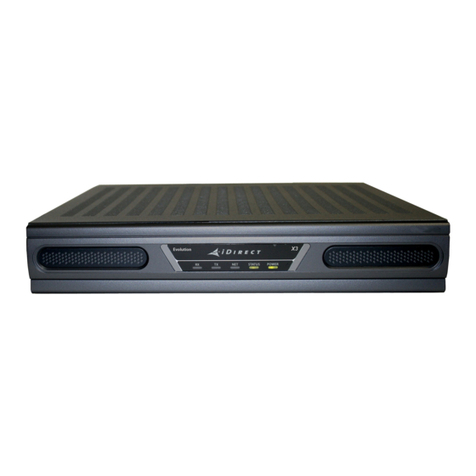
iDirect Evolution X1 Installation instructions