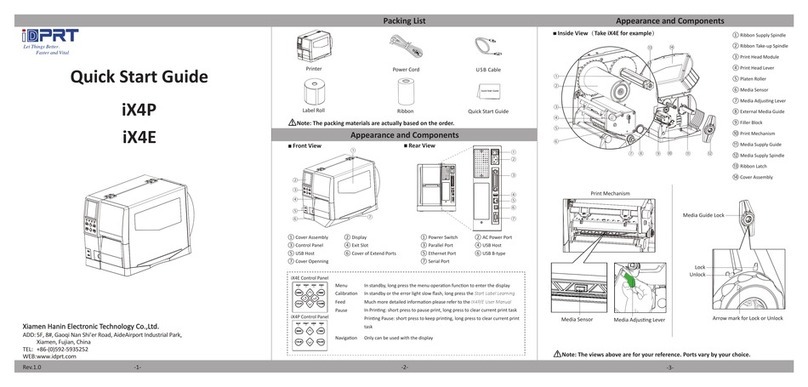
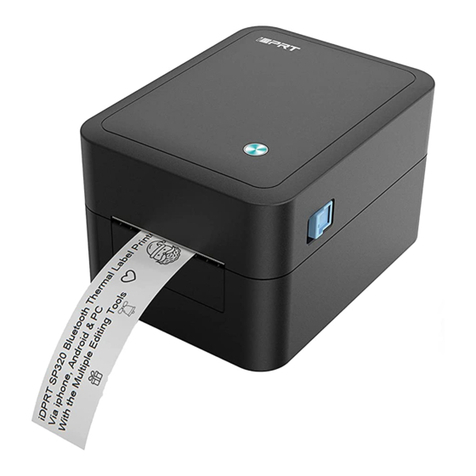
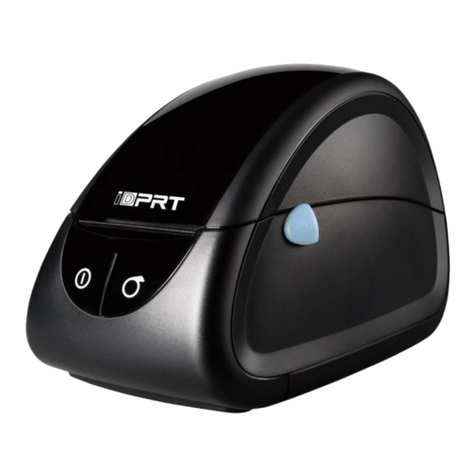
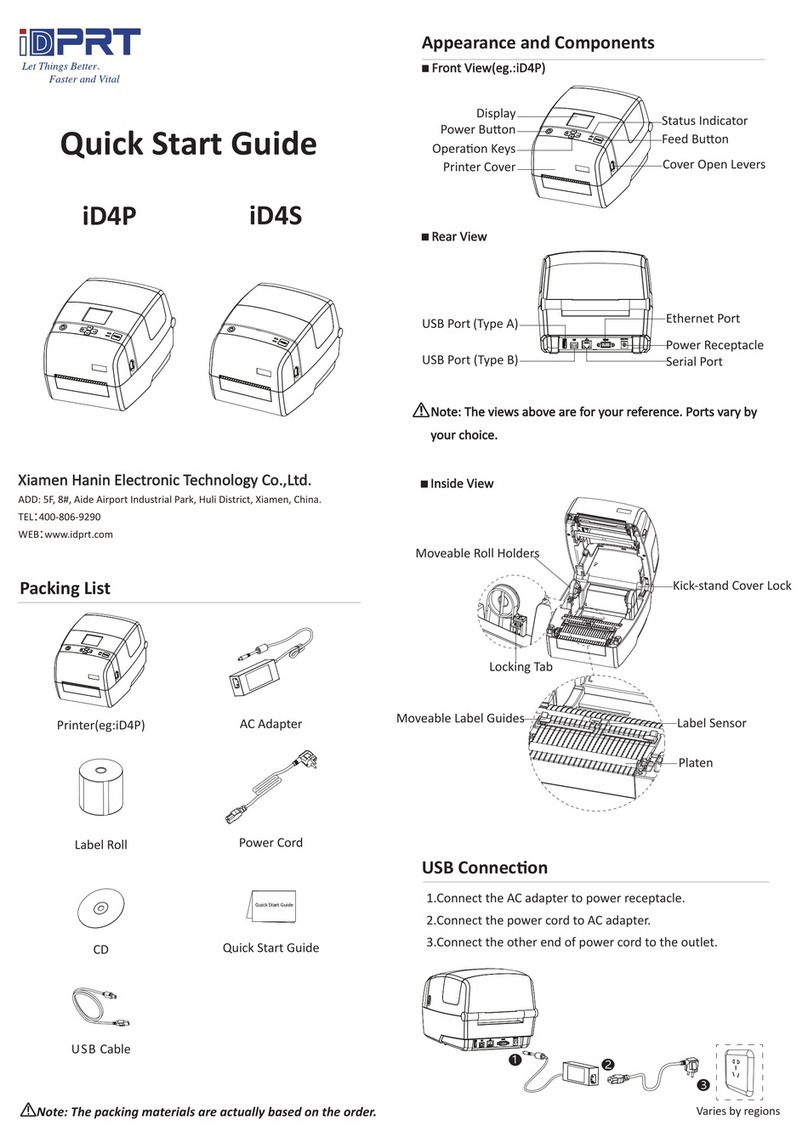
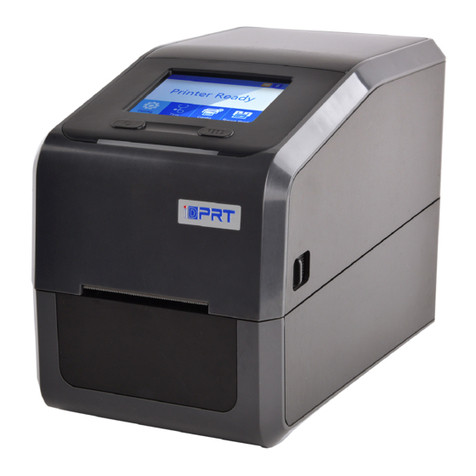
iDPRT SP320 User manual


Appearance
Packing List
Printer Power Cord
User Guide CD
Unpack the printer and keep the packing materials in case you
need to ship the printer in the future.
Any damages exist, please contact the iDPRT team.
USB Cable
Thermal Label
Note: The packing items are based on the order.
-1-

Paper Roll Loading
Note:
upward; when using the 1.5-inch paper roll, the axis should be turned
both sides with both hands to open
Take out the paper holder.
Load the paper roll to the paper
holder according to the following
appropriate size.
Load the paper holder back to
the printer.
-2-
1-inch 1.5-inch
1
2
01
03 04
02

-3-
BT Password: 1234
05
to suit the paper width.
.
of this printer contains
a sharp edge. Please

1.
2. Connect the power cord to the printer.
3. Connect the other end of the power cord to the outlet.
4. Connect the USB cable to the printer and PC.
Power Cord
OFF ON
Note:
by charging improperly.
-4-

Driver
-5-
Warning:
1. Select one interface to connect your printer to the computer.
2. Turn on the printer and check if it is connected successfully.
7.
iDPRT SP320
iDPRT SP320
iDPRT SP320

-6-
1.
.
.
.
.
iDPRT SP320

-7-

-8-
(
iDPRT SP320
iDPRT SP320
iDPRT SP320

-9-
Driver Removing
1.
2.
3.
4.
iDPRT SP320
iDPRT SP320
iDPRT SP320
iDPRT SP320
USB Virtual Port

Warning:
as an example.
1.
2.
3.
-10-

4.
5.
6.
7.
8.
-11-
iDPRT SP320 iDPRT SP320

LED Display
Always on The printer is ready
Always on The print head
Always on Tis not closed
lash slowly Paper out
lash rapidly Label learning is abnormal
Always on The printer is not ready yet
lash slowly Papeis abnormal
Always on Printing
lash slowly Printing pause
lash rapidly Ring data
Blue
Purple
Red
Green
-12-
Switch mode
the printer will start the black mark label learning. The label and black mark label
can be switched to each other.
Print the self-test page
self-test page.
Label calibraon/learning
learning.
Pause prinng
again, the printer will return to the ready status and the green indicator will always
on.

Print Problem
-13-
Problem Cause
1. Common
quality problem
of print.
Speed seng error. Set minimum prinng speed by the control panel,
driers and soware to aain the best prinng
quality.
ncorrect margins and
paper size.
ake sure the label size is correct before prinn
g.
.
f the content exceeds the label size, the printer
may "shrink" the size to a smaller size, causing
the content fade.
ncorrect print density
seng.
To obtain the best print quality, the print depth
should be set to the minimum set alue for your
applicaon.
The print head is dirty. Use a coon swab moistened with alcohol to
clean it from the center to the sides of the print
head. Aer cleaning the print head, do not use
the printer immediately. Use it aer the alcohol
completely eaporate (aer 1 to 2 minutesand
the print head is completely dry.
The creaon quality of
the source le is not
sasfactory.
Print a sample label to test whether the printer is
working well.
The print head is
broken.
Change another print head.
2. White spots
appear on the
label.
The print head is dirty. Use a coon swab moistened with alcohol to
clean it from the center to the sides of the print
head. Aer cleaning the print head, do not use
the printer immediately. Use it aer the alcohol
completely eaporate (aer 1 to 2minutesand
the print head is completely dry.
3. Blank label
printed.
The label is upside
down/on the wrong
side.
ake sure to load the label correctly, and the
prinng side should face up.
The label is not a
"direct thermal" label.
ake sure your label is a "direct thermal" label.
Printer system error. Restart the printer and connue to try to print. f
prinng is sll unsuccessful, please contact the
customer serice.

-14-
Problem Cause
before prinng.
4. isalignment /
skip label.
The printer is uncalibrated.
Calibrate the printer.
ethod 1: Tools--- "Automac label
learning".
ethod 2: Press and hold the feed buon
(top buonunl the blue light goes out
twice and then release
..
The tag format is incorrect. Check your label format and correct it as
needed.
5.Paper am in the
printer.
The paper is not placed
correctly in the printer. .
pen the printer coer and remoe the
ammed paper. Then clean the print head,
paper sucon port andplace the new
paper.
6. The paper is not
sucked in by the
printer.
7. The label or image
is oset during
prinng.
The paper does not
conform to the
specicaons.
Use the paper that meets the specicaons.
Printer uncalibrated.. Calibrate the printer.
The platen is too dirty. Clean the print head and the platen.
The calibraon of the
paper sensor is incorrect.
Calibrate the printer.
The loading of the media
is incorrect.
nsure that the media is properly loaded.
The media is incompable.
The paper is not detected
by the paper sensor in the
middle of the printer.
When placing paper from the back entry
sensor, and the paper sensor will trigger
paper is detected.
The printer uses a
Set the printer as the correct medium type.

-15-
Problem Cause
Problem Cause
8. The bar code
printed on the label
can not be scanned.
Adust the concentraon or print speed
properly.
9. Auto calibraon
failed.
The loading of the media
is incorrect.
nsure that the media is properly loaded.
The medium is not
detected by the sensor.
Calibrate the printer.
The sensor is dirty or
incorrectly posioned.
ake sure that the sensor is clean and
correctly posioned. During the calibraon
process, the gap mark or black mark
should be aligned with the paper sensor.
ncorrect media type
seng.
Set the printer media type correctly.
too light. The barcode does
There is not enough blank
space around the barcode.
the barcode on the label and other printed
areas and the edge of the label.
1. The label format
has been sent to the
printer, but it has
not been idened.
2. The DATA light did
not ash.
The communicaon
parameters are not
correct.
Check the printer drier or soware
communicaon sengs.
Check the handshake protocol seng for
the printer and the sengs used must be
able to match the sengs used by the
computer host. f the drier is used, the
drier communicaon sengs related to
the connecon should be checked.
3. The label format
has been sent to the
printer, but it has
not been idened.
4. The DATA lights
ash, but not print.
The prex and the
separated character set in
the printer does not match
the character set in the
label format.
Check prex and separate characters.
The incorrect data is being
sent to the printer.
Check the communicaon sengs on the
computer to ensure that these sengs
match the sengs on the printer.
f the fault sll exists, the label format
should be checked.

-16-
FCC WARNING
radiate radio frequency energy and, if not installed and used in accordance with the
-
ence in which case the user will be required to correct the interference at his own
expense.
-- Consult the dealer or an experienced radio/TV technician for help.
installed and operated with minimum distance between 20cm the radiator your
body: Use only the supplied antenna.


technic[email protected]
Web: www.idprt.com
Other manuals for SP320
2
Table of contents
Other iDPRT Label Maker manuals
Popular Label Maker manuals by other brands
CTM
CTM 360a series Maintenance and service manual
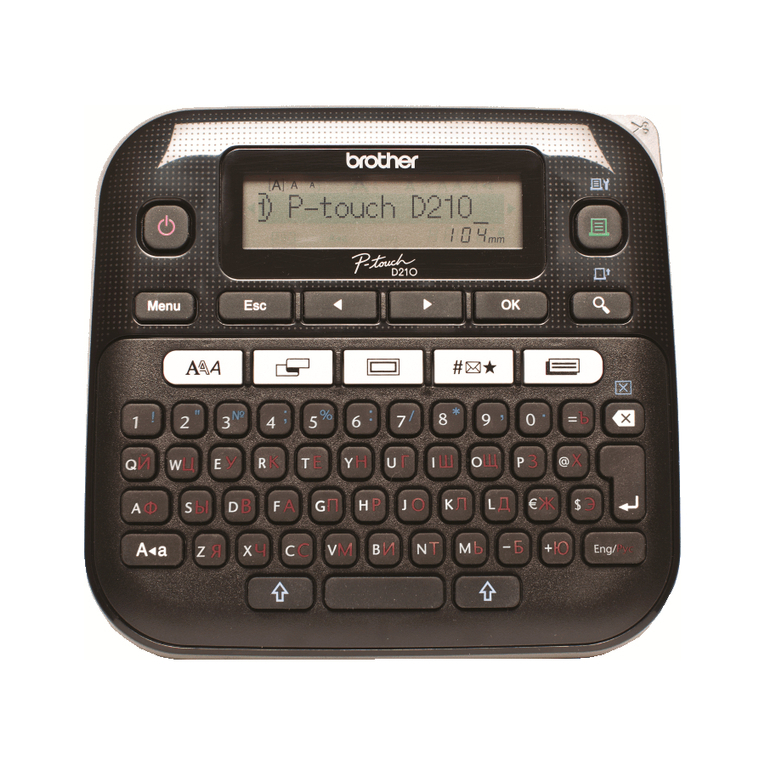
Brother
Brother P-Touch PT-D210 user guide
Brother
Brother QL-1100 Quick setup guide
Brother
Brother P-touch PT-2030 user guide
Dymo
Dymo LabelWriter 450 Duo Label Printer quick start guide

Brother
Brother QL 570 - P-Touch B/W Direct Thermal Printer Setup & operation guide

