9
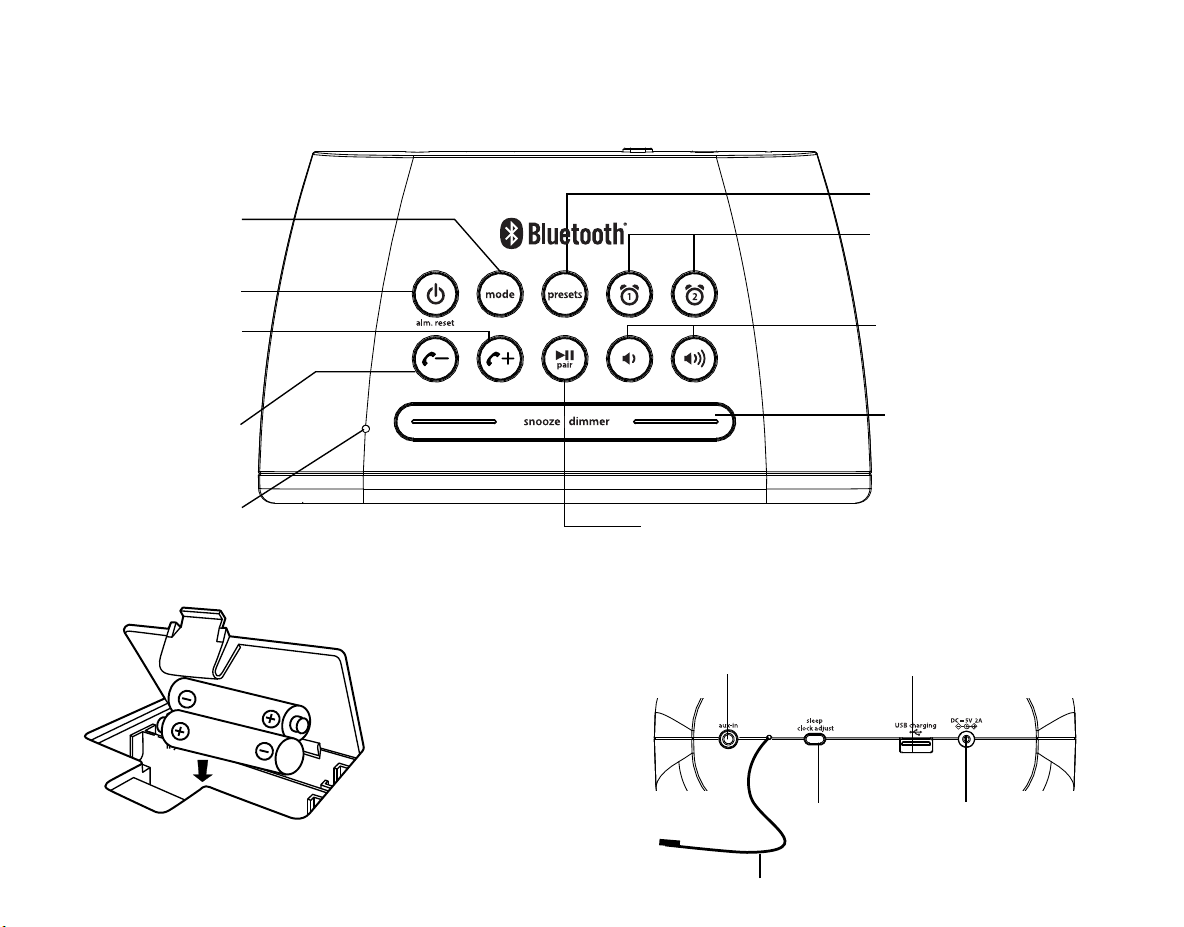
Snooze/Display Dimmer Button
1. The default snooze time is 9 minutes. To adjust Snooze duration, press and hold the
Snooze/Display Dimmer Button during normal operation (when no alarm is sounding).
2. Press the or Buttons to select the desired snooze time (between 01 and 29 minutes).
3. Press and release the Snooze/Display Dimmer Button to confirm Snooze setting. 2 beeps will
sound.
4. While the alarm is sounding, press and release the Snooze/Display Dimmer Button to
temporarily silence the alarm for the set duration. Snooze can be used several times during the
60 minute alarm cycle.
5. To adjust the brightness of the display, press and release the Snooze/Display Dimmer Button
during normal operation (when no alarm is sounding) to cycle through the brightness display
settings.
Sleep Mode
Sleep to the current sound source for a set time before turning the unit o.
1. To set Sleep time, press and release the Sleep/Clock Adjust Button as needed to cycle to the
desired sleep duration:120, 90, 60, 30 or 15 minutes or OFF (turns the unit o).
2. Press the or Buttons to adjust the sleep volume on the unit. Note that the sleep volume
setting is stored separately from other volume settings.
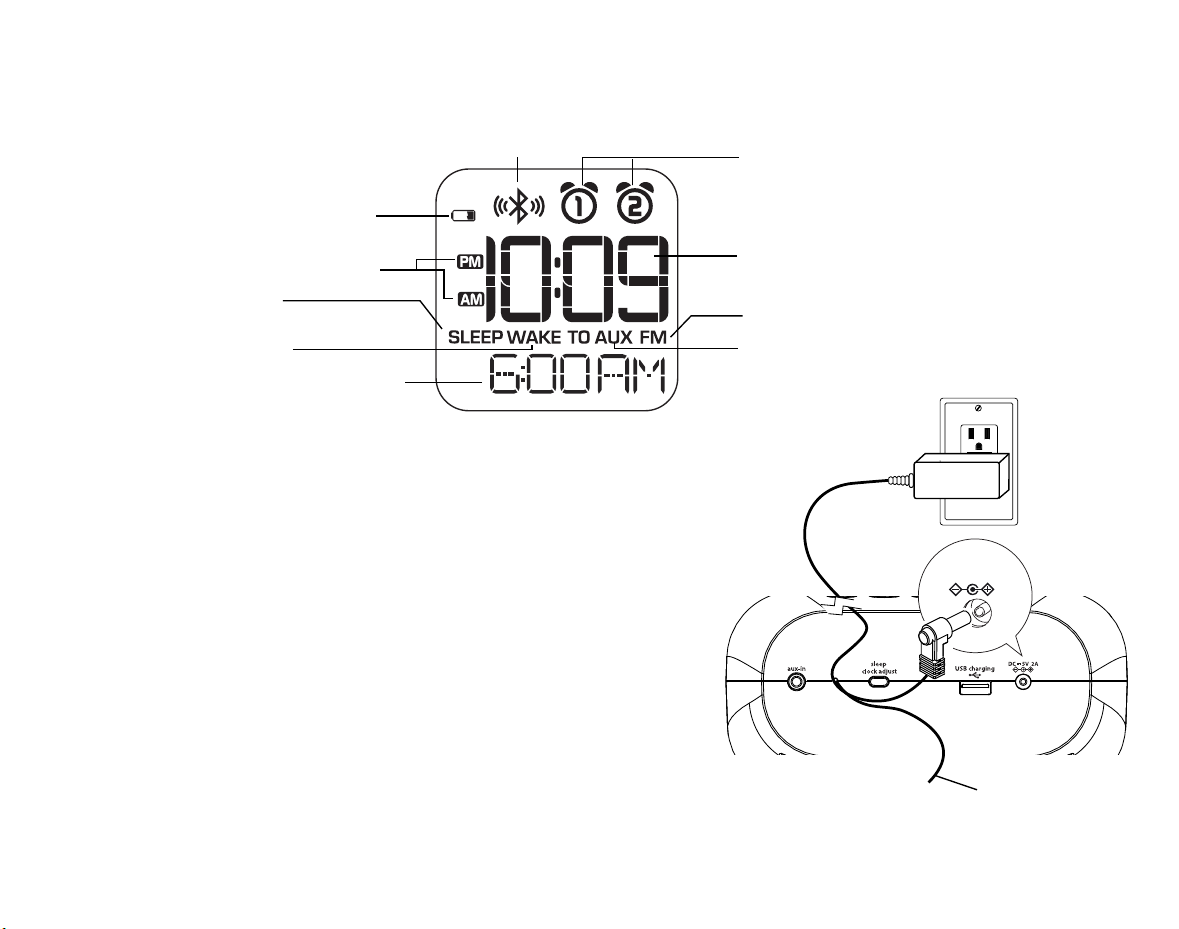
FM Radio
Extend the FM antenna for best reception.
1. Press and release the Mode Button as needed until the FM indicator icon
and current FM radio frequency appear on the display.
2. Press the or Buttons to tune the radio to the desired station (hold
to scan for the next clear station).
3. Press the or Buttons to adjust the volume on the unit.
4. When you are through listening, press the Power/Alarm Reset Button to turn the unit o.
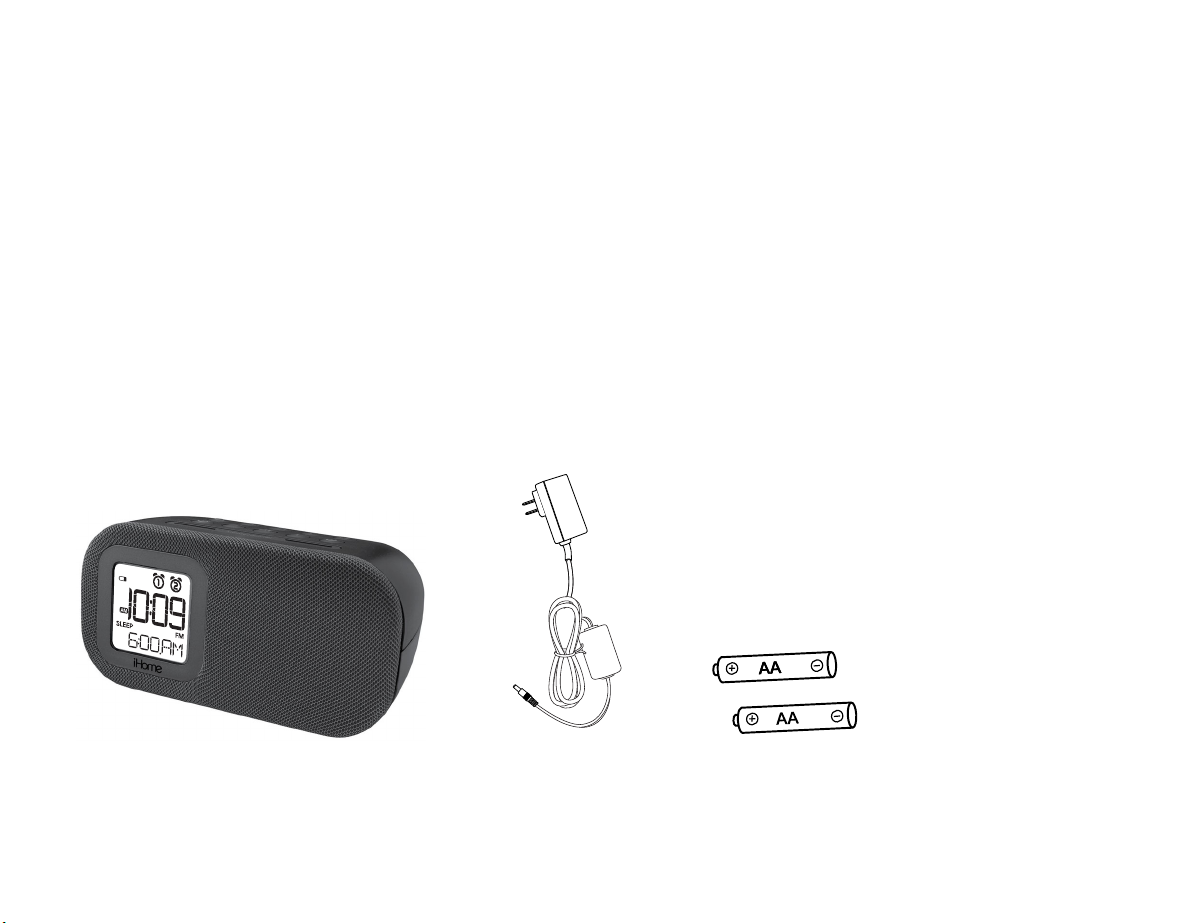
Using the iBT210