manuals.online logo
Brands
  1. Home
  2. •
  3. Brands
  4. •
  5. Ikan
  6. •
  7. Lighting Equipment
  8. •
  9. Ikan RB5-2PT-KIT User manual

Ikan RB5-2PT-KIT User manual

[email protected] © 2016 ikan Corporation. All rights Reserved
www.ikancorp.com 713.272.8822
CHECKED BY
QUICKSTART GUIDE
RB5-2PT-KIT
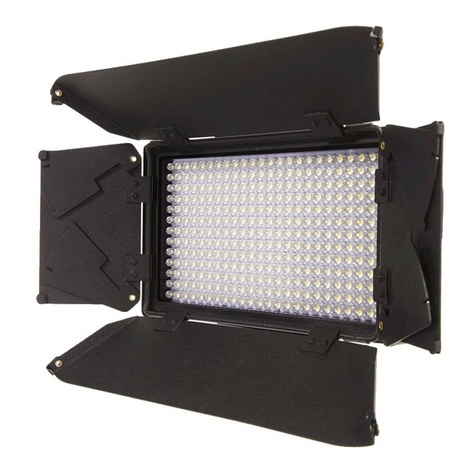
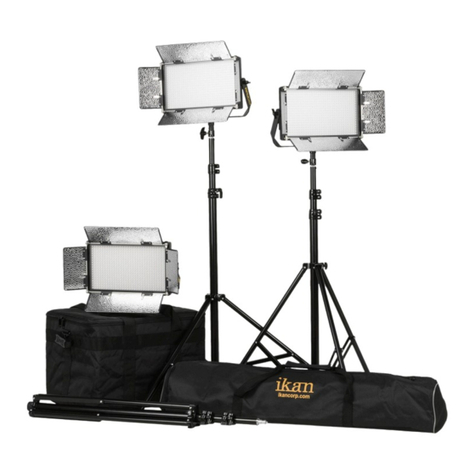
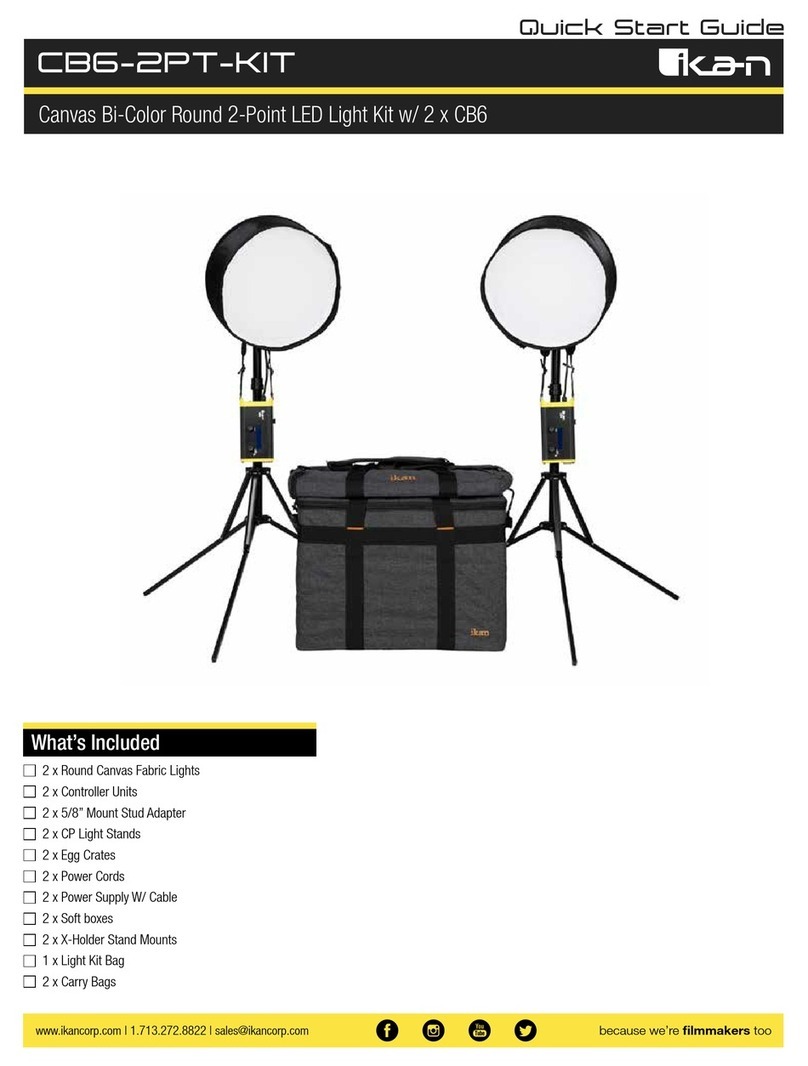
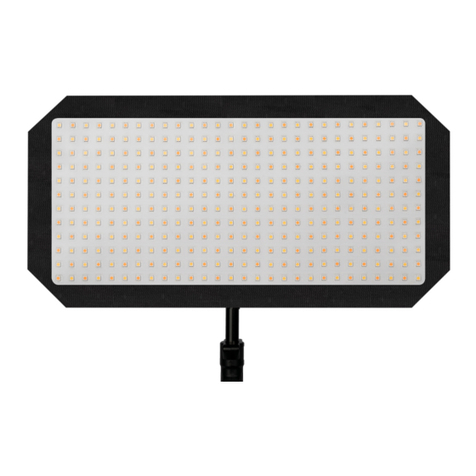
Kit with 2x Rayden Bi-Color Half x 1 LED Soft Light
What’s Included
2 x Half x 1 Bi-Color LED Light
2 x Heavy Duty Stand
2 x Gold Mount Battery Plate
2 x V-Mount Battery Plate
1 x Light Kit Bag (ID-500-3L)
1 x Stand Bag
Getting to know your RAYDEN lights
PRECAUTIONS:
• Keep the fixture away from water and all flammable gases or liquids.
• Use only the recommended batteries.
• Handle the unit with care.
• DO NOT attempt to disassemble or repair the unit without first contacting service department at
ikancorp.com.
• Keep the unit clean and free of dust. The unit can be cleaned with a soft dry cloth.
• Use only parts provided by the manufacture.
• Always use caution when plugging in the fixture.
Mounting the Rayden to a Stand:
The Rayden LED Light comes with a pre-installed yoke and combo mount. This allows the fixture to easily
sit and adjust on any stand. The 30° yoke gives the light free-range motion without obstructions. The Baby
5/8" and Junior 1-1/8" Combo Pin allows the user a wide range of stands. The light can be mounted either
horizontally or vertically on a 5/8" baby pin.
Power the LEDs:
The Rayden light comes with an included AC power supply and 6 foot cable. This allows the user to plug
into any standard 120-240v electrical outlet. The Rayden LED light can be powered from either an AB
Mount pro battery, or a V-Mount battery. The fixture comes standard with either AB-Mount or V-Mount
plates. The plates can be easily removed and replaced for the type of batteries that are available.
Adjusting the Color & Brightness of the Light:
The Rayden LED light is controlled by the large yellow knob on the rear of the fixture. The knob was
designed with the idea that it could be reached and adjusted when the light is up on a stand. The knob
has three push settings.
1. The default setting is the brightness from 10%-100% brightness.
2. By pressing in on the knob the color temperature can be adjusted. (Bi-Color Lights)
Changing the Pro Battery Plate
Adding or removing the pro battery plate on the back of your fixture can be easily achieved.
NOTE: The fixture comes pre-installed with the Gold-Mount battery plate.
The process starts with the removal of the four screws on the four corners of the plate. Once the screws
are removed, separate the plate from the back of the fixture. Unplug the 2-pin connector from the fixture.
Store the screws and the Gold-Mount in a safe place.
Reattaching the V-Mount plate is a simple process. Plug the wired 2-pin connector into the fixture where
we just unplugged the Gold-Mount plate at the back of the light. Orient the holes on the plate to match up
with the screw holes on the back of the fixture. Using the screws supplied with the V-Mount plate, screw
in the plate until it is snug against the back of the fixture. Do not over-tighten the screws.
You’re now ready to install your battery to the V-Mount plate.
Remote Control
The light can be adjusted also using the RF remote control. The use of the remote allows for multiple lights
to be connected as well as control of the brightness.
Remote Control Button Functions
• Press & Hold “A” for 5 seconds to sync remote control to light(s).
• Press “A” & “B” to power ON/OFF
• Press “B” to adjust 4 levels of light intensity in increments of 25%
• Press and Hold “C” & “D” for 5 seconds to Enable/Disable sound
• Hold down “C” to increase light intensity 0%-100%
• Hold down “D” to decrease light intensity 100%-0%
Specifications & Photometrics
Specs
Head Type Bi-Color 5600K-3200K
Rating 36.4w ; 14-18VDC
Light Source 608 0.06 watt LEDs
Power Supply Input: 110-220VAC ; Output:15VDC
Lens 45°
Beam Angle 50°
Yoke & Pin 30° Angled yoke w/ Baby 5/8” & 11/8” Combo Pin
Fixture Size 18 x 16 x 6 In.
Fixture Weight 9 lbs
Optional Accessories
Some other products that work well with the RB5 available from Ikan include:
HD-STND
ROLLR-STND10
CP-STND-V3
SW-04
KCP-703
Heavy Duty Light Stand
2 Stage Roller Stand 10 ft 6 in
Compact Light Stand Version 3
Safety Wire
Stage Clamp w/ 16mm Stud
Photometrics
5600K 3200K
3ft 282 fc 3035 lux 3ft 276 fc 2970 lux
6ft 79 fc 850 lux 6ft 77 fc 828 lux
9ft 32 fc 344 lux 9ft 31 fc 333 lux
Learn More
More dynamic information at official website: www.ikancorp.com
Support
Contact email: [email protected]
CONDITIONS OF WARRANTY SERVICE
• Free service for one year from the day of purchase if the problem is caused by manufacturing errors.
• The components and maintenance service fee will be charged if the warranty period is expired.
Free Service will not be Provided in the Following Situations:(*Even if the product is still within the warranty period.)
• Damage caused by abuse or misuse, dismantling, or changes to the product not made by the company.
• Damage caused by natural disaster, abnormal voltage, and environmental factors, etc.
©2016 ikan Corporation. All rights reserved

Other Ikan Lighting Equipment manuals

Ikan LB5-2PT-KIT User manual

Ikan

Ikan LB5-2PT-KIT User manual

Ikan RB5-5PT-KIT User manual

Ikan

Ikan RB5-5PT-KIT User manual

Ikan WS-F100 User manual

Ikan

Ikan WS-F100 User manual

Ikan MW8-5PT-KIT User manual

Ikan

Ikan MW8-5PT-KIT User manual

Ikan RLB40 User manual

Ikan

Ikan RLB40 User manual

Ikan LS-4000E User manual

Ikan

Ikan LS-4000E User manual

Ikan LightStar LSKT-004 User manual

Ikan

Ikan LightStar LSKT-004 User manual

Ikan Lightstar LSP-002 User manual

Ikan

Ikan Lightstar LSP-002 User manual

Ikan RLCB60 User manual

Ikan

Ikan RLCB60 User manual

Ikan IFD1024 User manual

Ikan

Ikan IFD1024 User manual

Ikan LSC-003 User manual

Ikan

Ikan LSC-003 User manual

Ikan ID1000-v2 User manual

Ikan

Ikan ID1000-v2 User manual

Ikan LYRA User manual

Ikan

Ikan LYRA User manual

Ikan LSW-010 User manual

Ikan

Ikan LSW-010 User manual

Ikan IB 1000 User manual

Ikan

Ikan IB 1000 User manual

Ikan Stryder User manual

Ikan

Ikan Stryder User manual

Ikan LWX20 User manual

Ikan

Ikan LWX20 User manual

Ikan LSP-004 User manual

Ikan

Ikan LSP-004 User manual

Ikan Piatto Lights PL60 User manual

Ikan

Ikan Piatto Lights PL60 User manual

Ikan Lyra POE Light Series User manual

Ikan

Ikan Lyra POE Light Series User manual

Ikan CB6 User manual

Ikan

Ikan CB6 User manual

Ikan IFB576 User manual

Ikan

Ikan IFB576 User manual

Ikan LS-575PE User manual

Ikan

Ikan LS-575PE User manual

Ikan Stryder SW-IP100 User manual

Ikan

Ikan Stryder SW-IP100 User manual

Popular Lighting Equipment manuals by other brands

Tomar 4374 INSTALLATION, OPERATION AND MAINTENANCE DATA SHEET

Tomar

Tomar 4374 INSTALLATION, OPERATION AND MAINTENANCE DATA SHEET

RHINOMOTIVE R1106 user manual

RHINOMOTIVE

RHINOMOTIVE R1106 user manual

Daintree GE cirrent Tetra Rigid Light Bar installation guide

Daintree

Daintree GE cirrent Tetra Rigid Light Bar installation guide

avide ABLS12V2835-60 user manual

avide

avide ABLS12V2835-60 user manual

Ledvance LEDVANCE DAMP-PROOF LED 57W/840 BIV installation manual

Ledvance

Ledvance LEDVANCE DAMP-PROOF LED 57W/840 BIV installation manual

Wybron Nexera LX user manual

Wybron

Wybron Nexera LX user manual

iGuzzini AGORA SLIM instruction sheet

iGuzzini

iGuzzini AGORA SLIM instruction sheet

Defiant 90101 Use and care guide

Defiant

Defiant 90101 Use and care guide

EuroLite LED TMH-17 user manual

EuroLite

EuroLite LED TMH-17 user manual

STERNO HOME GL39409 Installation, Care and Use Manual

STERNO HOME

STERNO HOME GL39409 Installation, Care and Use Manual

S.R.Smith BYOS 2 Assembly/installation instructions

S.R.Smith

S.R.Smith BYOS 2 Assembly/installation instructions

Steinbach The Gate 049095PP ORIGINAL OWNER'S MANUAL

Steinbach

Steinbach The Gate 049095PP ORIGINAL OWNER'S MANUAL

Griven Jupiter B user manual

Griven

Griven Jupiter B user manual

American DJ Concept 2 User instruction

American DJ

American DJ Concept 2 User instruction

Hydrofarm XT49HV instructions

Hydrofarm

Hydrofarm XT49HV instructions

Lucci CONNECT 259988 installation instructions

Lucci CONNECT

Lucci CONNECT 259988 installation instructions

Intex Krystal Clean Poolwater 8220 owner's manual

Intex

Intex Krystal Clean Poolwater 8220 owner's manual

Furnika S52815 instructions

Furnika

Furnika S52815 instructions

manuals.online logo
manuals.online logoBrands
  • About & Mission
  • Contact us
  • Privacy Policy
  • Terms and Conditions

Copyright 2025 Manuals.Online. All Rights Reserved.