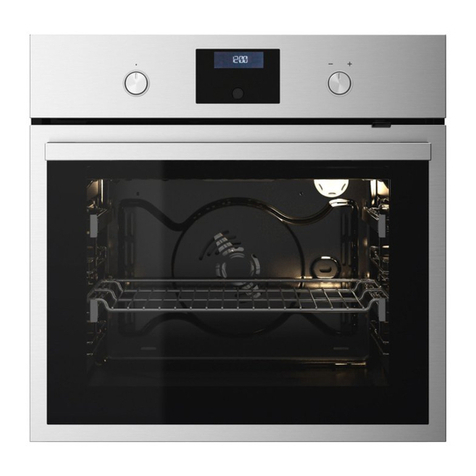
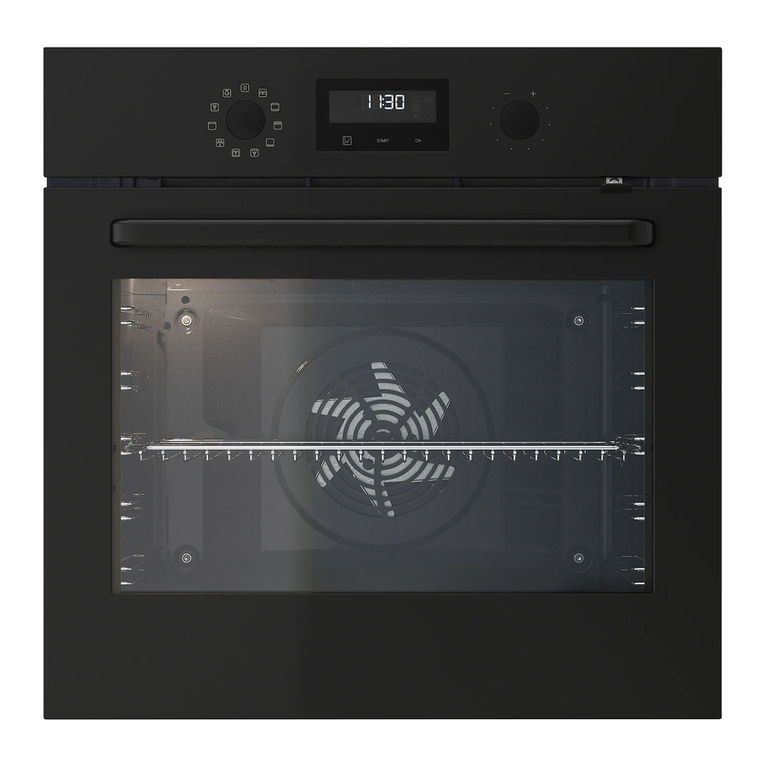
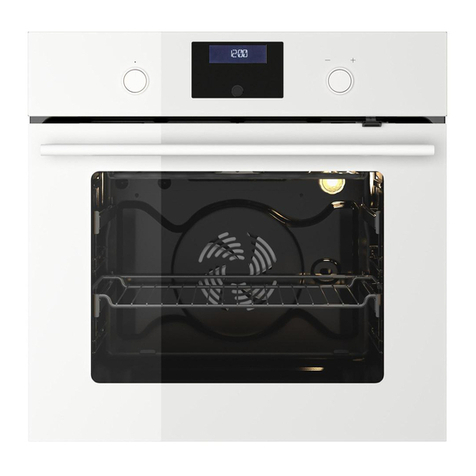
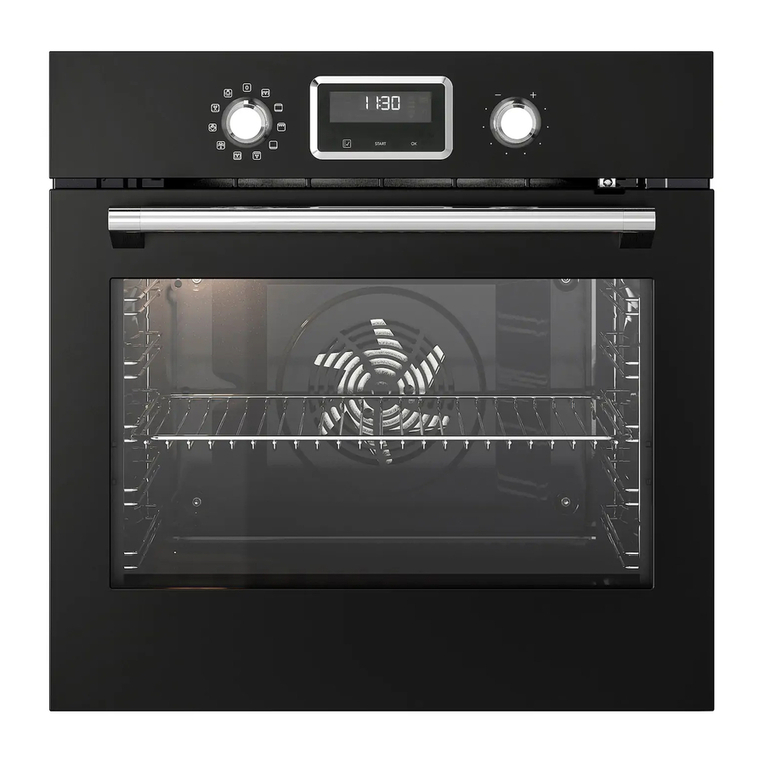
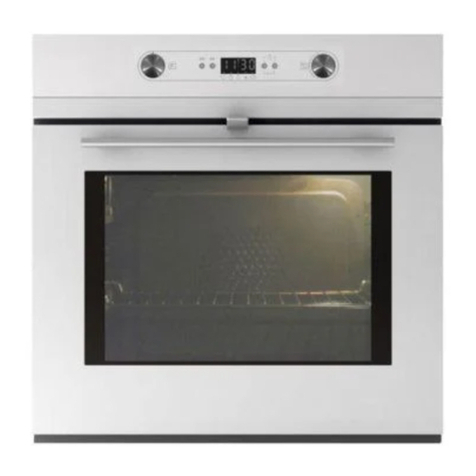
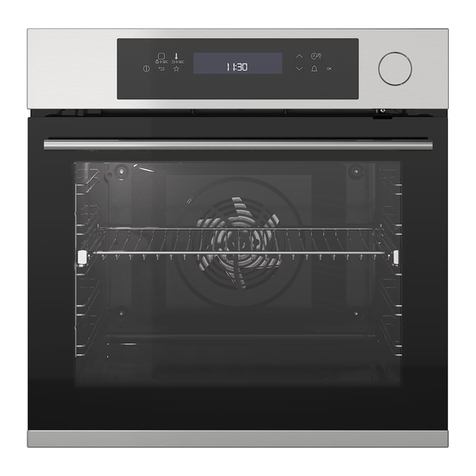
IKEA MAGEBO User manual

MÅGEBO EN
DE
FR
IT

ENGLISH 3
Please refer to the last page
of this manual for the full list
of IKEA appointed After Sales
Service Provider and relative
national phone numbers.
Auf der letzten Seite
dieses Handbuchs finden
Sie die vollständige Liste
der von IKEA ernannten
Kundendienstpartner und die
entsprechenden nationalen
Telefonnummern.
DEUTSCH 37
FRANÇAIS 72
Veuillez vous reporter à la
dernière page de ce manuel
pour obtenir la liste complète
des prestataires de service
après-vente désignés par IKEA
et les numéros de téléphone
nationaux correspondants.
ITALIANO 106
Fare riferimento all'ultima
pagina del presente manuale
per un elenco completo di
tutti i centri assistenza IKEA
e i relativi numeri di telefono
nazionali.

ENGLISH 3
Table of contents
Subject to change without notice.
Safety information
• This appliance is not intended for use by persons (including children)
with reduced physical, sensory or mental capabili-ties, or lack of
experience and knowledge, unless they have been given supervision
or instruction concerning use of the appliance by a person
responsible for their safety.
• Children should be supervised to ensure that they do not play with
the appliance.
• If the supply cord is damaged, it must be replaced by the
manufacturer, its service agent or similarly qualified persons in order
to avoid a hazard.
• WARNING: Ensure that the appliance is switched off before replacing
the lamp to avoid the possibility of electric shock.
• WARNING: Accessible parts may become hot during use. Young
children should be kept away.
• Steam cleaner is not to be used.
Surface of a storage drawer can get hot.
• Do not use harsh abrasive cleaners or sharp metal scrapers to clean
the oven door glass since they can scratch the sur-face, which may
result in shattering of the glass.
• During use the appliance becomes hot. Care should be taken to
avoid touching heating elements inside the oven.
• Only use the temperature probe recommended for this oven. (for
ovens provided with a facility to use a tempera-ture-sensing probe.)
Safety information 3
Installation Important Instructions 7
Product description 8
Using the accessories 8
Control panel 9
First use 11
Daily use 13
Hints and tips 24
Care and cleaning 26
Appliance door 27
What to do if... 31
Technical data 32
Energy efficiency 32
Environmental concerns 34
IKEA guarantee 34

4 ENGLISH
• The appliance must not be installed behind a decorative door in
order to avoid overheating.
• WARNING: Liquids and other foods must not be heated in sealed
containers since they are liable to explode.
• Please use the product in a wellventilated environment.
• An allpole disconnection means must be incorporated in the fixed
wiring in accordance with the wiring rules.
• Do not use harsh abrasive cleaners or sharp metal scrapers to clean
the oven door glass since they can scratch the sur-face, which may
result in shattering of the glass.
• The appliance is not intended to be operated by means of an
external timer or a separate remote control system.
• Do not use the oven unless you are wearing something on your feet.
• Do not touch the oven with wet or damp hands or feet.
• For oven: Oven door should not be opened often during the cooking
period.
• When the door or drawer of oven is open do not leave anything on
it, or you may unbalance your appliance or break the door.
• If you will not use the appliance for a long time, it is advised to plug
it off.
• When unpacking the oven, please make sure that the ma-chine
isintact. If the machine is damaged, do not use it, please contact
after-sales customer service first.
• Please put plastic bags, polystyrene, nails and other packaging
materials out of the reach of children, because these materials are
harmful to children.
• When the oven is powered on for the first time, it may pro-duce
a pungent smell or smoke. This is because the anti-rust oil of the
electric heating tube of the oven is heated and evaporated for the
first time. This is a normal phenomenon. If it does happen, just wait
for the smell to dissipate before putting the food in the oven. It is
recommended to use it for the first time in an open place or in the
kitchen with the hood turned on for 0.5-1 hour.
• If the oven is damaged or malfunctioning, cut off the power supply
and do not touch it, and contact relevant profession-als for repair or
recycling in time.
ENGLISH 5
• If the power cord is damaged, it must be replaced by a pro-fessional
from the manufacturer, its maintenance depart-ment or a similar
department in order to avoid danger.
• Permanent magnets are used in the control panel or in the control
elements. They may affect electronic implants, e.g. heart pacemakers
or insulin pumps. Wearers of electronic implants must stay at least
10 cm away from the control panel.
• Do not make any modifications to the appliance.
Risk of electric shock!
• Please do not connect power until installation is complete. If the
appliance is damaged, disconnect the power supply immediately.
• To avoid a hazard, parts must be repaired or replaced by
professionals from the manufacturer, its repair department or
similar.
• Damaged or defective appliances are prohibited.
• Do not use high pressure cleaners or steam cleaners to avoid electric
shock.
Fire risk!
• Do not store items in the cavity.
• If there is an open flame or smoke in the chamber, keep the oven
door closed, then unplug or turn off the circuit breaker in the fuse
box.
• Do not put combustible or combustible items (such as paper scraps,
wood chips, etc.) into the oven under any circumstances.

6 ENGLISH
Risk of injury!
• Do not use rough or sharp objects to clean the door glass, if the
surface of the oven door glass is scratched, it will cause the glass to
burst and cause personal injury.
• The hinges on the oven door move when opening and closing,
sokeep your hands away from this place.
Risk of burns!
• Keep children away from this appliance at all times.
• Do not touch the inner surfaces of the appliance, heating elements
and vents during cooking.
• After cooking, to avoid burns, please open the oven door at a small
angle, wait for the heat to dissipate, and then fully open the oven
door.
• Use oven mitts (heat-resistant gloves) to remove food or accessories
from the oven cavity.
• Please do not pour cold water into the hot cavity.
Installation
• As the appliance is constantly upgrading, the actual appliance shall
prevail if the picture is different from the actual appliance.
• The thickness of the cabinet board is 18 mm.
• If the power socket is installed on the back of the appliance,
thedepth of the cabinet opening shall be increased from a minimum
of 570 mm to 600 mm.
• The dimensions in the figures are in mm.

ENGLISH 7
Installation Important Instructions
Content that means [mandatory]
• The safe operation of this appliance can only be guaranteed if it has been installed to
a professional standard in accordance with these installation instructions.
• The installer shall be liable for any damage resulting from incorrect installation.
• The entire installation process requires two professional installers. Wear dry protective
gloves during installation to avoid scratch or electric shock. Fitted units must be
heat-resistant up to 90°C, and adjacent unit fronts up to 70°C.
• Please use a 16A socket.
Content that means [prohibit]
• Do not install the appliance behind a decorative door or the door of a kitchen unit,
asthis may cause the appliance to overheat.
• Check the appliance for damage after unpacking it. Do not connect the appliance if it
has been damaged in transit.
• Do not block the vent of the appliance and the gap between the cabinet and the
appliance.
• Use extreme caution when moving or installing the appliance. It is very heavy, do not
lift the appliance by the door handle.
• If the power cord or power plug is damaged, stop using the applianceimmediately,
toavoid fire, electric shock or other injuries.
Content that means [note]
• Be very careful when moving or installing the appliance to avoid damage to the
appliance or damage to the cabinets.
• Before starting up the appliance, remove all packaging materials and accessories
from the cavity.
• The power socket shall be accessible to users (such as next to the cabinet) for easy
power-off.
• Please refer to the "Cabinet Diagram" for the requirements of net depth of the
cabinet. The clearance between the cabinet bottom board and the rear board (or wall)
shall not be less than 50 mm.

8 ENGLISH
Product description
General overview
Control panel
Electronic programmer
Water drawer
Grill
Lamp
Fan
Water collector
Shelf support, removable
Shelf positions
Accessories
• Wire rack x 1
For ovenware, cake tins and ovenproof
dishes.
For roasts and grilled food
• Deep tray x 1
For tray bakes and small baked products.
• Baking tray x 1
For tray bakes and small baked products.
• Telescopic runners x 2
For wire rack and trays
• Child lock x 1
Stop children opening the door and
getting burn
Using the accessories
Your appliance is accompanied by a range of accessories. Here, you can find an overview
of the accessories included and information on how to use them correctly.
Accessory included
Wire rack
Grill food or place heat-resistant
cookingcontainers
Baking Tray
Cook large portions of food or
catchfoodscraps
2
31
5
6
9
5
4
1
2
3
7
8
4

ENGLISH 9
Deep Tray
Cook large portions of food or
catchfoodscraps
Side rack x2
Telescopic runners
Control panel
The content of the display screen is only to help understanding, and the specific content
is subject to the actual operation.
When cooking is complete, remove food and accessories while wearing heat-resistant
gloves.
Electronic programmer
1
9 10 11
1
23 4 5 6 7 8

10 ENGLISH
Use the sensor fields to operate the oven.
Sensor field Function Description
-Display Shows the current settings of the oven.
Knob
Rotate the knob to adjust cooking time/temperature/
steam volume.
Click the knob to start/pause cooking.
Cancel Cancel the current setting and return to the standby
state.
Lamp Short press, the furnace light turns on or off.
Water box Take out the water tank.
Mode selection Cooking mode selection.
Steam Click to enter the steam assist settings.
Temperature Press this key to adjust the cooking temperature.
Time Click this key to adjust the cooking time by rotating
the knob.
10 Rapid preheating Preheat the cavity to ensure the taste and nutrition
of the food.
11 Auto menu Automatic menu selection (A01-A18).
Display
A. Conventional
B. Convection
C. Conventional+fan
D. Grill
E. Steam
F. Defrost
G. Fermentation
H. Temperature
I. Double grill + fan
J. Double grill
K. Pizza
L. Bottom heat
M.ECO
N. Quick preheat
O. Child proof
P. Lack of water
AB C D
E F G H
I J K L M
N O P

ENGLISH 11
First use
Before using it for the first time, please clean the oven and accessories to a certain extent.
• Remove the oven packaging shipping protection parts.
• Remove all accessories (eg: baking trays, grills, foam, etc.) from the cavity.
• Thoroughly clean the attachment with soapy water and a rag or soft brush.
• Wipe cavity and oven surfaces with a soft damp cloth.
• To avoid fire, please make sure that the cavity is free of any remaining packing
materials and accessories when using it for the first time. When using it for the first
time, keep the kitchen highly ventilated (open the hood and windows).
• During this time, keep children and pets out of the kitchen and keep the doors of
adjacent rooms closed.
• In order to remove the smell of new products, run the following mode:
Mode Temperature Time
Conventional+fan 250°C 0.5-1 Hour
Clock settings
Before using your oven, set the clock.
1. In the standby state, push the " " key once.
2. Turn the knob to set the hour position.
3. Click the " " key.
4. Turn the knob to set the minute position.
5. Click the " " key again to complete the clock setting.

12 ENGLISH
ECO
ECO
ECO
Note
If you need to modify the clock again, do the same as step 1.

ENGLISH 13
Door child lock disassemble
Your appliance is equipped with a door
child lock. If the door child lock is not
necessary, please follow the steps below
todisassemble it.
1. Loosen two screws on the door child lock
at left bottom corner of control panel.
3. Screw back the two screws into the hole
of control panel after removing the
door child lock.
2. Remove the door child lock from control
panel, and keep in safe. Warning! Be careful not to scratch the
control panel.
Daily use
Warning! Refer to Safety chapters.
Navigating the menus
1. In the standby state, click the " " key repeatable to select the cooking mode.
2. Turn the knob to adjust the cooking temperature.
3. Click the " " key.
4. Turn the knob to set the cooking time.
5. Click the " " key on the knob to start cooking.
Setting time is optional.

14 ENGLISH
The menus in overview
Main menu
Mode Mode Description
Conventional
The top and bottom heating elements work at the same time, making them ideal
for baking larger cakes.
The temperature setting range is 30 - 250°C.
Convection
In convection mode, the fan turns on automatically, providing even heat for
single or multi-layer baking. Especially suitable for baking food that needs to be
evenly colored.
The temperature setting range is 50 - 250°C.
Conventional+fan
The combination of fans and heating elements provides more uniform heat
penetration, saving up to 30-40% of energy.
The temperature setting range is 50 - 250°C.
Radiant heat
Bake small amounts of food. Please place food in the middle layer of the cavity.
The temperature setting range is 150 - 250°C.
Double grill + fan
Barbecue flat food. Evenly distributed heat and top two heating elements work
simultaneously.
The temperature setting range is 50 - 250 ℃.
Double grill
Bake small amounts of flat food. The top two heating elements work
simultane-ously.
The temperature setting range is 150 - 250°C.
Pizza
Baked pizza.
The temperature setting range is 50 - 250°C.
Bottom heat
Color the bottoms of flat foods.
The temperature setting range is 30 - 200°C.
ECO
ECO
For energy-saved cooking.
The temperature can be set within the range of 140 - 240°C.
Defrost Defrost frozen food.
Fermentation
Fermented dough or yogurt.
Temperature setting range is 30 - 45°C.
Drying function It is used to dry the furnace chamber and prevent bacteria from growing.
Descaling By adding citric acid to water box, to remove scale in the pipe.

ENGLISH 15
Regular operation
1. In the standby state, click the " " key repeatable to select the cooking mode.
2. Turn the knob to adjust the cooking temperature.
3. Click the " " key.
4. Turn the knob to set the cooking time.
5. Click the " " key on the knob to start cooking.
ECO
ECO
Setting time is optional.

Water box of use
When putting the water box back into the tank seat, make sure that the water tank is
pushed all the way.
After cooking, discard any remaining water in the water box and wipe dry to prevent
bacteria from growing.
When using the steam assist function and the automatic menu, please add purifed water
to the water tank in advance.
way 1 way 2
1. Click the " ' key to take out the entire water box, open the rubber ring and add
water.
2. Click the " " key to pop out the water box, open the rubber ring and add water.
Descaling function
1. Press the " " button to take out the water box, add water and half a packet of citric
acid to the water box, and put the water box back to the tank seat.
2. In standby mode, press the " " button to choose the descaling function and press the
knob to start.
3. When the time is counted down to "08:00 min", take out the tank, add water and put
it back into the tank seat. Press the knob to restart work.
16
ENGLISH

Steam Assist
1. Click on the " " key to select the steam assisted cooking mode.
2. Turn the knob to adjust the cooking temperature.
3. Click "°C" key to enter the steam volume adjustment.
4. Turn the knob to adjust the steam volume (L1-L3 steam volume increases).
5. Click the " " key to enter the cooking time adjustment state.
6. Turn the knob to adjust the cooking time.
7. Click the " " key on the knob to start cooking.
ECO
ECO
ECO
17
ENGLISH

Cooking mode with Steam assist function
Mode Mode Description
Conventional
The top and bottom heating elements work at the same time, making them ideal
baking larger cakes. Steam assist can make food softer on the inside and crisper on
the outside.
The temperature setting range is 30 - 250°C. The steam level is L1-L3.
Convection
In convection mode, the fan turns on automatically, providing even heat for single
or multi-layer baking. Especially suitable for baking food that needs to be evenly
colored.Steam assist can make food softer on the inside and crisper on the outside.
The temperature setting range is 50 - 250°C. The steam level is L1-L3.
Conventional+fan
The combination of fans and heating elements provides more uniform heat
penetration, saving up to 30-40% of energy. Steam assist can make food softer on
the inside and crisper on the outside.
The temperature setting range is 50 - 250°C. The steam level is L1-L3.
Radiant heat
Bake small amounts of food. Please place food in the middle layer of the cavity.
Steam assist can make food softer on the inside and crisper on the outside.
The temperature setting range is 150 - 250°C. The steam level is L1-L3.
Bottom heat
Color the bottoms of flat foods. Steam assist can make food softer on the inside
and crisper on the outside.
The temperature setting range is 30 - 200°C. The steam level is L1-L3.
Steam cleaning To clean the cavity easily. The duration is 5 minutes.
Rapid preheating
The following cooking modes ( ) can set the preheating
program.
1. In the standby state, click the " " key to select the cooking mode.
2. Turn the knob to adjust the cooking temperature.
3. Click the " " key.
4. Turn the knob to set the cooking time.
5. Click the " " button to start preheating.
ECO
Note
• The buzzer beeps to indicate that the preheating is complete. At this time, open the
oven door, put in the ingredients, and then close the oven door to start cooking.
• During preheating, do not put ingredients into the oven cavity.
18
ENGLISH

Auto menu
1. Click the " " key to enter the menu selection interface.
2. Turn the knob to select a menu (A01-A18).
3. Click the " " key on the knob to start cooking.
ECO
ECO
19
ENGLISH

Auto menu sheet
Display Menu Mode or Temperature Time Preheat
A01 Roasted beef ribs 250°C 4 min YES
A02 Beef steak with black pepper 250°C 8 min YES
A03 Chiffon Cake 150°C 50 min YES
A04 Red velvet cupcake 160°C 35 min YES
A05 French roast pork chop 200°C 50 min YES
A06 Italian fruit pie (8 inches) 190°C 22 min YES
A07 Cream puff 190°C 24 min YES
A08 Roasted cod 250°C 8 min YES
A09 Roast chicken wings L1 230°C 25 min YES
A10 Roast pork ribs L1 200°C 25 min NO
A11 Roast saury L1 220°C 14 min YES
A12 Roast whole chicken L1 200°C 45 min YES
A13 Roast pork L1 180°C 50 min YES
A14 French lamb chop L1 220°C 25 min YES
A15 French Roast Pork Knuckle L1 230°C 80 min NO
A16 Cheese cake L1 160°C 55 min YES
A17 Chocolate cranberry bread L1 180°C 25 min YES
A18 Nut bread L1 190°C 30 min YES
20
ENGLISH
Other manuals for MAGEBO
3
This manual suits for next models
1
Table of contents
Languages:
Other IKEA Oven manuals

IKEA
IKEA BRÄNDBO User manual

IKEA
IKEA SMAKSAK User manual

IKEA
IKEA LAGAN User manual

IKEA
IKEA KULINARISK User manual

IKEA
IKEA MATAELSKARE User manual

IKEA
IKEA TANGBY User manual

IKEA
IKEA SMAKSAK Series User manual

IKEA
IKEA Framtid OV3 User manual

IKEA
IKEA NUTID OV 9 User manual

IKEA
IKEA MIRAKULOS 103.488.30 User manual
Popular Oven manuals by other brands

Hisense
Hisense BO3PY5I Instructions for use

Electrolux
Electrolux COMPETENCE 5210 BU Operating and installation instructions

Cardini
Cardini OV6200 instruction manual

Electrolux
Electrolux EOT38MBA instruction manual

Electrolux
Electrolux ESO936 Instruction book

Frigidaire
Frigidaire PLEB30T8AC Specifications