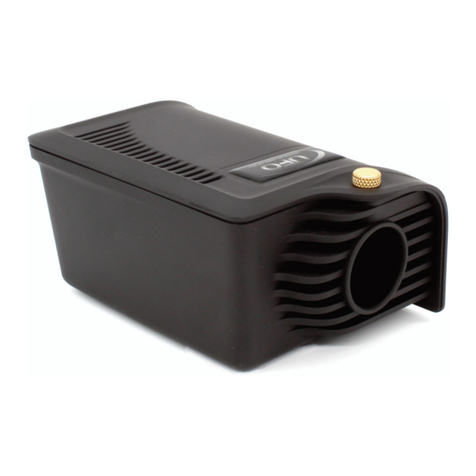
With the “Mode” button [5], the display can be switched between counter and timer functionality. In
timer mode, the external push button connected to the jack plug “Start/Stop” [8] toggles between
running and pausing. In counter mode, the button is used for incrementing. In both modes, the display
can be reset with the built-in reset button [4] or the external reset button connected to the jack plug
“Reset” [7].
For use with the lightSTUDIO-M, plug the USB cable of the timecode display into the corresponding
USB port of the electrical control cabinet of the lightSTUDIO.
4 USAGE WITHOUT SOFTWARE
Depending on the chosen combination, some parts of the lightSTUDIO can be used without the
software. The lightHEAD-S and lightHEAD-L are equipped with a control panel on the front side, which
comprises switching light sources, adjusting intensities, and storing the intensity value for each light.
The translation and rotation of the lightSTUDIO-M are only accessible utilizing the software. The
timecode display may also be used as a stand-alone device (chapter 3.2).
4.1 Standard lightHEAD (lightSTUDIO-S)
For the initial operation, select a light source using one
push-button [2, 3] after turning on the power supply. Press
the “Light ON/OFF”[1] button to illuminate the
corresponding light source.
The control panel has eight knobs for switching the lights:
four for the fluorescent lamps F12, F11, D50, and D65 [3]
and four for the halogen lamps [2]. The latter have different
preset values for the intensities of 10 lx, 100 lx, 400 lx, and
one for 400 lx with blue filtering. The knobs for the three
halogen settings use the same lamp type but with a different
current supply. With the rotary knob [4], the intensity for all
light sources can be varied from 0 to 100% in 1% steps.
To store an intensity setting for one type, keep the corresponding knob pressed and press the “Store”
knob [1] until the display shows the result.
With the knob “LCD backlight” [5], you can adjust the background lighting of the display panel.
NOTE:


