manuals.online logo
Brands
  1. Home
  2. •
  3. Brands
  4. •
  5. Incite Fire
  6. •
  7. Controllers
  8. •
  9. Incite Fire Sigma-XT Manual

Incite Fire Sigma-XT Manual

Sigma-XT
Australia Version 1
Step by Step
Set Up
ALL OF THE FOLLOWING PROCESSES ARE CONDUCTED VIA THE EXTINGUISHING MODULES DISPLAY
AND BUTTONS.
The “+” or “-“buttons are used to scroll backward & forth.
If warning signs & local control stations are connected via the RS485 comms (via the Status Serial
+/- terminals) on the Gas control card, the panel will request that you acknowledge these
individually by pushing the “ENTER” button to accept each one.
Switch the “ENABLE CONTROL “003 KEYSWITCH “to
the “Horizontal” position.
Gently switch the “WRITE ENABLE” switch on the
below extinguishing module to the “LEFT”
*** To save the program move the “WRITE ENABLE”
switch back to the “RIGHT” at any time during the
following process***
Press “ENTER” to access the menu
Screen Display Instructions
LANGUAGE MODE
LOCAL This is default and does not
need to be changed
EXT O/P MODE
COMMON
MAIN / RESERVE
Press “+”
Common is the default To change – press “Enter”
when it has the option you
want press “Enter” again to
confirm
ACTIVATION MODE
COINCIDENCE
SINGLE
Press “+”
Coincidence is the default To change – press “Enter”
when it has the option you
want press “Enter” again to
confirm
USER O/P MODE
STAGE 1
HOLD
Press “+”
Stage 1 is the default To change – press “Enter”
when it has the option you
want press “Enter” again to
confirm
FIRST ACTIVATION ZONE
ZONE 1
Press “+”
Zone 1 is the default To Change – press “Enter” then
“+” or “-“ to scroll to the
appropriate zone then press
“Enter” to accept the changes
Screen Display Instructions
LAST ACTIVATION MODE
ZONE 2 Zone 2 is default To Change – press “Enter” then
“+” or “-“ to scroll to the
appropriate zone then press
“Enter” to accept the change
***Note if “Coincidence has been selected in previous menu, any two (2) zones in the range will
initiate the extinguishing system***
***Note if “Single” has been selected in previous menu any one (1) of zones in the range will
initiate the extinguishing system***
Press “+”
RESET INHIBIT TIME
0
Press “+”
0 is the default To change – press “Enter”
when it has the option you
want press “Enter” again to
confirm
PRE RELEASE DELAY TIME
30 sec
Press “+”
30 seconds is the default To change – press “Enter”
when it has the option you
want press “Enter” again to
confirm
EXTINGUISHANT TIME RELEASE
60 sec
Press “+”
60 seconds is the default To change – press “Enter”
when it has the option you
want press “Enter” again to
confirm
Screen Display Instructions
SECOND STAGE ALARM PULSING / CONTINUOUS
PULSED Pulsed is the default To change – press “Enter”
when it has the option you
want press “Enter” again to
confirm
***Note: Setting the option for STEADY ACTIV. ALARMS is not compliant with AS7240***
Press “+”
RELEASED INDICATION
RELEASED INPUT
EXTING REL
Press “+”
Released Input is the default To change – press “Enter”
when it has the option you
want press “Enter” again to
confirm
DELAY ON MANUAL RELEASE
DELAY ON
NO DELAY ON
Press “+”
Delay on is the default To change – press “Enter”
when it has the option you
want press “Enter” again to
confirm
RELEASE TIMER
Release Timer Enabled
Release Timer Disabled
Press “+”
Enabled is the default To change – press “Enter”
when it has the option you
want press “Enter” again to
confirm
ROV REMOVED ON SYSTEM RESET
***THIS SETTING SHOULD NOT BE CHANGED AND SHOULD NEVER BE SET***
Press “+”
Screen Display Instructions
DISABLE EARTH FAULT MONITORING
EARTH FAULT ENABLED Enabled is the default
EARTH FAULT DISABLED
Press “+”
To change – press “Enter”
when it has the option you
want press “Enter” again to
confirm
DISABLE FAULT OUTPUT
FAULT OUTPUT ENABLED
FAULT OUTPUT
DISABLED
Fault output enabled is the
default
To change – press “Enter”
when it has the option you
want press “Enter” again to
confirm
***Note: Disabling the fault output does not comply with the requirements of AS7240 ***
Press “+”
INVERT LOW PRESSURE SWITCH INPUT
NORMAL
INVERTED
Press “+”
Normal is the default To change – press “Enter”
when it has the option you
want press “Enter” again to
confirm
EXTINGUISHANT OUTPUT MONITORING LEVELS
EXTING O/P 1 = 206
Press “+”
Default To scan – press “Enter” when it
has the option you want press
“Enter” again to confirm
EXTINGUISING OUTPUT MONITORING LEVELS
EXTING O/P 2 = 206
Press “+”
Default To scan – press “Enter” when it
has the option you want press
“Enter” again to confirm
CONGRATULATIONS! You have now successfully set up the Sigma XT, gently switch the “Write
Enable” switch back to the right and the “Enable Keyswitch” to normal
Sydney
Block Y, Unit 1, 391 Park Road, REGENTS PARK NSW 2143
Mail: PO Box 508 GYMEA NSW 2227
Phone: 1300 INCITE (1300 462 483) | 02 9644 7144
Fax: 02 9644 7255
Email: sales@incitere.com.au
Technical support: support@incitere.com.au
Melbourne
Address: Unit 120, 45 Gilby Road, MT WAVERLEY VIC 3149
Phone: 03 9544 2211
Fax: 03 9544 2212
Email: salesvic@incitere.com.au
Brisbane
Address: 25 Jeays Street, BOWEN HILLS QLD 4006
Phone: 07 3252 5366
Fax: 07 3252 4099
Email: salesqld@incitere.com.au
Perth
Address: 19 Halley Road, BALCATTA WA 6021
Phone: 08 9349 2972
Email: saleswa@incitere.com.au

Other manuals for Sigma-XT

2

Popular Controllers manuals by other brands

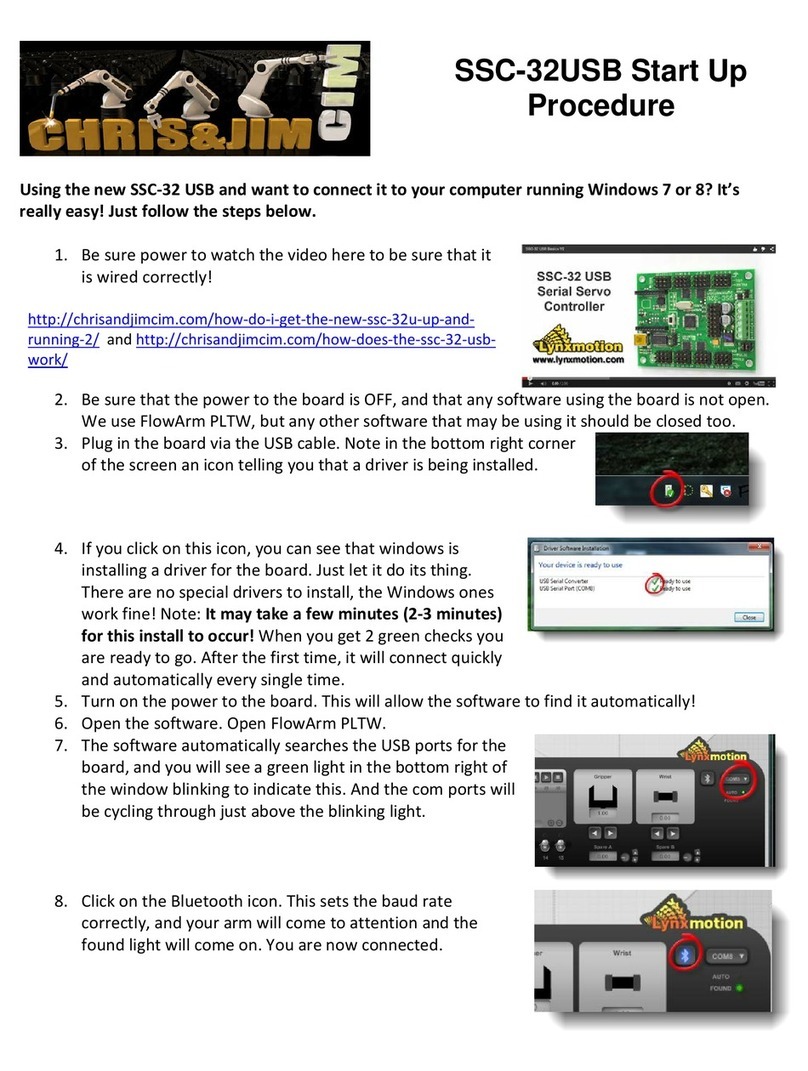
Lynxmotion SSC-32USB Startup Procedure

Lynxmotion

Lynxmotion SSC-32USB Startup Procedure

Excelitas Technologies OmniCure SC0750 Installation reference guide

Excelitas Technologies

Excelitas Technologies OmniCure SC0750 Installation reference guide

Sunricher SR-2108HT(WP) quick start guide

Sunricher

Sunricher SR-2108HT(WP) quick start guide

Honeywell CIPer 50 user guide

Honeywell

Honeywell CIPer 50 user guide

Western Co WRM30+ user manual

Western Co

Western Co WRM30+ user manual

S&P RMB Series manual

S&P

S&P RMB Series manual

Vertiv NetSure 802 Series user manual

Vertiv

Vertiv NetSure 802 Series user manual

Danfoss VLT 6000 installation guide

Danfoss

Danfoss VLT 6000 installation guide

Advanced Illumination Pulsar 320 Operators manual and installation guide

Advanced Illumination

Advanced Illumination Pulsar 320 Operators manual and installation guide

ROC pH/ORP-5500 Series instruction manual

ROC

ROC pH/ORP-5500 Series instruction manual

Logosol LS-231g2SB manual

Logosol

Logosol LS-231g2SB manual

ABB COM600 3.4 user manual

ABB

ABB COM600 3.4 user manual

Sentiotec Pro C2 Instructions for installation and use

Sentiotec

Sentiotec Pro C2 Instructions for installation and use

PRESONUS FaderPort 16 quick start guide

PRESONUS

PRESONUS FaderPort 16 quick start guide

Thermokon TS1 3Ph Series Technical data

Thermokon

Thermokon TS1 3Ph Series Technical data

Lattice Semiconductor MachXO2 Series Programming and Configuration Usage Guide

Lattice Semiconductor

Lattice Semiconductor MachXO2 Series Programming and Configuration Usage Guide

Leviton HCPRF supplementary guide

Leviton

Leviton HCPRF supplementary guide

EpiSensor ZDR-20 Install Sheet

EpiSensor

EpiSensor ZDR-20 Install Sheet

manuals.online logo
manuals.online logoBrands
  • About & Mission
  • Contact us
  • Privacy Policy
  • Terms and Conditions

Copyright 2025 Manuals.Online. All Rights Reserved.