Incredible Technologies Play Mechanix Big Buck Hunter II User manual


Table of contents
Other Incredible Technologies Arcade Game Machine manuals

Incredible Technologies
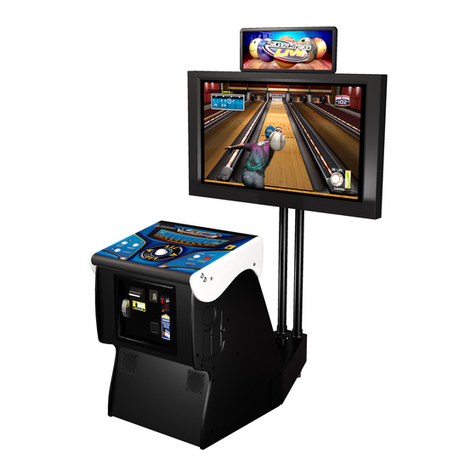
Incredible Technologies SilverStrike 2009 Bowler's Club User manual
Incredible Technologies
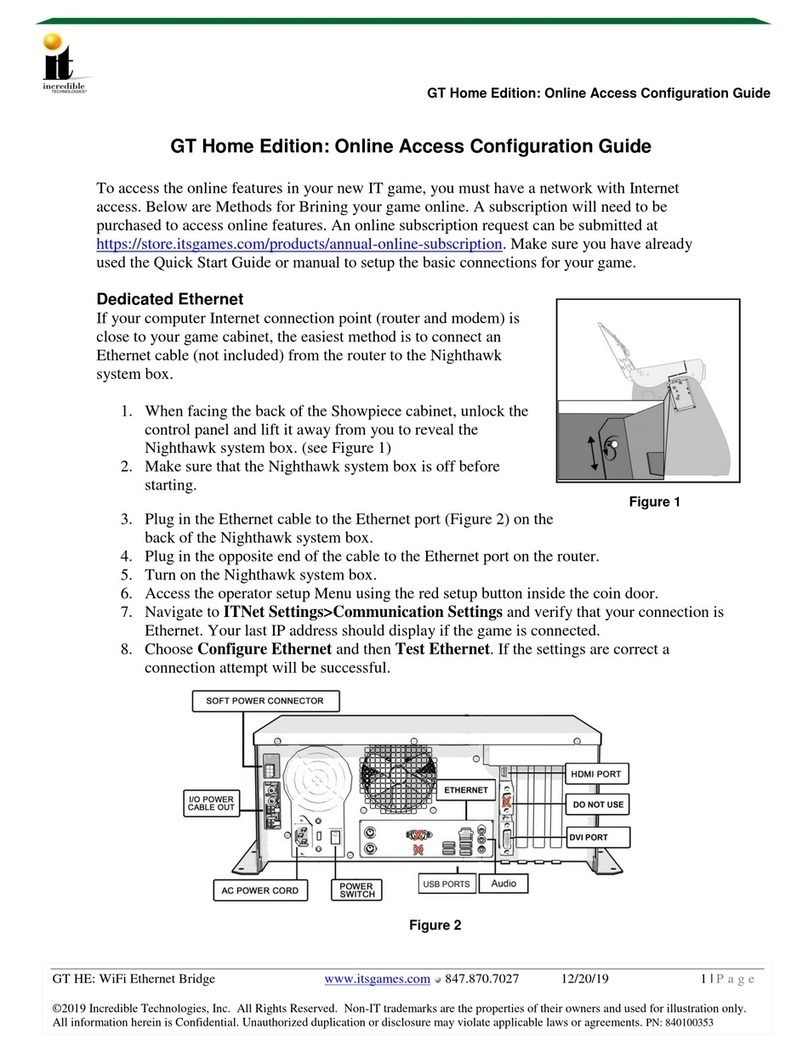
Incredible Technologies Silver Strike LIVE Showpiece Instruction Manual
Incredible Technologies
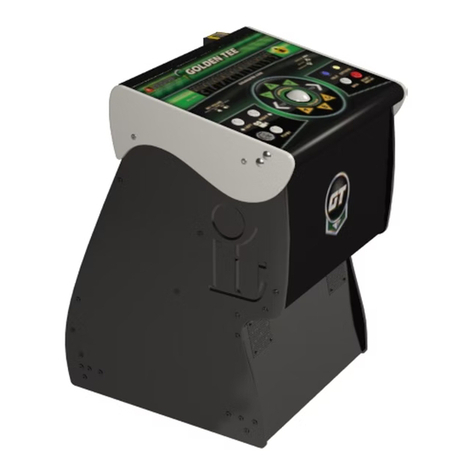
Incredible Technologies GT Home Edition User manual
Incredible Technologies
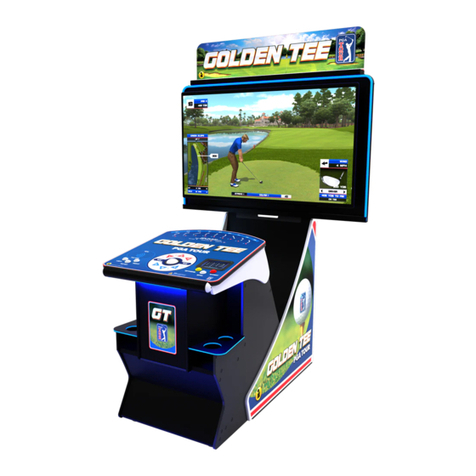
Incredible Technologies Golden Tee Home Edition Guide
Incredible Technologies
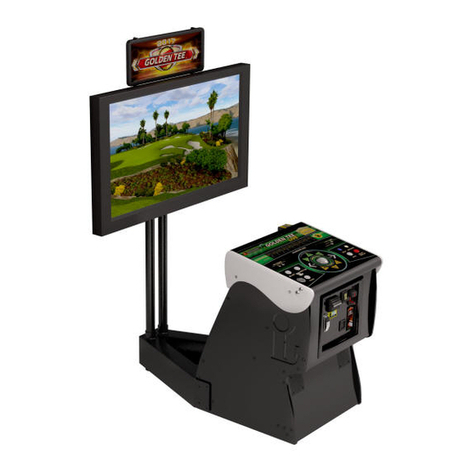
Incredible Technologies Golden Tee PGA TOUR User manual
Incredible Technologies
Incredible Technologies Golden Tee 2017 Guide

Incredible Technologies
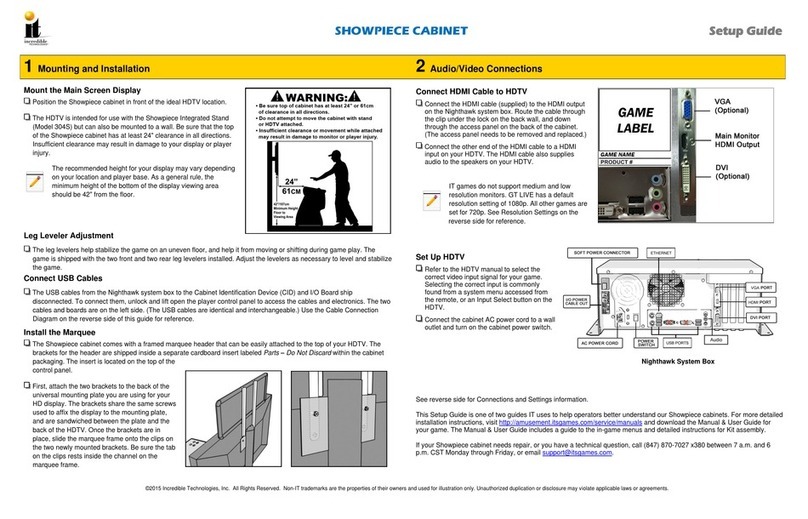
Incredible Technologies Golden Tee Home Edition User manual
Incredible Technologies
Incredible Technologies PANEL J203 User manual
Incredible Technologies
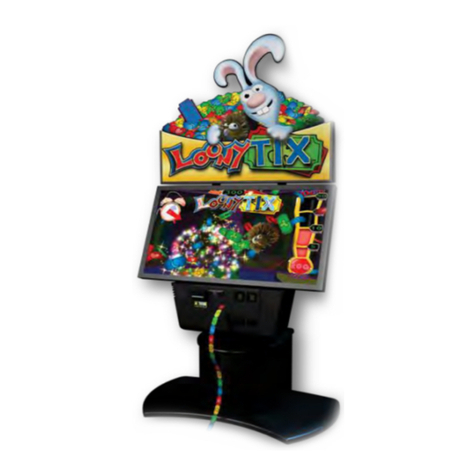
Incredible Technologies LoonyTIX User manual
Popular Arcade Game Machine manuals by other brands
MecPower Tecway
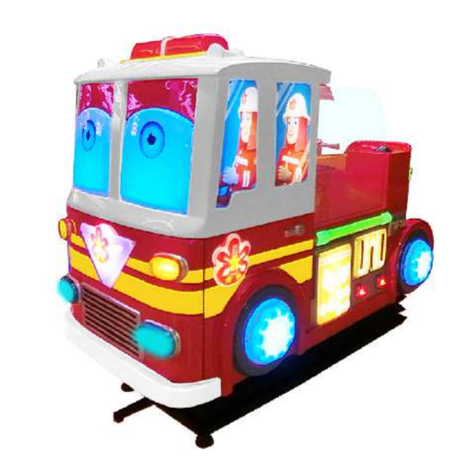
MecPower Tecway Kiddie Firemen Operation manual

MADEFORARCADE
MADEFORARCADE GRAB CRANE manual
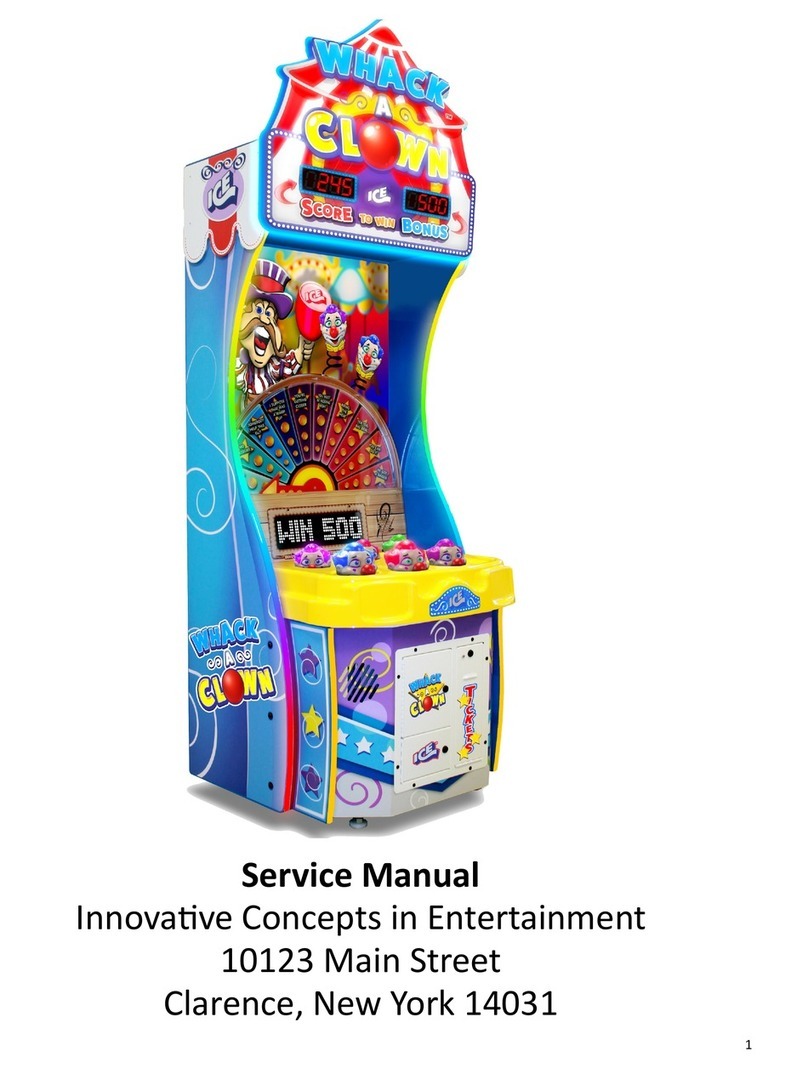
Innovative Concepts in Entertainment
Innovative Concepts in Entertainment WL1000X Service manual

AINSWORTH
AINSWORTH A620 Service manual
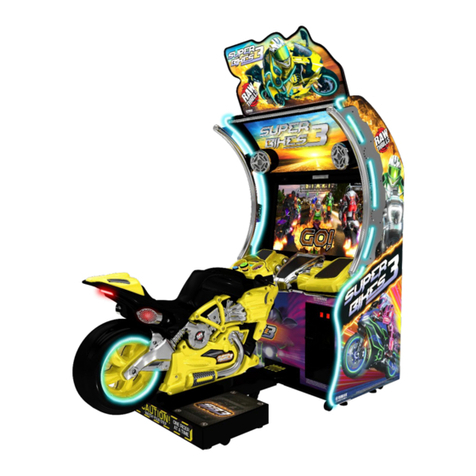
Raw Thrills
Raw Thrills Super Bikes 3 Operator's manual
NAMCO
NAMCO FLAMING FINGER Operator's manual

Home Leisure Direct
Home Leisure Direct Arcadepro Saturn 2097 user manual

BSR
BSR Hot Shot Assembly instructions

numskull
numskull Quarter Arcades Galaga instruction manual

DLV
DLV Diamond Cabinet DZ user manual

Innovative Concepts in Entertainment
Innovative Concepts in Entertainment ICE COLD BEER Owner's and service manual

SereneLife
SereneLife SLMTGTFD81B user guide

MD SPORTS
MD SPORTS CB048Y19004 Assembly instructions

PlayMechanix
PlayMechanix Minecraft Dungeons Arcade Setup and Operaton Service Manual
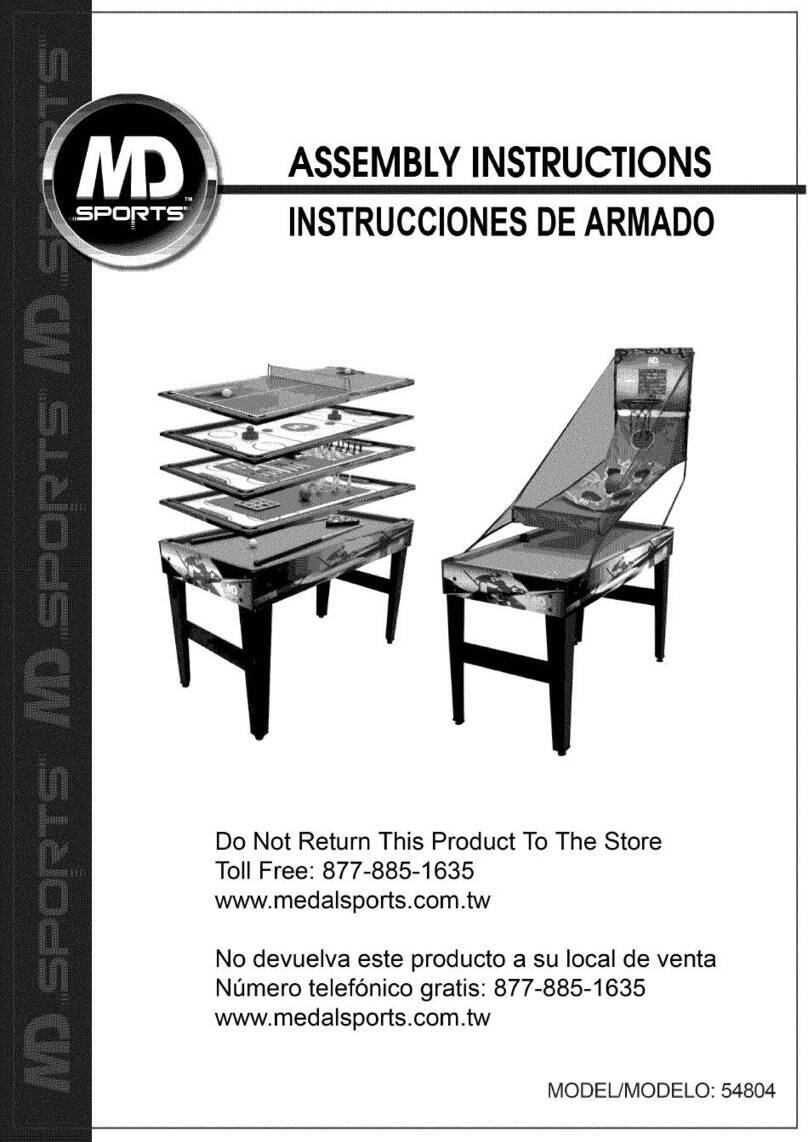
MD SPORTS
MD SPORTS 54804 Assembly instructions
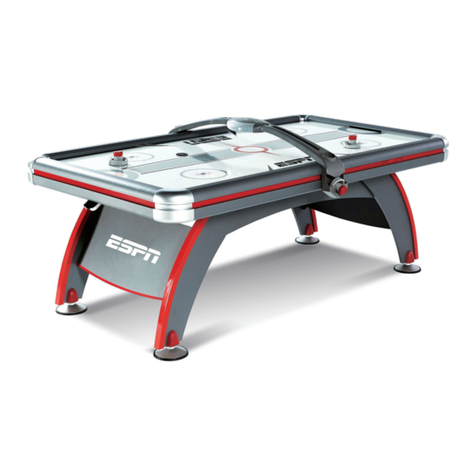
MD SPORTS
MD SPORTS AWH084 188E Assembly instructions

MD SPORTS
MD SPORTS DH14001 Assembly instructions

MD SPORTS
MD SPORTS AWH042 017E Assembly instructions