5
PRECAUTIONS BEFORE USE
Protection of the environment
Read the user instructions carefully and more particularly the safety instruc-
tions.
The wearing of a hard hat, eye and ear protection is MANDATORY
Hand protection, using cut-protection work gloves.
Foot protection using safety footwear.
Face protection using a face shield
Body protection, using cut protection overalls.
IMPORTANT! Extensions can be made of conductive materials. Do not use
near sources of electricity or power lines.
IMPORTANT! Do not approach any part of the body to the blade. Do not
remove the cut material or hold the material to be cut when the blades are
moving.
WARNING. Read all the safety warnings and all the instructions. Failure
to follow the warnings and instructions can lead to an electric shock, a fire and/
or serious injury.
Keep all the warnings and instructions for future use. The term “tools” in the warnings
refers to your battery powered electric tool (with power cord), or your tool operating on a
battery (without power cord).
Follow specific national regulations when disposing of waste.
>Power tools must not be disposed of with household refuse.
>The device, accessories and packaging must be taken to a recycling center.
>Ask the approved INFACO dealer for up-to-date information on the eco-
compatible elimination of waste.
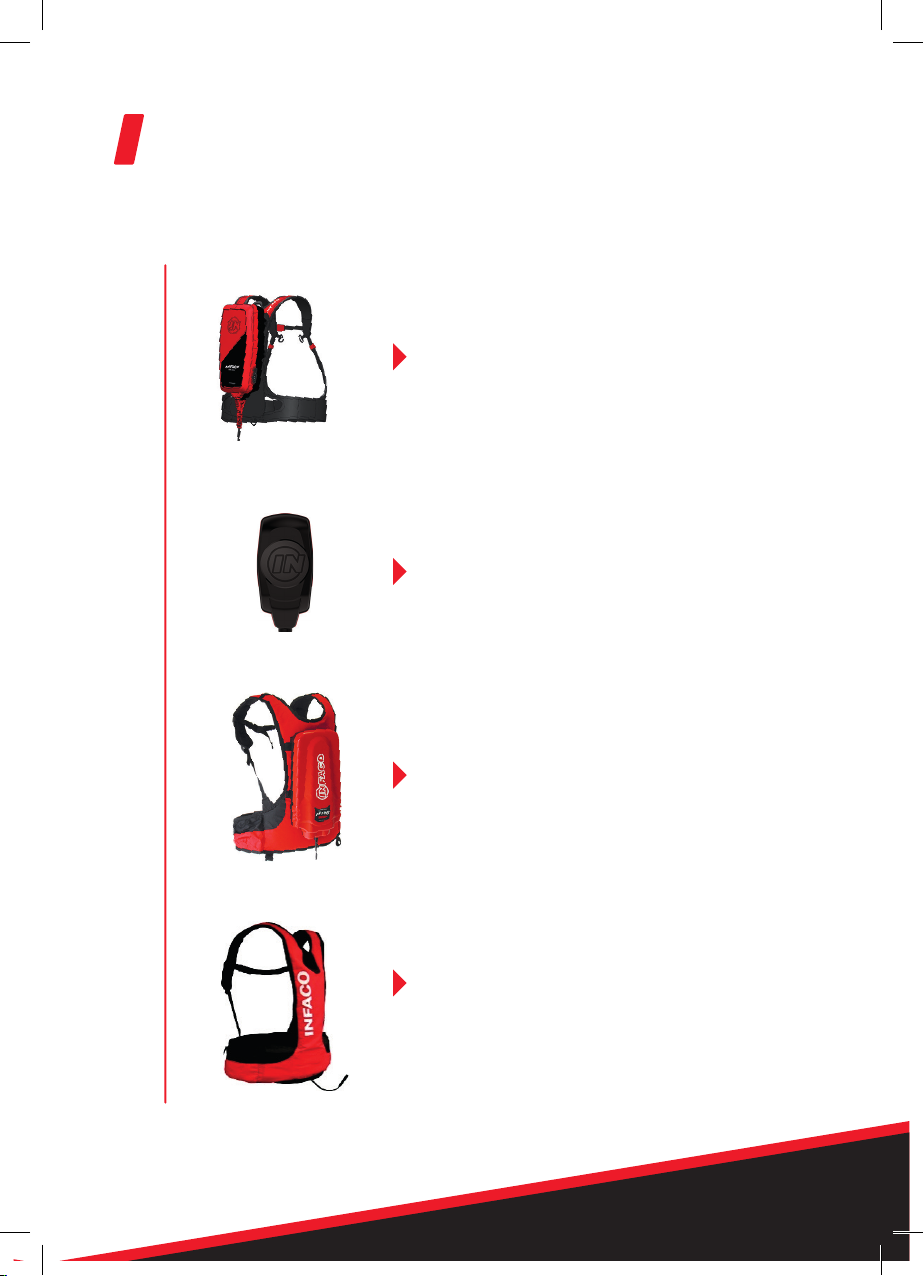
Personal protection equipment