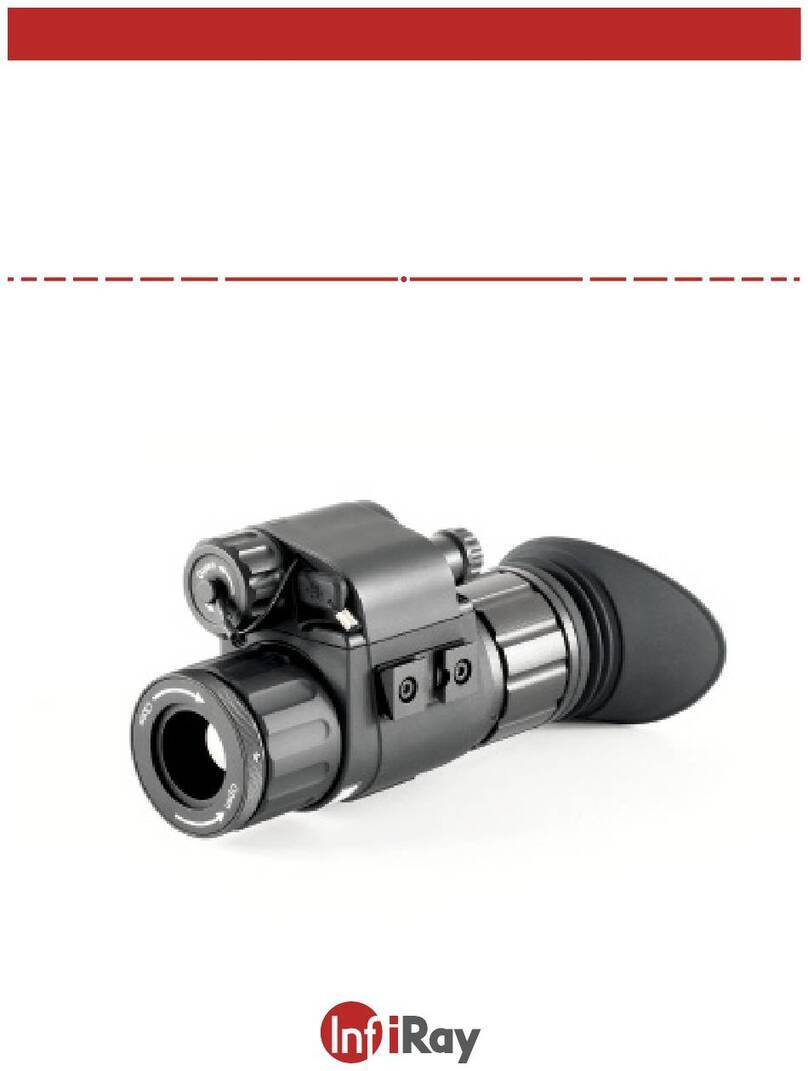
InfiRay MH25 User manual

All rights reserved and shall not be copied and distributed in any form without written permission.
InfiRay USA
www.InfiRayUSA.com
800.769.7125
InfiRay USA
MH25 Multifunction Thermal Imager
User’s Manual
Date 20200521
Version V2.1

All rights reserved and shall not be copied and distributed in any form without written permission.
InfiRay USA
www.InfiRayUSA.com
800.769.7125
CONTENTS
1. Overview ..................................................................................................................... 1
2. Tech Specs .................................................................................................................. 2-3
3. System Functions …..................................................................................................... 4
4. Product Components …................................................................................................ 5
5. Operation Functions ….................................................................................................. 6
5.1 Switching on/off ................................................................................................... 7
5.2 Electronic Magnification ........................................................................................7
5.3 Context Menu ....................................................................................................... 8
5.4 Advanced Menu ................................................................................................... 9
6. Preventative Maintenance ............................................................................................ 14
6.1 Battery Replacement ........................................................................................... 14
6.2 Product Cleaning and Maintenance ..................................................................... 15
7. General Troubleshooting ............................................................................................. 15
8. Safety Regulation .......................................................................................................... 16

All rights reserved and shall not be copied and distributed in any form without written permission. 1
1. Overview
The InfiRay USA Mini MH25 is one of the smallest fully multi-functional 12-micron
thermal imagers on the market. It can be used as a handheld monocular or helmet
mounted for hands-free use. It’s features include picture-in-picture, Bluetooth,* digital
magnetic compass, pitch and roll measurement, and analog video output. The MH25 is
compatible with rechargeable 16650 and 16340 batteries and can be powered externally
through the USB-C port with a 5V battery pack. The MH25 is operated by an intuitive
menu system and user-friendly rotary encoder button. This one button operation has
positive clicks with each selection and allows for quick and easy operation in dark
environments.
*Requires external remote (Sold Separately)
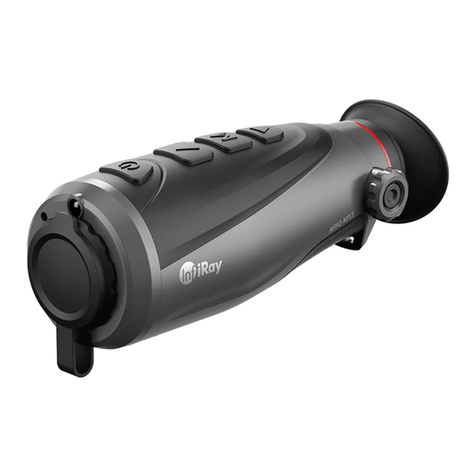
Figure 1-1. Mini multifunction thermal image
NOTE: The MH25 is subject to export and foreign trade control laws of the United States
and may not be exported without prior approval of the U.S. Department of State.

All rights reserved and shall not be copied and distributed in any form without written permission. 2
2. Tech Specs
Table 1. Technical Specifications
Model MH25
Detector Parameter
Resolution
640×512
Pixel Size 12μm
Spectral Response
8~14μm
NETD ≤60mK@25℃,f/1.2
MRTD
≤600mK@25℃
,
f/1.2
Frame Rate
50Hz
Optical Parameter
Objective Lens
25mm
Focus Mode Manual
Field of View
17.5°×14°
Detection Range
1,250 Meters
Digital Zoom 1.0-8.0×
Eye Relief 12mm
Exit Pupil
5mm
Diopter Adjustment -4 - +3
Display
Type LCOS

All rights reserved and shall not be copied and distributed in any form without written permission. 3
Resolution 1280×960
Function
Digital Compass Yes
Motion Sensor
Yes
Laser Pointer None
Rangefinder
Stadiametric
PIP Yes
Palette White/Black/Red/Pseudo
Remote Control
Bluetooth
Battery
16340/16650/
NOTE: The MH25 will not function
properly using a CR123A
Max. Battery Life
16340——up to 1.5 hours
16650——up to 3 hours
Operating Temperature
-10℃~+50℃
Power Consumption <2000mW
IP Rating
IP67
Weight (without battery) <245g
Dimension
128mm×70mm×45mm
Laser
None
External Interface
2 - M3 x 3(Bottom and left side)

All rights reserved and shall not be copied and distributed in any form without written permission. 4
3. System Functions
●Shuttered Calibration and Manual Calibration
●White Hot, Black Hot, Red Hot, Pseudo Color
●8X digital magnification
●Image brightness adjustment, sharpness adjustment, contrast adjustment
●Motion sensor adjusts the forward image
●Electronic compass
●Pitch and Roll Measurement
●Stadiametric rangefinder
●Picture-in-picture
●Bluetooth remote controller
●Automatic standby
●Power and data interface through USB-C
●Analog video output
●Mini Rail Interface

All rights reserved and shall not be copied and distributed in any form without written permission. 5
4. Product Diagram
The main components of the MH25 are shown in figure 4-1.
Figure 4-1. MH25 Diagram

All rights reserved and shall not be copied and distributed in any form without written permission. 6
5. Operation Functions
The Quick Command Menu, Advanced Menu and other functions can be accessed via
the rotary encoder. All menus can be closed by pressing the encoder for 3 seconds.
5.1 Powering On/Off
To power on – hold the encoder button down for 3 seconds.
To power off – point the device down and hold the power button for 3 seconds.
5.2 Digital Magnification
When there is no menu displayed, rotate the encoder to digitally zoom in and out. Digital
magnification will increase when the encoder is rotated clockwise, and digital magnification
will decrease when rotated counterclockwise.
Rotating the encoder slowly will increase or decrease the digital magnification in
increments of 0.1 and rapid rotation will increase or decrease digital magnification by 1.0.
Current magnification is displayed in the upper left icon cluster.

All rights reserved and shall not be copied and distributed in any form without written permission. 7
Figure 5-1. Normal display interface

All rights reserved and shall not be copied and distributed in any form without written permission. 8
5.3 QCM Quick Command Menu
The quick command menu is activated with a short press of the encoder. The QCM
has four functions including NUC (Non-Uniform Calibration), color palette selection,
brightness adjustment, and laser activation. NOTE: The InfiRay USA MH25 does not have
a laser. Only certain models feature a laser, and the MH25 does not. The laser icon may
be present, but there is no laser. Rotating the encoder will toggle functions and a short
press will activate the function. If the encoder is not activated within 5 seconds the QCM
will disappear automatically. Pressing the encoder for 3 seconds will close the QCM.
NOTE: Pressing the encoder for 3 seconds while orienting the MH25 downward will turn
the MH25 off.
NUC - Short press while the lens is facing down will perform silent NUC. All other
orientations will perform shuttered NUC.
Color Palette - White hot/Black hot/Red Hot/Pseudo color).
Brightness - Screen brightness adjustment.
Laser – None NOTE: The InfiRay USA MH25 does not have a laser. Only certain
models feature a laser, and the MH25 does not. Even though there is a menu for it,
there is no laser.

All rights reserved and shall not be copied and distributed in any form without written permission. 9
Figure 5-2. Context menu
5.4 Advanced Menu
To activate the advanced menu press and hold the encoder for 3 seconds. Make sure
the lens is not pointing down, as a 3 second press pointing down will power the MH25 off.
The advanced menu displays 5 submenus including Device, Function, Reticle,
Calibration and Setting. Each submenu contains several options and corresponding
options expand (if present) when a submenu is selected, as shown in figure 5-3. Please
note, some menus are disabled. The Reticle and Laser functions are non-functioning on
the MH25 because there is no reticle and no laser.

All rights reserved and shall not be copied and distributed in any form without written permission. 10
Figure 5-3. Advanced menu
Menu Operation:
Once the advanced menu is displayed, short press the encoder to toggle through the
5 menu selections. Rotate the encoder to toggle through the selections in each submenu.
Short press the encoder to select a particular setting or function in the submenu and
rotate the encoder to make changes to that setting or function. Short press the encoder to
lock the changes and return to the preceding menu.
Press and hold the encoder for 3 seconds to exit the advanced menu. The advanced
menu will exit automatically after 30 seconds of inactivity. The details of the advanced
menu are shown in table 5-1 and the relevant operation status is shown in figure 5-4, 5-5,
5-6 and 5-7.

All rights reserved and shall not be copied and distributed in any form without written permission. 11

All rights reserved and shall not be copied and distributed in any form without written permission. 12

All rights reserved and shall not be copied and distributed in any form without written permission. 13
Table 5-1. Details of Xmini advanced menu
Function
items
Option items
Function Operation Status
Device Bluetooth ON/OFF
Enables/Disables Bluetooth
remote control. **Bluetooth
video and data transfer are
not supported**
Icon turns blue

6th Floor of Block A, Changbai Technology Park, No.8 Zhenzhu
RD, Xinzhan General Pilot Zone
China, Anhui, Hefei,230012
0551-
62829826
All rights reserved and shall not be copied and distributed in any form without written permission. 14
Compass ON/OFF
Displays and updates
directional heading
automatically according to
the geomagnetic direction.
The upper left
icon turns blue,
and the azimuth
bar appears
above.
Msensor ON/OFF
Measures the pitch angle
and horizon angle of the
monocular relative to the
ground.
The upper left
icon turns blue,
and the dip
angle scale
appears at
the left.
Function
Helmet Mode
ON/OFF Decreases the size of the
image in the digital display
Image displayed
at a reduced
size in the
center of the
digital display
Video Out ON/OFF Enables analog video output
via USB-C port
The upper left
icon turns blue.
Rangefinder ON/OFF
Align the ranging line to the
top (or bottom) of the target
and press encoder to record
position 1. Then align the
ranging line to the bottom
(or top) of the target and
press to record position 2.
The stadiametric
rangefinder
interface is
shown in figure
5-4.
PIP ON/OFF
Displays a digitally zoomed
(2X) version of the main
display.
Image (192x144)
shown in the
upper middle
portion of the
main display.

InfiRay USA
www.InfiRayUSA.com
800.769.7125
All rights reserved and shall not be copied and distributed in any form without written permission. 15
Reticle
Type N/A
N/A
N/A
Color N/A N/A
N/A
N/A
Pattern N/A N/A
Calibration
Laser N/A
N/A
N/A
Reticle
The reticle is
disabled on the
MH25.
N/A
Compass Compass calibration
After entering the compass
calibration menu item, wave
the monocular in a figure 8
motion as indicated by the
picture in the display. Figure
9 icon will disappear when
calibration is complete.
Compass
calibration
interface is
shown in figure
5-7.

InfiRay USA
www.InfiRayUSA.com
800.769.7125
All rights reserved and shall not be copied and distributed in any form without written permission. 16
Setting
Factory
Reset
Restores monocular
to original factory
settings
After selecting this option,
short press the encoder.
After pressing the encoder,
a dialog box will appear.
Select "Yes" to execute or
"No" to cancel.
Dialog prompts
Sleep Mode
Turns sleep mode
on/off.
The standby time
can
Short press to select this
option, rotate encoder to
toggle between options and
press encoder to lock the
selection.
——
be set to 5min,
15min, or 30min.
Short press to select setting,
rotate encoder to toggle
between levels and press
encoder to lock the
selection.
Sharpness
Image sharpness
adjustment between
1and 9 level.
Real-
time display
Contrast
Image contrast
adjustment between
1and 9 level.
Real-
time display
Brightness
Image brightness
adjustment between
1and 9 level.
Real-
time display
NUC Mode
Automatic correction
(A) and manual
correction (M)
Rotate cursor to this option
and short press the encoder
to switch between A and M.
Displayed in
upper left corner.

InfiRay USA
www.InfiRayUSA.com
800.769.7125
All rights reserved and shall not be copied and distributed in any form without written permission. 17
Figure 5-4. Rangefinder interface Figure 5-5. Laser calibration interface
Figure 5-6. Reticle calibration interface Figure 5-7. Compass calibration interface
6. Preventative Maintenance
6.1 Battery Replacement
▶Power off unit before replacing the batteries;
▶The battery power icon is displayed on the upper right side of the display. There
are four levels of power.
▶When the battery icon turns to red, it means that the power is less than 25% and
the battery needs to be replaced or connect to external power.;

InfiRay USA
www.InfiRayUSA.com
800.769.7125
All rights reserved and shall not be copied and distributed in any form without written permission. 18
▶To replace the battery, rotate the battery cap counterclockwise, remove old battery
and insert new battery button side down. The correct battery orientation is also noted on
the outside of the battery compartment.
6.2 Product Cleaning and Maintenance
▶Avoid using harsh chemicals or solvents to clean the monocular housing or lenses.
▶Rinse the monocular housing with water and wipe clean with a soft cloth.
▶For the eyepiece and objective lenses, remove any large particles or loose dirt
using compressed air. Fine cleaning should be performed with a lens cloth or lens pen.
Clean water, alcohol, or general-purpose window cleaner may be used to remove stubborn
stains. Avoid using excessive force as this may result in scratching the lenses.
7. General Troubleshooting
Please contact InfiRay USA or an authorized vendor for assistance before attempting
to perform any modifications or repairs beyond the scope of the troubleshooting
procedures in this manual. Unauthorized repairs or modifications may void your warranty.
Table 2. General Troubleshooting
Trouble description Possible Causes Trouble shooting
Image is blurry
Objective isn’t focused
Rotate the objective lens
until the image
becomes clear.
Long time no image correction.
Performing image
correction.
Table of contents
Other InfiRay Laboratory Equipment manuals
Popular Laboratory Equipment manuals by other brands

PASCO
PASCO AP-8214 instruction manual

Bruker BioSpin
Bruker BioSpin CryoProbe RF CRP RF UNIT Technical manual

Codonics
Codonics Virtua Ink Cartridge Technical brief

Helmer Scientific
Helmer Scientific i Series Service manual

Thermo Scientific
Thermo Scientific EVOS AMEP4947 user manual

NEW BRUNSWICK SCIENTIFIC
NEW BRUNSWICK SCIENTIFIC BioFlo 110 Guide to operations