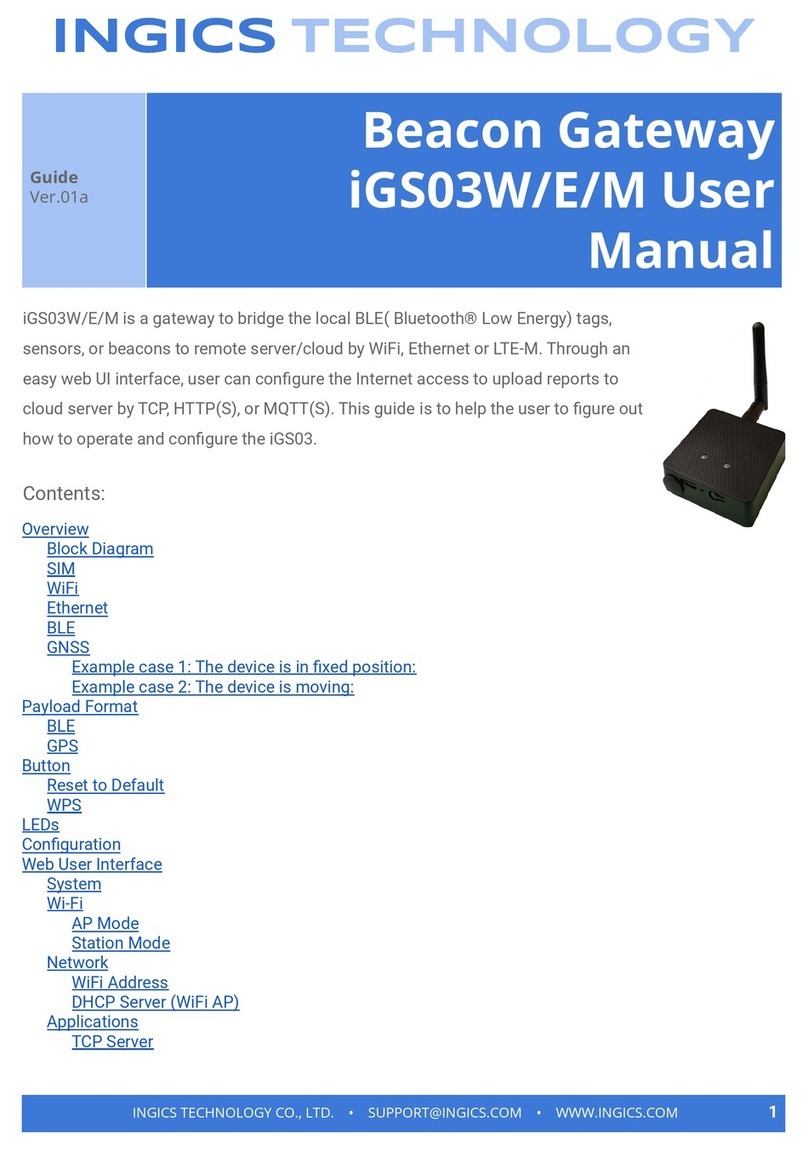
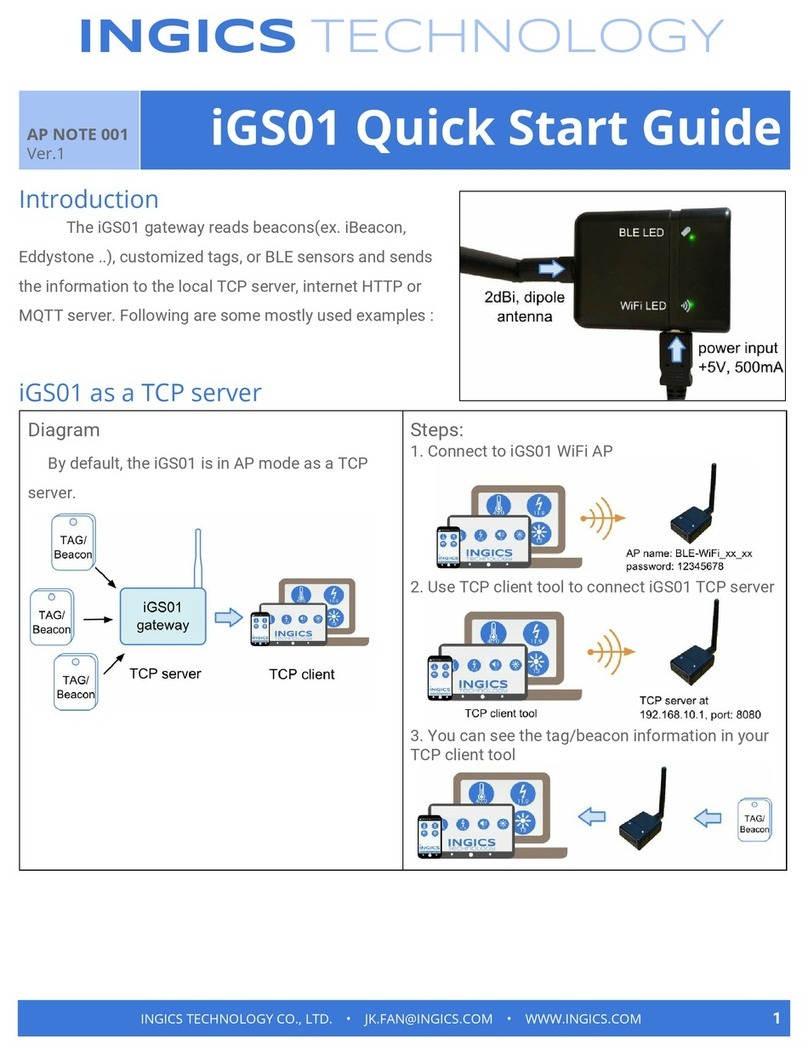
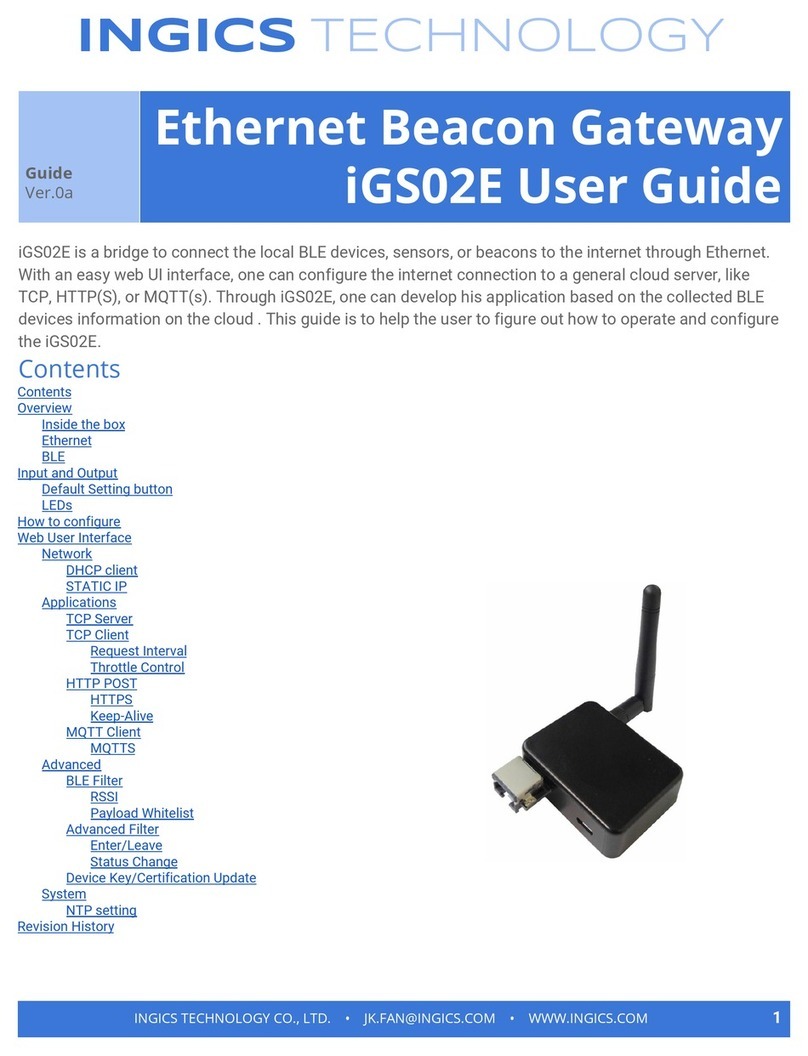
Ingics iGS03W User manual

INGICS TECHNOLOGY
iGS03W/M is a gateway to bridge the local BLE( Bluetooth® Low Energy) tags,
sensors, or beacons to remote server/cloud by WiFi, or LTE-M. Through an easy web
UI interface, user can configure the Internet access to upload reports to cloud server
by TCP, HTTP(S), or MQTT(S). This guide is to help the user to figure out how to
operate and configure the iGS03.
Contents:
Overview
Block Diagram
SIM
WiFi
BLE
GNSS
Example case 1: The device is in fixed position:
Example case 2: The device is moving:
Payload Format
BLE
GPS
Button
Reset to Default
WPS
LEDs
Configuration
Web User Interface
System
Wi-Fi
AP Mode
Station Mode
Network
WiFi Address
DHCP Server (WiFi AP)
Applications
TCP Server
TCP Client
HTTP Client
HTTPS
MQTT Client
Guide
Ver.01a
Beacon Gateway
iGS03W/M User Manual
INGICS TECHNOLOGY CO., LTD. • [email protected] • WWW.INGICS.COM
1

INGICS TECHNOLOGY
MQTTS
Common Settings
Content Type
Keep Alive
Append Timestamp
Request Interval
Cache full handling
Throttle Control
Cloud IoT Helper
Advanced
BLE Configuration
BLE-5 PHY Mode
Active Scan Mode
BLE Filter
RSSI Threshold
Payload Whitelist
BLE MAC Whitelist
Security
Device Key/Certification/Server CA Upload
LTE
LET Settings
APN
Auth
Username/Password
GNSS Settings
NTP Setting
Certification
Bluetooth SIG Qualification
Japan MIC Reaulatory
FCC Regulatory
FCC Statements
CE Regulatory
Revision History
INGICS TECHNOLOGY CO., LTD. • [email protected] • WWW.INGICS.COM
2

INGICS TECHNOLOGY
Overview
The iGS03 BLE gateway scans beacons(like iBeacon or Eddystone), proprietary tags, or BLE
sensors then sends the payload to TCP, HTTP or MQTT server. Users can configure the transmit period
and server endpoint through a simple web UI. There are two models, iGS03W and iGS03M, representing
different uploading interfaces, WiFi and LTE-M.
Block Diagram
INGICS TECHNOLOGY CO., LTD. • [email protected] • WWW.INGICS.COM
3

INGICS TECHNOLOGY
SIM
To use iGS03M (LTE-M Model), you have to put a Cat-M1 micro
SIM card into the socket of iGS03M. Please open the bottom cover to
insert the SIM card. The steps to open the bottom cover are as below,
WiFi
The 2.4G WiFi AP connection is used to configure the unit through web UI. iGS03 works as an
WiFi Access Point(AP) supporting DHCP. Users must connect to this AP to configure the unit.
BLE
The BLE subsystem operates in listening mode. It collects the messages advertised by BLE
devices. These messages are then sent to the cloud server configured by the user.
iGS03 supports two BLE modes
1. LE 1M PHY: including BLE4.2(Legacy)/BLE5, 1M in 100% duty cycle
2. LE Coded PHY: BLE5, 125K( long range) in 100% duty cycle
Step 1. Remove external BLE antenna
Step 2. Remove the screw from bottom cover
Step 3. Use finger to press and hold the arrow
part
Step 4. Pull out the bottom cover
INGICS TECHNOLOGY CO., LTD. • [email protected] • WWW.INGICS.COM
4

INGICS TECHNOLOGY
The default PHYMODE is 1, LE 1M PHY mode.
Users can use webUI or telnet command to configure the mode.
GNSS
The GNSS function is turned “off” by default. Users can use webUI to enable or disable GNSS.
For detail settings, use below telnet commands to manage the GNSS behavior:
GNSS ENABLE Enable/Disable GNSS, default off
GNSS FIXCOUNT Number of attempts for positioning, 0 indicates continuous positioning.
default 0
GNSS FIXRATE The interval time between the first and second time positioning, default 1 (1
second)
GNSS RPTRATE The interval time for sending GPSR report, default 600 (10 minutes)
GNSS INFO To get latest GPS status
Example case 1: The device is in fixed position:
e.g.
GNSS ENABLE 1
GNSS FIXCOUNT 5
GNSS FIXRATE 60
GNSS RPTRATE 60
Then GNSS will be enabled and get positioned for 5 times with a 60 seconds interval.
GNSS will be off automatically after getting position for 5 times.
Example case 2: The device is moving:
e.g.
GNSS ENABLE 1
GNSS FIXCOUNT 0
GNSS FIXRATE 1
GNSS RPTRATE 60
Then GNSS will be enabled and continuously get position with 1 second interval, and it will send
a GPSR report every 60 sec.
You can also use the "GNSS INFO" command to get the latest coordinates.
INGICS TECHNOLOGY CO., LTD. • [email protected] • WWW.INGICS.COM
5

INGICS TECHNOLOGY
Payload Format
There are several kinds of payload format that iGS03 will send to the server.
BLE
General format:
$<report type>,<tag id>,<gateway id>,<rssi>,<raw packet content>,*<unix epoch timestamp>\r\n
Report Type:
$GPRP BLE4.2 General Purpose Report
$RSPR BLE4.2 Scan Response Report
$LRAD BLE5 Long Range ADV
$LRSR BLE5 Long Range Scan Response
$1MAD BLE5 1M ADV
$1MSR BLE5 1M Scan Response
Examples:
$GPRP,CCB97E7361A4,CB412F0C8EDC,-49,1309696773206D65736820233220285445535429020106,1574921085
$GPRP,E5A706E3923A,CB412F0C8EDC,-87,0201041AFF590002150112233445566778899AABBCCDDEEFF0000100C3BB,157
4921085
$LRAD,51A88AD374B7,CC4B73906F96,-87,02010212FF0D0083BC280100AAAAFFFF000010030000,1574921085
$GPRP,0C61CFC1452E,E7DAE08E6FC3,-44,0201061AFF4C000215B9A5D27D56CC4E3AAB511F2153BCB9670001452ED6
(iBeacon, UUID: B9A5D27D56CC4E3AAB511F2153BCB967, Major: 0001, Minor: 452E)
GNSS
General format:
$GPSR,<tag_mac>,<reader_mac>,<rssi>,yymmdd,hhmmss.ss,latitude,longitude,speed,hdop(,timestamp)
●"$GPSR,<tag_mac>,<reader_mac>,<rssi>" fields are for compatibility with other reports. The
tag_mac is always the same as reader_mac and the rssi is always -127.
●yymmdd,hhmmss.ss is the UTC time when the position is acquired.
<report type>
Different report type to distinguish the source of the report.
<tag id>
MAC address or ID of tag/beacon
<gateway id>
MAC address of gateway
<rssi>
RSSI of tag/beacon
<raw packet content>
Raw packet received by the gateway
<unix epoch timestamp>
Optional timestamp configured in applications page
INGICS TECHNOLOGY CO., LTD. • [email protected] • WWW.INGICS.COM
6

INGICS TECHNOLOGY
●speed: The unit is knots.
●hdop: Horizontal dilution of position
Example:
$GPSR,CC4B73906F96,CC4B73906F96,-127,191127,233821.00,24.993631,121.423264,0.0,2.4,1574897900
Button
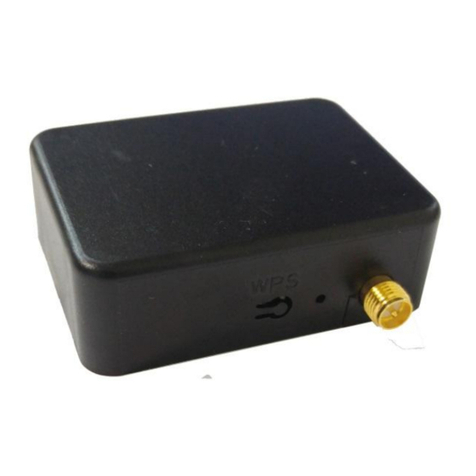
One button is located on the back panel. It is used for WPS function or Reset to default settings.
Reset to Default
Pressing the reset button on your device for over 3 secs to retrieve the default setting. While the
network status LED turns into red light, release the button, and the iGS03M will reboot with its default
settings.
WPS
Users can use the WPS button to join iGS03M to the WiFi Access Point. First press the WPS
button on your Access Point, when it is ready, then press the WPS button for over 1 sec on the iGS03M
device to join the Access Point.
Function
Trigger Condition
WPS
short press for over 1sec and release
Reset to default settings
long press for over 3 sec
INGICS TECHNOLOGY CO., LTD. • [email protected] • WWW.INGICS.COM
7

INGICS TECHNOLOGY
LEDs
There are two LEDs indicating the current status. The left one is BLE status LED and the right one
is Network status. Below are their behaviors.
Configuration
To configure the unit, you have to connect it through the WiFi interface. When it is powered on,
you could scan its native AP and connect it with the WiFi of your NB/PC/Mac/Tablet/Smartphone. It’s
On
Flash
BLE
Status
LED
find tag/beacon in range
BLE transmission
happening
Network
Status
LED
WiFi/LTE-M connection
success
(This only implies the network
is connected. It doesn’t mean
the server is connected)
Green: WiFi/LTE-M
network transmission
happening
Orange:
If IGS03M does not insert
SIM card and being used
as WiFi device
Network Status LED behavior
Description
Status
ORANGE LED on (500ms)
Boot start
Booting
RED LED blink (100ms on/off)
Joining AP (If WiFi in STA mode)
Booting
RED LED blink (500ms on/off)
LTE connecting carrier
Booting
GREEN/ORANGE LEDs blink interleaved
(100ms)
WPS enrollee
WPS
GREEN LED on
Network ready
Ready/Idle
ORANGE LED on
Network ready (If SIM card is not inserted)
Ready/Idle
GREEN LED blink (200ms on/off)
Network is transfering data
(If SIM card is not used on iGS03M, shows
ORANGE LED blink instead)
Busy
RED LED ON (1sec)
Connect failure
Error
RED LED blink (5sec on/off)
Misconfiguration
Error
RED LED ON (5sec)
LTE init failure
Error
INGICS TECHNOLOGY CO., LTD. • [email protected] • WWW.INGICS.COM
8

INGICS TECHNOLOGY
SSID is just like the above figure with part of the mac address. The default key to connect with it is
“12345678”. You can change it later when you get into the web UI.
After connection, enter IP address 192.168.10.1 in your browser. The default account/password
are both “admin”. The following sections describe details of the web UI.
Web User Interface
You can review current configuration or modify it on the web UI. There are various function
groups listed on the top of UI.
Any change in the page needs to be saved first before switching to another page, otherwise the
modification will be lost. And after all changes made, click reboot to make the changes effective.
System
Display firmware and device information, including MAC address and IP address in station mode
are shown here.
Wi-Fi
Users can configure iGS03M’s WiFi device as an WiFi AP or join to the other AP. The related
settings can be managed on this page.
AP Mode
SSID: The default name is IGS03 plus
the last digits of the mac address.
Security: Open, WPA-PSK, WPA2-PSK
and WPA-PSK/WPA2-PSK are
supported. WPA2-PSK is
recommended.
Password: 8-63 characters can be
input
Channel: 1~11(ch12 and ch13 could be supported by request)
INGICS TECHNOLOGY CO., LTD. • [email protected] • WWW.INGICS.COM
9

INGICS TECHNOLOGY
Station Mode
This mode is used for transferring
data by *WiFi.
Scan: Click it to scan available APs.
The scan result list will be displayed
on the popup window, and the user
can choose the correct AP from the
list.
SSID: No manual input required. It is automatically filled once a user chooses an AP from
the scan result list.
Security: Basically it is automatically detected and selected after choosing an AP from the
scan list. But in case the AP setting is in WEP open or WEP shared, the user has to
confirm it by himself/herself.
Password: Type the one assigned in your AP.
*Note: In data transfer, by default, WiFi has higher priority than LTE. So for iGS03M if both
interfaces are configured correctly and connected, the data will be transferred by WiFi.
Users can change the priority through the Telnet command.
Network
WiFi Address
This setting is for configuring in WiFi
Station mode. Normally the “DHCP
Client” is used to join a WiFi AP w/
DHCP. If one wants to manually assign
an IP address for iGS03, choose “Static
IP” to to assign the IP Address,
Netmask, Gateway, and/or DNS
servers.
DHCP Server (WiFi AP)
The default IP address of iGS03 in WiFi AP mode is 192.168.10.1 and the netmask is
INGICS TECHNOLOGY CO., LTD. • [email protected] • WWW.INGICS.COM
10

INGICS TECHNOLOGY
255.255.255.0. In case the user wants
to change the IP address in AP mode,
just set the IP and Netmask here. The
corresponding DHCP client address
will be changed too. For example, if
the DHCP server IP address is changed to 192.168.0.1., the DHCP clients associated with
iGS03 AP will be 192.18.0.X.
Applications
TCP Server
This mode is mainly for testing
purposes. Users can check the
received data immediately via
connecting to the TCP server through
WiFi interface.
TCP Client
iGS03 plays as a TCP client to
communicate with a raw TCP server.
Enter the address and port number of
the TCP server to connect it.
HTTP Client
Another connection in application is
through setting iGS03 as a HTTP
client. In this scenario, one has to
assign the HTTP URL to bring the BLE
data to the HTTP server through the
gateway. Some HTTP servers may
need username and password. The
others may need extra header and
value.
Users can simply use https:// in URL to enable HTTPS. And users can also enable Server
INGICS TECHNOLOGY CO., LTD. • [email protected] • WWW.INGICS.COM
11

INGICS TECHNOLOGY
Root CA/User Client Certificate based on the server requirement. The certificate files can
be uploaded on the Security page.
MQTT Client
Configure iGS03 to connect MQTT
broker for publishing data. In this
scenario, one has to assign the MQTT
host address and port number. Also
the publish topic needs to be
assigned. Client ID is defaultly
assigned as the gateway name with
part of MAC address, users can
change it as well. If the Client ID is not
set, the system will generate a random
number for it. Username and
password are optional.
Users can enable MQTTS support. And also can enable Server Root CA/Use Client
Certificate based on the server requirement. For example, to enable AWS-IOT, the user has
to enable MQTTS/ROOT CA/ Use Certificate options and upload certificate and private key
in the security page.
INGICS TECHNOLOGY CO., LTD. • [email protected] • WWW.INGICS.COM
12

INGICS TECHNOLOGY
Common Settings
Content Type
Users can choose the report data in
plain text format or JSON string.
Keep Alive
This option is available for HTTP
clients. The device will use HTTP persistent connection to reuse existing tcp sessions.
This enhances the HTTP efficiency.
Append Timestamp
Devices add the timestamp information in the BLE package format as stated on the page.
Users can choose to use the unit in seconds or milliseconds. If the device did not enable
NTP time synchronization or the NTP server is unreachable, the report timestamp will be
unexpected.
Request Interval
One can also assign the request interval to upload the data to the server. This is useful for
reducing data connections. When the interval is set as 0, the data will be sent
immediately. When it is set as a non-zero value in second, the data will be sent whenever
the buffer is full (depends on Cache full handling option) or the time interval is reached.
Cache full handling
The iGS03 has a limited cache buffer. The user needs to decide “sending data
immediately” or “discard new input data” if cache is full.
- If the user selects "sending data immediately", the device will keep on uploading
data when cache is full to avoid data loss regardless of your ”request interval
setting”. That will cause more data traffic.
- If the user selects "discard new input data", the device will not send data before
reaching the request interval.
Throttle Control
If throttle control is enabled, iGS03 will keep the last record for each TAG/Beacon ID in the
given interval (request interval). In this way, one can reduce the data transmission to the
server.
INGICS TECHNOLOGY CO., LTD. • [email protected] • WWW.INGICS.COM
13

INGICS TECHNOLOGY
Cloud IoT Helper
The cloud IoT helper can be launched by the “magic wand”, it is used to assist users to
configure AWS IoT, Azure IoT or Google Cloud IoT usage.
Advanced
BLE Configuration
BLE PHY Mode
Users can choose to use LE 1M PHY or
LE Coded PHY (Long-Range Mode).
Active Scan Mode
Enable active scanning.
BLE Filter
Users can set the BLE filter to filter out the unwanted BLE advertising data. There are three
kinds of filters supported by iGS03.
RSSI Threshold
If the bar is pulled right to -50dBm, only
the BLE tag/beacon with RSSI larger
than or equal to -50dBm will be transmitted to the server.
Payload Whitelist
Set patterns to configure the BLE
payload whitelist. Devices will only
report the BLE payload which matches
one of the patterns.
Click on the “plus” button to add a new
pattern. The character ‘X’ in pattern
means ignore the character. Also you
can click the “magic wand” to select a
preset pattern for iBeacon, Eddystone,
or INGICS beacons.
INGICS TECHNOLOGY CO., LTD. • [email protected] • WWW.INGICS.COM
14

INGICS TECHNOLOGY
Users can set up to 6 entries of the payload filter to make sure only relevant information
is received. If the pattern list is empty, it means the payload whitelist function is disabled,
all payload will be allowed.
BLE MAC Whitelist
Set BLE beacon MAC addresses to
configure the BLE MAC whitelist.
Gateway will only report the advertising
data broadcasted from the beacons
which match the whitelist.
Users can set up to 10 MACs to make sure only relevant information is received. If the list
is empty, it means the BLE MAC whitelist function is disabled. All BLE beacons are
allowed.
Security
Device Key/Certification/Server CA Upload
Users can upload device certification, private key and server CA files in PEM format on
this page. All these files may be used by MQTTS or HTTPS functions.
LTE
LET Settings
Access Point Name
The APN setting for the carrier setting.
Authentication
The auth type based on the carrier
setting.
Username/Password
The username/password based on the
carrier setting.
DNS Servers
In case the users want to specify
INGICS TECHNOLOGY CO., LTD. • [email protected] • WWW.INGICS.COM
15

INGICS TECHNOLOGY
his/her own DNS servers.
GNSS Settings
Users can enable the GNSS function here.
NTP Setting
To open the NTP Setting UI, click the “clock”
icon in the UI header. User has to set the time
server and the update period to enable NTP.
Login Password
One can change the login password from the
“people” icon on the UI header. Be aware that
it changes the login password of the telnet
console, too.
INGICS TECHNOLOGY CO., LTD. • [email protected] • WWW.INGICS.COM
16

INGICS TECHNOLOGY
Certification
Bluetooth SIG Qualification
Japan MIC Regulatory
FCC Regulatory
FCC Statements
Federal Communication Commission Interference Statement
This equipment has been tested and found to comply with the limits for a Class B digital device, pursuant to Part 15 of the
FCC Rules. These limits are designed to provide reasonable protection against harmful interference in a residential
installation.
This equipment generates, uses and can radiate radio frequency energy and, if not installed and used in accordance with the
instructions, may cause harmful interference to radio communications. However, there is no guarantee that interference will
not occur in a particular installation. If this equipment does cause harmful interference to radio or television reception, which
can be determined by turning the equipment off and on, the user is encouraged to try to correct the interference by one of the
following measures:
. Reorient or relocate the receiving antenna.
. Increase the separation between the equipment and receiver.
. Connect the equipment into an outlet on a circuit different from that to which the receiver is connected.
. Consult the dealer or an experienced radio/TV technician for help.
FCC Caution: To assure continued compliance, any changes or modifications not expressly approved by the party
responsible for compliance could void the user's authority to operate this equipment. (Example - use only shielded interface
cables when connecting to computer or peripheral devices).
FCC Radiation Exposure Statement
This equipment complies with FCC RF radiation exposure limits set forth for an uncontrolled environment. This equipment
should be installed and operated with a minimum distance of 20 centimeters between the radiator and your body.
This transmitter must not be co-located or operating in conjunction with any other antenna or transmitter.
The antennas used for this transmitter must be installed to provide a separation distance of at least 20 cm from all persons
and must not be co-located or operating in conjunction with any other antenna or transmitter.
This device complies with Part 15 of the FCC Rules. Operation is subject to the following two conditions:
(1) This device may not cause harmful interference, and (2) This device must accept any interference received, including
interference that may cause undesired operation
Model number: iGS03W/iGS03M
Declaration ID: D048813
Description: Beacon gateway
iGS03W with below certified number
201-200584, 217-204070
iGS03M with below certified number
201-200584, 217-204070, 003-180062,
D180034003
iGS03W
FCC ID:2AH2IIGS03W
contains
FCC ID:2AC7Z-ESP32WROOM32E
iGS03M
FCC ID:2AH2IIGS03W
contains
FCC ID:XMR201707BG96
FCC ID:2AC7Z-ESP32WROOM32E
INGICS TECHNOLOGY CO., LTD. • [email protected] • WWW.INGICS.COM
17

INGICS TECHNOLOGY
CE Regulatory
iGS03W/M has been tested and complies with the essential requirements of the DIRECTIVE
2014/53/EU and DIRECTIVE 2014/35/EU. Below is the copy of CE Conformity of Declaration.
INGICS TECHNOLOGY CO., LTD. • [email protected] • WWW.INGICS.COM
18

INGICS TECHNOLOGY
Revision History
DATE
REVISION
CHANGES
Dec 3, 2019
0a
Initial release
Apr 6, 2020
0b
Update screenshots
Jun 3, 2020
0c
Update photo and diagram
Jul 7, 2020
0d
Update LED behavior
Sep 24, 2020
01
Fix text and layout
Nov 17, 2020
01a
1. Add FCC/CE regulatory information and FCC statement
2. Add the method of opening the lower cover
3. Modify Button section to make it more clear
4. Update insert SIM card location photo
INGICS TECHNOLOGY CO., LTD. • [email protected] • WWW.INGICS.COM
20
Other manuals for iGS03W
3
This manual suits for next models
1
Table of contents
Other Ingics Gateway manuals
Popular Gateway manuals by other brands
Moxa Technologies
Moxa Technologies MGate 5217 Series user manual
enphase
enphase Envoy Communications Gateway Quick install guide
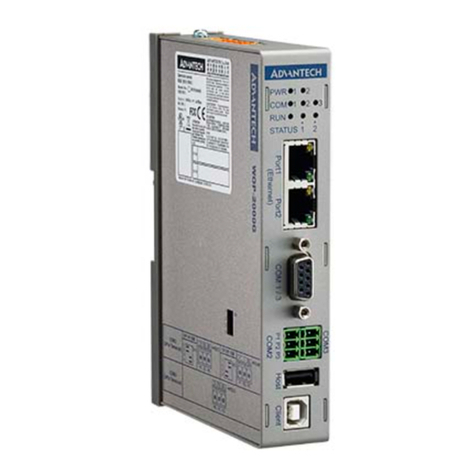
Advantech
Advantech WOP-2000G installation guide
Funkwerk
Funkwerk bintec R4100 user guide
ZyXEL Communications
ZyXEL Communications ZyWALL 10/10 user guide
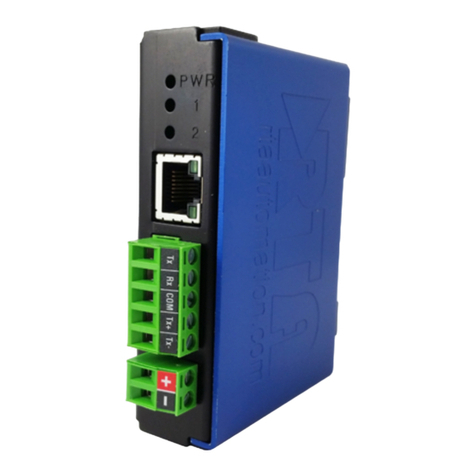
RTA
RTA 460PSA-NNA1 Product user guide

