Injoy Motion ALLIED TANK ATTACK User manual


©2013 Injoy Motion Corp.
1
Need parts or service, please contact us:
Injoy Motion Corp.
Technical support: +886-2-2267-6317
Fax: +886-2-2267-5906
E-mail: support@injoymotion.com
Note:
•The product specifications are subject to change without notice.
•This game content, equipment and design protected by law, including
patents, copyrights and intellectual property rights.
•Unauthorized reproduction of this document or any of its contents is strictly
prohibited.

©2013 Injoy Motion Corp.
2

©2013 Injoy Motion Corp.
3

©2013 Injoy Motion Corp.
4
Index
1. General Information..........................................4
1.1 Safety Notes.................................................................................................4
1.2 Specifications..............................................................................................5
2. Installation .........................................................6
2.1 Checklist .......................................................................................................6
2.2 Installation....................................................................................................6
3. Game setting (Operator menu) ......................18
3.1 Coin Options..............................................................................................19
3.2 Game Options............................................................................................20
3.3 Joystick Setting ........................................................................................21
3.4 Volume setting...........................................................................................23
3.5 Device Test.................................................................................................23
3.6 Save & Exit .................................................................................................24
3.7 System Recovery......................................................................................25
4. Trouble shooting.............................................26
4.1 Error Code..................................................................................................29
4.2 General issues ..........................................................................................29
4.3 Display.........................................................................................................30
4.4 Sound ..........................................................................................................30
4.5 Control.........................................................................................................31
4.6 Technical Support ....................................................................................33
Appendix A: How to connect tubes ...................34
Appendix B: Clean the two way drain valve......37
Appendix C: Clean the two way drain valve......39
Appendix D: How to change airbag...................43
Appendix E: The assembly of the Yoke
controller.......................................50

©2013 Injoy Motion Corp.
5
1. General Information
1.1 Safety Notes
Please read the following instructions carefully before using the game.
Using separate power supply for this machine
Handling with care
The game contains glass and fragile electronic equipment,
should be very careful when handling
Be sure to turn off the power before maintenance
Earth Connection
To avoid electrical shock! Please use earth connection.
Using connectors properly
Check direction before connect
Move PC with care

©2013 Injoy Motion Corp.
6
1.2 Specifications
Installed Dimensions
( LxWxH ) 151x228x214cm
Approximate Weight 637kgs
Voltage & Power
Requirement AC 220VAC, 50/60Hz, 2000W
Note: The power cord should be connected to a dedicated 15A/220V circuit.
No other game should share the circuit with this game.

©2013 Injoy Motion Corp.
7
2. Installation
2.1 Checklist
Note: This machine must be installed indoor, need to maintain a distance of 1 m
from the wall. Make sure the unit stands are placed flat on the ground and the
machine is not moving when playing.
Assembly Diagram
Item (For 1 machine) Q’ty
TV cabinet (monitor base) 1
Cockpit (seat base) 1
Head Light 1
Service manual (with CD) 1
Other parts kit (plug adapter, keys) 1

©2013 Injoy Motion Corp.
8
2.2 Installation
Step1
:
Inspect the exterior of the cabinet for any damage.
Step2
:
Find headlight set and install the headlight carefully.
Carefully move the TV cabinet (monitor base) close to the Cockpit (seat base).

©2013 Injoy Motion Corp.
9
Step3
:
Collecting the air tubes to the connector box
Move the Cockpit close to TV cabinet, and collect the tubes
○
1
~
○
10
from TV
cabinet to the connector box on Cockpit left hand side according to the same
color and size.
①
ψ6 Black Tube ⑥ψ10 Orange Tube
②
ψ6 Orange Tube ⑦ψ10 Blue Tube
③
ψ6 Blue Tube ⑧ψ10 Red Tube
④
ψ6 No-color Tube ⑨ψ10 No-color Tube
⑤
ψ10 Black Tube ⑩ψ10 Transparent-Blue Tube

©2013 Injoy Motion Corp.
10
Step4
:
Collect the connectors
○
1
~
○
7
from TV cabinet to the connector box
on Cockpit right hand side by the same pin-number and the same name tag.

©2013 Injoy Motion Corp.
11
Number Shape Pin Tag name
○
1
4 SysGH
○
2
6 Coin Power
○
3
6 BL
○
4
8 Coin EX
○
5
8 START
○
6
14 VR
○
7
16 BTN&SB

©2013 Injoy Motion Corp.
12
Step5
:
Move the cockpit close to TV cabinet. Use two front screws to fasten
the left/right corner plate. Use two side screws in each connector
box to mount the cockpit. Watch out each connector and tube
when connecting the monitor base and the cockpit. Do not bend
the tube or wire under any metal piece.
Side screws and front screw:

©2013 Injoy Motion Corp.
13
Step6
:
Connect the air tubes
○
1
~
○
10
in the connector box on Cockpit left
hand side by the same color, do not mix the orange color with the red color
tubes.
Connecting air tubes in the connector box

©2013 Injoy Motion Corp.
14
Step7
:
Connect the cables
○
1
~
○
7
in the connector box on Cockpit right hand
side by the same pin-number and the same name tag.

©2013 Injoy Motion Corp.
15
Step8
:
Attach the cover plate to the cable base, and use the screws to fix it.
Step9
:
Attach the cover plates to the connector boxes, and use the screws to
fix it.

©2013 Injoy Motion Corp.
16
Step10
:
Assembly done.
Step11
:
Move the machine to the installation site, check that the width of the
pathway need to be more than 1m.
Step12
:
When the machine is in it’s final position, adjust the unit stands with
the spanner, so that all casters are raised from the floor. Then fix the
lock nut with the spanner to ensure the stands do not move.
Step13
:
Connect the AC power cord from the cabinet to the AC wall outlet.
1. The power cord should be connected to a
dedicated 15A/220V circuit.
2. No other game should share the circuit with this
game

©2013 Injoy Motion Corp.
17
Coin Acceptor Setting
Step14
:
Pull up the slider of the coin acceptor and insert the coin into the coin
acceptor. Release the slider to fix the coin acceptor.
Step15
:
Check the Coin Acceptor Setting. (Select “NO” on top switch, “SLOW”
on bottom switch)
Placement for external plate
Step16
:
Put a plate on the floor and right under the drain valve hole.
The air compressor tank drains water after machine power off. So it is
suggested to put a container on the floor and right under the drain valve to
catch the water. Generally, a plastic plate around 25x20x3 cm (LxWxH) is
suggested.
Plate

©2013 Injoy Motion Corp.
18
3. Game setting (Operator menu)
To access Operator Menu, after the Power is switched ON and the screen
shows “insert coin”, find the red operator menu switch located inside the coin
box, switch it to “I” position to enter.
Then you will see below screen.
Operator
Menu
Recovery
Table of contents
Other Injoy Motion Arcade Game Machine manuals
Popular Arcade Game Machine manuals by other brands
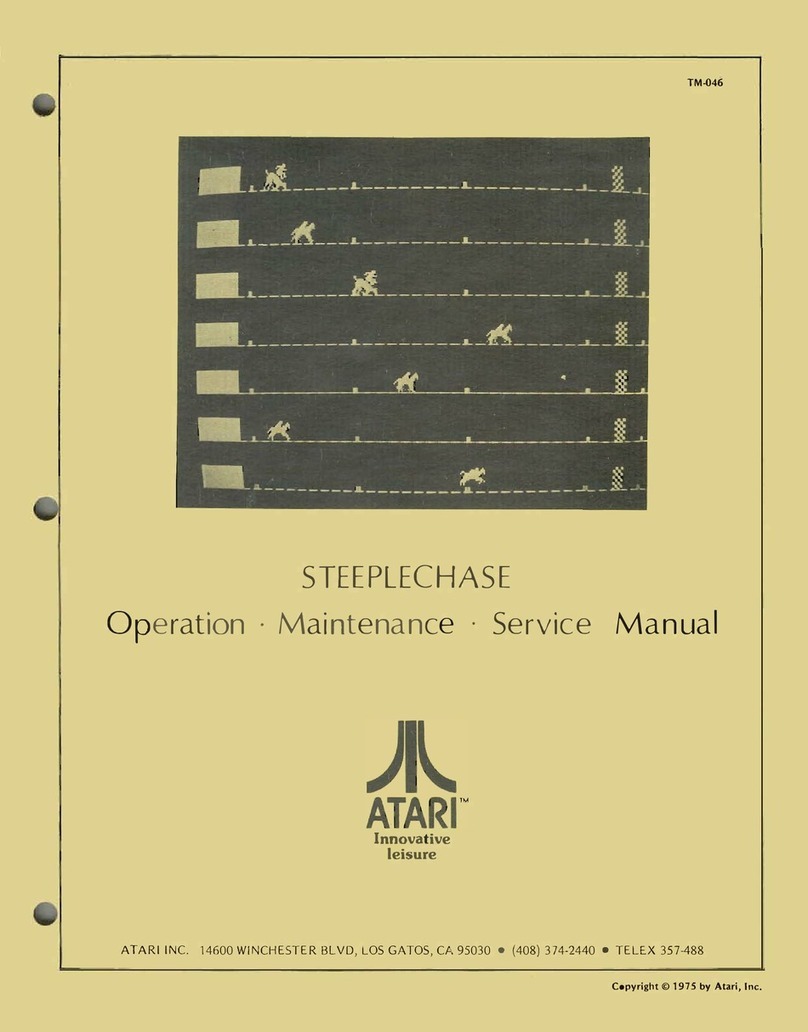
Atari
Atari STEEPLECHASE OPERATION, MAINTENANCE & SERVICE MANUAL
Universal Space
Universal Space Panning for Gold Operation manual

LAI Games
LAI Games Balloon Buster Operator's manual
Sega
Sega Future Tone ProjectDIVA Arcade Service manual
AtGames
AtGames LEGENDS PINBALL instruction manual
Barron Games
Barron Games QuadAir Quick tips

