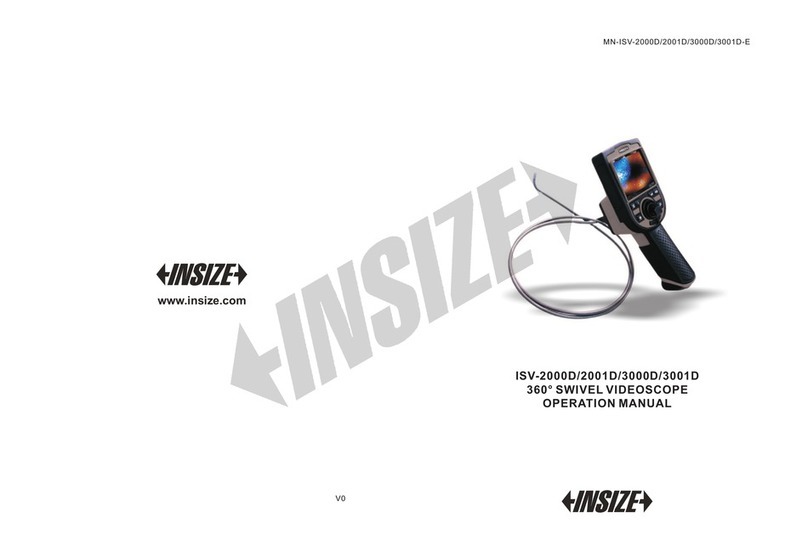
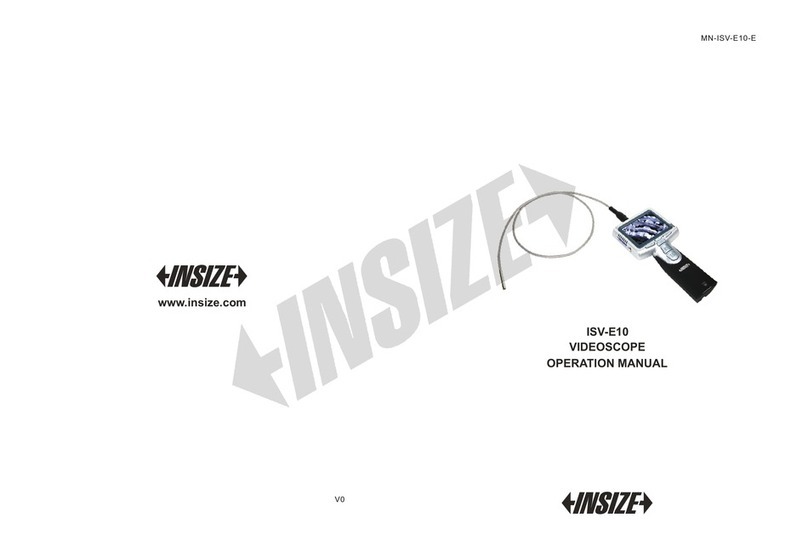
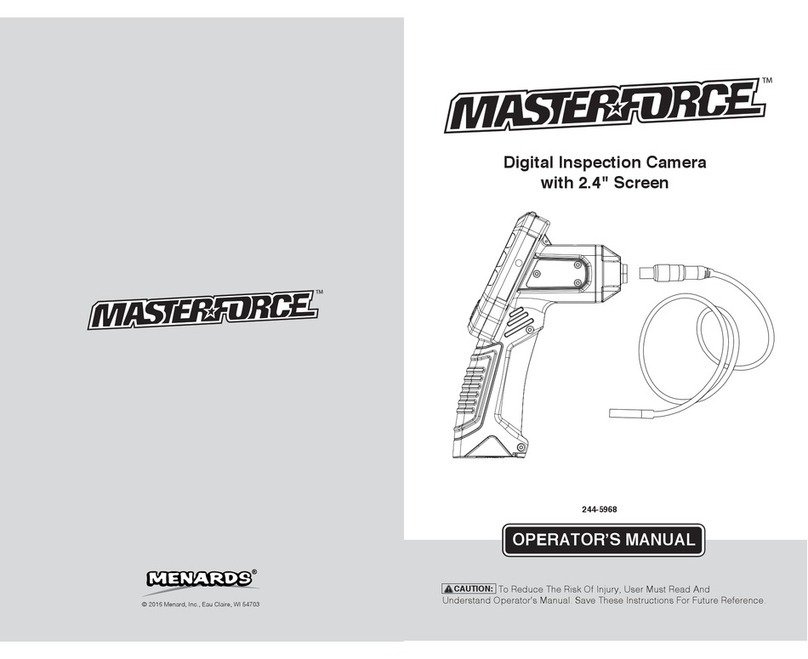
insize ISV-E20 User manual

MN ISV- -E20-E
V0
ISV-E20
www.insize.com
VIDEOSCOPE
OPERATION MANUAL

1 2
1.1 The front of the lens can not hit.
A
B
C
D
E
F
G
K -USB port
L -DC in 5V
M -3.5" LCD
N -reset
On/Off
ESC
OK
-power on/off
-take photo
-take video
-up
-down
-menu
-return
H -LED brightness adjustment
I -SD card
J -TV port
Attention
Structure
A
M
B
F
E
D
I
J
H
k
L
H
G
C
Re se t N
a
b
-lens
-adjustable LED illumination
c
-handle
c
a
b
1.2 The waterproof probe of lens is IP57, while the depth of the lens
in water should be within 1m and no more than 30 minutes. And the
depth of the lens in oil should be within 6cm and no more than 10
minutes.
<1m
Water
<6cm
Oil
1.3 The lens and cable are not covered by warranty. They may be
damaged due to improper operation and can not be repaired.

3 4
2.1Choose the right connection cable according to the viewing
workpiece. This product is supplied with a rigid 1m long and
12mm diameter cable, and if need to change to other types of
connection cables, please loosen the nut anticlockwise and
remove the cable (see below picture).
Connect the AC/DC adapter to the DC in port of main unit, and the
input voltage is 110-220V. The “ ” in the right corner would blink
when charging (see below picture).
2.2Press the “on/off” 3-5 seconds to turn on, and the screen
display about 5 seconds.
will
2.3Move the lens to the viewing workpiece and adjust the
distance between 20-50mm (focus distance), and the rate would
be larger if the distance is much smaller during this range, and
the biggest magnification is about 28X. Adjust the LED
brightness to make the view more clearly.
remove the cable
mount the cable
locating slot
When display “ ” and the battery do not change means the battery
is full charged (see below picture).
Charge:
blink
2.4
The angle of side view is 54°, and to observe internal wall of
holes, install a 45° mirror is necessary, and 30° and 60° mirror
is also available for other views.
Attention: It is common the lens burning hot when LED light up
for a long time. The lens can also put into water or oil, and the
waterproof probe is IP65.
Operation
When mounting
slot (see below picture), then tighten the nut.
the cable, take attention of the place of the locating
focus distance: 20~50mm angle of view: 54°
If display low battery in the right corner, please charge or
replace the lithium battery.
full charged
Can install mirror, hook and magnet for better observation.
20~50mm
54°
45° mirror (optional) hook (optional) magnet pick up(optional)

Before mounting the new battery, please lookover the battery
carefully and the electrode on the battery “ ”need to
keep pace with the electrode on the main unit.
5 6
Replace the lithium battery:
2.5Press “take photo” button to take photos and press
video” button once to start to take videos and press it again to
finish taking videos.
“take
2.8 Connect the main unit to the computer with USB cable to copy
the pictures or videos. Or take off the 2G SD card (press the SD
card, it will automatically pop up for you), so you can also copy
the pictures or videos with a card reader. Please take attention of
the direction of the SD card when mounting, and the file format of
picture is JPG, ASF for videos.
ESC
OK
PUSH
computer
ESC
OK
PUSH
attention: SD direction
for mounting
2.9 It will affect the observation when the lens get dusty after long
used. Just clean the lens or reflector carefully with a clean bar
dipping a small mount of alcohol.
3.1 Three operation modes:
Overlook mode: overlook all pictures or videos in SD card
Menu mode: set all function
3.2 Functions of buttons under different operation modes:
Buttons
OK
ESC
Observational mode
enter menu mode
enter overlook mode
take photo
take or stop video
Overlook mode Menu mode
select up and down
delete pictures or videos confirm selecting
enter observational mode
return previous mode
enter observational
mode
start or stop reading
videos return previous mode
Display technology
maintenance information
White button
+-
T
ESC
OK
+
-
2.7Connect the main unit to TV with TV cable, and the picture
will display on the TV directly (Attention: the file format need to
change to “ PAL/NSTC ” in correspondence with TV), and the
picture would display on the main unit when take off form TV.
2.6Press “ESC”button, the screen will display the latest photo or
video, then press “ up ” and “ down ” to overlook all the photos or
videos in the SD card.
Press the white button, remove the battery cup and take out
the used battery.
ESC
OK
PUSH
Function
Observational mode: display current view
select pictures

7 8
Press “OK” under observational mode to enter menu.
Video output
Video format
Date/Time setup
language
Delete all
Auto power off
Mirror mode
Video output
Video format
Date/Time setup
language
Delete all
Auto power off
Mirror mode
4.1 Video format
BRIGHTNESS 140
CONTRAST 140
HUE 0
SATURATION 70
DEFAULT
4.2 Date/Time setup
4.3 Language
Select language available: English、traditional Chinese、
simplified Chinese,Japanese、German.
LANGUAGE
ENGLISH
繁體中 文
简体中 文
Japanese
Deutsch
4.4 Delete all
Select “delete all”, press “up” or “down” to choose “YES” or
“NO”, then press “OK” to confirm delete all or not.
4.5 Auto power off
Select “Auto power off”, select 5
power off automatically after the minutes selected. And if
choose “Disable”, it would never power off.
、10、15、30 minutes to
DISABLE
5MIN
10
15MIN
30MIN
MIN
Auto off
4.6 Mirror mode
Select “Mirror mode”, the picture would mirror horizontally.
PAL
TV OUTPUT
NTSC
original picture
YES NO
Setup TV format: NTSC/PAL, select one format then set the
value of BRIGHTNESS、CONTRAST、HUE、SATURATION.
When select “DEFAULT” to reset options to default. Press
“up” or “down” to select one then press “OK”, setup value by
pressing “up” or “down”, and just press “OK” when finish
selecting.
。
Menu
Video output
Video format
Date/Time setup
language
Delete all
Auto power off
Mirror mode
FACTORY SETUP
Select “Date/Time setup”, press “up” and “down” to choose
Year/Month/Date/Hour/Minute/Second, press “take photo”to
increase the value, press “take video” to reduce the value.
2000/01/10
10:22:22
Video output
Video format
Date/Time setup
language
Delete all
Auto power off
Mirror mode
Video output
Video format
Date/Time setup
language
Delete all
Auto power off
Mirror mode
Video output
Video format
Date/Time setup
language
Delete all
Auto power off
Mirror mode
ERASE ALL
Video output
Video format
Date/Time setup
language
Delete all
Auto power off
Mirror mode
after mirror

9
Lens
12mm
0.4M
720×682
30fps
IP57
File format
Weight
PAL / NTSC
3.7V rechargeable battery
(for 3 hours working)
2G SD card(about 6000 pictures
or 15 minutes video)
600g
Lens
2G SD card
AC/DC adaptor
video output cable
USB cable
Clean bar
Main unit 1pc
1pc
1pc
1pc
1pc
1pc
2pcs
5.1 Display nothing after power on: low battery, please charge
the battery, if can not charge, please replace th lithium battery.
5.2 Only display words but not picture, please check if the lens
cable connecting well.
5.3 Can not take photos or videos: please check if SD card is
inserted. And if SD card broken or full of files, please replace SD
card or remove the files to save new pictures or videos.
5.4 Can not operate on the main unit: when meeting this
problem, just turn off the main unit and press the “ Reset ” button
1-2 seconds, then turn on the main unit again.
Common problems
Specification
Diameter
Pixel
Resolution
Frame rate
Dust/waterproof probe
Standard delivery
Power supply
Memory
Table of contents
Other insize Analytical Instrument manuals
