Inspired Flight IF1200A Owner's manual

IF1200A Hexacopter
HereLink Blue
HereLink Black
Long Range Telemetry
Pilot Operating Handbook
IFT Doc. Num. 102094, Rev. 1.02, 2022

IF1200A Pilot Operating Handbook
Copyright 2022 by Inspired Flight Technologies
Document Number: 102094, Rev. 1.02
This document shall not be copied or reproduced, whether in whole or in part, in any form or by
any means without the express written authorization of Inspired Flight Technologies. The
information, technical data, designs and drawings disclosed in this document are proprietary
information of Inspired Flight Technologies or third parties and shall not be used or disclosed to
any third party without permission of Inspired Flight Technologies.
Address: 225 Suburban Rd, San Luis Obispo, CA 93401
On the Web:https://inspiredflight.com/
Contact us:
●Phone: (805) 776-3640
●Email: [email protected]
IFT Doc. Num. 102094, Rev 1.02

IF1200A Pilot Operating Handbook
Table of Contents
1. Safety Information and Notes 1
2. IF1200A Overview 2
3. Hand Controller Descriptions 4
4. HereLink Blue Hand Controller 5
5. HereLink Black Hand Controller 6
6. Long Range Telemetry (LRT) 7
9. Battery Charging 11
10. Assemble the Aircraft 17
11. Install the Flight Batteries 23
12. Using HereLink Hand Controllers 29
13. Set Up the Long Range Telemetry Radio 31
14. Power On the Aircraft 33
15. Flight Modes 35
16. Arm and Disarm 38
17. Takeoff and Landing 39
18. Power Off the Aircraft 40
19. Disassemble and Store the Aircraft 41
20. Planning a Mission 44
IF1200A HereLink Preflight Checklist 55
IF1200A LRT Preflight Checklist 56
Appendix 58
Maintenance Schedule 91
Revisions 92
IFT Doc. Num. 102094, Rev 1.02
IF1200A Pilot Operating Handbook 1. Safety Information and Notes
1. Safety Information and Notes
The IF1200A is a high-performance system, engineered for safe use. Where appropriate, this
manual alerts the user to specific actions necessary for safe operation of the aircraft.
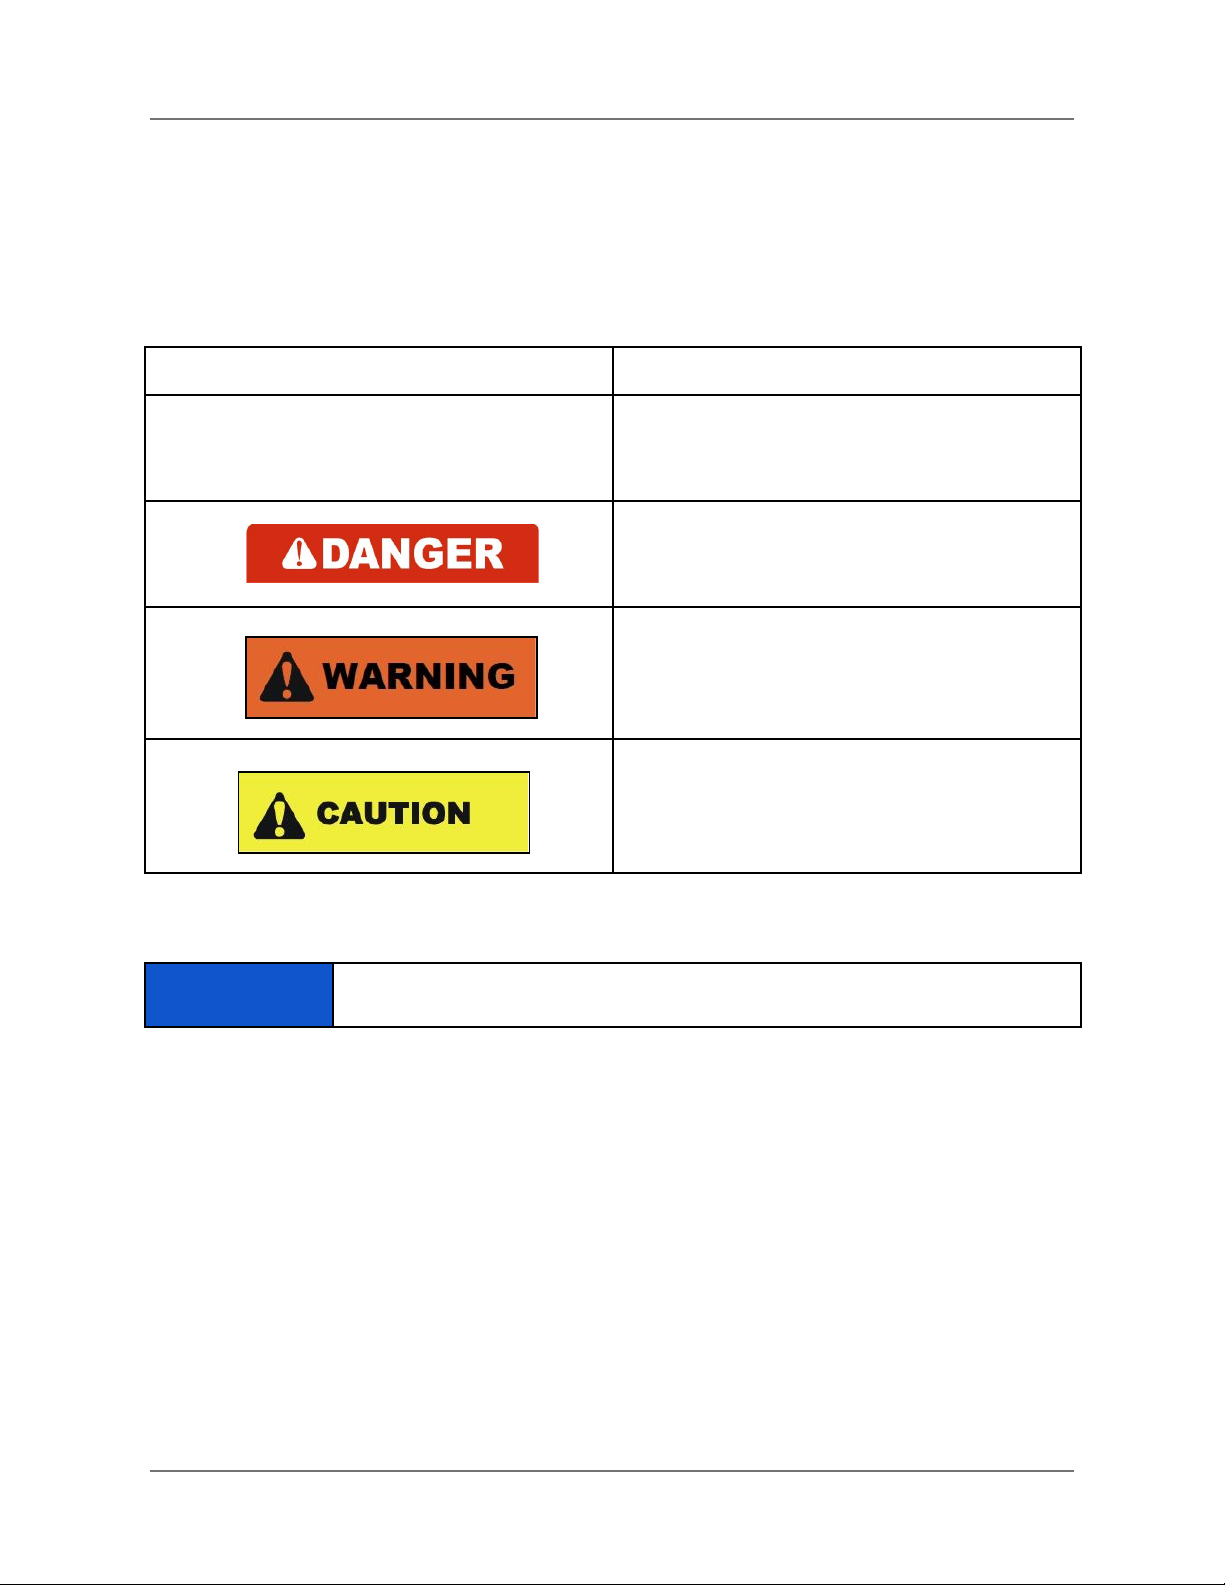
The following alert symbols are used:
Symbol
Meaning
General alert to an action or condition that
may affect the safe operation of the
equipment.
Indicates a hazardous situation that, if not
avoided, can result in death or serious injury.
Indicates hazards or unsafe practices which
could result in severe personal injury or death
Indicates hazards or unsafe practices which
could result in minor personal injury or
equipment damage.
NOTE
Offers important information about a topic.
IFT Doc Num 102094, Rev 1.02 Page 1

IF1200A Pilot Operating Handbook 2. IF1200A Overview
2. IF1200A Overview
The IF1200A is an American-made, NDAA-compliant heavy-lift hexacopter. The IF1200A uses
the Open Source ArduPilot Flight Control System running on an NDAA compliant CubePilot
Blue Cube H7. This User Manual describes how to use the full functionality of this aircraft to
meet your most demanding needs.
There are three models of the IF1200A, which differ according to which remote control they use:
● IF1200A HereLink Blue: uses the NW Blue HereLink Blue remote control
● IF1200A HereLink Black: uses the CubePilot HereLink hand controller
● IF1200A Long Range Telemetry (LRT): uses the Jeti DS-12 hand controller in
conjunction with the RFD900x-US radio.
All three versions of the IF1200A are identical except for the remote control. This Pilot Operating
Handbook (POH) describes all three versions.
Figure 1 below is a front view of the IF1200A aircraft. See Figure 2 on the following page for a
top view.
Figure 1. IF1200A (Front View)
IFT Doc Num 102094, Rev 1.02 Page 2

IF1200A Pilot Operating Handbook 2. IF1200A Overview
Figure 2 below is a top view of the IF1200A aircraft, and shows some features used to orient
yourself to the aircraft.
NOTE: The Handle incorporates a dual GPS, and also serves as a battery clamp for the aircraft.
Figure 2. Top View of the IF1200A Aircraft facing towards you
Orientation: The six arms in Figure 2 are designated as follows:
●LF: Left Front (red LED)
● RF: Right Front (green LED)
● R: Right side of aircraft (white LED)
● RR: Right Rear (white LED)
● LR: Left Rear (white LED)
● L: Left side of aircraft (white LED)
IFT Doc Num 102094, Rev 1.02 Page 3

IF1200A Pilot Operating Handbook 3. Hand Controller Descriptions
3. Hand Controller Descriptions
The IF1200A includes one of the hand controllers shown below. Click on the link to go to the
page for that hand controller.
NOTE: The HereLink Blue and HereLink Black both have QGroundControl software installed.
HereLink Blue (NW Blue)
Uses QGroundControl
HereLink Blue Hand Controller
HereLink Black (CubePilot HereLink HD video
transmission system)
Uses QGroundControl
HereLink Black Hand Controller
IF1200A Long Range Telemetry (LRT)
Uses a Jeti DS-12 hand controller and
RFD900x-US long range telemetry radio
Customer supplied computer with QGroundControl
and/or Mission Planner installed
Long Range Telemetry (LRT)
IFT Doc Num 102094, Rev 1.02 Page 4

IF1200A Pilot Operating Handbook 4. HereLink Blue Hand Controller
4. HereLink Blue Hand Controller
This configuration uses the HereLink Blue hand controller, made by NW Blue. The User Guide
for this hand controller can be found online at:
https://docs.nwblue.com/nw-blue/products/herelink-blue
The HereLink Blue has an internal battery which can be charged via a micro USB port on the
bottom of the unit.
The HereLink Blue has QGroundControl software installed at the factory.
Note: The HereLink hand controller can be used while it is being charged.
Figure 3. HereLink Blue Hand Controller
IFT Doc Num 102094, Rev 1.02 Page 5

IF1200A Pilot Operating Handbook 5. HereLink Black Hand Controller
5. HereLink Black Hand Controller
This IF1200A version uses the HereLink Black, made by CubePilot. The HereLink Black User
Guide can be found online at:
https://docs.cubepilot.org/user-guides/herelink/herelink-overview
The HereLink Black has an internal battery which can be charged via a micro USB port on the
bottom of the unit.
The HereLink Black hand controller has QGroundControl software installed at the factory.
Note: The HereLink hand controller can be used while it is being charged.
Figure 4. HereLink Black Hand Controller
IFT Doc Num 102094, Rev 1.02 Page 6

IF1200A Pilot Operating Handbook 6. Long Range Telemetry (LRT)
6. Long Range Telemetry (LRT)
The LRT system includes:
● IF1200A aircraft
● Jeti DS-12 hand controller
● RFD900x-US telemetry radio
Customer-supplied:
● Laptop or tablet, with QGroundControl and/or Mission Planner installed. The
RFD900x-US telemetry radio plugs into a USB port on this device.
The RFD900x-US telemetry radio connects to a USB port on a device (laptop or tablet).
The device operates as a ground control station. MAVLink compatible Ground Control station
software such as QGroundControl (QGC), Mission Planner (MP), UGCS, or MAVProxy must be
installed on the device before flying.
Figure 5 below shows how the parts of the LRT work together.
Figure 5. Long Range Telemetry Signals
IFT Doc Num 102094, Rev 1.02 Page 7

IF1200A Pilot Operating Handbook 6. Long Range Telemetry (LRT)
Figure 6 below shows the Jeti DS-12 remote control.
Figure 6. Jeti DS-12 Hand Control
Flight Mode Switch Settings on Jeti DS-12
The Flight Mode Switch in the upper-right corner of the Jeti DS-12 (see Figure 6 above) is a
three-position switch that selects between the following flight modes:
Switch Position
Flight Mode
Upper
Loiter
Middle
Position Hold
Lower
RTL (Return to Launch)
IFT Doc Num 102094, Rev 1.02 Page 8

IF1200A Pilot Operating Handbook 7. Install QGroundControl
7. Install QGroundControl
QGroundControl (QGC) is an open-source mission planning and configuration software
application for UAVs using the MAVLink Communication Protocol. QGC is well documented, and
first-time users are encouraged to review the available user guide at:
https://docs.qgroundcontrol.com/en/. Training videos describing all aspects of planning and
uploading an autonomous mission are available online.
Installing QGC or MIssion Planner on a laptop is required for the LRT configuration. It is optional
for the HereLink configurations.
Step
Action
1
Download the QGroundControl installer from http://qgroundcontrol.com/. The
download links for PC, Mac or Android tablets can be found on the top right
‘Downloads’ drop-down menu of the website (see below).
2
Follow the prompts on the website to download and install QGC to your device.
3
To establish a link between the aircraft and QGC, power on the ground station (and
open QGC) BEFORE you power on the aircraft. QGC automatically connects to the
aircraft when it powers up.
End of Procedure
IFT Doc Num 102094, Rev 1.02 Page 9

IF1200A Pilot Operating Handbook 8. Install Mission Planner
8. Install Mission Planner
Mission Planner is an open-source mission planning and configuration software application for
UAVs using the MAVLink Communication Protocol. Mission Planner is well documented, and
first-time users are encouraged to review the available user guide at:
https://ardupilot.org/planner/. Training videos describing all aspects of planning and uploading
an autonomous mission are available online.
Installing QGC or MIssion Planner on a laptop is required for the LRT configuration. It is optional
for the HereLink configurations.
Step
Action
1
Go to the following link to download Mission Planner:
https://ardupilot.org/planner/docs/mission-planner-installation.html.
2
Follow the prompts on the website to download and install Mission Planner to your
device.
3
To establish a link between the aircraft and Mission Planner, power on the ground
station (and open Mission Planner) BEFORE you power on the aircraft. Select the
comm port for your radio and select
Connect.”
End of Procedure
IFT Doc Num 102094, Rev 1.02 Page 10

IF1200A Pilot Operating Handbook 9. Battery Charging
9. Battery Charging
The IF1200A kit includes a Tattu TA1200 battery charger (see below) for charging the flight
batteries. The Tattu charger can charge two batteries simultaneously. Looking at the top of the
charger, you can see that both sides of the charger have the same controls, outputs, and
displays.
NOTE
Please read the Tattu TA1200 Product Manual thoroughly before using the
charger.
Figure 7. Tattu TA1200 Battery Charger
IFT Doc Num 102094, Rev 1.02 Page 11

IF1200A Pilot Operating Handbook 9. Battery Charging
Charge the Flight Batteries
IMPORTANT! Read the accompanying charger manual thoroughly before
connecting power and batteries to the charger. It contains important safety
information.
NOTE
Balancing cells: The flight batteries used in the IF1200A contain multiple cells.
Differences in the voltages between cells can degrade the performance of the
batteries, and shorten its life. The Tattu battery charger has a function for
balancing the voltages of the cells. Read the included manual to implement this
function.
Step
Action
1
Connect the included AC power cable into the AC input connector on the charger.
2
Connect the other end of the AC power cable to a power source (100V–240 VAC).
3
Press the power button on the side of the battery charger (see below) to power on
the unit. The internal fans begin spinning, and the LCD displays on top of the charger
illuminate.
Continued next page
IFT Doc Num 102094, Rev 1.02 Page 12

IF1200A Pilot Operating Handbook 9. Battery Charging
Charge the Flight Batteries, Continued
Step
Action
4
Rotate the Charge Mode dial (see below) to select the charge mode.
There are three charging modes:
● Trickle: The slowest charging rate. Use Trickle mode when possible to extend
the battery life.
● Standard: A compromise between Trickle and Fast
● Fast: Typically used in the field
Note: Faster charging rates shorten the battery’s lifespan.
Continued next page
IFT Doc Num 102094, Rev 1.02 Page 13

IF1200A Pilot Operating Handbook 9. Battery Charging
Charge the Flight Batteries, Continued
Step
Action
5
Uncap the battery cable and plug it into the Power Interface port on the charger (see
below).
Note: The battery cable and Power Interface port on the charger are designed to
prevent incorrect mating of the two.
6
Locate the Balance Cable in the aircraft kit (see Figure 8, below).
NOTE: The balance cable for the IF1200A is different from the balance cable for
IF1200.
Figure 8. Balance Cable
IFT Doc Num 102094, Rev 1.02 Page 14

IF1200A Pilot Operating Handbook 9. Battery Charging
Step
Action
7
Connect one end of the Balance Cable to the Balance Interface on the charger (see
Figure 7), and the other end to the Balance port on the battery.
Note: The white connector on the balance cable is not used during charging.
8
Once connected, the battery goes through a precharge countdown for 10 seconds,
then begins charging automatically.
Note: To skip the precharge countdown, hold the ‘Charge’ button for 2 seconds.
9
Cell voltages and battery levels are displayed on the LCD screen. When the batteries
are fully charged, each cell voltage should be about 4.20 Volts, and the charger will
display ‘Fully Charged’.
NOTE
If you can’t wait for the batteries to fully charge, press the Charge button to
discontinue the charging process BEFORE unplugging the batteries.
DO NOT disconnect the battery cable from the charger while the
battery is charging. Doing so may result in electrical arcing,
causing severe burns to the operator.
End of Procedure
IFT Doc Num 102094, Rev 1.02 Page 15

IF1200A Pilot Operating Handbook 9. Battery Charging
Storage Mode
If a battery will be shipped or will not be used for long periods of time, it is highly recommended
to put the battery into storage mode. Depending on the battery’s state of charge, putting the
battery into storage mode will either charge or discharge the battery to a voltage that is most
stable for shipping and sitting for long periods of time.
To place a battery into storage mode, plug the battery’s power cable into the charger and hold
the Storage button for 5 seconds. The charger will beep, the fans will spin up, and the LCD
display will indicate that storage mode has begun.
Self Storage
The Internal Battery Management System supports high-power discharge. Considering the
internal structure and safety of the cells, when the battery is fully charged, if the battery is static,
there is no communication, and there is no high current, after waiting for 120 hours, the battery
will turn on automatically. The discharge circuit, the current size is about 50ma. This process will
continue until the voltage is 3.90V. For example, the remaining capacity of BMS is about 16Ah.
After about 7 days, a single cell will drop to 3.90V.
When the cell voltage reaches 3.90V, the peripheral self-discharge circuit will stop working. At
this point, the MCU will continue to enter a low-power sleep mode. at this time, For example:
when the cell voltage is 3.90V, the remaining capacity of the BMS is about 8Ah, and at a normal
temperature of 25'C, the capacity of self-consumption for a month is 500mAh, including the cell,
including the self-consumption of the BMS system.
Troubleshooting Battery Charging
Error message appears on the screen:
● Unplug the battery and press the ‘Charge’ button to reset the interface.
Popping or arcing when plugging the battery into the charger:
● The battery likely needs to be balanced. Plug in the balance cable to both the charger
and battery, then plug the main lead of the battery into the charger to conduct a balanced
charge.
IFT Doc Num 102094, Rev 1.02 Page 16
IF1200A Pilot Operating Handbook 10. Assemble the Aircraft
10. Assemble the Aircraft
This section describes how to assemble the mechanical components of the IF1200A aircraft.
Step
Action
1
Locate the landing gear parts in the shipping container. There are two landing gear,
each consisting of a horizontal tube, and a vertical tube (see figure below).
2
Loosen the clamp on one of the horizontal tubes (with the rubber feet). See Figure 10
on next page.
Continued next page
Figure 9. Landing Gear Parts
IFT Doc Num 102094, Rev 1.02 Page 17
Table of contents
Other Inspired Flight Toy manuals


Popular Toy manuals by other brands

Extreme Flight
Extreme Flight YAK-54E instruction manual

Radica Games
Radica Games Skannerz 71051 instruction manual

TP Toys
TP Toys Splash and Play Happy Chef Wooden Mud... Instructions for assembly, maintenance and safe use

ScaleTrains
ScaleTrains RIVET COUNTER GP30 product manual

Seagull Models
Seagull Models P47 SNAFU instruction manual

Multiplex
Multiplex Eurofighter manual

Eduard
Eduard AV-8B Harrier II plus Assembly instructions

Tamiya
Tamiya DN-01 CHASSIS manual

Crazy Monkey Creations
Crazy Monkey Creations 2 Yard Electric Skein Winder Assembly and Use

Fisher-Price
Fisher-Price GCW09 manual

Fisher-Price
Fisher-Price 77963 instructions

MGA Entertainment
MGA Entertainment Lalaloopsy Silly Hair Stars manual


