manuals.online logo
Brands
  1. Home
  2. •
  3. Brands
  4. •
  5. Intelix
  6. •
  7. Transmitter
  8. •
  9. Intelix AvoCat AVO-V3HD-F User manual

Intelix AvoCat AVO-V3HD-F User manual

Specifications
Specifications subject to change without notice.
Maximum Distance* 480i/p: 1000 feet
720p: 500 feet
1080i/p: 500 feet
Maximum Input 1.1 Vp-p
Bandwidth 60 MHz, 3 dB roll off
Impedance 75 ohms at 1 MHz
Insertion Loss .1 dB for 0.1 MHz. Gradually increasing to 2.5 dB over the
frequency range.
Return Loss Greater than 15 dB over the frequency range
Common Mode Rejection -55 dB at 0.1 MHz. Gradually increasing to -20 dB at 60 MHz.
Unshielded Twisted Pair Maximum capacitance: 20 pf/foot
Cabling Specifications Impedance: 100 ohms @ 1 MHz
(24 gauge or lower solid Attenuation: 6.6 dB/1000 ft. @ 1 MHz
copper) Cat 5, Cat 5e, Cat 6, Cat 7 compatible
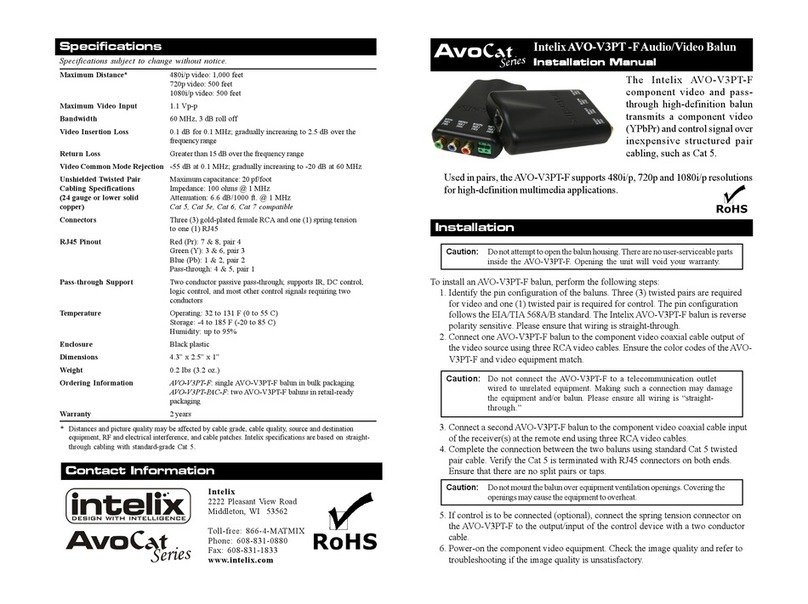
Connectors Three (3) female BNCs to one (1) RJ45
RJ45 Pinout Red (Pr): 7 & 8, pair 4
Green (Y): 3 & 6, pair 3
Blue (Pb): 1 & 2, pair 2
Temperature Operating: 32 to 131 F (0 to 55 C)
Storage: -4 to 185 F (-20 to 85 C)
Humidity: up to 95%
EnclosureBlack plastic
Dimensions 4.3” x 2.5” x 1”
Weight 0.2 lbs (3.2 oz.)
Ordering Information AVO-V3HD-F: single AVO-V3HD-F balun in bulk packaging
AVO-V3HD-PAC-F: twoAVO-V3HD-F baluns in retail-ready
packaging
Warranty 2 years
*Distances and picture quality may be affected by cable grade, cable quality, source and
destination equipment, RF and electrical interference, and cable patches. Intelix specifications are
based on straight-through cabling with standard-grade Cat 5.
Contact Information
Intelix
2222 Pleasant View Road
Middleton, WI 53562
Toll-free: 866-4-MATMIX
Phone: 608-831-0880
Fax: 608-831-1833
www.intelix.com
Intelix AVO-V3HD-F Video Balun
Installation ManualInstallation Manual
Installation Manual
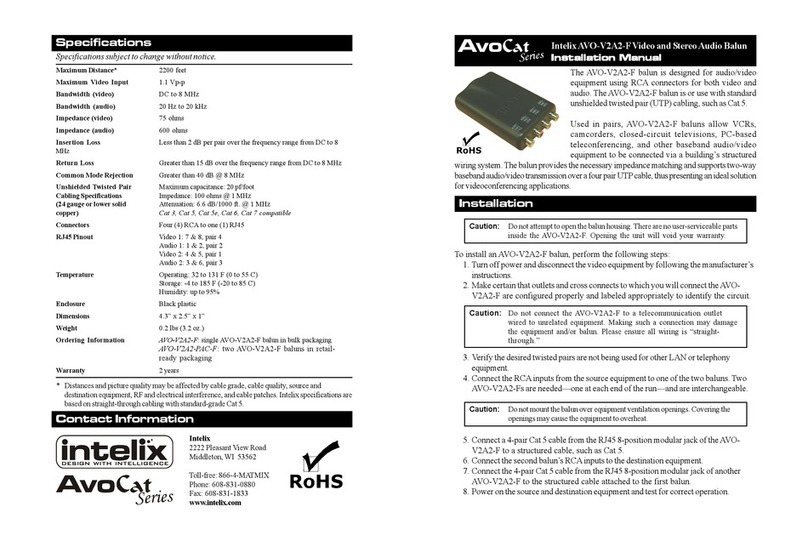
The AVO-V3HD-F balun allows the transmission
of component video (YPbPr) video via unshielded
twisted pair (UTP) cable, such as Cat 5 or Cat 6.
The AVO-V3HD-F is also supports one RGB or
three composite video signals.
The AVO-V3HD-F balun is connected to the
structured cabling via a modular wall jack in the work
area. It is equipped with three BNC connectors at
one end and an RJ45 jack at the other end.
To install an AVO-V3HD-F balun, perform the following steps:
1. Turn off power and disconnect the video equipment by following the manufacturer’s
instructions.
2. Make certain that outlets and cross connects to which you will connect the AVO-
V3HD-F are configured properly and labeled appropriately to identify the circuit.
3. Verify the desired twisted pairs are not being used for other LAN or telephony
equipment.
4. Connect the BNC inputs from the source equipment to one of the two baluns. Two
AVO-V3HD-Fs are needed—one at each end of the run—and are interchangeable.
5. Connect a 4-pair Cat 5 cable from the RJ45 8-position modular jack of the AVO-
V3HD-F to a structured cable, such as Cat 5.
6. Connect the second balun’s BNC inputs to the destination equipment.
7. Connect the 4-pair Cat 5 cable from the RJ45 8-position modular jack of another
AVO-V3HD-F to the structured cable attached to the first balun.
8. Power on the source and destination equipment and test for correct operation.
Installation
Caution: Do not attempt to open the balun housing. There are no user-serviceable parts
inside the AVO-V3HD-F. Opening the unit will void your warranty.
Caution: Do not mount the balun over equipment ventilation openings. Covering the
openings may cause the equipment to overheat.
AvoCat
Series
Caution: Do not connect the AVO-V3HD-F to a telecommunication outlet
wired to unrelated equipment. Making such a connection may damage
the equipment and/or balun. Please ensure all wiring is “straight-
through.”
Troubleshooting
If your equipment malfunctions with AVO-V3HD-F baluns in place, follow the trouble-
shooting procedures below:
1. Perform diagnostics on your audio equipment by following the manufacturer’s
instructions.
2. Check all the connections and the structured cabling system. Verify the RJ45 crimp
pattern conforms to either EIA/TIA 568A or 568B standards.
3. Check the pin configuration of the structured cabling.
4. The maximum operational distances over which the AVO-V3HD-F can be
transmitted is dependant on the equipment used and cable. Ensure that the
maximum recommended operational distances have not been exceeded.
5. Check that only twisted pair patch cords are being used.
6. Replace the AVO-V3HD-F balun with another AVO-V3HD-F that is known to be
working.
7. If you still cannot diagnose the problem, contact Intelix for support.
Frequently Asked Questions
How do I expose the individual pairs in Cat 5 cabling?
There is no single method when exposing the four
individual pairs in twisted pair cabling, such as Cat 5
and Cat 6; however, it does help to have a cable
stripping tool designed to strip the cable jacket/
insulation.
Begin by stripping back the cable’s outer jacket/
insulation about an inch (or more depending on
whether multiple baluns will be connected to the pairs
of a single cable) so that the internal wires are exposed.
Be careful not to cut the internal wires when stripping
the insulation/jacket. Eight twisted wires and a string
should now be visible; the string is unnecessary and
may be removed. These eight wires, which when
combined form four pairs, connect directly to the
baluns. Typical protocol pairs similar colors; the
important thing is to verify the same color-coded pairs
are used on each end.
How do I crimp an unshielded RJ45 connector onto Cat 5?
Crimping an RJ45 connector onto Cat 5 is a fairly straight forward task, assuming you have
the proper tools. Keep in mind that baluns require either the EIA/TIA 568A or 568B crimp
pattern, which are the industry standards for networking.
1. First, strip a portion of the insulation about 3/4" to expose the four twisted pairs.
2. Next, untwist the wires and fan them out so that they match either EIA/TIA 568A or
568B pattern.
3. Evenly trim the wires to about 1/2". Most RJ45 crimp tools feature a built-in wire
trimmer.
4. Insert the trimmed wires into the RJ45 connector so that each wire is in its individual
slot. Verify each wire is completely inserted.
5. Finally, insert the RJ45 connector into the crimp tool and squeeze firmly.
6. Repeat the above steps on the other end of the Cat 5 cable and verify pinout is iden-
tical on each end.

This manual suits for next models

1

Other Intelix Transmitter manuals

Intelix AVO-V1-WP User manual

Intelix

Intelix AVO-V1-WP User manual

Intelix AvoCat AVO-V2A2-WP-F User manual

Intelix

Intelix AvoCat AVO-V2A2-WP-F User manual

Intelix AVO-V2A2-WP User manual

Intelix

Intelix AVO-V2A2-WP User manual

Intelix DIGI‐HD‐IR2 User manual

Intelix

Intelix DIGI‐HD‐IR2 User manual

Intelix DIGI-HD-IR2 User manual

Intelix

Intelix DIGI-HD-IR2 User manual

Intelix AVOCat AVO-A2-WP-F User manual

Intelix

Intelix AVOCat AVO-A2-WP-F User manual

Intelix AVO-V2A2-F User manual

Intelix

Intelix AVO-V2A2-F User manual

Intelix AVO-A4-WP-F User manual

Intelix

Intelix AVO-A4-WP-F User manual

Intelix DigiCat Series User manual

Intelix

Intelix DigiCat Series User manual

Intelix V1-CV User manual

Intelix

Intelix V1-CV User manual

Intelix S-V1AR User manual

Intelix

Intelix S-V1AR User manual

Intelix AvoCat AVO-SVA2-WP-F Series User manual

Intelix

Intelix AvoCat AVO-SVA2-WP-F Series User manual

Intelix Power Supply IX-DIGI1 User manual

Intelix

Intelix Power Supply IX-DIGI1 User manual

Intelix NT-HD70-TXWP User manual

Intelix

Intelix NT-HD70-TXWP User manual

Intelix AVO-V3PT-F User manual

Intelix

Intelix AVO-V3PT-F User manual

Intelix VGA-SR Passive User manual

Intelix

Intelix VGA-SR Passive User manual

Intelix AvoCat AVO-A2-WP User manual

Intelix

Intelix AvoCat AVO-A2-WP User manual

Intelix Intelix DIGI-VGASD-R User manual

Intelix

Intelix Intelix DIGI-VGASD-R User manual

Intelix AVO-A4-WP User manual

Intelix

Intelix AVO-A4-WP User manual

Intelix AVO-V1A2-WP110-EU User manual

Intelix

Intelix AVO-V1A2-WP110-EU User manual

Intelix AVO-A4-WP110-EU User manual

Intelix

Intelix AVO-A4-WP110-EU User manual

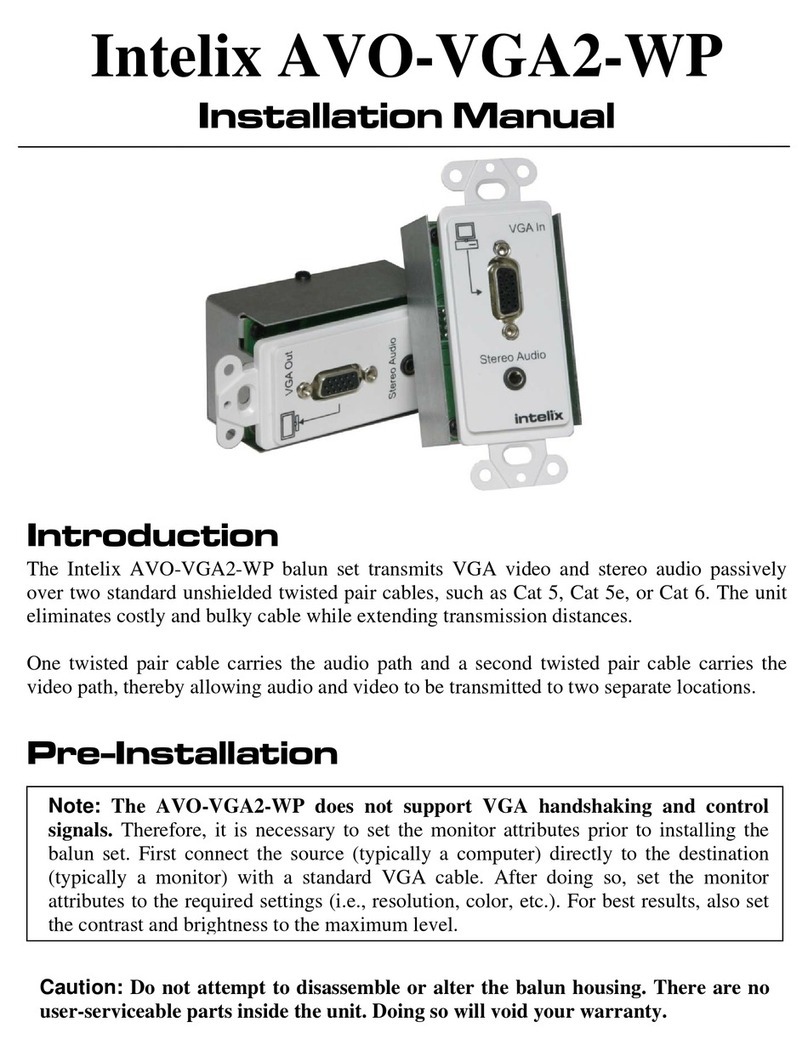
Intelix AVO-VGA2-WP User manual

Intelix

Intelix AVO-VGA2-WP User manual

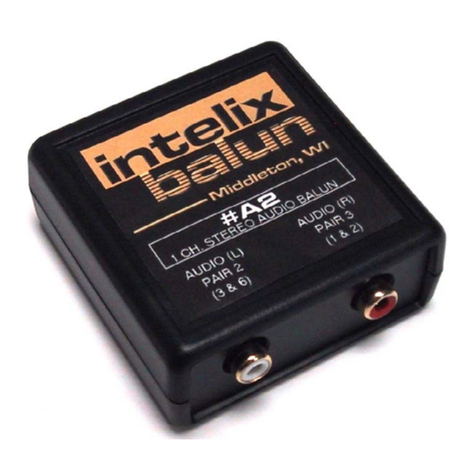
Intelix A2 User manual

Intelix

Intelix A2 User manual

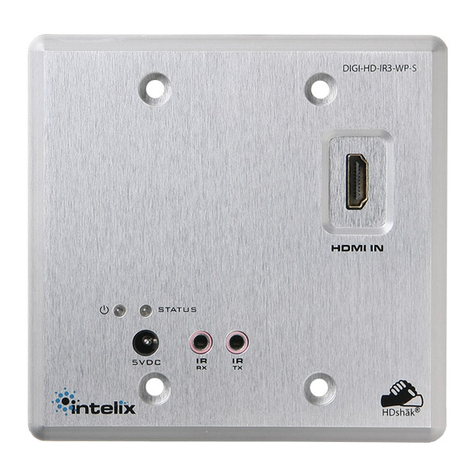
Intelix DIGI-HD-IR3-WP User manual

Intelix

Intelix DIGI-HD-IR3-WP User manual

Popular Transmitter manuals by other brands

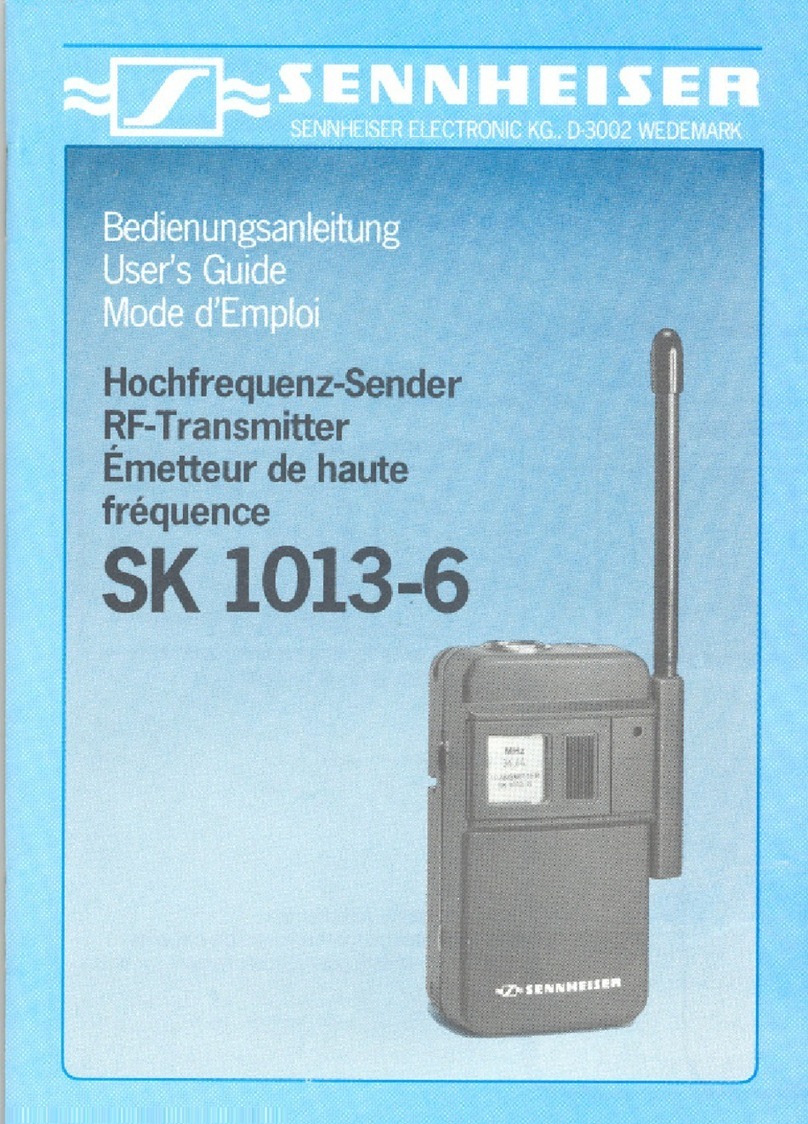
Sennheiser SK 1013-6 manual

Sennheiser

Sennheiser SK 1013-6 manual

Trilithic Seeker HL Operation manual

Trilithic

Trilithic Seeker HL Operation manual

Cameron Barton 752 user manual

Cameron

Cameron Barton 752 user manual

BD Sensors CIT 400 operating manual

BD Sensors

BD Sensors CIT 400 operating manual

Eldat secwave RT42 Startup guide

Eldat

Eldat secwave RT42 Startup guide

Nautel J1000 Repair manual

Nautel

Nautel J1000 Repair manual

Magnetrol eclipse 705 Installation and operating manual

Magnetrol

Magnetrol eclipse 705 Installation and operating manual

Magnetrol Eclipse 706 operating manual

Magnetrol

Magnetrol Eclipse 706 operating manual

Zonda Hobby ECH6 user manual

Zonda Hobby

Zonda Hobby ECH6 user manual

RGBLE MHD-WA-HUT-50 user manual

RGBLE

RGBLE MHD-WA-HUT-50 user manual

Chiayo SM-5016 Operation manual

Chiayo

Chiayo SM-5016 Operation manual

Jura Smart Connect Instructions for use

Jura

Jura Smart Connect Instructions for use

Kramer WP-20 quick start guide

Kramer

Kramer WP-20 quick start guide

JUMO AQUIS 500 CR manual

JUMO

JUMO AQUIS 500 CR manual

Explo Tx-20K manual

Explo

Explo Tx-20K manual

Zamel exta life RNK-22 manual

Zamel

Zamel exta life RNK-22 manual

Dräger PIR 7000 Technical handbook

Dräger

Dräger PIR 7000 Technical handbook

Long Range Systems T7400 user manual

Long Range Systems

Long Range Systems T7400 user manual

manuals.online logo
manuals.online logoBrands
  • About & Mission
  • Contact us
  • Privacy Policy
  • Terms and Conditions

Copyright 2025 Manuals.Online. All Rights Reserved.