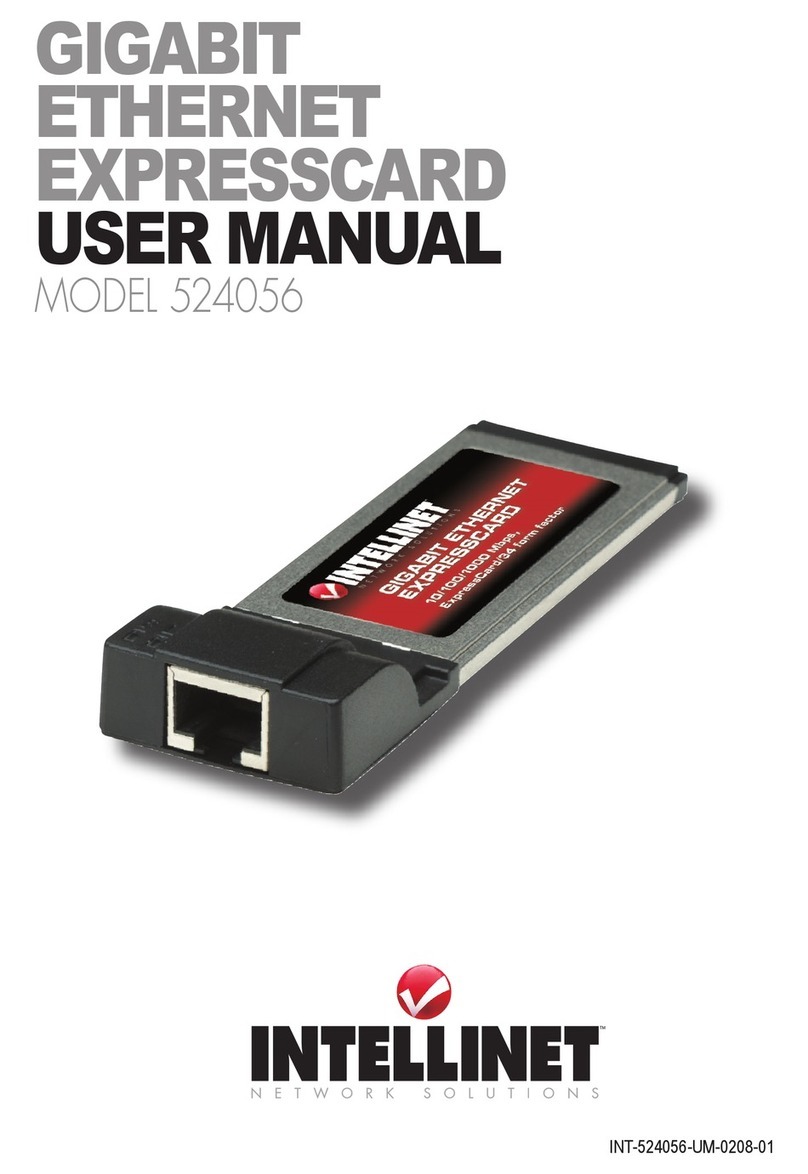
Intellinet 524544 User manual

Wireless G
pc card
user
manual
MODEL 524544
INT-524544-UM-0209-01


Thank you for purchasing the INTELLINET NETWORK SOLUTIONS
™
Wireless G PC Card, Model 524544.
Compatible with 802.11b and 802.11g wireless access points and routers,
this card lets you upgrade your wireless network without the need to
replace existing equipment. Transfer or receive digital images, videos
and MP3 les with link speeds of up to 54 Mbps using proven and reliable
Wireless G technology. With the easy-to-follow instructions in this manual,
you’ll soon be able to enjoy the benets of these additional features:
• 32-bit Cardbus PC card
• Supports WEP (64/128 bit), WPA and WPA2 data encryption
• Supports WMM (Wi-Fi Multimedia) for increased multimedia data
throughput
• Windows XP/Vista compatible
• Lifetime Warranty
FCC Ce r t i F i C a t i o n s
This equipment has been tested and found to comply with the limits for a
Class B digital device, pursuant to Part 15 of the FCC Rules. These limits
are designed to provide reasonable protection against harmful interference
in a residential installation. This equipment generates, uses and can radiate
radio frequency energy and, if not installed and used in accordance with the
instructions, may cause harmful interference to radio communications.
However, there is no guarantee that interference will not occur in a particular
installation. If this equipment does cause harmful interference to radio or
television reception, which can be determined by turning the equipment off
and on, the user is encouraged to try to correct the interference by one or
more of the following measures:
• Reorient or relocate the receiving antenna.
• Increase the separation between the equipment and the receiver.
• Connect the equipment to an outlet on a circuit different from that to
which the receiver is connected.
• Consult the dealer or an experienced radio/TV technician for help.
CAUTION: Any changes or modications not expressly approved by the
party responsible for compliance could void the user’s authority to operate
the equipment.
3

This device complies with Part 15 of the FCC Rules. Operation is subject
to the following two conditions: (1) This device may not cause harmful
interference; and (2) this device must accept any interference received,
including interference that may cause undesired operation.
FCC rF ra d i a t i o n ex p o s u r e st a t e m e n t
This device is in compliance with SAR for general population/uncontrolled
exposure limits in ANSI/IEEE C95.1-1999 and had been tested in
accordance with the measurement methods and procedures specied in
OET Bulletin 65 Supplement C.
FCC rF rF ex p o s u r e re q u i r e m e n t s
SAR (specic absorption rate) compliance has been established in the
laptop computer(s) congurations with a PCMCIA slot, as tested in the
application for certication, and can be used in laptop computer(s) with
substantially similar physical dimensions, construction and electrical
and RF characteristics. Use in other devices such a PDAs or lappads
is not authorized. This transmitter is restricted for use with the specic
antenna(s) tested in the application for certication. The antenna(s) used
for this transmitter must not be co-located or operated in conjunction
with any other antenna or transmitter.
r&tte Co m p l i a n C e st a t e m e n t
This equipment complies with all the requirements of Directive 1999/5/EC
of the European Parliament and the Council of March 9, 1999, on radio
equipment and telecommunication terminal equipment (R&TTE) and the
mutual recognition of their conformity. The R&TTE directive repeals and
replaces Directive 98/13/EEC (Telecommunications Terminal Equipment
and Satellite Earth Station Equipment) as of April 8, 2000.
eu Co u n t r i e s in t e n d e d F o r us e
The ETSI version of this device is intended for home/ofce use in Austria,
Belgium, Denmark, Finland, France, Germany, Greece, Ireland, Italy,
Luxembourg, the Netherlands, Portugal, Spain, Sweden and the U.K., and
is also authorized for use in EFTA member states Iceland, Liechtenstein,
Norway and Switzerland. (EU countries not intended for use: none.)
4
table of contents
Installation ..........................................................................................6
Hardware .....................................................................................6
Software (Driver & Conguration Utility) ..................................... 6
Zero Conguration Tool .......................................................... 7
....................................................................................9
General ...................................................................................... 10
Available Network ............................................................................11
Prole......................................................................................... 12
Prole Conguration ............................................................. 12
Advanced................................................................................... 15
Status......................................................................................... 16
Statistics .................................................................................... 17
Wi-Fi Protect Setup ................................................................... 17
Set Wizard ................................................................................. 18
.................................................................21
.................................................................................. 23
NOTE: Some of the installation and conguration procedures in this
manual correspond to Windows XP. The procedures are similar for
Windows Vista. Additionally, some screen images have been modied
to t the format of this manual.
CONTENTS
section page
5

installation
1. Turn on the notebook computer.
2. Carefully but rmly insert the Wireless G PC Card into an available
PCMCIA slot on the notebook computer.
NOTE: Prior to installing the Wireless G PC Card software, uninstall
any previously loaded version of the driver and utility. The following
Windows XP procedure is similar for Windows Vista.
1. Insert the setup CD in the CD-ROM drive and run the “Setup.exe”
program.
2. When the Choose Setup
Language prompt displays, make
your selection from the menu and
click “OK.”
3. When the Welcome screen of the
InstallShield Wizard displays,
Click “Next.”
4. A Setup Status screen
displays with a status
bar indicating the
progress of the driver
and utility installation.
When complete, an
“InstallShield Wizard
Complete screen will
display. Click “Finish.”
6
INSTALLATION
Setup has nished installing the Wireless G PC Card driver and
utility on your computer.

7
INSTALLATION
The Windows Zero Conguration Tool helps you set up the Wireless G
PC Card. By default, this is enabled.
1. Right-click the icon
in the system tray
(as shown at right)
to open the Zero
Conguration Tool.
2. In the pop-up menu,
double-click “View
Available Wireless
Networks.”
3. When the Choose a
Wireless Network
screen displays (below), select the desired option and click “Connect.”

INSTALLATION
8
1. Right-click the
icon in the
system tray (as
shown at right)
to open the Zero
Conguration
Tool.
2. In the pop-up
menu, double-
click “Connect to a Network.”
3. When the Connect to a Network screen displays (below), select the
desired option, then click “Connect.”

CONFIGURATION
9
confiGuration
The conguration utility — which displays automatically once the card
is connected — is a powerful application that helps you congure the
card and monitor link status and statistics during the communication
process. This card/adapter will auto-connect to the wireless device that
has the better signal strength and no wireless security setting. The
conguration utility appears as an INTELLINET NETWORK SOLUTIONS
icon in the Windows system tray while the adapter is running. You
can open it by double-clicking on the icon.
Conguration of the Wireless G PC Card is done by selecting the options
and establishing the settings on the various screens made available when
you click on any of the six menu tabs: General, Prole, Available Network,
Advanced, Status and Statistics. The options and settings are presented
in detail below.
Each screen in the conguration utility displays a pair of option lines:
one at the top (above the six menu tabs) and one at the bottom (to the
left of the “Close” button).
Click to update the card
list under My Computer.
Click to open the
setup wizard. (See Set Wizard at the end of this section.)
Click to display the current status of the utility.
Click to check the version of the utility.
Select
to display the red
conguration utility icon in the system tray.
Select to toggle between the On and Off status of the radio
of the card. If the radio is turned off, the card will not work.
Select to toggle between the Enable and Disable
options for the card.
Set Wizard (S)
INTELLINET NETWORK

10
CONFIGURATION
This screen allows you to check the operational status of the card.
This is the current connection status of the card.
This is the current speed at which the card is operating.
“Infrastructure” indicates that an 802.11 access point or router is
connected to the card’s network; all communication is through the
AP/router. Otherwise, “Ad hoc” displays, indicating you can connect
to another wireless station or stations in the wireless LAN without an
AP/router. (See Prole.)
This is the current encryption setting: “None,” “WEP,”
“TKIP” or “AES.” (See Prole.)
The SSID (up to 32 printable ASCII characters) is the unique
name identied in a WLAN. The ID prevents unintentional merging
of two co-located WLANs.
This indicates the current wireless signal strength.

CONFIGURATION
11
This indicates the current wireless link quality.
This shows the MAC, IP address and other
information about the card.
Click to renew the IP address.
As mentioned earlier, when you open the conguration utility, the system
will scan all the channels to nd access points/stations within range of
your card, then automatically connect to the wireless network with the
highest signal strength. All nearby networks will be listed on this screen,
and you can change the connection to another network.
This list presents details about the available
wireless networks within range of your card (SSID, channel,
encryption, etc.). If you want to connect to any network on the list, just
double-click the selected network.
Click to update the Available Networks list. This is a good idea
any time you change the connection network.
A prole stores the settings of a network so you can
connect to it quickly. Click to add the selected network to a prole.

CONFIGURATION
12
This screen lets you manage the networks you frequently connect to.
This list shows the preferred networks for the
wireless connection. You can add, remove, edit, duplicate preferred
networks or set one of the networks as the default connection.
Click to delete or edit a selected prole. NOTE:
Click “Add” to manually enter a network that doesn’t appear on the
Available Networks list. (See Congure the Prole below.)
Select this option to create a new prole using the same
settings as the current prole.
Click to designate a prole as the default network for the
connection from the available proles list.
Clicking “Add” on the Prole screen displays the conguration screen.
Enter a recognizable prole name to easily differentiate
among the networks.
Enter up to 32 printable ASCII characters to
create a unique name that’s identiable within the WLAN. This ID
prevents the unintentional merging of two co-located WLANs.

13
CONFIGURATION
You can specify an
SSID for the card so
only a device with
the same SSID can
interconnect to the
card.
There are two
kinds of network
types: Infrastructure
requires the presence
of an 802.11 access
point or router, and all
communication is
through the AP/router;
and ad hoc, which
lets you connect to
another wireless card
in the WLAN network without an AP/router. If this option is selected,
the card will work in Ad Hoc mode.
This setting is only available for Ad Hoc mode. Select the
number of the radio channel used for the networking. The channel
setting should be the same as the network you are connecting to.
This setting has to be consistent with the
wireless networks the card is intended to connect with. Select one
of seven options from the drop-down menu.
• Open System – No authentication is needed within the network.
• Shared Key – Only wireless stations using a shared key (WEP Key
identied) are allowed to connect to each other.
• WPA 802.1X – WPA provides a scheme of mutual authentication
using either IEEE 802.1x/Extensible Authentication Protocol (EAP)
authentication or pre-shared key (PSK) technology. It provides a
high level of assurance to enterprises, small businesses and home

CONFIGURATION
14
users that data will remain protected and that only authorized users
may access their networks. For enterprises that have already
deployed IEEE 802.1x authentication, WPA offers the advantage of
leveraging existing authentication databases and infrastructure.
• WPA-PSK – This is a special mode designed for home and small
business users who do not have access to network authentication
servers. In this mode, known as Pre-Shared Key, the user manually
enters the starting password in his access point or gateway, as well
as in each of the wireless stations in the network. WPA-PSK takes
over automatically from that point, keeping unauthorized users that
don’t have the matching password from joining the network while
encrypting the data traveling between authorized devices.
• WPA2 802.1X – Like WPA, WPA2 supports IEEE 802.1x/EAP
authentication or PSK technology. It also includes a new advanced
encryption mechanism using the Advanced Encryption Standard
(AES), which is required for the corporate or government user. The
difference between WPA and WPA2 is that WPA2 provides data
encryption via the AES, whereas WPA uses TKIP.
• WPA2-PSK – This is also for home and small business use. The
difference between WPA-PSK and WPA2-PSK is that WPA2-PSK
provides data encryption via AES, whereas WPA-PSK uses TKIP.
• WEP 802.1X – This is a special mode for using IEEE 802.1x/EAP
technology for authentication and WEP keys for data encryption.
Select one of four options from the drop-down menu.
NOTE: Options depend on the Network Authentication selection.
• Disabled – Disables WEP Data Encryption.
• WEP – Enables WEP Data Encryption. When this is selected, you
need to continue with the setting of the WEP encryption keys.
• TKIP – Temporal Key Integrity Protocol (TKIP) changes the
temporal key every 10,000 packets (a packet is a kind of message
transmitted over a network.) This ensures much greater security
than standard WEP security.
• AES – This has been developed to ensure the highest degree of
security and authenticity for digital information. It’s the most
advanced solution dened by IEEE 802.11i for the security in the
wireless network.

CONFIGURATION
15
NOTE: All devices in the network should use the same encryption
method to ensure the integrity of any communication.
Select either option and enter in the text eld. You
must use the same passphrase or WEP key settings for all wireless
computers within the network.
Enter a key to encrypt data transmitted in the wireless
network. NOTE: When “Passphrase” is selected, input a 10-digit
hexadecimal value (0-9, a-f: “0123456aef,” for example) as the
encryption key for 64-bit WEP; input a 26-digit hexadecimal value
(0-9, a-f: “01234567890123456789abcdef,” for example) for 128-bit.
Enter the same network key to conrm.
Select one of the four keys to be the data
encryption key.
This screen allows you to congure more advanced settings, such as
Power Save and Wireless Mode.
Select one of three options.
• None — This keeps the card in active mode.
• Min — This places the card in a power saving mode when it’s idle,
though some components of the card are still “alive,” or active. When
this option is selected, the power consumption is greater than “Max.”

16
CONFIGURATION
• Max — This places the card in a power saving mode when it’s idle.
Select one of two options.
• 802.11b — This card is compatible with both 802.11g and 802.11b
wireless stations, but if you prefer to limit network access to 802.11b
wireless stations only, you can set the card to this mode.
• 802.11g/b — If you have a mix of 802.11b and 802.11g wireless
stations in your network, this setting is recommended.
Enter the minimum packet size required for an RTS
(request to send). For packets smaller than this threshold, an RTS is
not sent and the packet is transmitted directly to the wireless network.
Select a setting within a range of 0 to 2432 bytes.
Select from the drop-down menu based on your locale.
Return any changed settings to default values.
Click for any changes to take effect.
This screen displays details that include some current settings and
information that may be needed for registration purposes and such.

CONFIGURATION
17
This screen displays real-time information about packet transmissions
and the receiving status. To begin a new count, click “Reset.”
If your AP/router supports WPS, simply follow the on-screen instructions.

18
CONFIGURATION
The set wizard can help you connect to a wireless LAN or build an ad-
hoc wireless network. For example, if you want to connect to a wireless
LAN in infrastructure mode:
1. Open the set wizard (it’s on the menu line at the top of each screen)
and select “Station (infrastructure):” Then click “Next.”
2. When the Site Survey screen displays (below), highlight/select the
network you want to connect to and click “Next.”
Cancel
Cancel

CONFIGURATION
19
3. When the Wireless Network Properties screen displays, enter the
security settings for the wireless network you’re conecting to.

20
CONFIGURATION
4. When the Setup TCP/IP screen displays, make your selections and
click “Finish.” You can now connect to the wireless network.
Table of contents
Other Intellinet Computer Hardware manuals

Intellinet
Intellinet 150057 User manual

Intellinet
Intellinet 524070 User manual

Intellinet
Intellinet 524070 User manual

Intellinet
Intellinet 505314 User manual

Intellinet
Intellinet 524056 User manual

Intellinet
Intellinet 524056 User manual

Intellinet
Intellinet 550512 User manual

Intellinet
Intellinet 524056 User manual
Popular Computer Hardware manuals by other brands

Peavey
Peavey DTH 118 Specifications

Linear
Linear Analog Devices DC2984A manual

Cypress Semiconductor
Cypress Semiconductor NoBL CY7C1355C Specification sheet

HP
HP Xw4600 - Workstation - 2 GB RAM installation guide

ekwb
ekwb EK-FC670 GTX Backplate INSTALLATION AND MOUNTING MANUAL

Sony
Sony BKM-101C Service manual