7 –DP2002 Intellitronix (rev.09/10/2020) www.intellitronix.com
CALIBRATION
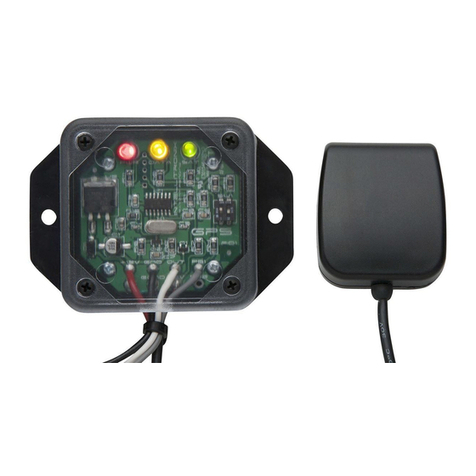
Note: If you are using the Intellitronix GPS Sending Unit, (S9020 –not included) the speedometer does not
need to be calibrated.
The speedometer leaves the factory with a pre-set industry standard setting of 8,000 pulses per
mile. Chances are that you may not need to recalibrate your speedometer, unless you have changed
the original tire size or the rear end gear ratio.
Note: Do not attempt to recalibrate your speedometer until after it is working properly, and you have determined
that the speed is incorrect. The calibration procedure will NOT correct a faulty installation or improper wiring. If
you attempt to recalibrate your speedometer without making sure the speedometer is receiving pulses from the
sending unit, the speedometer will display ‘Err’ and default back to the factory settings.
To calibrate:
1. Locate a measured mile where you can safely start and stop your vehicle. By running the
vehicle over this measured distance, the speedometer will learn the number of pulses
outputted by the speedometer sensor during a specific measured distance. It will then use this
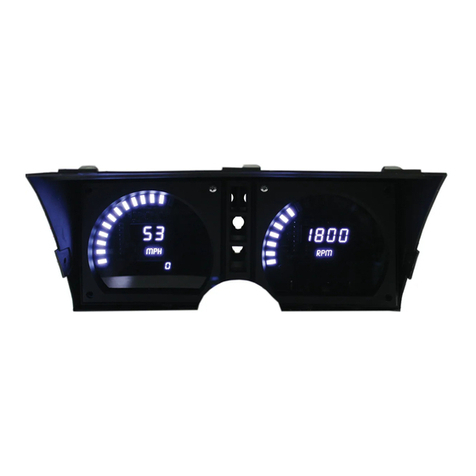
acquired data to calibrate itself for accurate reading. There is a small recall push-button in the
center of the panel used to calibrate and read all of the data stored in the speedometer. After
installing your speedometer according to the wiring instructions, when the ignition is on it
should immediately display the default screen of 0 MPH, if the vehicle is not moving.
NOTE: You will then need to drive your vehicle to the predetermined measured mile. During this trip,
the speedometer should read something other than 0 MPH. If it does not change, return and locate the
problem before continuing. Otherwise, proceed with the calibration.
2. Stop at the beginning of the measured mile with your vehicle running and in odometer mode
(NOT trip mode), press and hold the push-button until the odometer displays ‘HI-SP’. On its
own, the gauge will then cycle through the recorded performance in the following order: ‘0 –
60’, ‘1/4’, ‘ODO’, and ‘CAL’.
3. While ’CAL’ is displayed, quickly tap the push-button once. This will put the speedometer in
Program Mode. If you did not tap while ‘CAL’ is displayed, the pulses per mile will be displayed
on the odometer and the display will go back to MPH mode. Otherwise, you will now see ‘CAL’
displayed along with the number ‘0’. This indicates that the microprocessor is now ready for
calibration.
4. When you are ready, begin driving on the metered mile. You will notice that the reading will
start counting up. The odometer will begin to display the incoming pulse count. Drive the
vehicle through the measured mile (speed is not important, only the distance traveled).
5. At the end of the mile, stop and press the push-button again. The odometer will now display the
new number of speedometer pulses that were registered over the distance. The odometer will
continue to display the pulse reading for a few seconds. Once it reverts to the default mode,
you have successfully calibrated your speedometer.
Warning: If, while in ‘CAL’ mode, you do not move the vehicle and press the button again, the
microprocessor will NOT have received any data and the unit will display ‘Err’ and will revert
to the factory settings. At a minimum, drive some distance and return to the start if necessary. If
you miss stopping the display at ‘CAL’, simply repeat the steps.


