manuals.online logo
Brands
  1. Home
  2. •
  3. Brands
  4. •
  5. Interlogix
  6. •
  7. Control Unit
  8. •
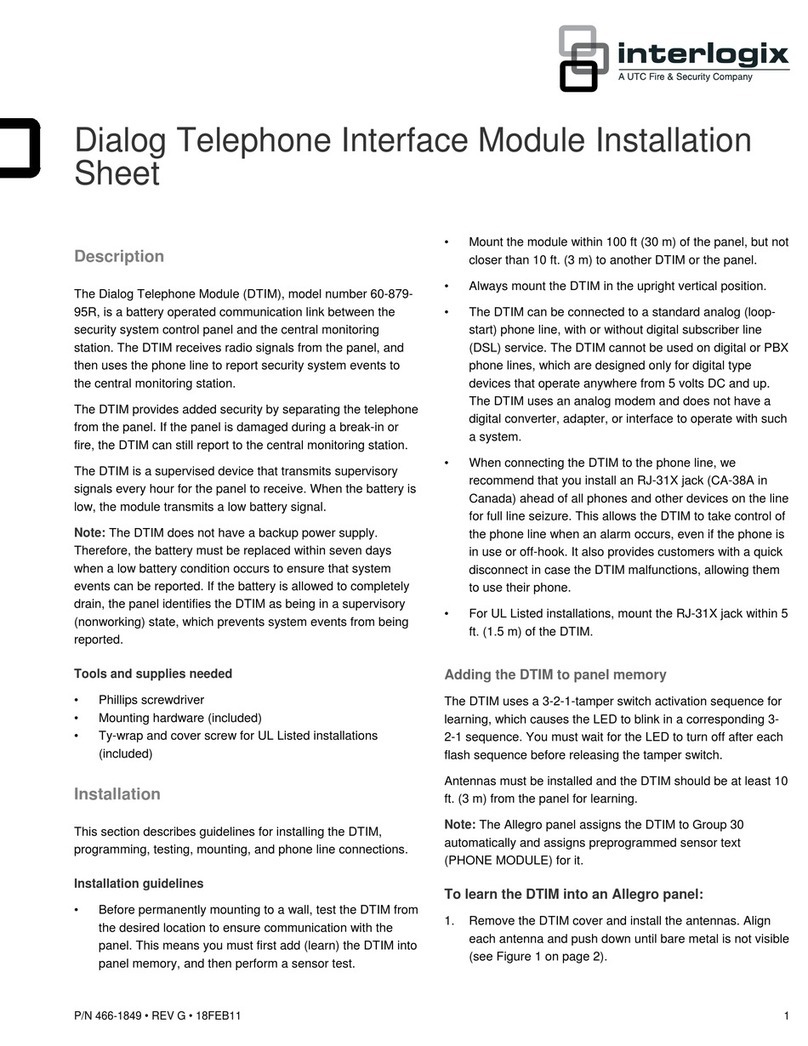
  9. Interlogix UltraSync UM-W7 Assembly instructions

Interlogix UltraSync UM-W7 Assembly instructions

©2017 United Technologies Corporation 1 / 2 P/N 466-5276 • REV C •ISS 14FEB17
Product Summary
The UM-W7allows the addition of up to 192 wireless devices to your UltraSync
Modular Hub system. These include wireless reed switches, wireless motion
sensors, and keyfobs.
The receiver is in a self-contained plastic housing and connects to your UltraSync
Modular Hub via the standard 4 wire BUS.
Additional features include: 2 hardwired zone inputs, 1 relay output, front and rear
tamper.
Current Limit Warning
Check the current requirements of your load before connecting!
There is no overcurrent protection on the relays when providing bus ground or bus
voltage (jumper between NEG and C, or C and AUXIN). You must ensure your load
does not exceed the recommended limits below. Exceeding limits can damage the
module and pose an electrical hazard.
The UltraSync Modular Hub CPU does have overcurrent protection on the bus and
may disconnect the bus to provide temporary protection. If enabled, your panel will
report "Overcurrent Fault" or "Expander Overcurrent". Repeated overcurrent
conditions can result in permanent damage to the panel or connected devices.
Installation Guidelines
When installing the receiver:
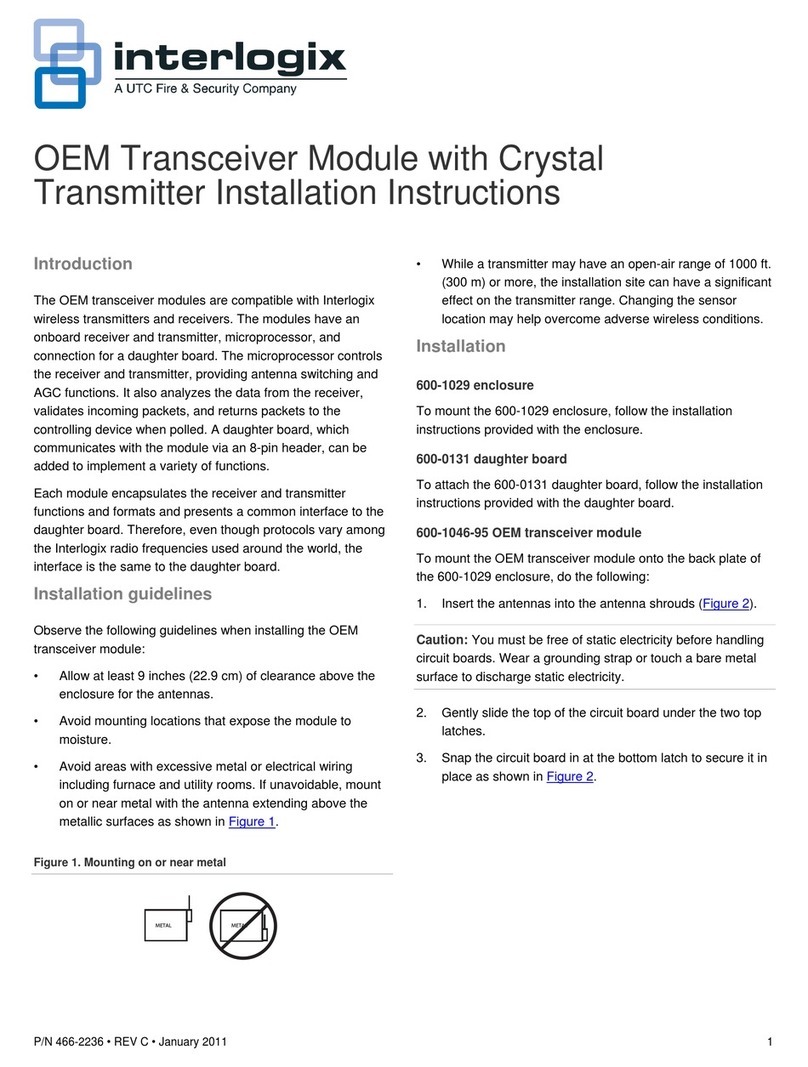
Leave ≈ 4” (10cm) clear around all sides of the module for better signal
reception.
Avoid installing on or near metal surfaces such as filing cabinets andmetal roller
shutters.
Avoid installing on or near electrical devices such as refrigerators, vacuum
cleaners, air conditioners, computers, washing machines, and motors.
Avoid areas that are damp and wet such as inside bathrooms.
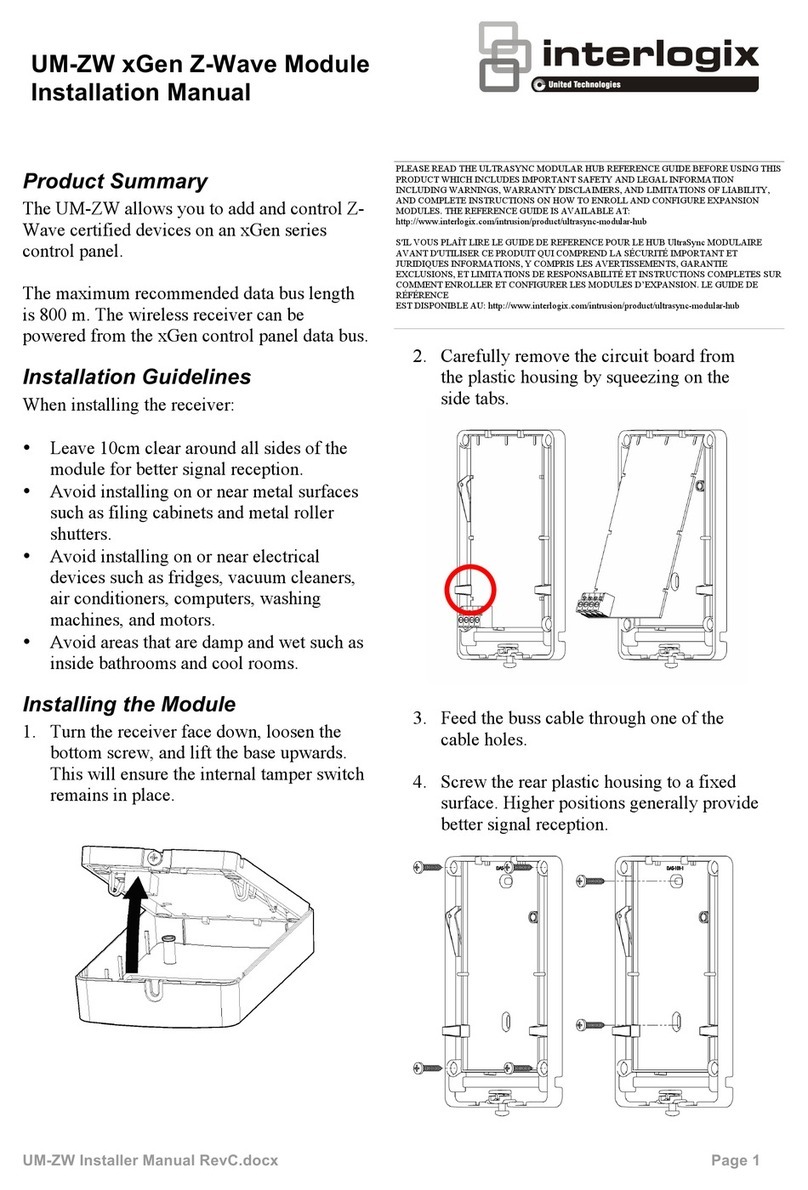
Installing the Receiver
1. Remove the front plastic housing by loosening the bottom screw.
2. Carefully remove the circuit boardfrom the rear plastic housing by squeezing on
the side tabs. Take care to put aside thetwo rubber tamper switches.
3. Feed the BUS cable through one of the cable holes.
4. Screw the rear plastic housing to a fixed surface. Higher positions generally
provide better signal reception.
5. Re-install the rear rubber tamper button if it was removed.
6. Re-install the circuit board in to the plastic housing taking care to position the
antennas in the up position.
7. Connect the buss cable to J1 on the UM-W7. Refer to control panel installation
manual for cable requirements.
8. If required, connect zone cabling and output cabling toJ3 and J6 on the UM-W7.
Refer to “Note on Relay Modes” below.
9. Set J2 TERM link if required. Refer to control panel installation manual.
10. Turn on the power to the control panel and wait for panel to complete
initialization.
11. The lights on the receiver should light as indicated:
English Installation Sheet
UltraSync Modular Hub
Wireless Expansion Module
Installation Sheet
UM-W7
TM
PLEASE READ THE ULTRASYNC MODULAR HUB REFERENCE GUIDE BEFORE USING THIS
PRODUCT WHICH INCLUDES IMPORTANT SAFETY AND LEGAL INFORMATION INCLUDING
WARNINGS, WARRANTY DISCLAIMERS, AND LIMITATIONS OF LIABILITY, AND COMPLETE
INSTRUCTIONS ON HOW TO ENROLL AND CONFIGURE EXPANSION MODULES. THE REFERENCE
GUIDE IS AVAILABLE AT: http://www.interlogix.com/intrusion/product/ultrasync-modular-hub
S'IL VOUS PLAÎT LIRE LE GUIDE DE REFERENCE POUR LE HUB UltraSync MODULAIRE AVANT
D'UTILISER CE PRODUIT QUI COMPREND LA SÉCURITÉ IMPORTANT ET JURIDIQUES
INFORMATIONS, Y COMPRIS LES AVERTISSEMENTS, GARANTIE EXCLUSIONS, ET LIMITATIONS DE
RESPONSABILITÉ ET INSTRUCTIONS COMPLETES SUR COMMENT ENROLLER ET CONFIGURER
LES MODULES D’EXPANSION. LE GUIDE DE RÉFÉRENCE
EST DISPONIBLE AU: http://www.interlogix.com/intrusion/product/ultrasync-modular-hub.
©2017 United Technologies Corporation 2 / 2 P/N 466-5276 • REV C •ISS 14FEB17
LED
Description
D2 Red
Blinks when sending data to control panel
D4 Green
Blinks when receiving data from control panel
D9 Green
Lit when power is on
D8 Orange
No function
D7 Blue
Blinks when valid packet received from sensor or keyfob
D6 Green
Blinks when valid packet received
D14 Red
Lit when relay is on
D15 Red
A triple blink every second indicates module not enrolled, a
single blink every second indicates module is enrolled
UM-W7 Programming
Consult the UltraSync Modular Hub Reference Manual for programming the UM-W7.
Note on Tamper
Two rubber push buttons provide front case and rear wall tamper.
To clear an Expander Tamper condition, both tamper inputs must be sealed. The
enclosure should be firmly mounted on a flat surface with the cover closed.
If either tamper input is open then an Expander Tamper condition will occur.
Note on Relay Modes
The receiver features one Single Pole Double Throw (SPDT) Form C relay.
The relay is connected to output terminal J6 with Normally Open and Normally
Closed connections for your convenience.
The red LED (D14) lights up when the relay is energized.
The relay can be configured in 3 different modes to support different applications.
Use jumper on J5 to select the mode suitable for your requirements.
Default is no jumper with relay in NC position.
No Jumper
Dry contact closure provided to output terminal. Maximum Load 30VAC @ 0.5A or
30VDC @ 1A.
Jumper between - and C
Buss Ground provided to output terminal @ typical 0V.Do not exceed relay rating
which is maximum load 30VAC @ 0.5A or 30VDC @ 1A.
Jumper between C and +
BUS Voltage is provided to output terminal @ typical 12-13VDC. Maximum Load @
12V is total panel current of 1,000 mA, this includes all connected devices such as
keypads, cellular module, sirens and expansion modules. Do not exceed relay rating.
Adding and Removing Wireless Devices
Refer to the UltraSync Modular Hub Reference Manual for adding and removing
wireless devices.
Completing Installation
1. Re-install the front rubber tamper button if it was removed.
2. Re-install the front plastic housing and tighten the bottom screw
Warning:
CHECK THE CURRENT REQUIREMENTS OF YOUR LOAD BEFORE CONNECTING. THERE IS NO OVERCURRENT PROTECTION ON
THE RELAYS. YOU MUST ENSURE YOUR LOAD DOES NOT EXCEED THE RECEMMENDED LIMITS ABOVE. EXCEEDING LIMITS CAN
DAMAGE THE MODULE AND POSE AN ELECTRICAL HAZARD THAT COULD RESULT IN A FIRE OR CAUSE SERIOUS ELECTRICAL
SHOCK OR LOSS OF LIFE.
THE ULTRASYNC MODULAR HUB HAS OVERCURRENTPROTECTION ON THE BUS AND MAY DISCONNECT THE BUS TO PROVIDE
TEMPORARY PROTECTION. IF ENABLED, YOUR PANEL WILL REPORT “OVERCURRENT FAULT” OR “EXPANDER OVERCURRENT.”
REPEATED OVERCURRENT CONDITIONS CAN RESULT IN PERMANENET DAMAGE TO THE PANEL OR CONNECTED DEVICES.
Attention:
VERIFIER LES CONDITIONS ACTUELLES DE VOTRE CHARGE AVANT DE CONNECTER.
IL N'Y A PAS PROTECTION DE SURCHARGE SUR LES RELAIS. VOUS DEVEZ ASSURER VOTRE CHARGE NE DEPASSE PAS LES
LIMITES SUGGERER CI-DESSUS.
SUPERIEURE LIMITES PEUVENTENDOMMAGER LE MODULE ET POSE UN RISQUE ÉLECTRIQUE QUE POURRAIT CAUSER UN
INCENDIE OU ENTRAÎNER UNE GRAVE ÉLECTROCUTION OU DES PERTES DE VIE. LE HUB UltraSync MODULAIRE A DE LA
PROTECTION DE SURCHARGE SUR LE BUS DE COMMUNICATION POUR OFFRIR UNE PROTECTION TEMPORAIRE. SI ELLE EST
ACTIVÉE, VOTRE GROUPE PRÉSENTERA SON RAPPORT "SURINTENSITÉ" OU "EXPANDER SURVOLTAGE." CONDITIONS DE
SURINTENSITÉ RÉPÉTÉ PEUTENTRAÎNER UN ENDOMMAGEMENT PERMENANT AU PANNEAU OU A DES APPAREILS
CONNECTÉS.
Specifications
Compatibility
UltraSync Modular Hub systems
Frequency
319.5 MHz
UL/ULC Listed Voltage
9.12 - 15 VDC
Operational Voltage
7.75 - 15 VDC
Current
40 mA Average
65 mA Alarm/Maximum*
*If relay is inactive, calculation can be de-rated 25 mA per inactive relay. If
positive switching is utilized, additional current draw of connected load must be
included in power budget calculations.
Operating
temperature
range
Non UL/ULC installations
14° to 131°F
(-10° to 55°C)
UL/ULC installations
32° to 120° F
(0° to 49° C)
Storage temperature
−30° to 120°F
(−34° to 60°C)
Relative
humidity
Non UL/ULC installations
up to 95% noncondensing
UL/ULC installations
up to 85% noncondensing
Product Dimensions
(W x H x D)
3.74” x 6.10 x 1.02”
95mm x 155mm x 26mm
Regulatory Information
Manufacturer
Placed on the market by:
UTC Fire & Security Americas Corporation, Inc.
3211 Progress Drive, Lincolnton, NC, 28092, USA
This equipment has been tested and found to comply with the limits for a Class B
digital device, pursuant to part 15 of the FCC Rules. These limits are designed to
provide reasonable protection against harmful interference when the equipment is
operated in a commercial environment. This equipment generates, uses, and can
radiate radio frequency energy and, if not installed andused in accordance with
the instruction manual, may cause harmful interference to radio communications.
If this equipment does cause harmful interference to radio or television reception,
which can be determined by turning the equipment off and on, the user is
encouraged to try to correct the interference by one or more of the following
measures:
• Reorient or relocate the receiving antenna.
• Increase the separation between the equipment and receiver.
• Connect the equipment into an outlet on a circuit different from that to
which the receiver is connected.
• Consult the dealer or an experienced radio/TV technician for help.
This class B digital apparatus complies with Canadian ICES-3B.
Cet appareil numérique de la classe B est conforme à la norme NMB-003 du
Canada.
Contact Information
For contact information,visit us online at www.interlogix.com.
For technical support, see www.interlogix.com/support.
Copyright
Copyright © 2017 United Technologies Corporation. All rights reserved.
Trademarks
Interlogix is a registered trademark of United Technologies Corporation. Interlogix is part
of UTC Climate, Controls& Security, a unit of United Technologies Corporation.
C
GND –
Buss Voltage +
Common C
Jumper J5
Output J6
N
N
O
C

Other Interlogix Control Unit manuals

Interlogix NX-586E User manual

Interlogix

Interlogix NX-586E User manual

Interlogix 60-677 User manual

Interlogix

Interlogix 60-677 User manual

Interlogix NX-595E User manual

Interlogix

Interlogix NX-595E User manual

Interlogix 600-1046-95 User manual

Interlogix

Interlogix 600-1046-95 User manual

Interlogix TruPortal TP-ADD-2D-BRD User manual

Interlogix

Interlogix TruPortal TP-ADD-2D-BRD User manual

Interlogix RF-KF101-K4 Assembly instructions

Interlogix

Interlogix RF-KF101-K4 Assembly instructions

Interlogix NXG-7002 Assembly instructions

Interlogix

Interlogix NXG-7002 Assembly instructions

Interlogix ATS 500A Series User manual

Interlogix

Interlogix ATS 500A Series User manual

Interlogix Simon XT User manual

Interlogix

Interlogix Simon XT User manual

Interlogix DIGITAL INVERTER GENERATOR Assembly instructions

Interlogix

Interlogix DIGITAL INVERTER GENERATOR Assembly instructions

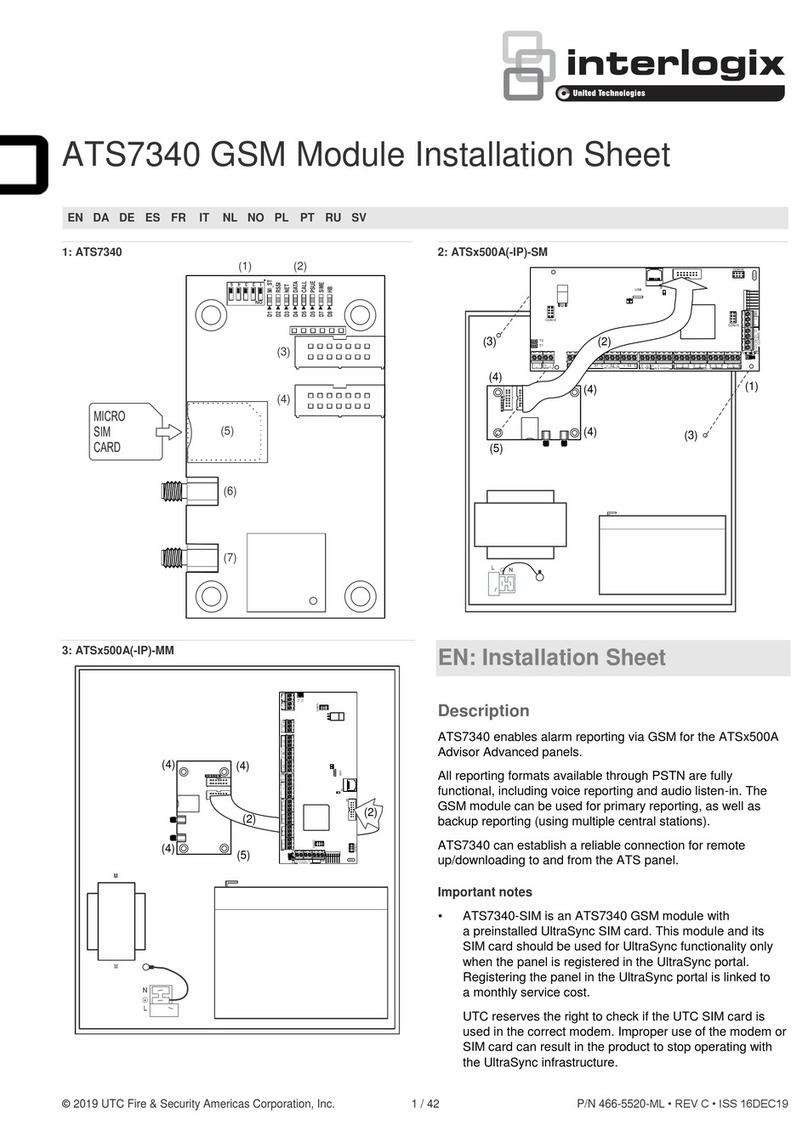
Interlogix ATS7340 Assembly instructions

Interlogix

Interlogix ATS7340 Assembly instructions

Interlogix AdvisorOne AVO-ZW Assembly instructions

Interlogix

Interlogix AdvisorOne AVO-ZW Assembly instructions

Interlogix VT1101M-AC Installation instructions

Interlogix

Interlogix VT1101M-AC Installation instructions

Interlogix ATS7200N Assembly instructions

Interlogix

Interlogix ATS7200N Assembly instructions

Interlogix NX-586E User manual

Interlogix

Interlogix NX-586E User manual

Interlogix DTIM Assembly instructions

Interlogix

Interlogix DTIM Assembly instructions

Interlogix ATS1831 Assembly instructions

Interlogix

Interlogix ATS1831 Assembly instructions

Interlogix ITI SuperBus 2000 User manual

Interlogix

Interlogix ITI SuperBus 2000 User manual

Interlogix UltraSync UM-C-H1 Assembly instructions

Interlogix

Interlogix UltraSync UM-C-H1 Assembly instructions

Interlogix SuperBus 2000 PIV User manual

Interlogix

Interlogix SuperBus 2000 PIV User manual

Interlogix UltraSync UM-Z8 Assembly instructions

Interlogix

Interlogix UltraSync UM-Z8 Assembly instructions

Interlogix ATS1520 Assembly instructions

Interlogix

Interlogix ATS1520 Assembly instructions

Interlogix UM-ZW User manual

Interlogix

Interlogix UM-ZW User manual

Interlogix TruPortal TP-ADD-2D Series User manual

Interlogix

Interlogix TruPortal TP-ADD-2D Series User manual

Popular Control Unit manuals by other brands

Haldex ILAS E 62101005 installation instructions

Haldex

Haldex ILAS E 62101005 installation instructions

Honeywell Notifier FCM-1-REL Installation and maintenance instructions

Honeywell

Honeywell Notifier FCM-1-REL Installation and maintenance instructions

SKUTCH AS-703-SBC manual

SKUTCH

SKUTCH AS-703-SBC manual

Kingfisher KI 7010B Series Operation & maintenance guide

Kingfisher

Kingfisher KI 7010B Series Operation & maintenance guide

Mec Excelerator ME990S-2DFM Installation and operating manual

Mec

Mec Excelerator ME990S-2DFM Installation and operating manual

Texas Instruments TPS55165Q1-EVM user guide

Texas Instruments

Texas Instruments TPS55165Q1-EVM user guide

GW Instek GDB-03 user manual

GW Instek

GW Instek GDB-03 user manual

ARRI RF-2400 user manual

ARRI

ARRI RF-2400 user manual

SMC Networks S0700 manual

SMC Networks

SMC Networks S0700 manual

Danze D5609 Series installation instructions

Danze

Danze D5609 Series installation instructions

Omron G9SX Series manual

Omron

Omron G9SX Series manual

Armstrong 880100-002 Installation and operating instructions

Armstrong

Armstrong 880100-002 Installation and operating instructions

GECMA CHALLENGER Mi-PS2 manual

GECMA

GECMA CHALLENGER Mi-PS2 manual

Mitsubishi Electric MELSEC Q Series user manual

Mitsubishi Electric

Mitsubishi Electric MELSEC Q Series user manual

Marshall Excelsior ME980-905 installation instructions

Marshall Excelsior

Marshall Excelsior ME980-905 installation instructions

Visual Productions IoCore2 user manual

Visual Productions

Visual Productions IoCore2 user manual

Evoqua WALLACE & TIERNAN SFC fieldbus manual

Evoqua

Evoqua WALLACE & TIERNAN SFC fieldbus manual

Allen-Bradley POINT I/O 1734-PDN installation instructions

Allen-Bradley

Allen-Bradley POINT I/O 1734-PDN installation instructions

manuals.online logo
manuals.online logoBrands
  • About & Mission
  • Contact us
  • Privacy Policy
  • Terms and Conditions

Copyright 2025 Manuals.Online. All Rights Reserved.